

Grow Broccoli at Home? Absolutely! Imagine stepping into your backyard and harvesting fresh, vibrant broccoli heads, bursting with flavor and nutrients. Forget those bland, overpriced supermarket florets – with a few simple tricks and a little DIY spirit, you can cultivate your own thriving broccoli patch, right in your own backyard.
Home gardening, including growing your own broccoli, has a rich history. From the ancient Roman gardens to the victory gardens of World War II, people have always found solace and sustenance in cultivating their own food. Broccoli itself, a descendant of wild cabbage, has been enjoyed for centuries, prized for its health benefits and unique taste.
But why should you embark on this broccoli-growing adventure? Well, for starters, you’ll have access to fresher, healthier produce, free from harmful pesticides and chemicals. Plus, it’s incredibly rewarding to nurture a plant from seed to harvest. And let’s be honest, who doesn’t love a good DIY project? This article is packed with easy-to-follow tips and tricks that will empower you to grow broccoli at home successfully, even if you’re a complete beginner. I’m excited to share my knowledge and help you create your own flourishing broccoli garden. Let’s get started!
Growing Broccoli at Home: A Beginner’s Guide
Hey there, fellow gardening enthusiasts! I’m so excited to share my experience growing broccoli at home. It’s surprisingly easy and rewarding, and nothing beats the taste of freshly harvested, homegrown broccoli. This guide will walk you through every step, from choosing the right variety to dealing with pesky pests. Let’s get started!
Choosing Your Broccoli Variety
First things first, you need to decide which type of broccoli you want to grow. There are several varieties, each with its own characteristics. Here are a few popular options:
* Calabrese: This is the most common type, producing a large central head. It’s a reliable choice for beginners.
* Sprouting Broccoli: Instead of one large head, this variety produces numerous smaller side shoots. It has a longer harvest period.
* Romanesco: With its unique fractal pattern, Romanesco is as beautiful as it is delicious. It has a slightly nutty flavor.
* Broccolini: A hybrid of broccoli and Chinese kale, broccolini has tender stalks and small florets.
I personally love growing Calabrese for its classic broccoli flavor and ease of cultivation. But feel free to experiment and find your favorite!
Starting Your Broccoli Seeds
You have two options here: starting your seeds indoors or directly sowing them in your garden. I prefer starting indoors because it gives the seedlings a head start and protects them from harsh weather.
Starting Seeds Indoors
1. Gather Your Supplies: You’ll need seed starting trays or small pots, seed starting mix (a light, well-draining soil), broccoli seeds, a spray bottle, and a grow light (optional, but highly recommended).
2. Fill the Trays/Pots: Fill your seed starting trays or pots with the seed starting mix. Gently tap them to settle the soil.
3. Sow the Seeds: Make a small indentation (about ¼ inch deep) in the center of each cell or pot. Place 2-3 broccoli seeds in each indentation. This increases the chances of at least one seed germinating.
4. Cover the Seeds: Gently cover the seeds with more seed starting mix.
5. Water Thoroughly: Use a spray bottle to thoroughly moisten the soil. Avoid overwatering, which can lead to damping off (a fungal disease that kills seedlings).
6. Provide Light and Warmth: Place the trays or pots in a warm location (around 70-75°F) with plenty of light. If you don’t have a sunny window, use a grow light. I keep my grow light on for about 14-16 hours a day.
7. Keep the Soil Moist: Check the soil daily and water as needed to keep it consistently moist, but not soggy.
8. Thin the Seedlings: Once the seedlings have developed their first true leaves (the second set of leaves), thin them to one seedling per cell or pot. Choose the strongest, healthiest-looking seedling and snip off the others at the soil line. Don’t pull them out, as this can disturb the roots of the remaining seedling.
Direct Sowing (If Your Climate Allows)
If you live in a mild climate with a long growing season, you can directly sow broccoli seeds in your garden.
1. Prepare the Soil: Choose a sunny spot with well-drained soil. Amend the soil with compost or other organic matter to improve its fertility and drainage.
2. Sow the Seeds: Sow the seeds about ½ inch deep and 18-24 inches apart.
3. Water Thoroughly: Water the soil thoroughly after sowing.
4. Keep the Soil Moist: Keep the soil consistently moist until the seeds germinate.
5. Thin the Seedlings: Once the seedlings emerge, thin them to one plant every 18-24 inches.
Transplanting Your Broccoli Seedlings
Whether you started your seeds indoors or purchased seedlings from a nursery, you’ll need to transplant them into your garden.
1. Harden Off the Seedlings: Before transplanting, you need to “harden off” the seedlings. This process gradually acclimates them to outdoor conditions. Start by placing the seedlings outdoors in a sheltered location for a few hours each day, gradually increasing the amount of time they spend outside over the course of a week.
2. Prepare the Garden Bed: Choose a sunny spot with well-drained soil. Broccoli needs at least 6 hours of sunlight per day. Amend the soil with compost or other organic matter to improve its fertility and drainage.
3. Dig Holes: Dig holes that are slightly larger than the root balls of the seedlings. Space the holes 18-24 inches apart.
4. Transplant the Seedlings: Gently remove the seedlings from their trays or pots. Loosen the roots slightly and place the seedlings in the holes.
5. Fill the Holes: Fill the holes with soil and gently firm the soil around the base of the plants.
6. Water Thoroughly: Water the seedlings thoroughly after transplanting.
7. Mulch: Apply a layer of mulch around the plants to help retain moisture, suppress weeds, and regulate soil temperature. I like to use straw or wood chips.
Caring for Your Broccoli Plants
Once your broccoli plants are in the ground, they’ll need regular care to thrive.
* Watering: Broccoli needs consistent moisture, especially during hot, dry weather. Water deeply and regularly, aiming for about 1-1.5 inches of water per week. Avoid overhead watering, which can promote fungal diseases.
* Fertilizing: Broccoli is a heavy feeder, so it needs regular fertilization. Apply a balanced fertilizer (e.g., 10-10-10) every 2-3 weeks. You can also side-dress the plants with compost or aged manure.
* Weeding: Keep the garden bed free of weeds, which can compete with the broccoli plants for nutrients and water. Hand-pull weeds regularly or use a hoe to cultivate the soil.
* Pest Control: Broccoli is susceptible to several pests, including cabbage worms, aphids, and flea beetles. I’ll cover pest control in more detail in the next section.
* Support: If your broccoli plants get very tall or the heads become very heavy, you may need to provide support to prevent them from falling over. You can use stakes or tomato cages.
Dealing with Pests and Diseases
Unfortunately, broccoli is a favorite snack for many garden pests. Here are some common pests and diseases and how to deal with them:
* Cabbage Worms: These green caterpillars can quickly devour broccoli leaves. Handpick them off the plants or use Bacillus thuringiensis (Bt), a natural insecticide that is safe for humans and pets.
* Aphids: These tiny insects suck the sap from plants, causing them to weaken and distort. Spray the plants with a strong stream of water or use insecticidal soap.
* Flea Beetles: These small, jumping beetles can create tiny holes in broccoli leaves. Cover the plants with row covers to prevent them from reaching the plants. You can also use diatomaceous earth, a natural insecticide.
* Clubroot: This fungal disease causes the roots of broccoli plants to swell and distort. Prevent clubroot by practicing crop rotation and amending the soil with lime to raise the pH.
* Downy Mildew: This fungal disease causes yellow spots on the upper surface of leaves and a white, fuzzy growth on the underside. Improve air circulation around the plants and avoid overhead watering to prevent downy mildew. You can also use a fungicide if necessary.
I’ve found that regular monitoring and early intervention are key to controlling pests and diseases. Check your plants regularly for signs of trouble and take action as soon as you notice a problem.
Harvesting Your Broccoli
The moment you’ve been waiting for! Harvesting your homegrown broccoli is incredibly satisfying.
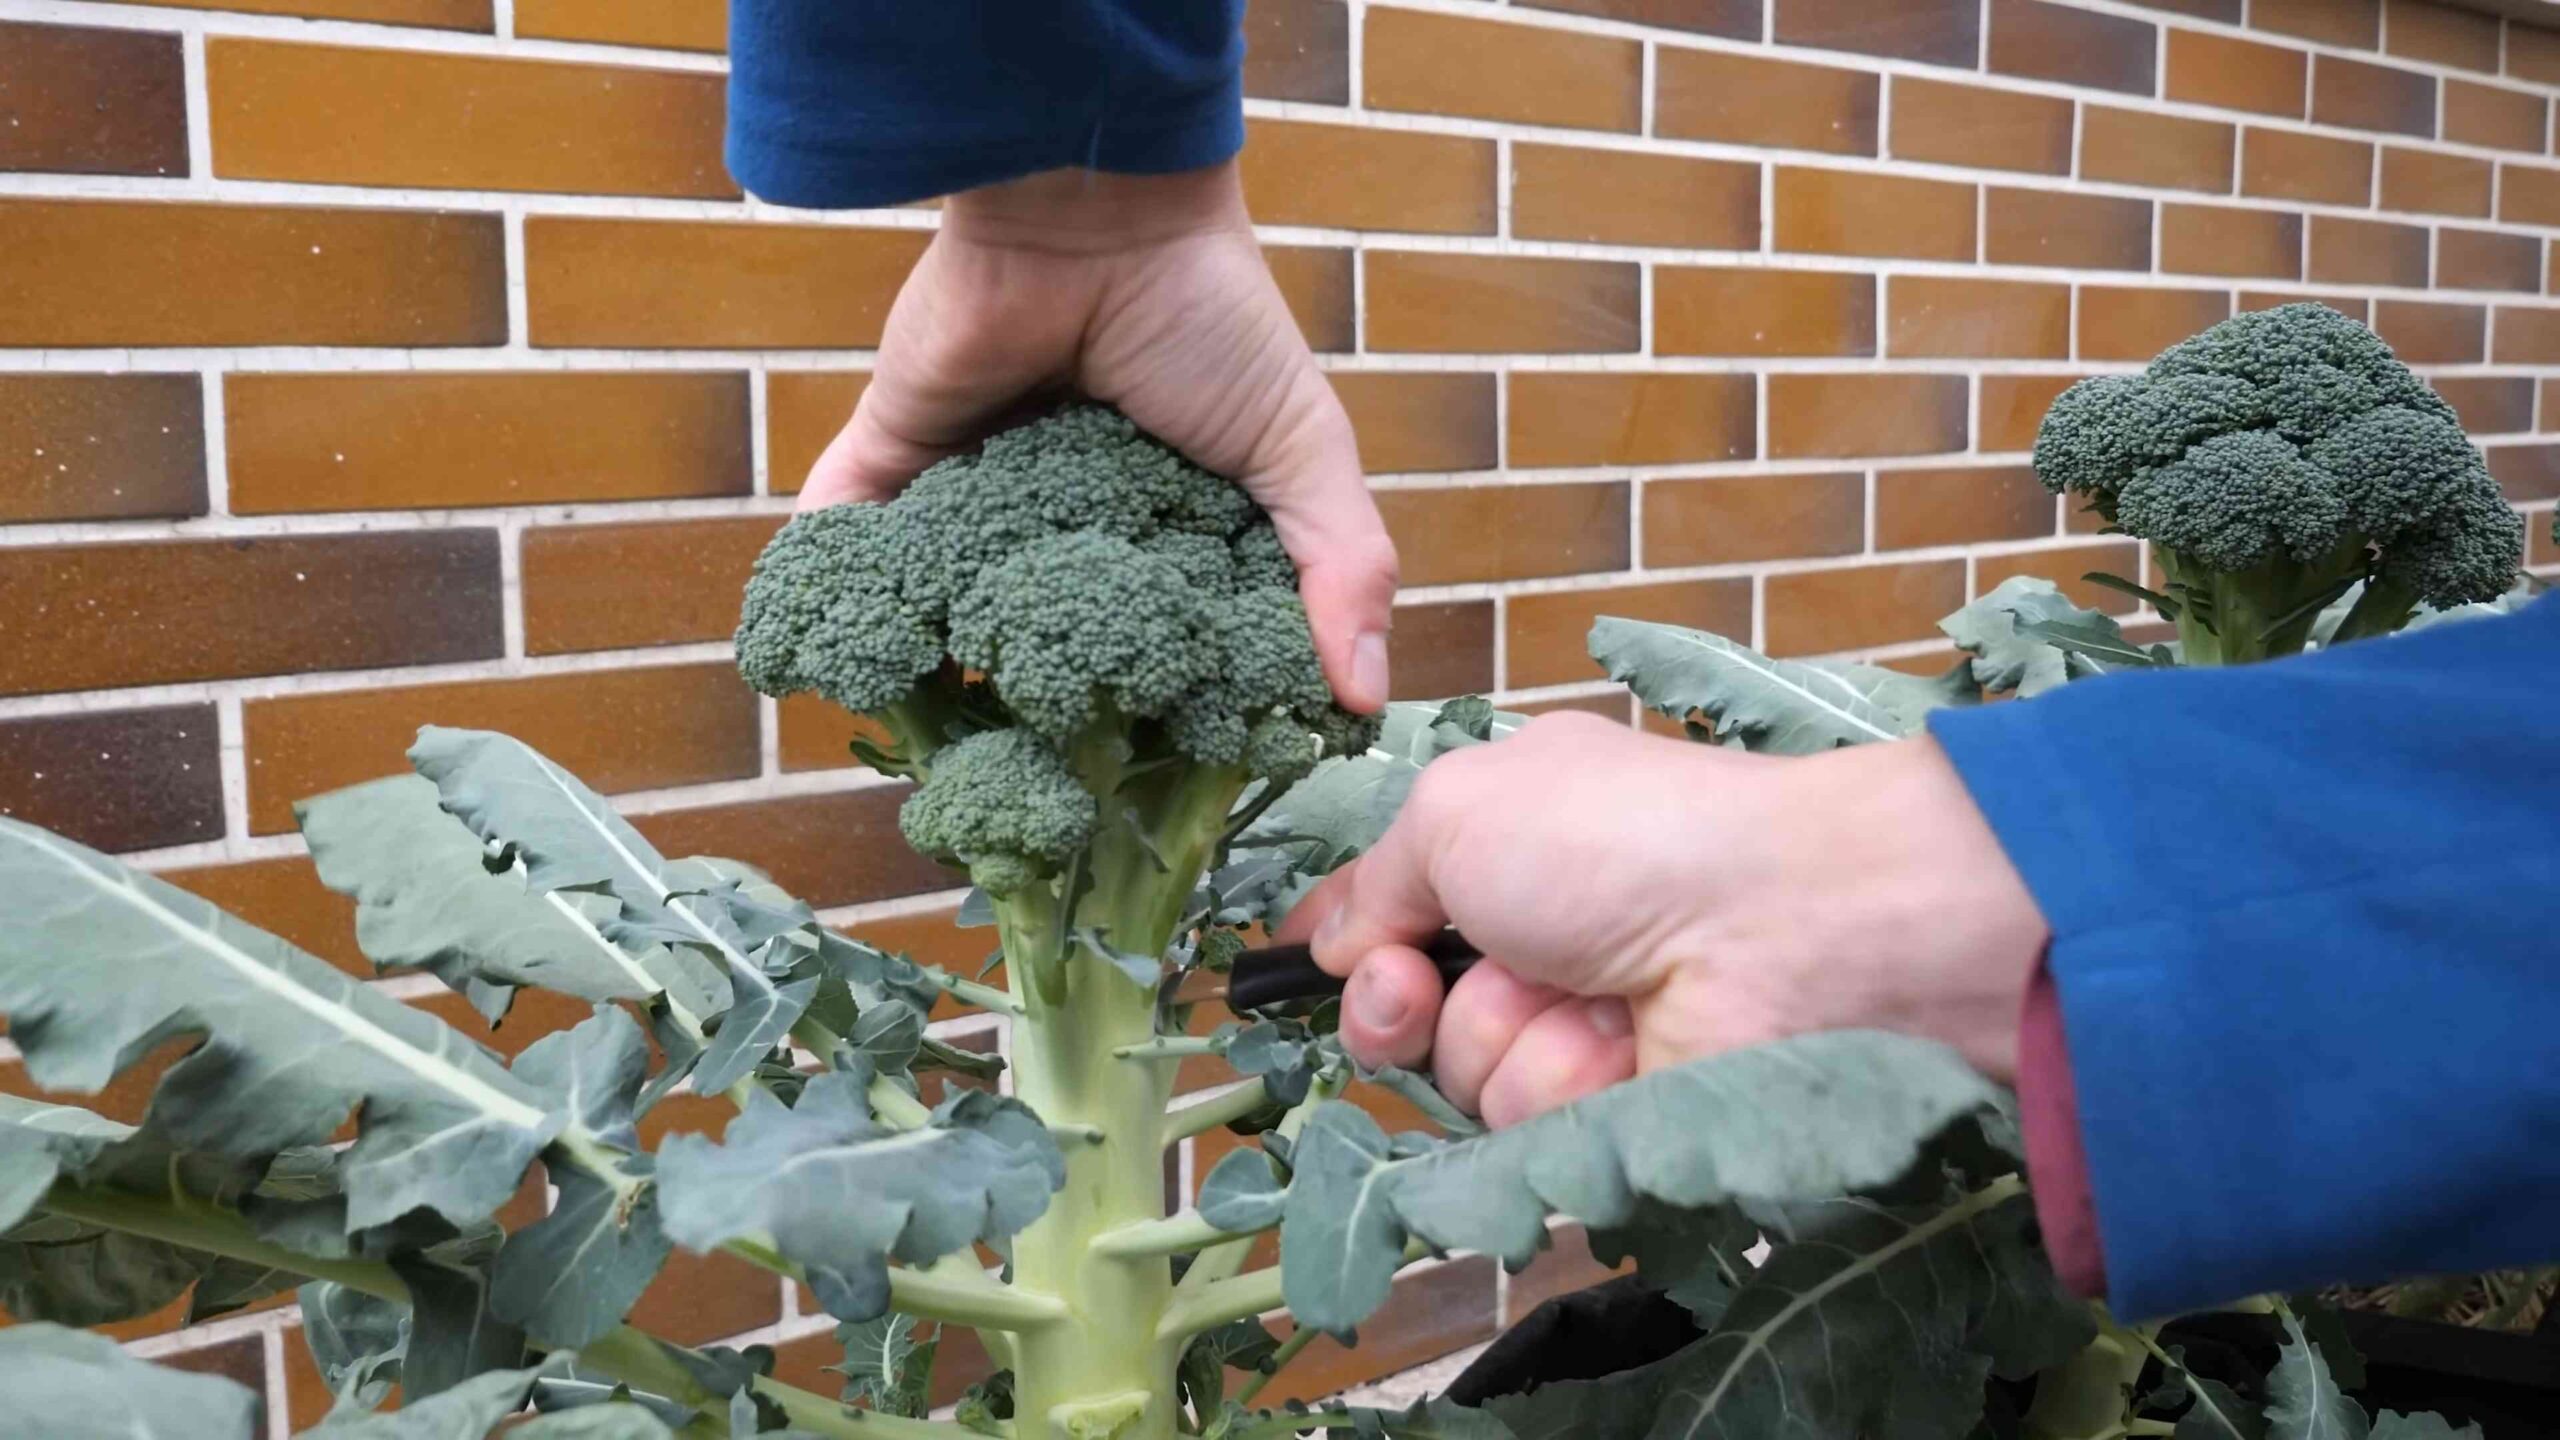
1. Timing is Key: Harvest broccoli when the central head is firm and the florets are tightly closed. If the florets start to open and turn yellow, it’s time to harvest.
2. Cut the Head: Use a sharp knife to cut the central head from the plant, leaving about 6 inches of stem.
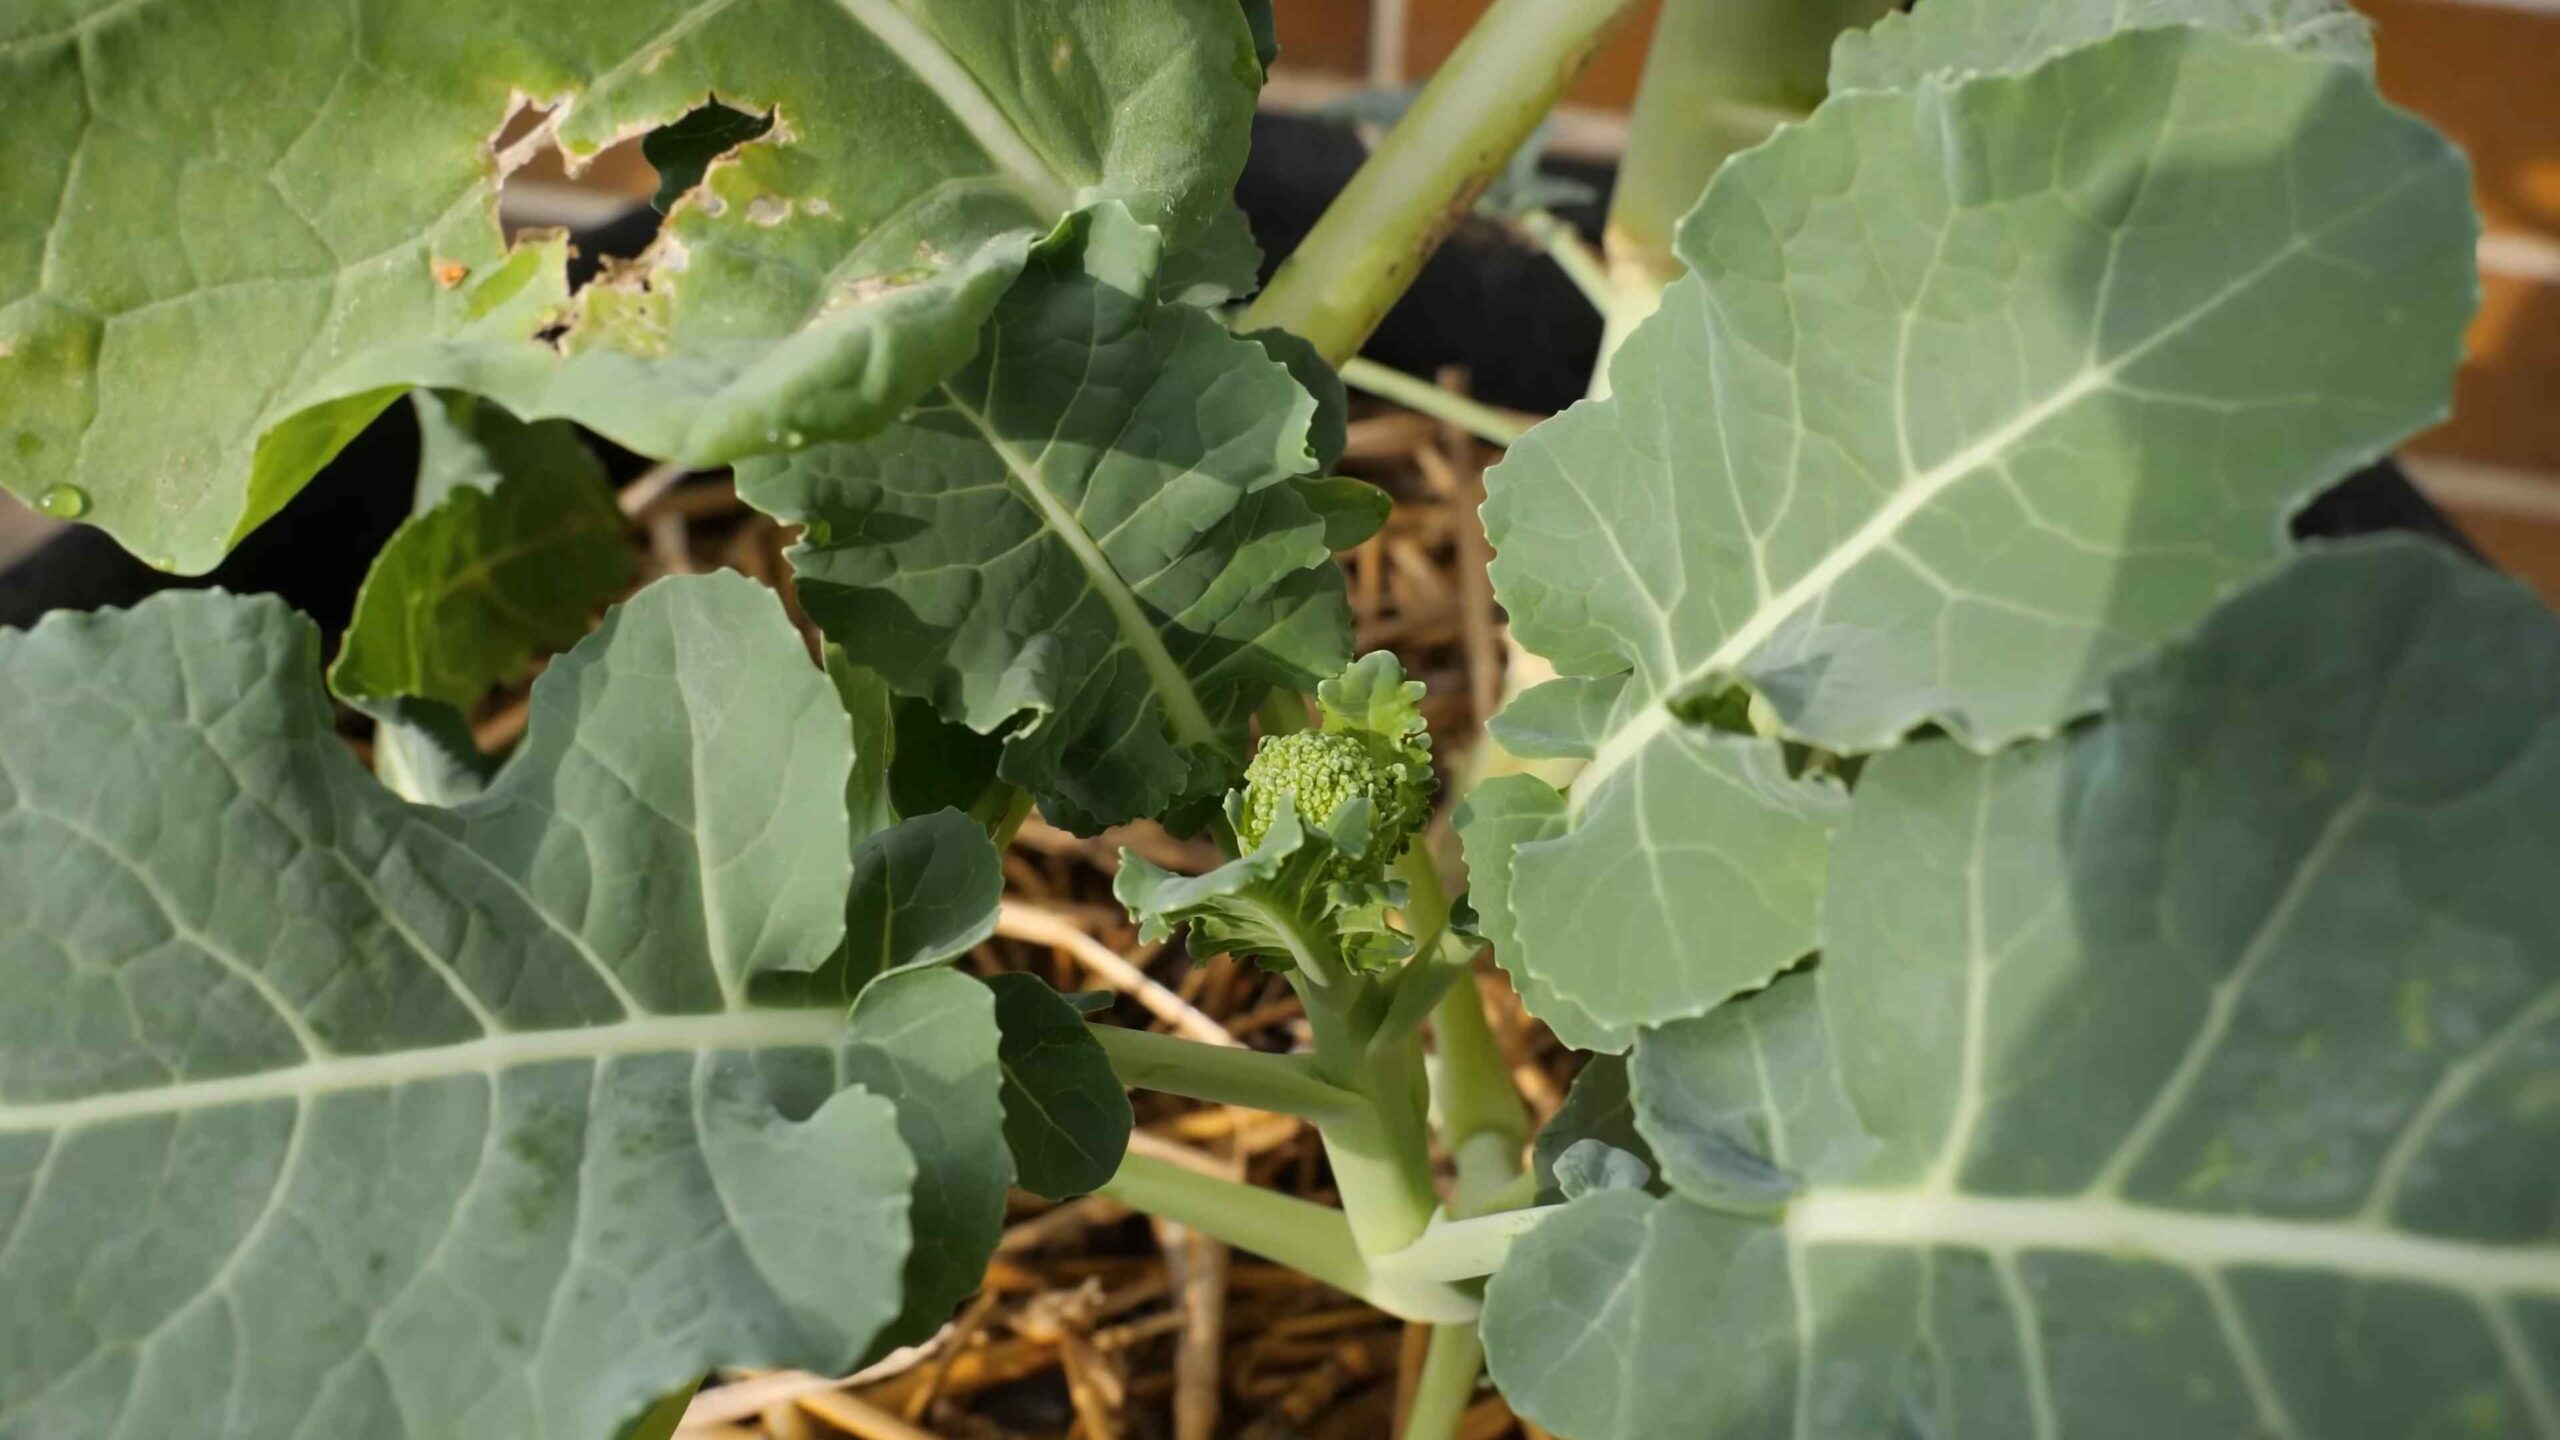
3. Encourage Side Shoots: After harvesting the central head, the plant will often produce smaller side shoots. These can be harvested over several weeks.
4. Store Properly: Store freshly harvested broccoli in the refrigerator for up to a week. To keep it fresh, wrap it in a damp paper towel and place it in a plastic bag.
Enjoying Your Homegrown Broccoli
Now for the best part: enjoying the fruits (or rather, vegetables) of your labor! There are countless ways to prepare broccoli. Here are a few of my favorites:
* Steamed: Steaming broccoli is a quick and easy way to preserve its nutrients and flavor.
* Roasted: Roasting broccoli brings out its natural sweetness.
Conclusion
So, there you have it! Growing broccoli at home isn’t just a gardening project; it’s a gateway to fresher, more flavorful meals and a deeper connection with the food you eat. We’ve walked through the essential steps, from selecting the right variety to warding off common pests, and hopefully, demystified the process along the way.
Why is this DIY trick a must-try? Because the broccoli you harvest from your own garden will be unlike anything you’ve ever bought at the store. The taste is noticeably sweeter, the texture crisper, and the satisfaction of nurturing a plant from seed to table is immeasurable. Plus, you have complete control over what goes into your broccoli – no pesticides, no questionable fertilizers, just pure, homegrown goodness.
But the journey doesn’t end here! Feel free to experiment with different broccoli varieties. Try growing Romanesco broccoli for its stunning fractal patterns or purple sprouting broccoli for a unique color and flavor. Consider companion planting with herbs like rosemary or thyme to naturally deter pests and enhance the flavor of your broccoli. You can also explore different methods of pest control, such as introducing beneficial insects like ladybugs to your garden.
Don’t be afraid to get your hands dirty and embrace the learning process. Gardening is all about trial and error, and even experienced gardeners face challenges. The key is to stay patient, observant, and adaptable.
We wholeheartedly encourage you to give growing broccoli at home a try. It’s a rewarding experience that will not only provide you with delicious, nutritious food but also connect you with nature in a meaningful way. And once you’ve harvested your first head of homegrown broccoli, we’d love to hear about your experience! Share your photos, tips, and challenges in the comments below. Let’s build a community of home gardeners and inspire others to discover the joy of growing their own food. Your success story could be the inspiration someone else needs to start their own broccoli-growing adventure! Let us know what worked for you, what didn’t, and any unique tips you discovered along the way. Happy gardening!
Frequently Asked Questions (FAQs)
Q: What is the best time of year to start growing broccoli at home?
A: The best time to start growing broccoli depends on your climate. Broccoli is a cool-season crop, so it thrives in temperatures between 60°F and 70°F (15°C and 21°C). In areas with mild winters, you can plant broccoli in the fall for a winter or early spring harvest. In colder climates, start seeds indoors 6-8 weeks before the last expected frost and transplant them outdoors in the spring. For a fall harvest in colder climates, start seeds indoors in mid-summer. Check your local frost dates to determine the optimal planting time for your region.
Q: How much sunlight does broccoli need?
A: Broccoli needs at least 6 hours of direct sunlight per day to thrive. Choose a planting location that receives full sun for the majority of the day. If you live in a particularly hot climate, some afternoon shade can be beneficial to prevent the broccoli from bolting (going to seed prematurely).
Q: What kind of soil is best for growing broccoli?
A: Broccoli prefers well-drained, fertile soil with a pH between 6.0 and 7.0. Amend your soil with compost or other organic matter before planting to improve drainage, fertility, and water retention. A soil test can help you determine the pH of your soil and identify any nutrient deficiencies.
Q: How often should I water my broccoli plants?
A: Broccoli plants need consistent moisture to thrive. Water deeply and regularly, especially during dry periods. Aim to keep the soil consistently moist but not waterlogged. Mulching around the plants can help retain moisture and suppress weeds. Check the soil moisture regularly by sticking your finger about an inch into the soil. If it feels dry, it’s time to water.
Q: What are some common pests and diseases that affect broccoli, and how can I prevent them?
A: Common pests that affect broccoli include cabbage worms, aphids, and flea beetles. Common diseases include clubroot and black rot. To prevent these problems, practice crop rotation, use row covers to protect plants from pests, and choose disease-resistant varieties. Inspect your plants regularly for signs of pests or diseases and take action promptly. Organic pest control methods, such as insecticidal soap or neem oil, can be effective for controlling many pests. Ensure good air circulation around plants to minimize fungal diseases.
Q: How do I know when my broccoli is ready to harvest?
A: Broccoli is ready to harvest when the central head is firm and tight, and the flower buds are still closed. The size of the head will vary depending on the variety, but generally, a head that is 4-7 inches in diameter is ready for harvest. Use a sharp knife to cut the head from the plant, leaving a few inches of stem. After harvesting the central head, the plant may produce smaller side shoots that can also be harvested.
Q: Can I grow broccoli in containers?
A: Yes, you can grow broccoli in containers, but you’ll need to choose a large container (at least 5 gallons) to accommodate the plant’s root system. Use a high-quality potting mix and ensure the container has good drainage. Water regularly and fertilize as needed. Container-grown broccoli may require more frequent watering and fertilization than broccoli grown in the ground.
Q: What are some good companion plants for broccoli?
A: Good companion plants for broccoli include herbs like rosemary, thyme, and sage, which can help deter pests. Marigolds are also effective at repelling certain insects. Other beneficial companion plants include onions, garlic, and dill. Avoid planting broccoli near strawberries or tomatoes, as they can compete for nutrients or attract pests.
Q: My broccoli plant is bolting (going to seed). What should I do?
A: Bolting occurs when broccoli plants are exposed to stress, such as high temperatures or inconsistent watering. Once a broccoli plant bolts, the head will become loose and the flavor will deteriorate. Unfortunately, there’s not much you can do to reverse bolting. You can still harvest the head, but it may not be as flavorful. To prevent bolting, choose heat-tolerant varieties, provide consistent watering, and protect plants from extreme temperatures.
Q: Can I eat the leaves of the broccoli plant?
A: Yes, the leaves of the broccoli plant are edible and nutritious. They can be cooked like other leafy greens, such as kale or collard greens. Broccoli leaves have a slightly bitter flavor, but they are a good source of vitamins and minerals.
Q: How do I store harvested broccoli?
A: To store harvested broccoli, wrap it loosely in a plastic bag and store it in the refrigerator. Broccoli is best used within 3-5 days of harvesting. You can also blanch and freeze broccoli for longer storage.


Leave a Comment