

Grow Cauliflower at Home? Absolutely! Imagine plucking a crisp, creamy head of cauliflower straight from your own backyard, ready to be roasted, steamed, or transformed into a delicious cauliflower pizza crust. Forget those wilted, overpriced heads at the grocery store – with a few simple tricks, you can cultivate your own thriving cauliflower patch, even if you’re a beginner gardener like I once was.
For centuries, cauliflower has been a culinary staple, tracing its roots back to the Mediterranean region. It wasn’t until the 16th century that this versatile vegetable made its way to Europe, quickly becoming a favorite among royalty and commoners alike. Today, the desire to grow cauliflower at home is fueled by a growing interest in sustainable living, fresh, organic produce, and the sheer satisfaction of nurturing something from seed to table.
But let’s be honest, growing cauliflower can seem intimidating. It’s known for being a bit finicky, requiring specific conditions to truly thrive. That’s where these DIY tricks and hacks come in! I’m going to share my tried-and-true methods for overcoming common challenges, from preventing “buttoning” (premature head formation) to warding off pests and diseases. So, grab your gardening gloves, and let’s unlock the secrets to a bountiful cauliflower harvest right in your own backyard!
Growing Cauliflower at Home: A Beginner’s Guide
Okay, so you want to grow cauliflower at home? Awesome! It might seem a little intimidating at first, but trust me, with a little patience and the right know-how, you can totally do it. I’ve grown cauliflower in my own garden for years, and I’m here to share all my secrets (well, most of them!) to help you succeed.
Choosing the Right Cauliflower Variety
First things first, let’s talk about cauliflower varieties. There are tons of them out there, and picking the right one for your climate and growing season is super important.
* **Consider your climate:** Some varieties are better suited for warmer climates, while others thrive in cooler temperatures.
* **Think about your growing season:** Early-maturing varieties are great if you have a short growing season.
* **Explore different colors:** Did you know cauliflower comes in more than just white? You can find purple, orange, and even green varieties!
Here are a few popular choices to get you started:
* **Snowball Y Improved:** A classic white variety, known for its reliability and good flavor. It matures relatively quickly, making it a good choice for beginners.
* **Graffiti:** This one’s a showstopper! It produces beautiful purple heads and is packed with antioxidants.
* **Cheddar:** As the name suggests, this variety produces orange heads. It’s rich in beta-carotene and has a slightly sweeter flavor than white cauliflower.
* **Romanesco:** This is a unique and visually stunning variety with fractal-like heads. It has a nutty, slightly milder flavor.
Getting Started: Planting Your Cauliflower
Now that you’ve chosen your variety, it’s time to get planting! You can either start your cauliflower seeds indoors or buy seedlings from a local nursery. I usually prefer starting from seed indoors because it gives me more control over the process.
Starting Seeds Indoors
1. **Gather your supplies:** You’ll need seed starting trays or small pots, seed starting mix, cauliflower seeds, and a spray bottle.
2. **Fill your trays or pots with seed starting mix:** Make sure the mix is moist but not soggy.
3. **Sow the seeds:** Plant 2-3 seeds per cell or pot, about 1/4 inch deep.
4. **Water gently:** Use a spray bottle to mist the soil. You don’t want to dislodge the seeds.
5. **Provide warmth and light:** Cauliflower seeds need warmth to germinate. A heat mat can be helpful. They also need plenty of light. Place the trays under grow lights or in a sunny window.
6. **Keep the soil moist:** Check the soil daily and water as needed to keep it consistently moist.
7. **Thin the seedlings:** Once the seedlings have a few true leaves (the second set of leaves), thin them to one plant per cell or pot. Choose the strongest, healthiest-looking seedling.
Transplanting Seedlings Outdoors
1. **Harden off the seedlings:** Before transplanting your seedlings outdoors, you need to harden them off. This means gradually exposing them to outdoor conditions over a period of about a week. Start by placing them outside for a few hours each day, gradually increasing the amount of time they spend outdoors.
2. **Prepare the soil:** Cauliflower needs well-drained, fertile soil with a pH of 6.0 to 7.0. Amend the soil with compost or other organic matter to improve drainage and fertility.
3. **Choose a sunny location:** Cauliflower needs at least 6 hours of sunlight per day.
4. **Transplant the seedlings:** Dig holes that are slightly larger than the root balls of the seedlings. Space the plants about 18-24 inches apart.
5. **Water thoroughly:** After transplanting, water the seedlings thoroughly.
6. **Mulch around the plants:** Mulch helps to retain moisture, suppress weeds, and regulate soil temperature.
Caring for Your Cauliflower Plants
Once your cauliflower plants are in the ground, it’s important to provide them with the care they need to thrive.
* **Watering:** Cauliflower needs consistent moisture, especially during head formation. Water deeply and regularly, especially during dry spells. Aim for about 1-2 inches of water per week.
* **Fertilizing:** Cauliflower is a heavy feeder, so it needs regular fertilization. Use a balanced fertilizer or side-dress with compost every few weeks.
* **Weeding:** Keep the area around your cauliflower plants free of weeds. Weeds compete with the plants for nutrients and water.
* **Pest control:** Cauliflower is susceptible to a few common pests, such as cabbage worms, aphids, and flea beetles. Inspect your plants regularly and take action if you see any signs of infestation. You can use organic pest control methods, such as insecticidal soap or neem oil.
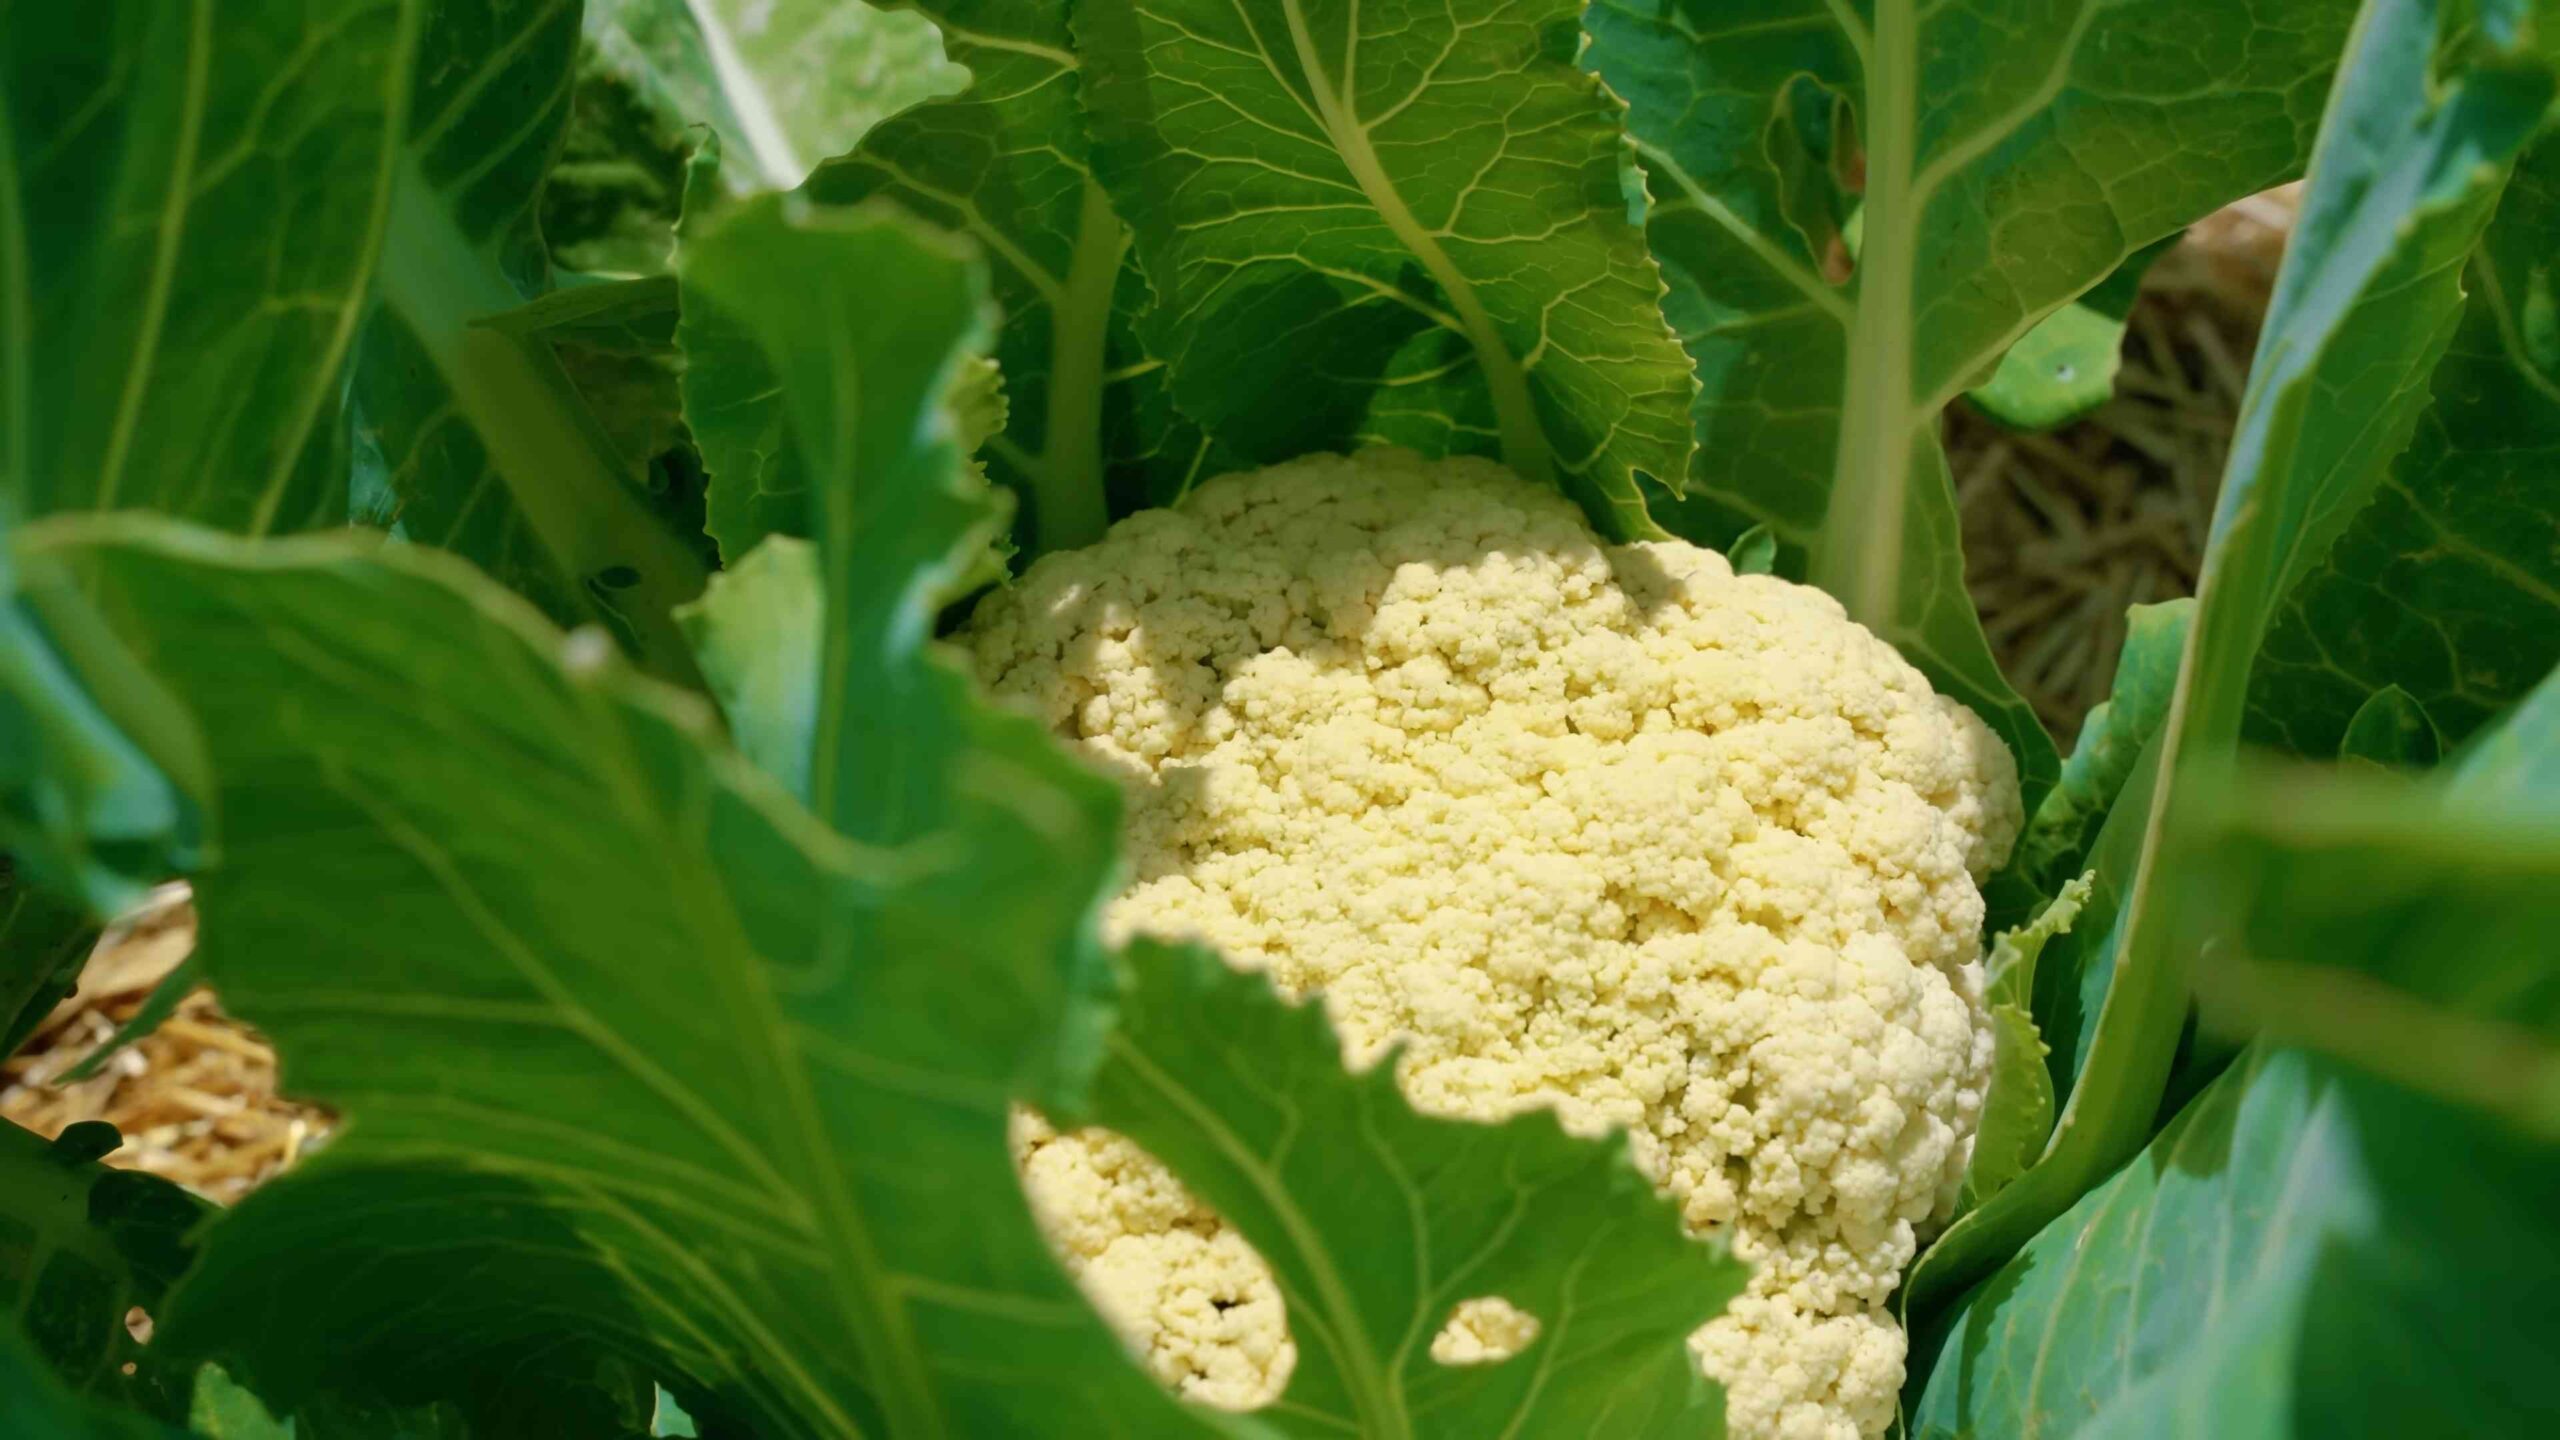
* **Blanching (for white varieties):** Blanching is the process of covering the developing cauliflower head to prevent it from turning yellow. When the head is about 2-3 inches in diameter, tie the outer leaves together over the head with twine or rubber bands. This will keep the head white and tender. You don’t need to blanch colored varieties.
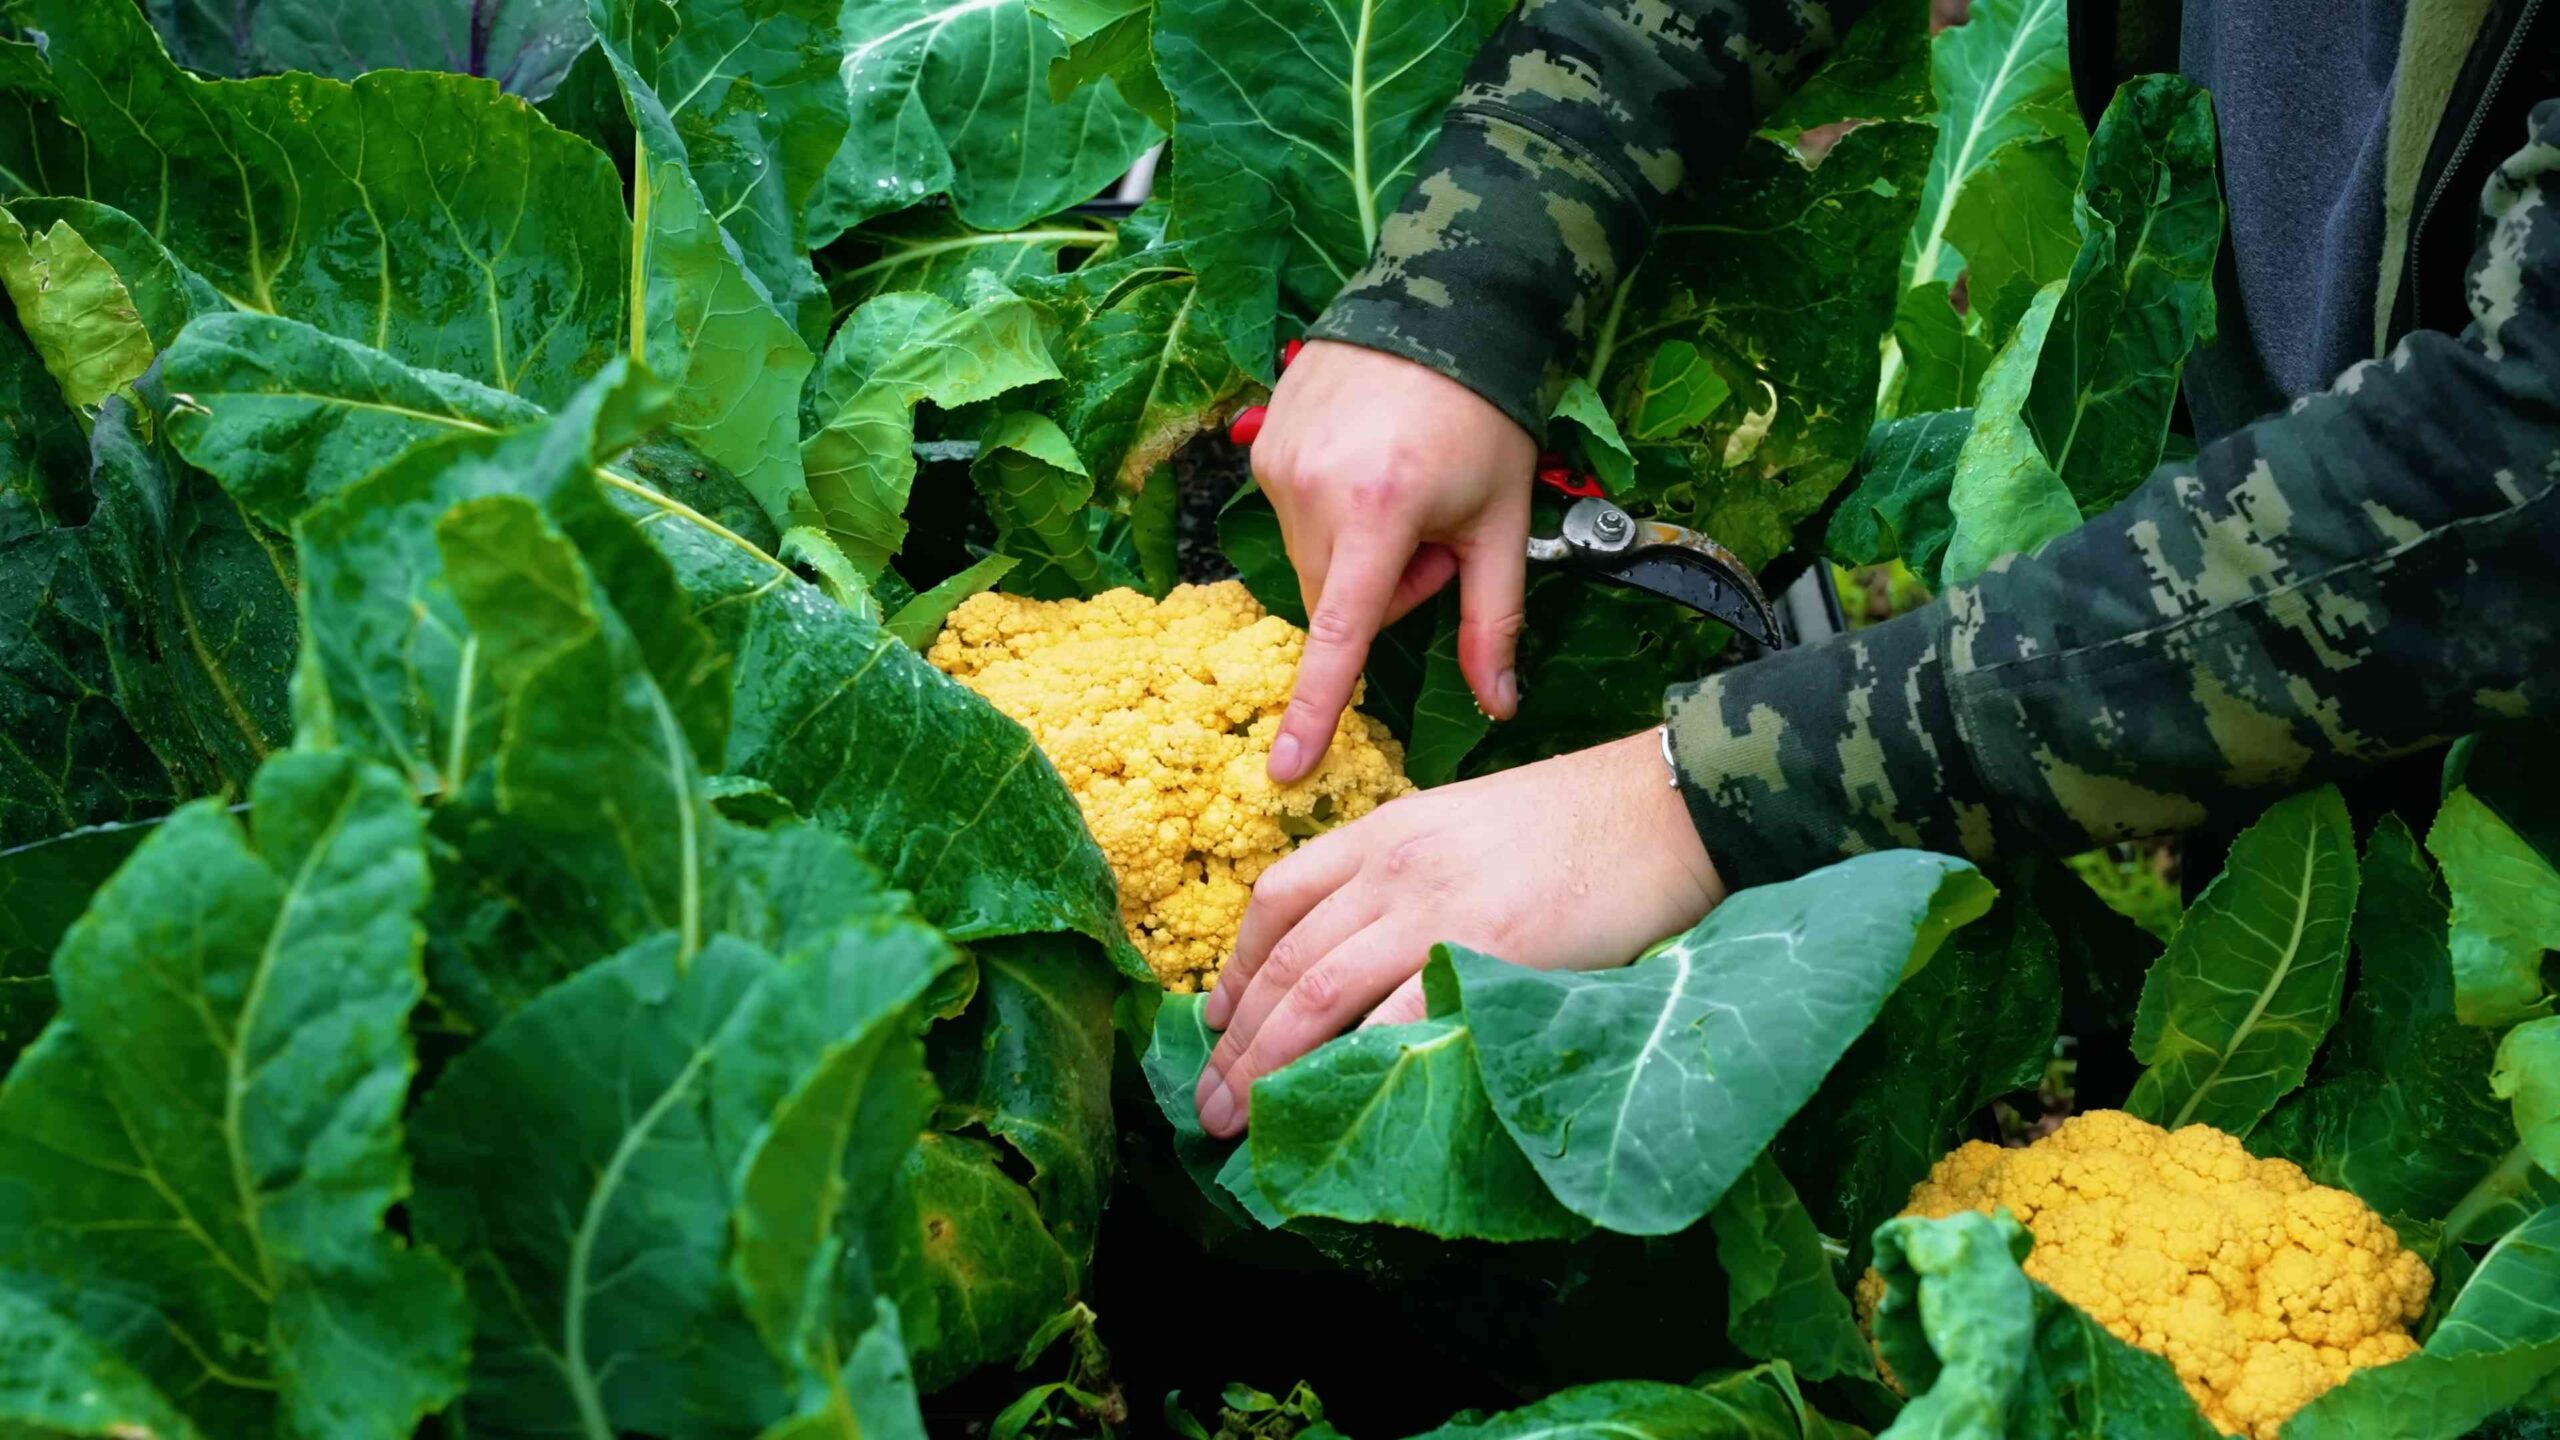
Harvesting Your Cauliflower
Harvest time is the most exciting part! You’ll know your cauliflower is ready to harvest when the head is firm, compact, and about 6-8 inches in diameter (depending on the variety).
1. **Cut the head:** Use a sharp knife to cut the head from the plant, leaving a few leaves attached to protect the head.
2. **Harvest in the morning:** Harvest cauliflower in the morning, when the heads are cool and crisp.
3. **Store properly:** Store cauliflower in the refrigerator for up to a week.
Troubleshooting Common Problems
Even with the best care, you might encounter a few problems along the way. Here are a few common issues and how to deal with them:
* **Buttoning:** This is when the cauliflower head forms prematurely and remains small. It’s often caused by stress, such as lack of water or nutrients. Make sure your plants are getting enough water and fertilizer.
* **Yellowing heads:** This can be caused by too much sun exposure. Blanching can help prevent yellowing in white varieties.
* **Pest infestations:** As mentioned earlier, cauliflower is susceptible to a few common pests. Inspect your plants regularly and take action if you see any signs of infestation.
* **Bolting:** Bolting is when the plant flowers prematurely. It’s often caused by heat stress. Choose heat-tolerant varieties and provide shade during hot weather.
Tips for Success
Here are a few extra tips to help you grow the best cauliflower possible:
* Start with good quality seeds or seedlings. This is the foundation for a successful crop.
* Amend your soil with plenty of organic matter. This will improve drainage, fertility, and water retention.
* Water deeply and regularly. Cauliflower needs consistent moisture.
* Fertilize regularly. Cauliflower is a heavy feeder.
* Protect your plants from pests and diseases. Inspect your plants regularly and take action if you see any problems.
* Don’t be afraid to experiment! Gardening is all about learning and trying new things.
Growing cauliflower at home can be a rewarding experience. With a little planning and effort, you can enjoy fresh, delicious cauliflower from your own garden. Good luck, and happy gardening!
Conclusion
So, there you have it! Growing cauliflower at home, while it might seem daunting at first, is an incredibly rewarding experience. You’re not just cultivating a vegetable; you’re nurturing a connection with nature, ensuring access to fresh, pesticide-free produce, and potentially saving money in the long run. The satisfaction of harvesting your own perfectly formed head of cauliflower, knowing you nurtured it from a tiny seedling, is truly unparalleled.
This DIY trick, focusing on [mention a specific trick from the article, e.g., companion planting with herbs to deter pests or using coffee grounds to enrich the soil], is a must-try because it significantly increases your chances of success, especially for beginner gardeners. It’s a simple, cost-effective method that leverages natural processes to create a healthier and more productive growing environment for your cauliflower. By incorporating this technique, you’re minimizing the need for chemical interventions and maximizing the flavor and nutritional value of your harvest.
But don’t stop there! Experiment with different cauliflower varieties. Try growing purple, orange, or Romanesco cauliflower for a vibrant and visually stunning addition to your garden and your plate. Consider succession planting, sowing seeds every few weeks, to ensure a continuous harvest throughout the growing season. And don’t be afraid to get creative with your companion planting choices – research which plants thrive alongside cauliflower in your specific climate and soil conditions. You can even try growing cauliflower in containers if you have limited garden space.
Ultimately, the best way to learn is by doing. So, grab your seeds, prepare your soil, and give this DIY trick a try. We’re confident that you’ll be amazed by the results. Remember to document your journey, take photos of your progress, and most importantly, share your experiences with us! We’d love to hear your tips, tricks, and any challenges you encounter along the way. Your insights could help other aspiring gardeners successfully grow their own delicious cauliflower at home. Let’s build a community of thriving home gardeners, one cauliflower head at a time!
Frequently Asked Questions (FAQ)
What are the most common problems when growing cauliflower, and how can I prevent them?
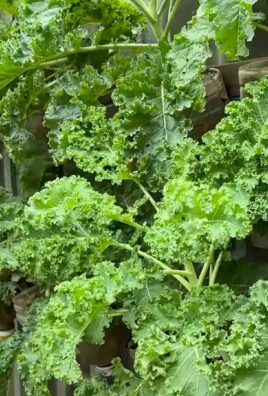
Growing cauliflower can present a few challenges, but with proactive measures, you can minimize potential issues. One common problem is clubroot, a soilborne disease that causes swollen and distorted roots. To prevent clubroot, ensure your soil is well-drained and has a pH of 6.5 to 7.5. Adding lime to the soil can help raise the pH. Crop rotation is also crucial; avoid planting cauliflower or other brassicas (like broccoli, cabbage, and kale) in the same spot for at least three years.
Another common issue is pests, such as cabbage worms, aphids, and flea beetles. Regularly inspect your plants for signs of infestation. Handpicking worms, using insecticidal soap, or covering your plants with row covers can help control these pests. Companion planting with herbs like rosemary, thyme, and sage can also deter pests naturally.
Finally, buttoning, where small, premature heads form, can occur if the plants are stressed due to insufficient nutrients, water, or sunlight. Ensure your cauliflower receives at least six hours of sunlight per day, water deeply and consistently, and fertilize regularly with a balanced fertilizer.
How often should I water my cauliflower plants?
Cauliflower requires consistent moisture, especially during head formation. Aim to water deeply two to three times per week, providing about 1-1.5 inches of water each time. The goal is to keep the soil consistently moist but not waterlogged. Use a soaker hose or drip irrigation to deliver water directly to the roots, minimizing water loss through evaporation and reducing the risk of fungal diseases. Check the soil moisture regularly by sticking your finger about an inch deep into the soil. If it feels dry, it’s time to water. During hot, dry weather, you may need to water more frequently.
What type of fertilizer is best for cauliflower?
Cauliflower is a heavy feeder and requires a nutrient-rich soil to thrive. Before planting, amend your soil with plenty of compost or well-rotted manure. During the growing season, fertilize every two to three weeks with a balanced fertilizer, such as a 10-10-10 or 14-14-14. Alternatively, you can use a fertilizer specifically formulated for vegetables. Follow the instructions on the fertilizer package carefully. Avoid over-fertilizing, as this can lead to excessive foliage growth at the expense of head development. You can also side-dress your plants with compost or manure during the growing season to provide a slow-release source of nutrients.
When is the best time to harvest cauliflower?
The best time to harvest cauliflower is when the head is firm, compact, and reaches the desired size, typically 6-8 inches in diameter. The curds (the individual florets that make up the head) should be tightly packed together and free from blemishes or discoloration. Check the head regularly as it develops, as it can quickly become overripe and loose. To harvest, use a sharp knife to cut the stem just below the head, leaving a few leaves attached to protect the head. Harvest in the morning when the plant is cool and hydrated.
Can I grow cauliflower in containers?
Yes, you can successfully grow cauliflower in containers, especially if you have limited garden space. Choose a large container, at least 12 inches in diameter and 12 inches deep, to provide ample room for the roots to grow. Use a high-quality potting mix that is well-draining and nutrient-rich. Ensure the container has drainage holes to prevent waterlogging. Select a compact or dwarf cauliflower variety that is well-suited for container growing. Place the container in a sunny location that receives at least six hours of sunlight per day. Water regularly and fertilize every two to three weeks.
How can I prevent cauliflower from turning yellow?
Cauliflower heads can sometimes turn yellow due to sun exposure. To prevent this, blanch the head by tying the outer leaves together over the developing head when it reaches about 3 inches in diameter. This will shield the head from direct sunlight and keep it white. Use twine or rubber bands to secure the leaves. Check the head regularly and adjust the leaves as needed. Blanching also helps to protect the head from pests and diseases. Some self-blanching varieties are available, which naturally curl their leaves over the head, eliminating the need for manual blanching.
What are some good companion plants for cauliflower?
Companion planting can benefit cauliflower by deterring pests, attracting beneficial insects, and improving soil health. Some good companion plants for cauliflower include:
* **Herbs:** Rosemary, thyme, sage, and dill can deter cabbage moths and other pests.
* **Flowers:** Marigolds and nasturtiums attract beneficial insects like ladybugs and hoverflies, which prey on aphids.
* **Vegetables:** Onions and garlic can repel pests, while beans and peas can fix nitrogen in the soil, benefiting cauliflower.
* **Clovers:** Cover crops like clover can improve soil structure and suppress weeds.
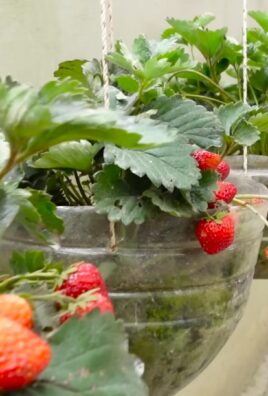
Avoid planting cauliflower near strawberries, as they can inhibit each other’s growth.
How do I store harvested cauliflower?
To store harvested cauliflower, trim off any excess leaves and wrap the head loosely in plastic wrap. Store it in the refrigerator crisper drawer for up to a week. Do not wash the cauliflower before storing it, as this can promote spoilage. You can also freeze cauliflower for longer storage. To freeze, cut the cauliflower into florets, blanch them in boiling water for three minutes, then plunge them into ice water to stop the cooking process. Drain well and freeze in a single layer on a baking sheet before transferring to a freezer bag or container. Frozen cauliflower can be stored for up to a year.

Leave a Comment