

Grow Healing Herbs at Home – imagine stepping into your garden and having a natural pharmacy right at your fingertips! For centuries, cultures around the globe have revered herbs not just for their culinary delights, but for their incredible healing properties. From ancient Egyptians using mint for digestive issues to Native Americans relying on sage for respiratory ailments, the power of herbal remedies is deeply rooted in our history.
But you don’t need to be an expert herbalist to tap into this ancient wisdom. In this article, I’m going to share some simple, yet effective, DIY tricks and hacks to help you grow healing herbs at home, even if you have limited space or a less-than-green thumb.
In today’s world, where we’re increasingly conscious of what we put into our bodies, knowing how to cultivate your own natural remedies is more important than ever. Think about it: fresh, organic herbs, free from harmful pesticides, ready to soothe a sore throat, calm your nerves, or boost your immunity. Plus, gardening is a fantastic stress reliever! So, let’s dive in and discover how easy it is to create your own healing herb haven.
Grow Your Own Healing Herbs: A Beginner’s Guide
Hey there, fellow plant enthusiasts! Ever thought about turning your thumb a little greener and growing your own medicine cabinet? I’m talking about healing herbs, right in your own home! It’s easier than you think, super rewarding, and you’ll have fresh, natural remedies at your fingertips. Let’s dive into how you can create your own little herbal haven.
Choosing Your Herbs
Before we get our hands dirty, let’s figure out which herbs you want to grow. Consider what you’ll actually use! No point in growing something that’ll just sit there. Here are a few popular and easy-to-grow options:
- Mint: Great for digestion, headaches, and adding to teas. It’s a vigorous grower, so keep it contained!
- Basil: Wonderful for cooking, but also has anti-inflammatory properties. Perfect for pesto and soothing skin irritations.
- Chamomile: Known for its calming and sleep-inducing properties. Makes a delicious and relaxing tea.
- Lavender: Smells amazing and is great for relaxation, anxiety, and sleep. You can use it in bath products, teas, and even cooking.
- Rosemary: Boosts memory, improves mood, and is a fantastic culinary herb. It’s also relatively drought-tolerant.
- Thyme: An antiseptic and antifungal herb, great for coughs and colds. Also delicious in soups and stews.
- Lemon Balm: Calming and antiviral, perfect for cold sores and stress relief. It has a lovely lemony scent.
Think about your climate and the amount of sunlight you have available. Some herbs thrive in full sun, while others prefer partial shade.
Gathering Your Supplies
Okay, now that we know what we’re growing, let’s gather our supplies. Here’s what you’ll need:
- Seeds or Seedlings: You can start from seeds, which is more economical, or buy seedlings for a quicker start. I usually do a mix of both!
- Pots or Containers: Choose pots with drainage holes. The size will depend on the herb you’re growing. Mint needs a bigger pot than thyme, for example.
- Potting Mix: Use a good quality potting mix, not garden soil. Potting mix is lighter and drains better, which is crucial for healthy herbs.
- Watering Can or Spray Bottle: For gentle watering.
- Labels: To keep track of what you’ve planted. Trust me, you’ll forget!
- Optional: Fertilizer (organic is best!), gardening gloves, small trowel.
Planting Your Herbs
Alright, let’s get planting! This is the fun part.
Starting from Seeds
1. Prepare Your Pots: Fill your pots with potting mix, leaving about an inch of space at the top. Gently pat down the soil.
2. Sow the Seeds: Sprinkle the seeds evenly over the surface of the soil. Follow the instructions on the seed packet for spacing and depth. Generally, you’ll want to cover the seeds with a thin layer of soil.
3. Water Gently: Use a spray bottle to mist the soil. You want to keep it moist but not soggy.
4. Label Your Pots: Write the name of the herb and the date you planted it on a label and stick it in the pot.
5. Provide Light and Warmth: Place the pots in a warm, sunny location or under grow lights. Seeds need warmth and light to germinate.
6. Keep the Soil Moist: Check the soil daily and mist it with water as needed. Germination times vary depending on the herb. Be patient!
Planting Seedlings
1. Prepare Your Pots: Fill your pots with potting mix, leaving about an inch of space at the top.
2. Remove the Seedling: Gently remove the seedling from its container. If the roots are tightly packed, gently loosen them with your fingers.
3. Plant the Seedling: Dig a hole in the potting mix that’s large enough to accommodate the seedling’s root ball. Place the seedling in the hole and gently backfill with potting mix.
4. Water Thoroughly: Water the seedling thoroughly after planting.
5. Label Your Pots: Write the name of the herb on a label and stick it in the pot.
6. Provide Light and Warmth: Place the pot in a sunny location.
Caring for Your Herbs
Now that your herbs are planted, it’s time to take care of them. Here’s what you need to do:
- Watering: Water your herbs regularly, but don’t overwater. The soil should be moist but not soggy. Check the soil moisture by sticking your finger in the soil. If it feels dry, it’s time to water.
- Sunlight: Most herbs need at least 6 hours of sunlight per day. Place your pots in a sunny location or under grow lights.
- Fertilizing: Fertilize your herbs every few weeks with an organic fertilizer. This will help them grow strong and healthy.
- Pruning: Prune your herbs regularly to encourage bushier growth. Pinch off the tips of the stems to promote branching.
- Pest Control: Keep an eye out for pests, such as aphids and spider mites. If you see any pests, treat them with an organic insecticide.
Harvesting Your Herbs
The best part! Harvesting your own herbs is so satisfying.
- When to Harvest: Harvest your herbs when they are at their peak flavor. This is usually in the morning, after the dew has dried.
- How to Harvest: Use scissors or pruning shears to cut the stems of the herbs. Cut just above a leaf node (the point where a leaf grows from the stem). This will encourage new growth.
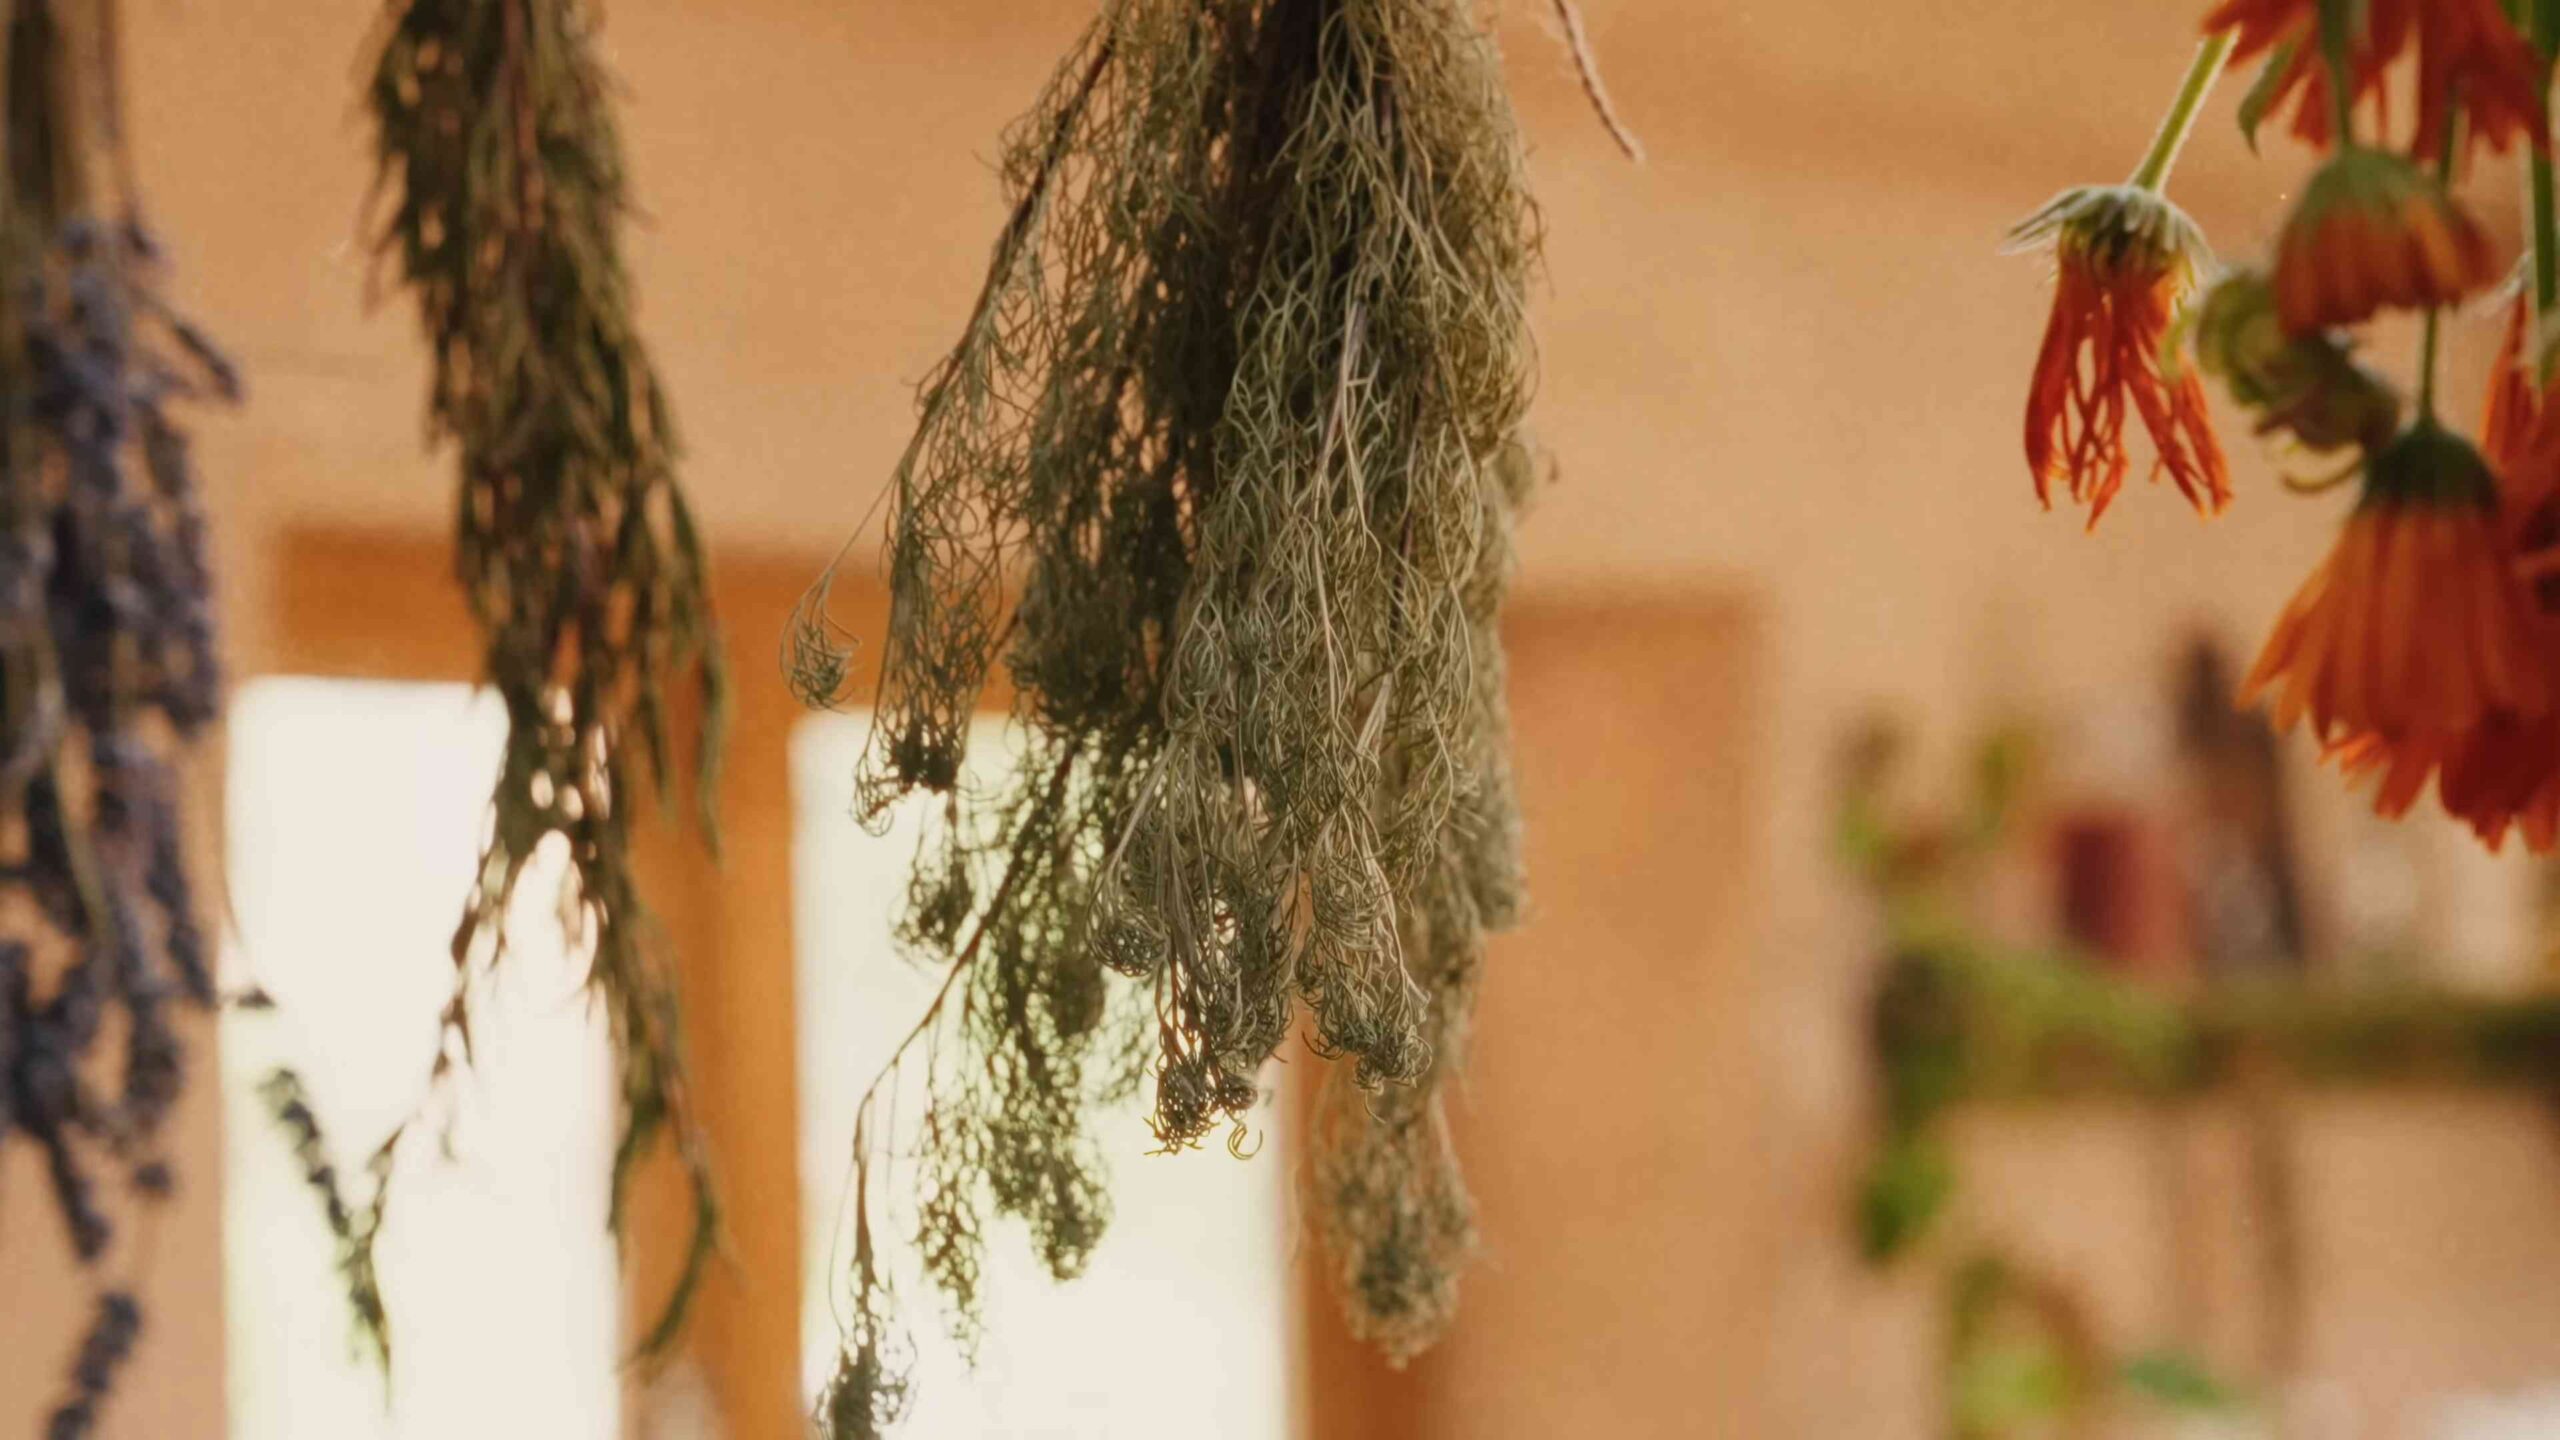
- How to Store: You can use your herbs fresh, or you can dry them for later use. To dry herbs, tie them in small bundles and hang them upside down in a cool, dry place. Once they are completely dry, store them in airtight containers.
Specific Herb Care Tips
Let’s get into some specifics for those herbs we talked about earlier:
Mint
Mint is a vigorous grower and can quickly take over your garden. It’s best to grow it in a container to keep it contained. Mint prefers moist soil and partial shade. Harvest mint leaves regularly to encourage new growth.
Basil
Basil loves warm weather and full sun. Water basil regularly, but don’t overwater. Pinch off the flower buds to encourage leaf production. Basil is sensitive to frost, so bring it indoors if temperatures drop below freezing.
Chamomile
Chamomile prefers full sun and well-drained soil. Water chamomile regularly, but don’t overwater. Harvest the flowers when they are fully open. Dry the flowers for tea.
Lavender
Lavender prefers full sun and well-drained soil. It’s relatively drought-tolerant, so don’t overwater. Prune lavender after flowering to encourage bushier growth.
Rosemary
Rosemary prefers full sun and well-drained soil. It’s relatively drought-tolerant, so don’t overwater. Prune rosemary regularly to maintain its shape.
Thyme
Thyme prefers full sun and well-drained soil. It’s relatively drought-tolerant, so don’t overwater. Prune thyme regularly to maintain its shape.
Lemon Balm
Lemon balm prefers partial shade and moist soil. It’s a vigorous grower, so keep it contained. Harvest lemon balm leaves regularly to encourage new growth.
Troubleshooting
Even with the best care, you might encounter some problems. Here are a few common issues and how to fix them:
- Yellowing Leaves: This could be a sign of overwatering, underwatering, or nutrient deficiency. Check the soil moisture and adjust your watering schedule accordingly. Fertilize your herbs with an organic fertilizer.
- Leggy Growth: This is usually caused by insufficient light. Move your herbs to a sunnier location or provide them with grow lights.
- Pests: Inspect your herbs regularly for pests. Treat any infestations with an organic insecticide.
- Powdery Mildew: This is a fungal disease that can affect herbs in humid conditions. Improve air circulation by spacing your plants further apart. Treat with an organic fungicide.
Using Your Healing Herbs
Now that you’ve grown and harvested your herbs, it’s time to use them! Here are a few ideas:
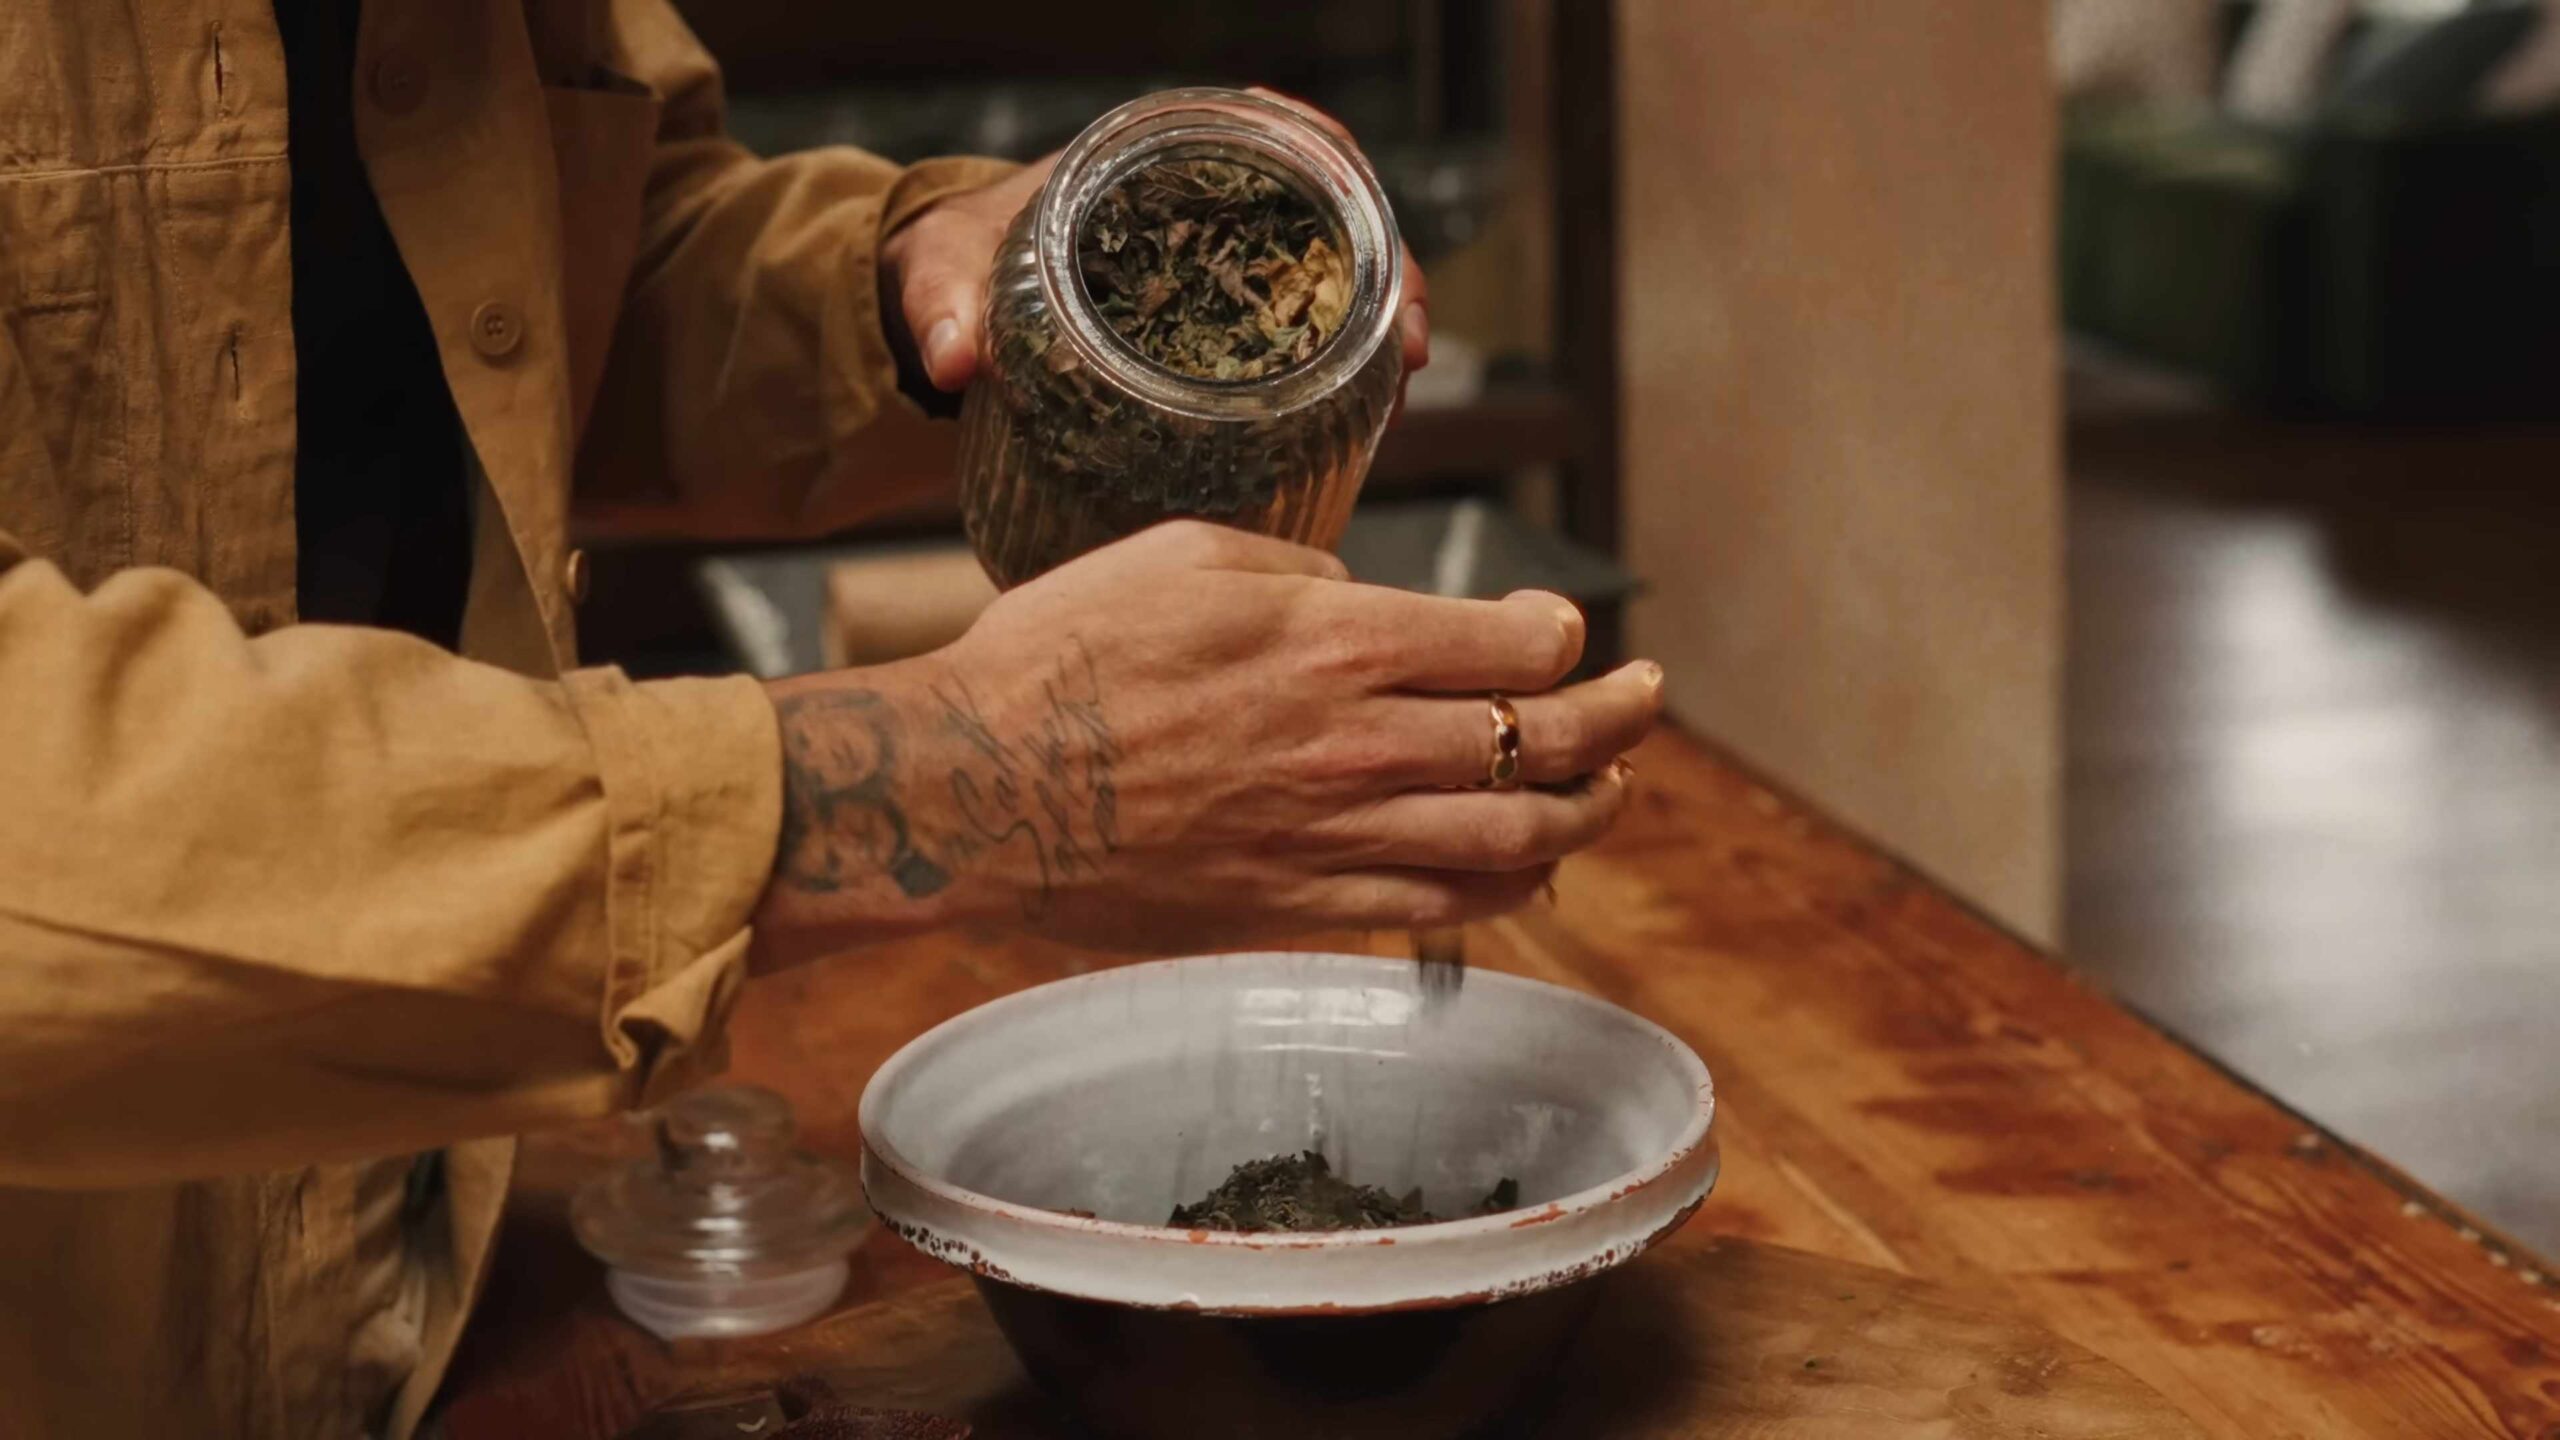
- Teas: Brew fresh or dried herbs into teas. Chamomile, mint, and lemon balm are great for relaxation.
- Cooking: Add fresh
Conclusion
So, there you have it! Growing your own healing herbs at home isn’t just a trendy hobby; it’s a gateway to a healthier, more sustainable lifestyle. From the vibrant aroma that fills your kitchen to the potent medicinal properties packed within each leaf, cultivating your own herbal remedies offers a wealth of benefits that far outweigh the initial effort. We’ve explored the ease with which you can transform a sunny windowsill or a small garden plot into a thriving apothecary, and hopefully, dispelled any myths about needing a “green thumb” to succeed.
The beauty of this DIY project lies in its adaptability. Feel free to experiment with different herbs based on your specific needs and preferences. Perhaps you’re drawn to the calming properties of chamomile and lavender for a soothing bedtime tea. Or maybe you’re intrigued by the immune-boosting power of echinacea and elderberry to ward off seasonal colds. Don’t be afraid to venture beyond the basics and explore lesser-known herbs like lemon balm for its antiviral properties or skullcap for its anxiety-reducing effects.
Consider variations in your growing methods as well. While we’ve focused on container gardening, you could easily adapt these techniques to raised beds or even a dedicated herb garden in your backyard. For those with limited space, vertical gardening systems offer a creative and space-saving solution. You can also explore different soil mixes and fertilizers to optimize the growth of your chosen herbs. Remember to research the specific needs of each herb to ensure they receive the proper care and attention.
Beyond the practical benefits, growing your own healing herbs at home offers a profound connection to nature and a deeper understanding of the plants that have been used for centuries to promote health and well-being. It’s a rewarding experience that empowers you to take control of your own health and wellness in a natural and sustainable way.
We wholeheartedly encourage you to embark on this journey and discover the joys of growing your own healing herbs at home. It’s a simple yet powerful way to enhance your life, connect with nature, and embrace a more holistic approach to health.
Now, we want to hear from you! Have you tried growing your own healing herbs? What are your favorite herbs to grow and use? What challenges have you faced, and what tips do you have to share? Please share your experiences, successes, and failures in the comments below. Your insights will not only inspire others but also contribute to a vibrant community of home herbalists. Let’s learn and grow together!
Frequently Asked Questions (FAQs)
What are the easiest healing herbs to grow for beginners?
For those just starting out, several herbs are known for their resilience and ease of cultivation. Mint is a classic choice, thriving in various conditions and readily propagating from cuttings. However, be mindful that mint can be invasive, so it’s best grown in a container. Basil is another excellent option, especially during the warmer months. It’s relatively low-maintenance and rewards you with fragrant leaves perfect for culinary use. Chives are also incredibly easy to grow, adding a mild onion flavor to your dishes. Other beginner-friendly herbs include parsley, oregano, and thyme. These herbs are generally tolerant of neglect and can thrive in a variety of soil conditions. Remember to provide them with adequate sunlight and well-draining soil for optimal growth.
How much sunlight do healing herbs need?
Most healing herbs require at least six hours of direct sunlight per day to thrive. However, some herbs, like mint and parsley, can tolerate partial shade, especially during the hottest part of the day. When choosing a location for your herb garden, consider the amount of sunlight it receives throughout the day. If you’re growing herbs indoors, place them near a sunny window or supplement with grow lights. Insufficient sunlight can lead to leggy growth, reduced flavor, and decreased medicinal potency. Observe your plants closely and adjust their location as needed to ensure they’re receiving adequate sunlight.
What type of soil is best for growing healing herbs?
Well-draining soil is crucial for the health of your healing herbs. Most herbs prefer a slightly acidic to neutral soil pH (around 6.0 to 7.0). A good potting mix for herbs should be light and airy, allowing for proper root development and drainage. You can create your own potting mix by combining equal parts of compost, perlite, and peat moss or coconut coir. Avoid using heavy clay soils, as they can retain too much moisture and lead to root rot. Amending your soil with organic matter, such as compost or aged manure, can improve its drainage, fertility, and overall health.
How often should I water my healing herbs?
The watering frequency for your healing herbs will depend on several factors, including the type of herb, the size of the container, the weather conditions, and the type of soil. As a general rule, water your herbs when the top inch of soil feels dry to the touch. Avoid overwatering, as this can lead to root rot. When watering, water deeply and thoroughly, allowing the water to drain out of the bottom of the container. During hot, dry weather, you may need to water your herbs more frequently. Conversely, during cool, wet weather, you may need to water them less often. Observe your plants closely and adjust your watering schedule accordingly.
How do I harvest healing herbs?
The best time to harvest healing herbs is in the morning, after the dew has dried but before the sun gets too hot. This is when the essential oils are most concentrated. Use sharp scissors or pruning shears to harvest the leaves, stems, or flowers of your herbs. Avoid tearing or pulling the plants, as this can damage them. For leafy herbs like basil and mint, pinch off the top growth to encourage bushier growth. For herbs like rosemary and thyme, cut back the stems by about one-third. When harvesting flowers, cut them just before they fully open.
How do I dry and store healing herbs?
Drying is a common method for preserving healing herbs. To dry your herbs, tie them into small bundles and hang them upside down in a cool, dark, and well-ventilated place. You can also dry herbs in a dehydrator or in a low oven (around 170°F or 77°C). Once the herbs are completely dry, store them in airtight containers in a cool, dark, and dry place. Properly dried and stored herbs can retain their flavor and medicinal properties for up to a year.
Can I grow healing herbs indoors?
Yes, many healing herbs can be successfully grown indoors, provided they receive adequate sunlight and care. Choose a sunny windowsill or supplement with grow lights. Use well-draining potting mix and water your herbs regularly, allowing the soil to dry out slightly between waterings. Fertilize your herbs every few weeks with a balanced liquid fertilizer. Common herbs that thrive indoors include basil, mint, parsley, chives, oregano, and thyme.
Are there any herbs that should not be grown together?
While most herbs can be grown together without any problems, some herbs are known to inhibit the growth of others. For example, fennel is known to inhibit the growth of many other plants, so it’s best to grow it in a separate container. Mint can also be invasive and crowd out other herbs, so it’s best grown in a container as well. As a general rule, avoid planting herbs from different families together, as they may have different nutrient requirements and growth habits. Research the specific needs of each herb before planting them together to ensure they’re compatible.

Leave a Comment