

Grow Mint at Home and unlock a world of fresh flavors and fragrant aromas right outside your door! Have you ever dreamed of snipping fresh mint leaves for your mojito, adding a vibrant touch to your salads, or brewing a soothing cup of mint tea, all without leaving your house? Well, dream no more! This DIY guide is your passport to a thriving mint patch, even if you think you have a “brown thumb.”
Mint, with its invigorating scent and versatile uses, has been cherished for centuries. From ancient Rome, where it was used to freshen breath and flavor sauces, to traditional medicine practices around the globe, mint has a rich history. Its ease of growth made it a staple in home gardens, a tradition we’re excited to help you continue!
But why should you bother to grow mint at home? Simple: store-bought mint often lacks the intense flavor of freshly grown leaves, and let’s be honest, it can be surprisingly expensive! Plus, growing your own mint is incredibly rewarding. It’s a fantastic way to connect with nature, reduce your carbon footprint, and have a constant supply of this amazing herb at your fingertips. This DIY guide will equip you with all the knowledge and simple tricks you need to cultivate a flourishing mint garden, regardless of your gardening experience. Let’s get started!
Grow Your Own Mint: A Beginner’s Guide to a Thriving Herb Garden
Hey there, fellow plant enthusiasts! Are you ready to dive into the wonderful world of growing your own mint? Trust me, it’s easier than you think, and the rewards – fresh, fragrant mint for teas, cocktails, and culinary creations – are totally worth it. I’m going to walk you through everything you need to know, from choosing the right container to harvesting your bounty. Let’s get started!
What You’ll Need: The Mint-Growing Essentials
Before we get our hands dirty, let’s gather our supplies. Here’s a checklist of everything you’ll need to successfully grow mint at home:
* Mint Plant or Cuttings: You can either buy a small mint plant from a nursery or propagate your own from cuttings. I’ll show you how to do both!
* Pot or Container: Choose a pot that’s at least 6 inches in diameter. Mint can be quite invasive, so growing it in a container is highly recommended to prevent it from taking over your entire garden.
* Potting Mix: Use a well-draining potting mix. Avoid using garden soil, as it can become compacted and doesn’t provide adequate drainage.
* Watering Can or Hose: Essential for keeping your mint plant hydrated.
* Scissors or Pruning Shears: For harvesting and pruning.
* Optional: Fertilizer: A balanced liquid fertilizer can help boost growth, but it’s not strictly necessary.
* Optional: Rooting Hormone (for cuttings): This can increase the success rate of propagation.
Choosing Your Mint Variety
Did you know there are tons of different mint varieties? From classic peppermint and spearmint to chocolate mint and even pineapple mint, the options are endless! Here’s a quick rundown of some popular choices:
* Peppermint: Strong, refreshing flavor, perfect for teas and desserts.
* Spearmint: Milder flavor than peppermint, commonly used in chewing gum and mojitos.
* Chocolate Mint: A delightful blend of mint and chocolate flavors, great for desserts and hot chocolate.
* Apple Mint: Fruity and slightly sweet, ideal for salads and fruit infusions.
* Pineapple Mint: Tropical aroma and flavor, adds a unique twist to cocktails and desserts.
I recommend starting with a variety you enjoy the flavor of. You can always expand your collection later!
Step-by-Step Guide: Planting Your Mint
Now for the fun part – planting! Whether you’re starting with a plant or cuttings, I’ll guide you through the process.
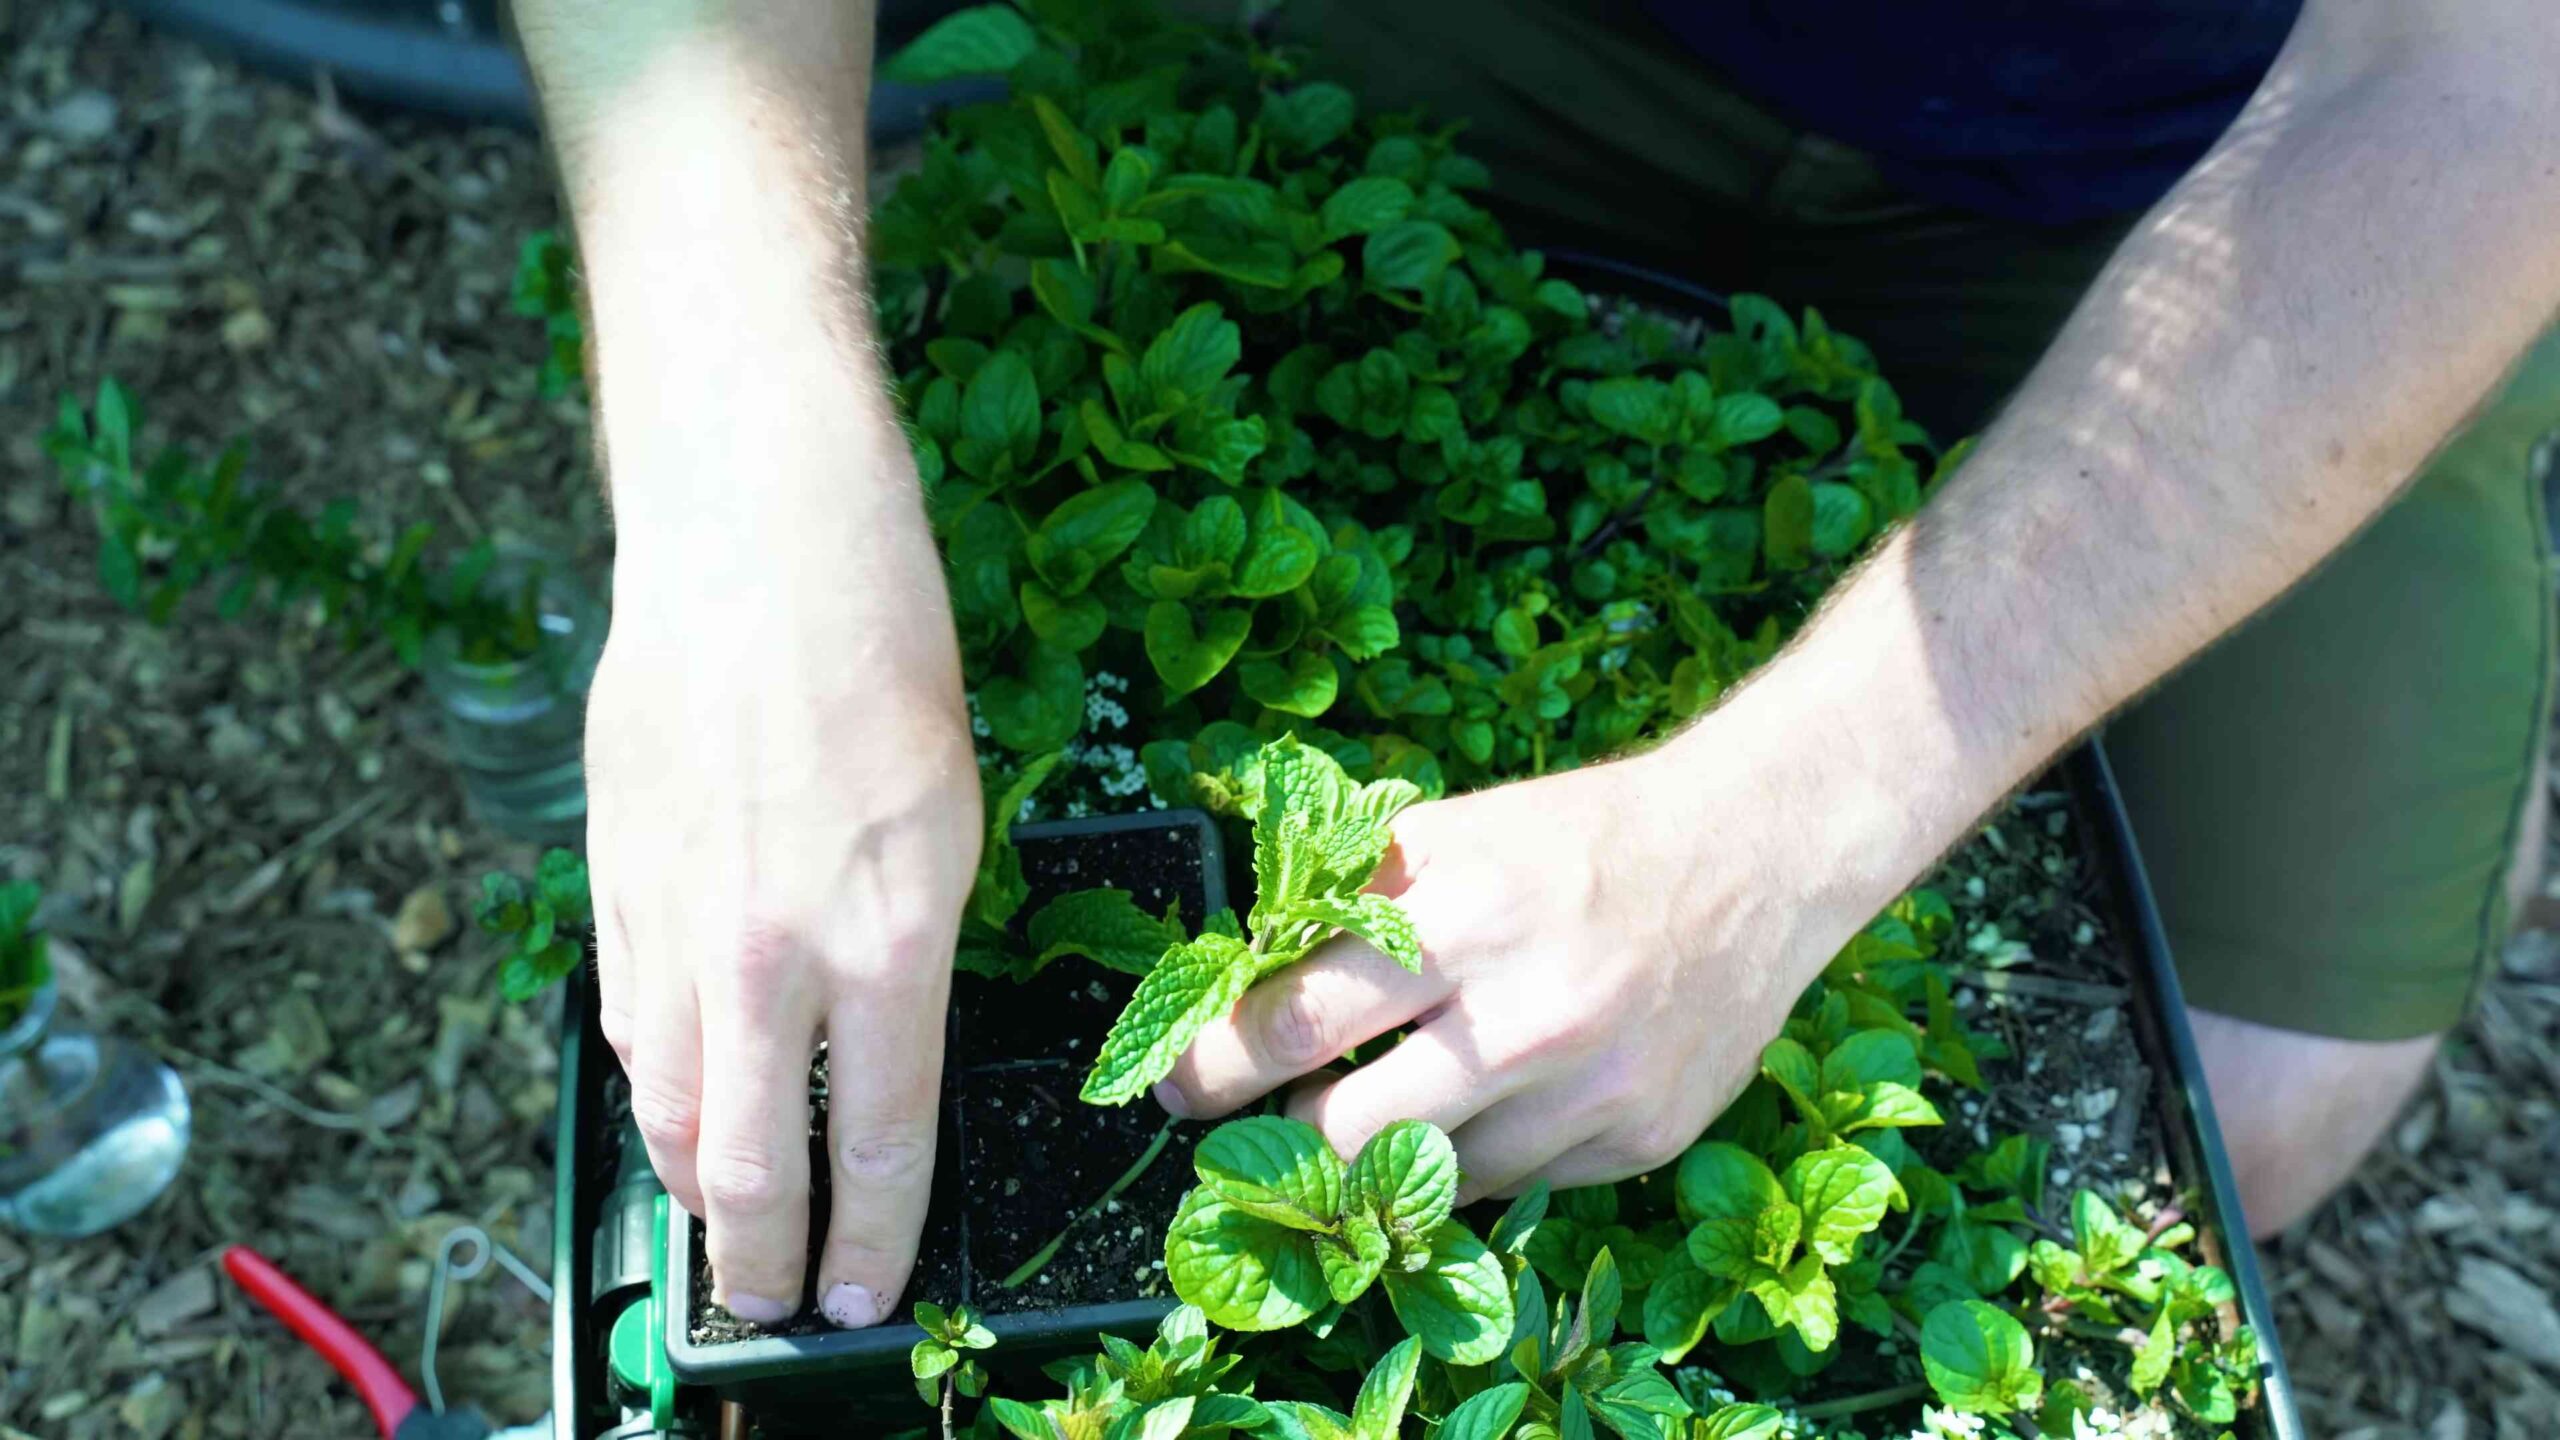
Planting a Mint Plant
1. Prepare the Pot: Fill your chosen pot with well-draining potting mix, leaving about an inch of space at the top.
2. Remove the Plant from its Container: Gently squeeze the sides of the nursery pot to loosen the plant. Carefully remove the mint plant, being mindful not to damage the roots.
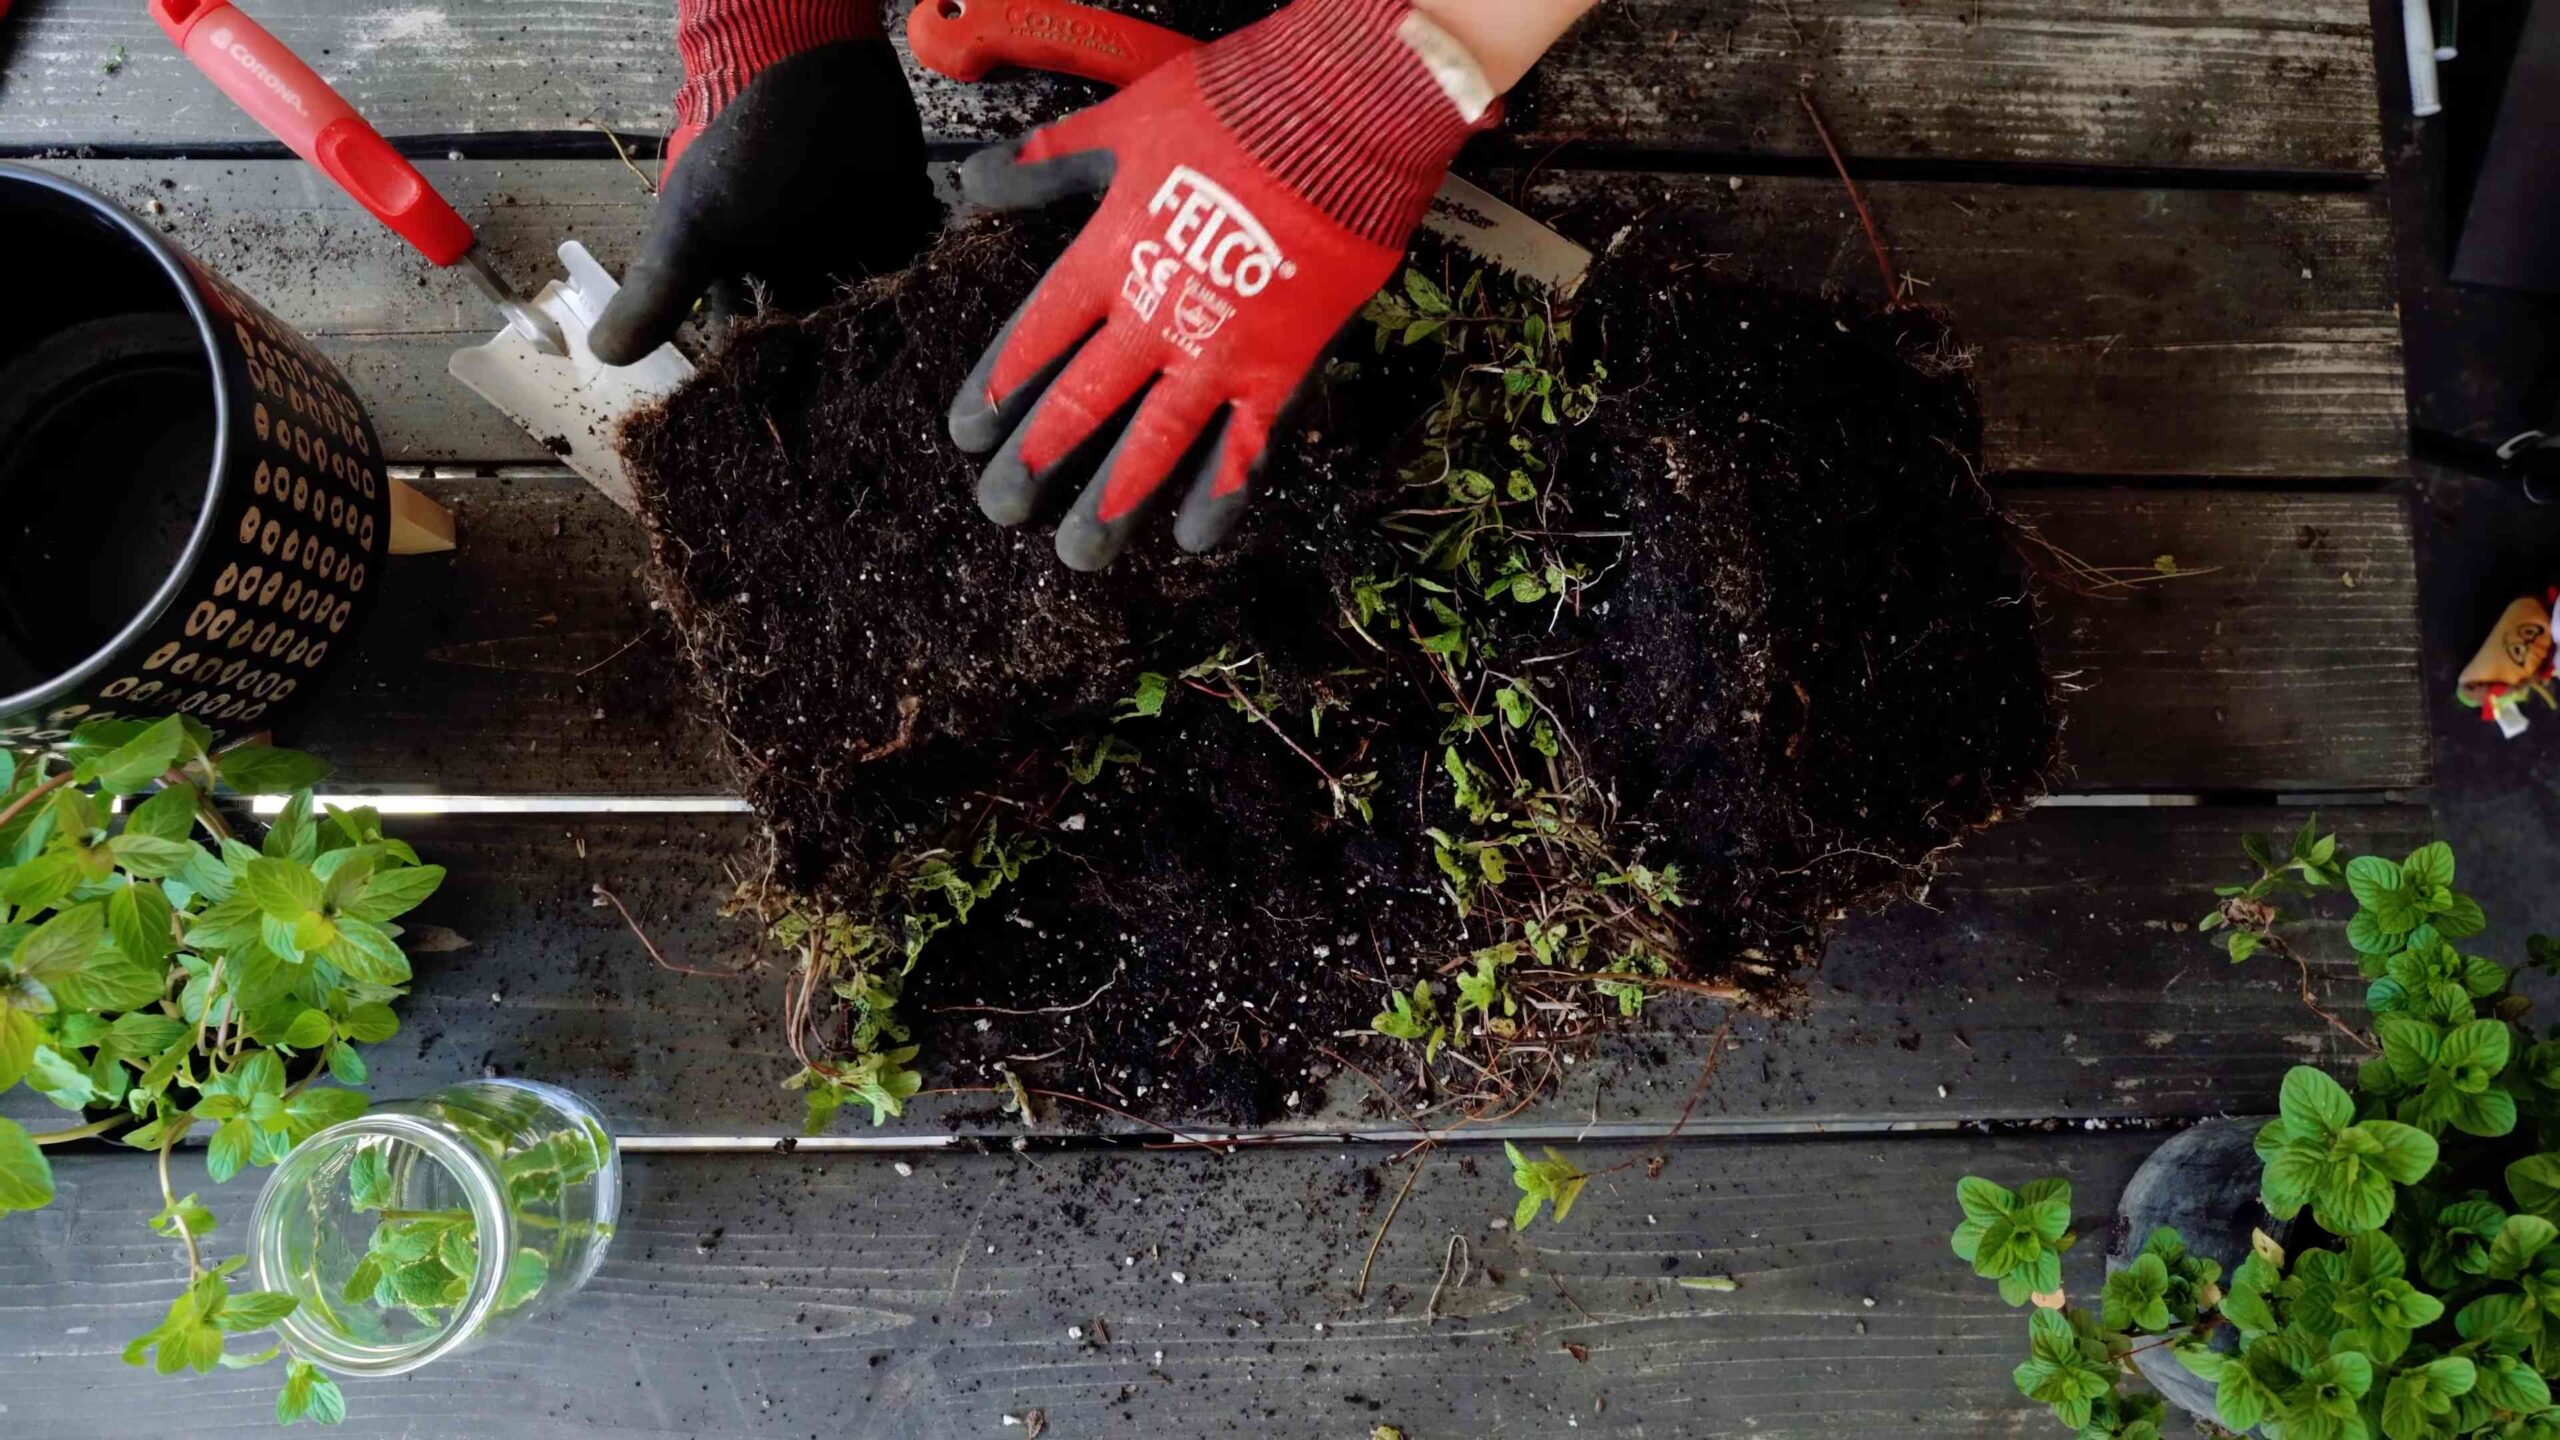
3. Loosen the Roots: Gently tease apart the roots with your fingers to encourage them to spread out.
4. Plant the Mint: Place the mint plant in the center of the pot, ensuring that the top of the root ball is level with the soil surface.
5. Fill with Soil: Fill in the remaining space around the plant with potting mix, gently pressing down to secure it.
6. Water Thoroughly: Water the plant thoroughly until water drains out of the bottom of the pot. This helps settle the soil and hydrate the roots.
7. Choose a Location: Place the pot in a location that receives partial to full sunlight. Mint thrives in sunny spots but can tolerate some shade.
Propagating Mint from Cuttings
This is a great way to multiply your mint plants without spending any money!
1. Take Cuttings: Using clean scissors or pruning shears, take cuttings from a healthy mint plant. The cuttings should be about 4-6 inches long and have several leaves. Remove the leaves from the bottom inch or two of the cutting.
2. Rooting Hormone (Optional): Dip the cut end of each cutting into rooting hormone powder or liquid. This will help stimulate root growth.
3. Place Cuttings in Water: Place the cuttings in a glass or jar filled with water, ensuring that the bottom nodes (where the leaves were removed) are submerged.
4. Change the Water Regularly: Change the water every 1-2 days to prevent bacteria from growing.
5. Wait for Roots to Develop: After a week or two, you should start to see roots emerging from the cuttings.
6. Plant the Rooted Cuttings: Once the roots are about an inch long, you can plant the cuttings in a pot filled with well-draining potting mix, following the same steps as planting a mint plant.
Caring for Your Mint Plant: The Key to Success
Now that your mint is planted, it’s time to learn how to keep it happy and healthy. Here’s what you need to know:
* Watering: Mint loves moisture, so water it regularly, especially during hot weather. Check the soil moisture by sticking your finger into the soil. If the top inch feels dry, it’s time to water. Avoid overwatering, as this can lead to root rot.
* Sunlight: Mint thrives in partial to full sunlight. Aim for at least 4-6 hours of sunlight per day. If you’re growing your mint indoors, place it near a sunny window.
* Fertilizing: While not essential, fertilizing can help boost growth. Use a balanced liquid fertilizer diluted to half strength every 2-4 weeks during the growing season (spring and summer).
* Pruning: Regular pruning is essential for keeping your mint plant bushy and productive. Pinch off the top leaves to encourage branching. You can also prune back the entire plant by about a third to rejuvenate it.
* Pest Control: Mint is relatively pest-resistant, but it can occasionally be affected by aphids or spider mites. If you notice any pests, try spraying the plant with a strong stream of water or using an insecticidal soap.
* Overwintering: In colder climates, mint may die back in the winter. You can either bring the pot indoors or mulch around the plant to protect it from frost.
Harvesting Your Mint: Enjoying the Fruits (or Leaves!) of Your Labor
The best part of growing your own mint is, of course, harvesting it! Here’s how to do it:
* When to Harvest: You can start harvesting mint as soon as the plant has established itself, usually a few weeks after planting.
* How to Harvest: Use scissors or pruning shears to cut off stems just above a leaf node. This will encourage new growth.
* Harvesting for Drying: If you want to dry your mint for later use, harvest it in the morning after the dew has dried. Tie the stems together in small bundles and hang them upside down in a cool, dry, and well-ventilated place.
* Using Fresh Mint: Fresh mint is best used immediately after harvesting. You can add it to teas, cocktails, salads, desserts, and countless other dishes.
Troubleshooting: Common Mint-Growing Problems
Even with the best care, you might encounter a few challenges along the way. Here are some common problems and how to fix them:
* Yellowing Leaves: This can be caused by overwatering, underwatering, or nutrient deficiencies. Adjust your watering schedule and consider fertilizing your plant.
* Leggy Growth: This is usually a sign of insufficient sunlight. Move your plant to a sunnier location.
* Pests: As mentioned earlier, aphids and spider mites can sometimes be a problem. Treat them with a strong stream of water or insecticidal soap.
* Root Rot: This is caused by overwatering and poor drainage. Make sure your pot has drainage holes and that you’re not overwatering your plant.
Mint in the Kitchen: Unleash Your Culinary Creativity
Now that you have a thriving mint plant, it’s time to get creative in the kitchen! Here are just a few ideas to get you started:
* Mint Tea: Steep fresh mint leaves in hot water for a refreshing and soothing tea.
* Mojitos: Muddle mint leaves with lime juice, sugar, and rum for a classic mojito.
* Mint Juleps: Muddle mint leaves with sugar and bourbon for a traditional mint julep.
* Salads: Add chopped mint to salads for a burst of fresh flavor.
* Desserts: Use mint to flavor chocolate desserts, ice cream, and fruit salads.
* Mint Sauce: Make a classic mint sauce to serve with lamb.
I hope this guide has inspired you to grow your own mint at home. It’s a rewarding and delicious experience that anyone can enjoy. Happy gardening!
Conclusion
So, there you have it! Growing mint at home is not just a fun project; it’s a game-changer for your culinary adventures, your beverage creations, and even your home’s ambiance. Forget those sad, wilted bunches of mint from the grocery store that cost a small fortune and seem to expire the moment you get them home. With a little effort, you can have a thriving mint plant, ready to provide you with fresh, fragrant leaves whenever you need them.
Why is this DIY trick a must-try? Because it puts you in control. You control the quality of the mint, ensuring it’s organic and free from harmful pesticides. You control the quantity, harvesting only what you need and letting the plant continue to flourish. And you control the variety, experimenting with different types of mint to discover your personal favorites. Imagine the possibilities: refreshing mojitos with spearmint, flavorful lamb dishes with peppermint, or a calming cup of mint tea made with your very own homegrown leaves.
But the benefits extend beyond the kitchen. Mint is a natural insect repellent, so having a plant indoors or on your patio can help keep unwanted pests away. The invigorating aroma of mint can also boost your mood and create a more pleasant living space. It’s a win-win situation!
Looking for variations? Consider growing your mint in a decorative pot to add a touch of greenery to your home decor. Or, if you have a garden, dedicate a small area to mint, but be sure to contain it, as it can be quite invasive. You can also experiment with different growing mediums, such as hydroponics, for a unique and efficient way to cultivate your mint. Another fun variation is to propagate your mint plant and share it with friends and family, spreading the joy of fresh, homegrown herbs. Think about drying some of your harvest for use in potpourri or herbal sachets. The possibilities are truly endless.
We wholeheartedly encourage you to try this DIY trick and experience the satisfaction of growing your own mint at home. It’s a simple, rewarding, and cost-effective way to elevate your cooking, enhance your well-being, and add a touch of green to your life. Don’t be intimidated if you’ve never grown herbs before; mint is a relatively easy plant to care for, and with a little attention, you’ll be enjoying fresh mint in no time.
Once you’ve embarked on your mint-growing journey, we’d love to hear about your experience! Share your tips, tricks, and successes in the comments below. Let us know what varieties of mint you’re growing, what dishes you’re using it in, and any challenges you’ve overcome. Your insights can help other aspiring mint growers and inspire us all to cultivate a greener, more flavorful world. So, go ahead, get your hands dirty, and discover the joy of growing mint at home! You won’t regret it.
Frequently Asked Questions (FAQ)
1. What type of container is best for growing mint?
The best type of container for growing mint is one that is at least 6-8 inches deep and has drainage holes. Mint spreads quickly, so using a container helps to control its growth and prevent it from taking over your garden. Terracotta pots are a good option because they allow the soil to breathe, but plastic pots are also suitable and retain moisture better. Make sure the container is wide enough to accommodate the plant’s root system as it grows.
2. What kind of soil should I use for growing mint?
Mint thrives in well-draining soil that is rich in organic matter. A good potting mix specifically designed for herbs is ideal. You can also create your own mix by combining equal parts of potting soil, compost, and perlite or vermiculite. The compost will provide essential nutrients, while the perlite or vermiculite will improve drainage and aeration. Avoid using heavy clay soil, as it can become waterlogged and lead to root rot.
3. How much sunlight does mint need?
Mint prefers partial shade to full sun. Ideally, it should receive at least 4-6 hours of sunlight per day. In hotter climates, afternoon shade is beneficial to prevent the leaves from scorching. If you’re growing mint indoors, place it near a sunny window or use a grow light to provide adequate light. Insufficient sunlight can result in leggy growth and reduced flavor.
4. How often should I water my mint plant?
Water your mint plant regularly to keep the soil consistently moist, but not waterlogged. Check the soil moisture by sticking your finger about an inch deep into the soil. If it feels dry, it’s time to water. Water thoroughly until excess water drains out of the bottom of the container. During hot weather, you may need to water more frequently. Avoid overhead watering, as it can promote fungal diseases.
5. How do I harvest mint leaves?
Harvest mint leaves by pinching or cutting off stems just above a leaf node. This encourages the plant to branch out and produce more leaves. You can harvest leaves as needed throughout the growing season. For the best flavor, harvest in the morning after the dew has dried. Avoid harvesting more than one-third of the plant at a time, as this can stress the plant.
6. How do I propagate mint?
Mint is very easy to propagate from stem cuttings. Simply cut a 4-6 inch stem from a healthy plant, remove the lower leaves, and place the stem in a glass of water. Roots should start to develop within a week or two. Once the roots are about an inch long, you can transplant the cutting into a pot filled with potting mix. You can also propagate mint by dividing the root ball of an established plant.
7. What are some common problems when growing mint?
Some common problems when growing mint include pests such as aphids and spider mites, as well as fungal diseases such as powdery mildew. Inspect your plants regularly for signs of pests or diseases. Aphids can be washed off with a strong stream of water, while spider mites can be treated with insecticidal soap. Powdery mildew can be prevented by ensuring good air circulation and avoiding overhead watering.
8. Can I grow different varieties of mint together?
It’s generally not recommended to grow different varieties of mint together in the same container or garden bed. Mint varieties can cross-pollinate, resulting in offspring with unpredictable flavors and characteristics. Additionally, some varieties may be more aggressive than others and outcompete their neighbors. If you want to grow multiple varieties of mint, it’s best to keep them separated in individual containers.
9. How do I overwinter my mint plant?
In colder climates, mint plants can be overwintered indoors. Before the first frost, cut back the plant to a few inches above the soil level and bring it indoors. Place it in a cool, sunny location and water sparingly. The plant may go dormant during the winter months, but it should start to grow again in the spring. Alternatively, you can take stem cuttings in the fall and root them indoors to have new plants ready for the following spring.
10. Is mint safe for pets?
While mint is generally considered safe for pets in small quantities, it’s best to avoid letting them consume large amounts. Some types of mint, such as pennyroyal, can be toxic to pets. If you’re concerned about your pet’s safety, it’s best to keep mint plants out of their reach. If your pet ingests a large amount of mint and shows signs of illness, such as vomiting or diarrhea, contact your veterinarian.


Leave a Comment