

Grow Pechay in Pots? Absolutely! Imagine stepping outside your door and harvesting fresh, crisp pechay for your dinner, all grown with your own two hands. It’s not just a dream; it’s a deliciously achievable reality, even if you don’t have a sprawling garden. For generations, cultivating your own food has been a source of pride and sustenance, connecting us to the earth and providing healthy meals for our families. From ancient civilizations tending their kitchen gardens to modern urban dwellers embracing container gardening, the desire to nurture and harvest has remained constant.
But let’s face it, not everyone has the space or the time for a traditional garden. That’s where the magic of growing pechay in pots comes in! This DIY guide is your passport to fresh, homegrown goodness, regardless of your living situation. I’m going to share some simple yet effective tricks and hacks that will transform your balcony, patio, or even a sunny windowsill into a thriving pechay patch. Why buy expensive, store-bought vegetables when you can easily grow pechay in pots yourself, knowing exactly what went into them? Get ready to unleash your inner gardener and enjoy the satisfaction of nurturing your own delicious harvest!
Grow Your Own Delicious Pechay in Pots: A Beginner’s Guide
Hey there, fellow gardening enthusiasts! Ever thought about growing your own fresh, crisp pechay right on your balcony or patio? It’s easier than you think, and I’m here to guide you through the whole process. Pechay, also known as Bok Choy or Chinese cabbage, is a versatile and nutritious leafy green that’s perfect for stir-fries, soups, and salads. Plus, growing it yourself means you get to enjoy it pesticide-free and super fresh!
What You’ll Need
Before we dive in, let’s gather all the necessary materials. This will make the whole process smoother and more enjoyable.
* **Pechay Seeds:** Choose a variety that suits your climate and preferences. I personally love the ‘Black Behi’ variety for its dark green leaves and mild flavor.
* **Pots or Containers:** Opt for pots that are at least 6-8 inches deep and wide. This will give the pechay roots enough room to grow. Make sure they have drainage holes!
* **Potting Mix:** Use a well-draining potting mix that’s rich in organic matter. You can buy a pre-made mix or create your own by combining garden soil, compost, and perlite.
* **Watering Can or Hose:** For gentle and consistent watering.
* **Fertilizer (Optional):** A balanced liquid fertilizer or compost tea can help boost growth.
* **Trowel or Small Shovel:** For planting and transplanting.
* **Sunlight:** Pechay needs at least 4-6 hours of sunlight per day.
* **Pest Control (Optional):** Neem oil or insecticidal soap for dealing with pests.
Getting Started: Planting Your Pechay Seeds
This is where the magic begins! We’ll start by sowing the seeds and nurturing them into healthy seedlings.
1. **Prepare Your Pots:** Fill your pots with the potting mix, leaving about an inch of space at the top. Gently pat down the soil to create a firm surface.
2. **Sow the Seeds:** Sprinkle the pechay seeds evenly over the surface of the soil. You can sow them quite densely, as we’ll be thinning them out later.
3. Cover the Seeds:** Lightly cover the seeds with a thin layer of potting mix, about ¼ inch deep.
4. **Water Gently:** Use a watering can or hose with a gentle spray nozzle to moisten the soil. Avoid overwatering, as this can cause the seeds to rot.
5. **Provide Sunlight:** Place the pots in a sunny location where they’ll receive at least 4-6 hours of sunlight per day. If you’re starting them indoors, you can use a grow light.
6. **Keep the Soil Moist:** Keep the soil consistently moist, but not soggy. Water whenever the top inch of soil feels dry to the touch.
Nurturing Your Seedlings: Thinning and Transplanting
Once your seeds have germinated and the seedlings have developed a few true leaves, it’s time to thin them out and, if necessary, transplant them.
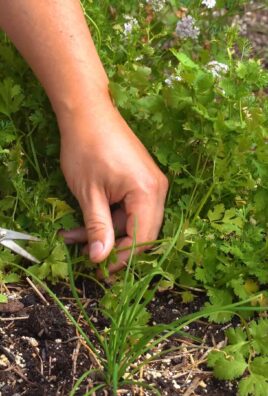
1. **Thinning:** When the seedlings are about 2-3 inches tall, thin them out to allow for proper spacing. This means removing some of the seedlings so that the remaining ones have enough room to grow. Aim for a spacing of about 4-6 inches between plants. Choose the strongest, healthiest-looking seedlings to keep. Don’t just pull them out! Gently snip the unwanted seedlings at the base with scissors to avoid disturbing the roots of the remaining plants.
2. **Transplanting (If Necessary):** If you started your seeds in a small seed tray or container, you’ll need to transplant them into larger pots once they’ve outgrown their initial space. Gently loosen the soil around the seedlings and carefully lift them out, being careful not to damage the roots. Plant each seedling in its own pot, making sure the top of the root ball is level with the soil surface. Water well after transplanting.
Caring for Your Pechay Plants: Watering, Fertilizing, and Pest Control
Now that your pechay plants are established, it’s important to provide them with the care they need to thrive.
1. **Watering:** Pechay needs consistent moisture to grow well. Water your plants regularly, especially during hot, dry weather. Check the soil moisture daily and water whenever the top inch feels dry. Avoid overwatering, as this can lead to root rot. Water in the morning to allow the leaves to dry before nightfall, which can help prevent fungal diseases.
2. **Fertilizing (Optional):** If you want to give your pechay plants an extra boost, you can fertilize them every 2-3 weeks with a balanced liquid fertilizer or compost tea. Follow the instructions on the fertilizer package. Avoid over-fertilizing, as this can lead to excessive leaf growth and reduced flavor.
3. **Pest Control:** Pechay can be susceptible to pests such as aphids, cabbage worms, and slugs. Inspect your plants regularly for signs of infestation. If you find any pests, you can treat them with neem oil or insecticidal soap. You can also handpick the pests off the plants or use row covers to protect them. Slugs can be controlled by placing beer traps near the plants.
4. Sunlight:** Ensure your pechay plants continue to receive at least 4-6 hours of sunlight per day. If you live in a very hot climate, you may need to provide some afternoon shade to prevent the leaves from scorching.
5. Weed Control:** Keep the area around your pechay plants free of weeds. Weeds can compete with your plants for nutrients and water. Hand-pull any weeds that you see.
Harvesting Your Pechay: Enjoying the Fruits (or Vegetables!) of Your Labor
The best part of growing your own pechay is, of course, harvesting and enjoying it!
1. **When to Harvest:** You can start harvesting your pechay when the leaves are about 6-8 inches long. The exact time will depend on the variety and growing conditions.
2. **How to Harvest:** You can harvest the entire plant at once by cutting it off at the base, or you can harvest individual leaves as needed. If you harvest individual leaves, start with the outer leaves and work your way inwards. This will allow the plant to continue producing new leaves.
3. **Storing Your Harvest:** Freshly harvested pechay can be stored in the refrigerator for up to a week. Wrap the leaves in a damp paper towel and place them in a plastic bag.
4. Enjoying Your Pechay:** Pechay is a versatile vegetable that can be used in a variety of dishes. It’s delicious in stir-fries, soups, salads, and steamed dishes. You can also use it as a substitute for spinach or other leafy greens.
Troubleshooting: Common Problems and Solutions
Even with the best care, you may encounter some problems while growing your pechay. Here are some common issues and how to address them:
* **Yellowing Leaves:** This can be caused by overwatering, underwatering, nutrient deficiencies, or pests. Check the soil moisture and adjust your watering accordingly. Fertilize your plants if they are lacking nutrients. Inspect the plants for pests and treat them as needed.
* **Stunted Growth:** This can be caused by poor soil, lack of sunlight, or pests. Make sure your plants are growing in well-draining soil that’s rich in organic matter. Provide them with at least 4-6 hours of sunlight per day. Inspect the plants for pests and treat them as needed.
* **Bolting (Premature Flowering):** This can be caused by hot weather or stress. Pechay is a cool-season crop, so it’s best to grow it in the spring or fall. If the weather gets too hot, provide some afternoon shade to prevent bolting.
* **Pest Infestations:** As mentioned earlier, pechay can be susceptible to pests such as aphids, cabbage worms, and slugs. Inspect your plants regularly for signs of infestation and treat them with neem oil or insecticidal soap.
Tips for Success
Here are a few extra tips to help you grow the best pechay possible:
* Choose the Right Variety:** Select a pechay variety that is well-suited to your climate and growing conditions.
* Start with Healthy Seeds:** Use high-quality seeds from a reputable source.
* Provide Adequate Sunlight:** Pechay needs at least 4-6 hours of sunlight per day.
* Water Regularly:** Keep the soil consistently moist, but not soggy.
* Fertilize Sparingly:** Avoid over-fertilizing, as this can lead to excessive leaf growth and reduced flavor.
* Protect Your Plants from Pests:** Inspect your plants regularly for signs of infestation and treat them as needed.
* Harvest Regularly:** Harvesting regularly will encourage the plant to produce more leaves.
Growing your own pechay in pots is a rewarding experience that allows you to enjoy

Conclusion
So, there you have it! Growing your own pechay in pots is not only achievable, but it’s also incredibly rewarding. We’ve walked you through the simple steps, from selecting the right pot and soil to nurturing your seedlings and harvesting your fresh, vibrant greens. But why should you take the plunge and try this DIY trick?
Firstly, consider the unparalleled freshness. Store-bought pechay simply can’t compare to the crisp, clean taste of vegetables harvested straight from your own mini-garden. You control the growing environment, ensuring your pechay is free from harmful pesticides and chemicals. This means healthier, tastier meals for you and your family.
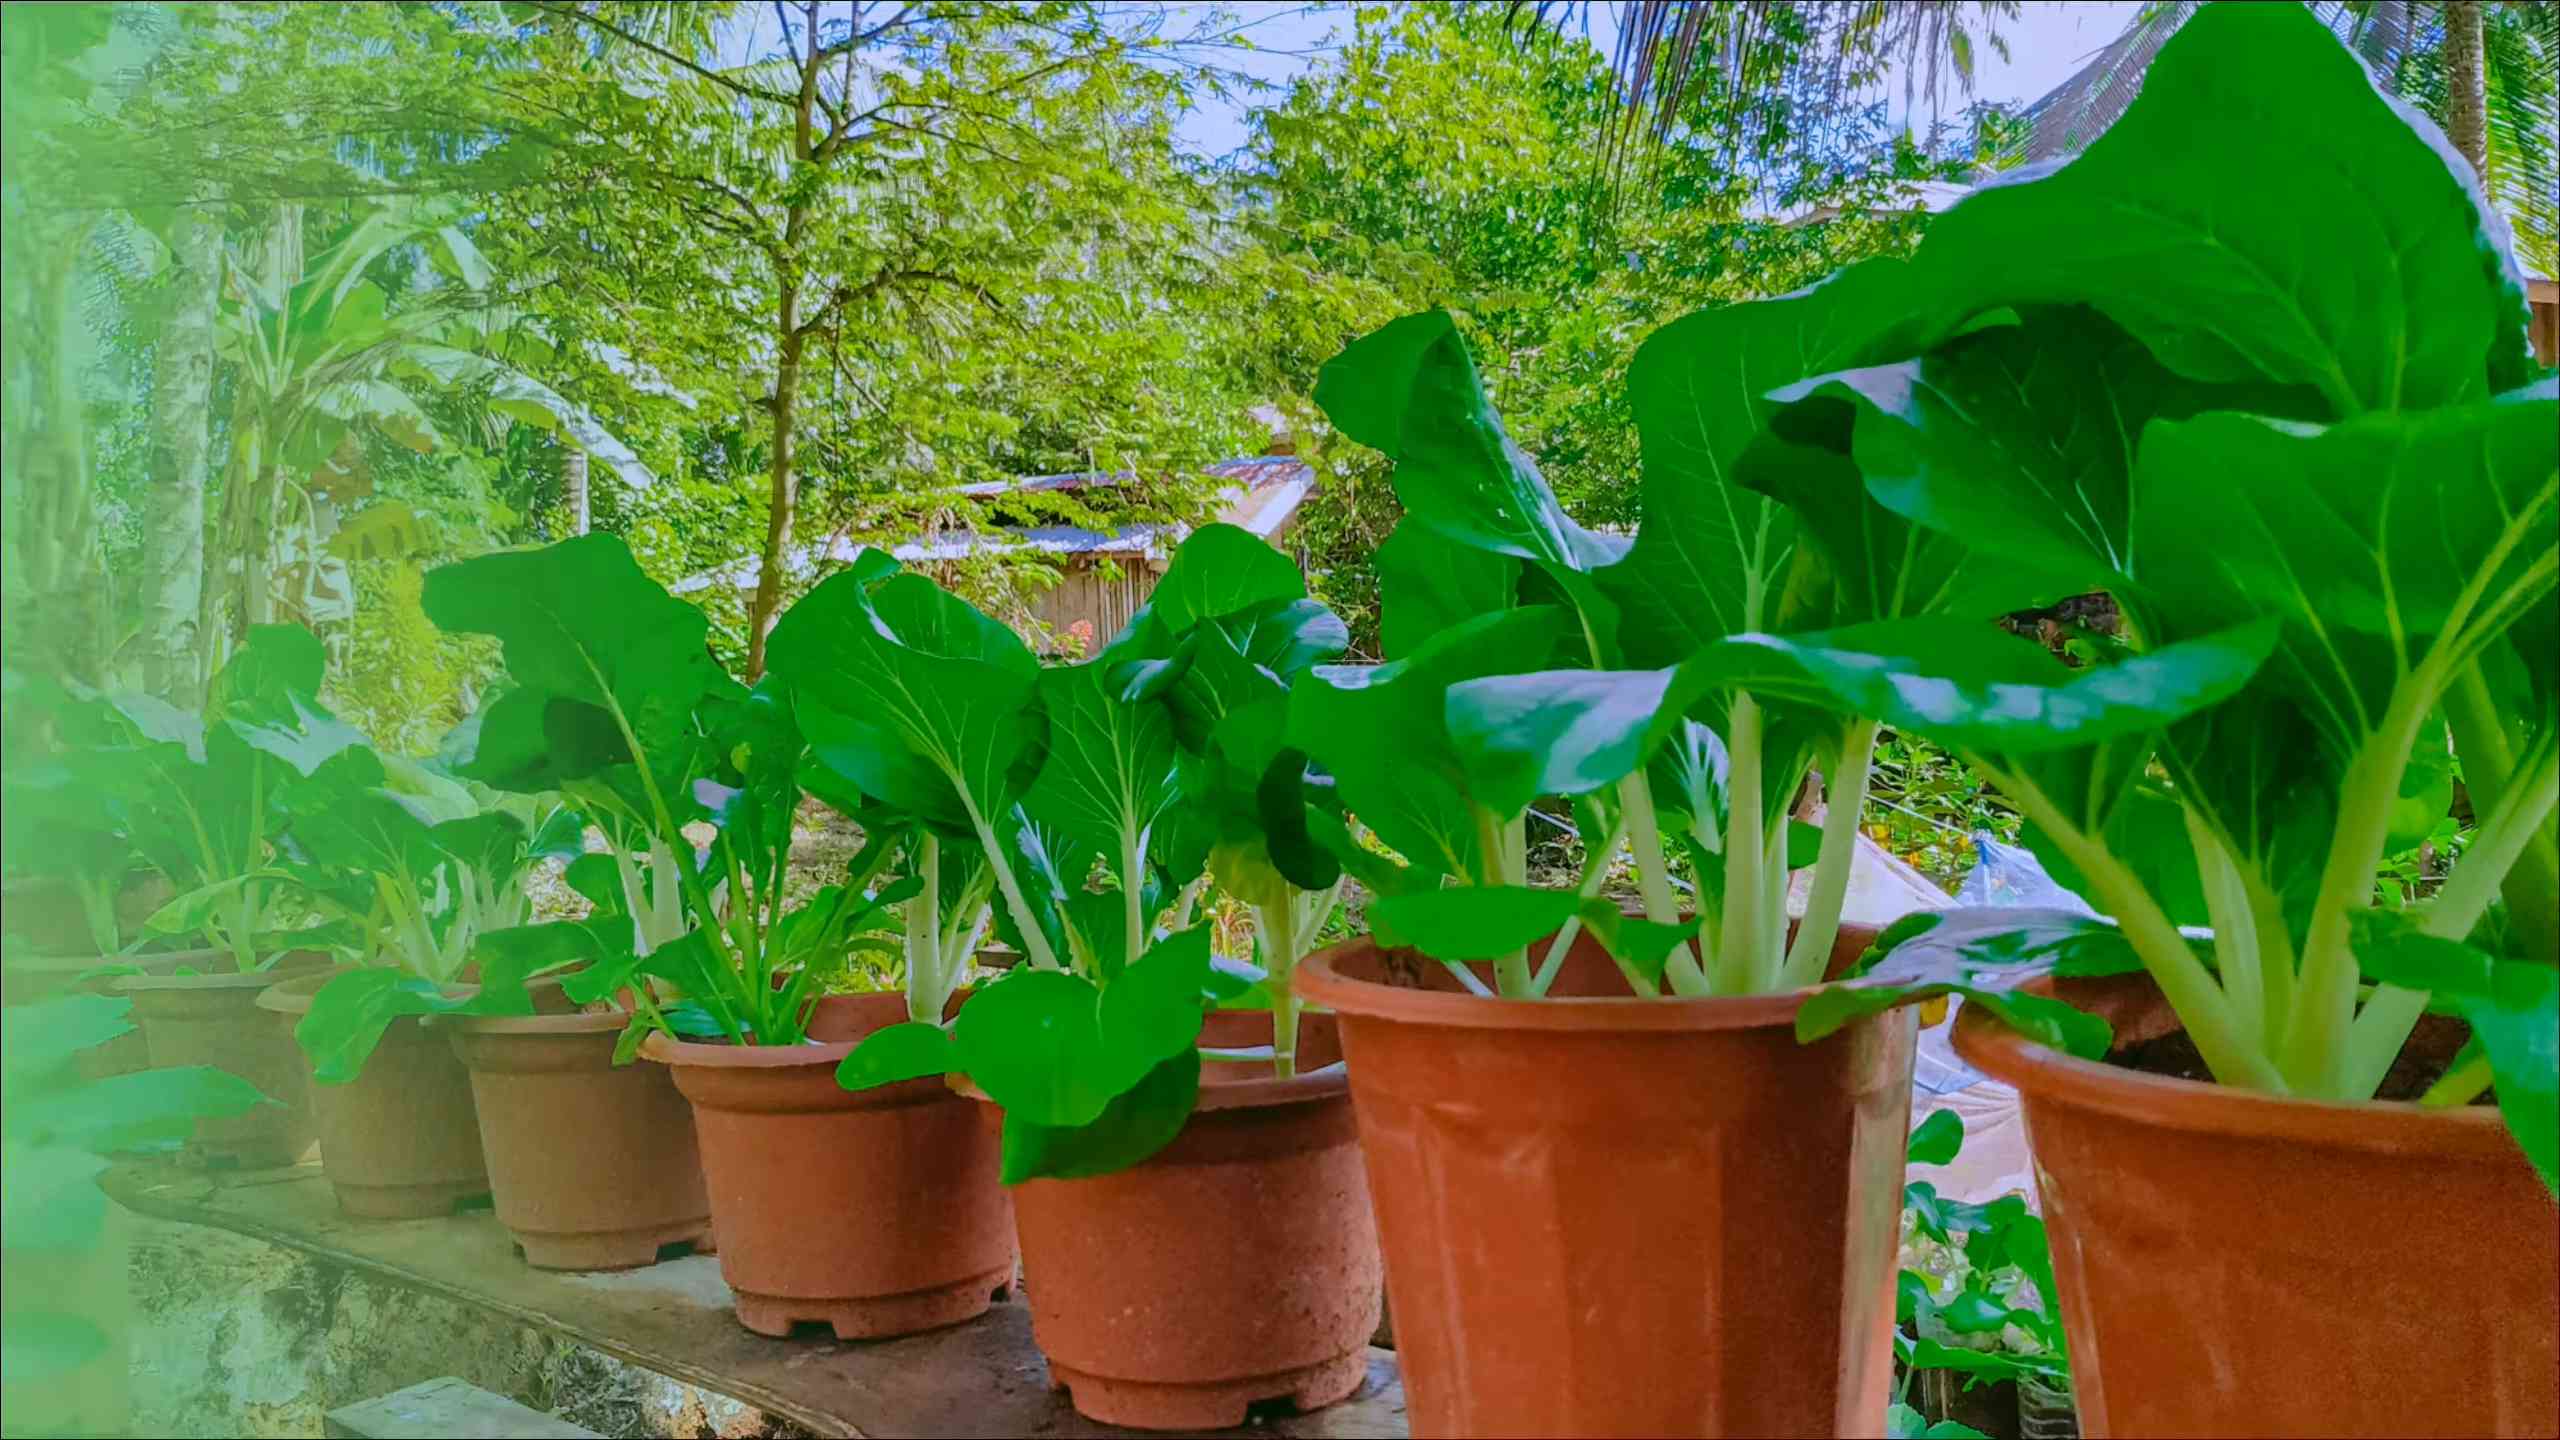
Secondly, growing pechay in pots is incredibly space-efficient. Whether you have a sprawling backyard or a tiny balcony, you can cultivate these leafy greens. It’s the perfect solution for urban gardeners or anyone looking to maximize their limited space. Plus, the visual appeal of lush green pechay plants adds a touch of natural beauty to any environment.
Thirdly, it’s a fantastic learning experience. Gardening is a therapeutic activity that connects you with nature and teaches you about the life cycle of plants. It’s a great way to de-stress, unwind, and cultivate a sense of accomplishment. And who knows, you might even discover a hidden green thumb!
But the benefits don’t stop there. Growing your own pechay can also save you money on groceries. Imagine the satisfaction of harvesting your own vegetables and using them in your favorite dishes. It’s a sustainable and cost-effective way to supplement your diet.
Now, let’s talk about variations. While we’ve focused on the basic method, there are plenty of ways to customize your pechay-growing experience. Consider experimenting with different varieties of pechay, such as the white-stemmed or green-stemmed types. You can also try companion planting, growing herbs or flowers alongside your pechay to attract beneficial insects and deter pests.
For example, marigolds are known to repel nematodes and other harmful insects, while basil can improve the flavor of your pechay. Don’t be afraid to get creative and explore different combinations.
Another variation is to experiment with different types of fertilizers. While we recommended a balanced fertilizer, you can also try using organic options like compost tea or worm castings. These natural fertilizers are gentle on your plants and provide them with essential nutrients.
Ultimately, the key to successful pechay growing is to pay attention to your plants and adapt your approach as needed. Observe their growth, monitor the soil moisture, and adjust your watering and fertilizing schedule accordingly.
We are confident that you will find this DIY trick to be a rewarding and enjoyable experience. So, grab your pots, soil, and seeds, and get ready to embark on your pechay-growing adventure!
We encourage you to try this method of growing pechay in pots and share your experiences with us. Let us know what worked well for you, what challenges you encountered, and any tips or tricks you discovered along the way. Your feedback will help us improve this guide and inspire others to try growing their own pechay. Share your photos and stories on our social media channels using #DIYPechay or tag us in your posts. We can’t wait to see your thriving pechay gardens! Happy gardening!
Frequently Asked Questions (FAQ)
What is the best time of year to grow pechay in pots?
Pechay thrives in cooler temperatures, making it ideal for planting in early spring or late summer/early fall. Avoid planting during the hottest months of summer, as excessive heat can cause the plants to bolt (go to seed prematurely). If you live in a region with mild winters, you may even be able to grow pechay year-round. The ideal temperature range for pechay growth is between 15°C and 25°C (59°F and 77°F).
How often should I water my pechay plants?
Pechay requires consistent moisture to thrive. Water your plants regularly, especially during hot and dry weather. Check the soil moisture by sticking your finger about an inch into the soil. If it feels dry, it’s time to water. Aim to keep the soil consistently moist but not waterlogged. Overwatering can lead to root rot, so ensure your pots have adequate drainage. In general, watering every 1-2 days is sufficient, but adjust based on weather conditions and soil type.
What kind of fertilizer should I use for pechay?
Pechay benefits from regular fertilization. Use a balanced fertilizer (e.g., 10-10-10) diluted to half strength every 2-3 weeks. You can also use organic fertilizers like compost tea, worm castings, or fish emulsion. These natural fertilizers provide essential nutrients and improve soil health. Avoid over-fertilizing, as this can lead to excessive leaf growth and reduced flavor.
How long does it take for pechay to mature?
Pechay is a fast-growing vegetable, typically maturing in 40-50 days from planting. You can start harvesting the outer leaves as soon as they reach a usable size, or you can wait until the entire plant is mature. Regular harvesting encourages continued growth and extends the harvest period.
What are some common pests and diseases that affect pechay?
Pechay can be susceptible to pests like aphids, cabbage worms, and flea beetles. Regularly inspect your plants for signs of infestation and take action promptly. You can use insecticidal soap, neem oil, or handpick the pests. Diseases like downy mildew and damping-off can also affect pechay. Ensure good air circulation, avoid overwatering, and use disease-resistant varieties to prevent these problems.
Can I grow pechay indoors?
Yes, you can grow pechay indoors, but you’ll need to provide adequate light. Place your pots near a sunny window or use grow lights to supplement natural light. Aim for at least 6-8 hours of light per day. Indoor-grown pechay may not grow as quickly or as large as outdoor-grown pechay, but it’s still a viable option, especially during colder months.
What size pot is best for growing pechay?
A pot that is at least 6-8 inches in diameter and depth is suitable for growing one pechay plant. If you want to grow multiple plants in the same pot, choose a larger container. Ensure the pot has drainage holes to prevent waterlogging.
How do I harvest pechay?
You can harvest pechay by cutting the outer leaves as needed or by harvesting the entire plant at once. To harvest individual leaves, use a sharp knife or scissors to cut them near the base of the plant. To harvest the entire plant, cut it off at the soil level.
My pechay plants are bolting (going to seed). What should I do?
Bolting is often caused by heat stress or lack of water. Once a plant bolts, the leaves become bitter and less palatable. To prevent bolting, provide adequate shade during hot weather, water regularly, and harvest your pechay before it gets too mature. If your plants have already bolted, you can still harvest the seeds for future planting.
Can I save seeds from my pechay plants?
Yes, you can save seeds from your pechay plants. Allow a few plants to bolt and produce seed pods. Once the pods are dry and brown, harvest them and extract the seeds. Store the seeds in a cool, dry place until you’re ready to plant them. Keep in mind that seeds saved from hybrid varieties may not produce plants that are true to type.

Leave a Comment