

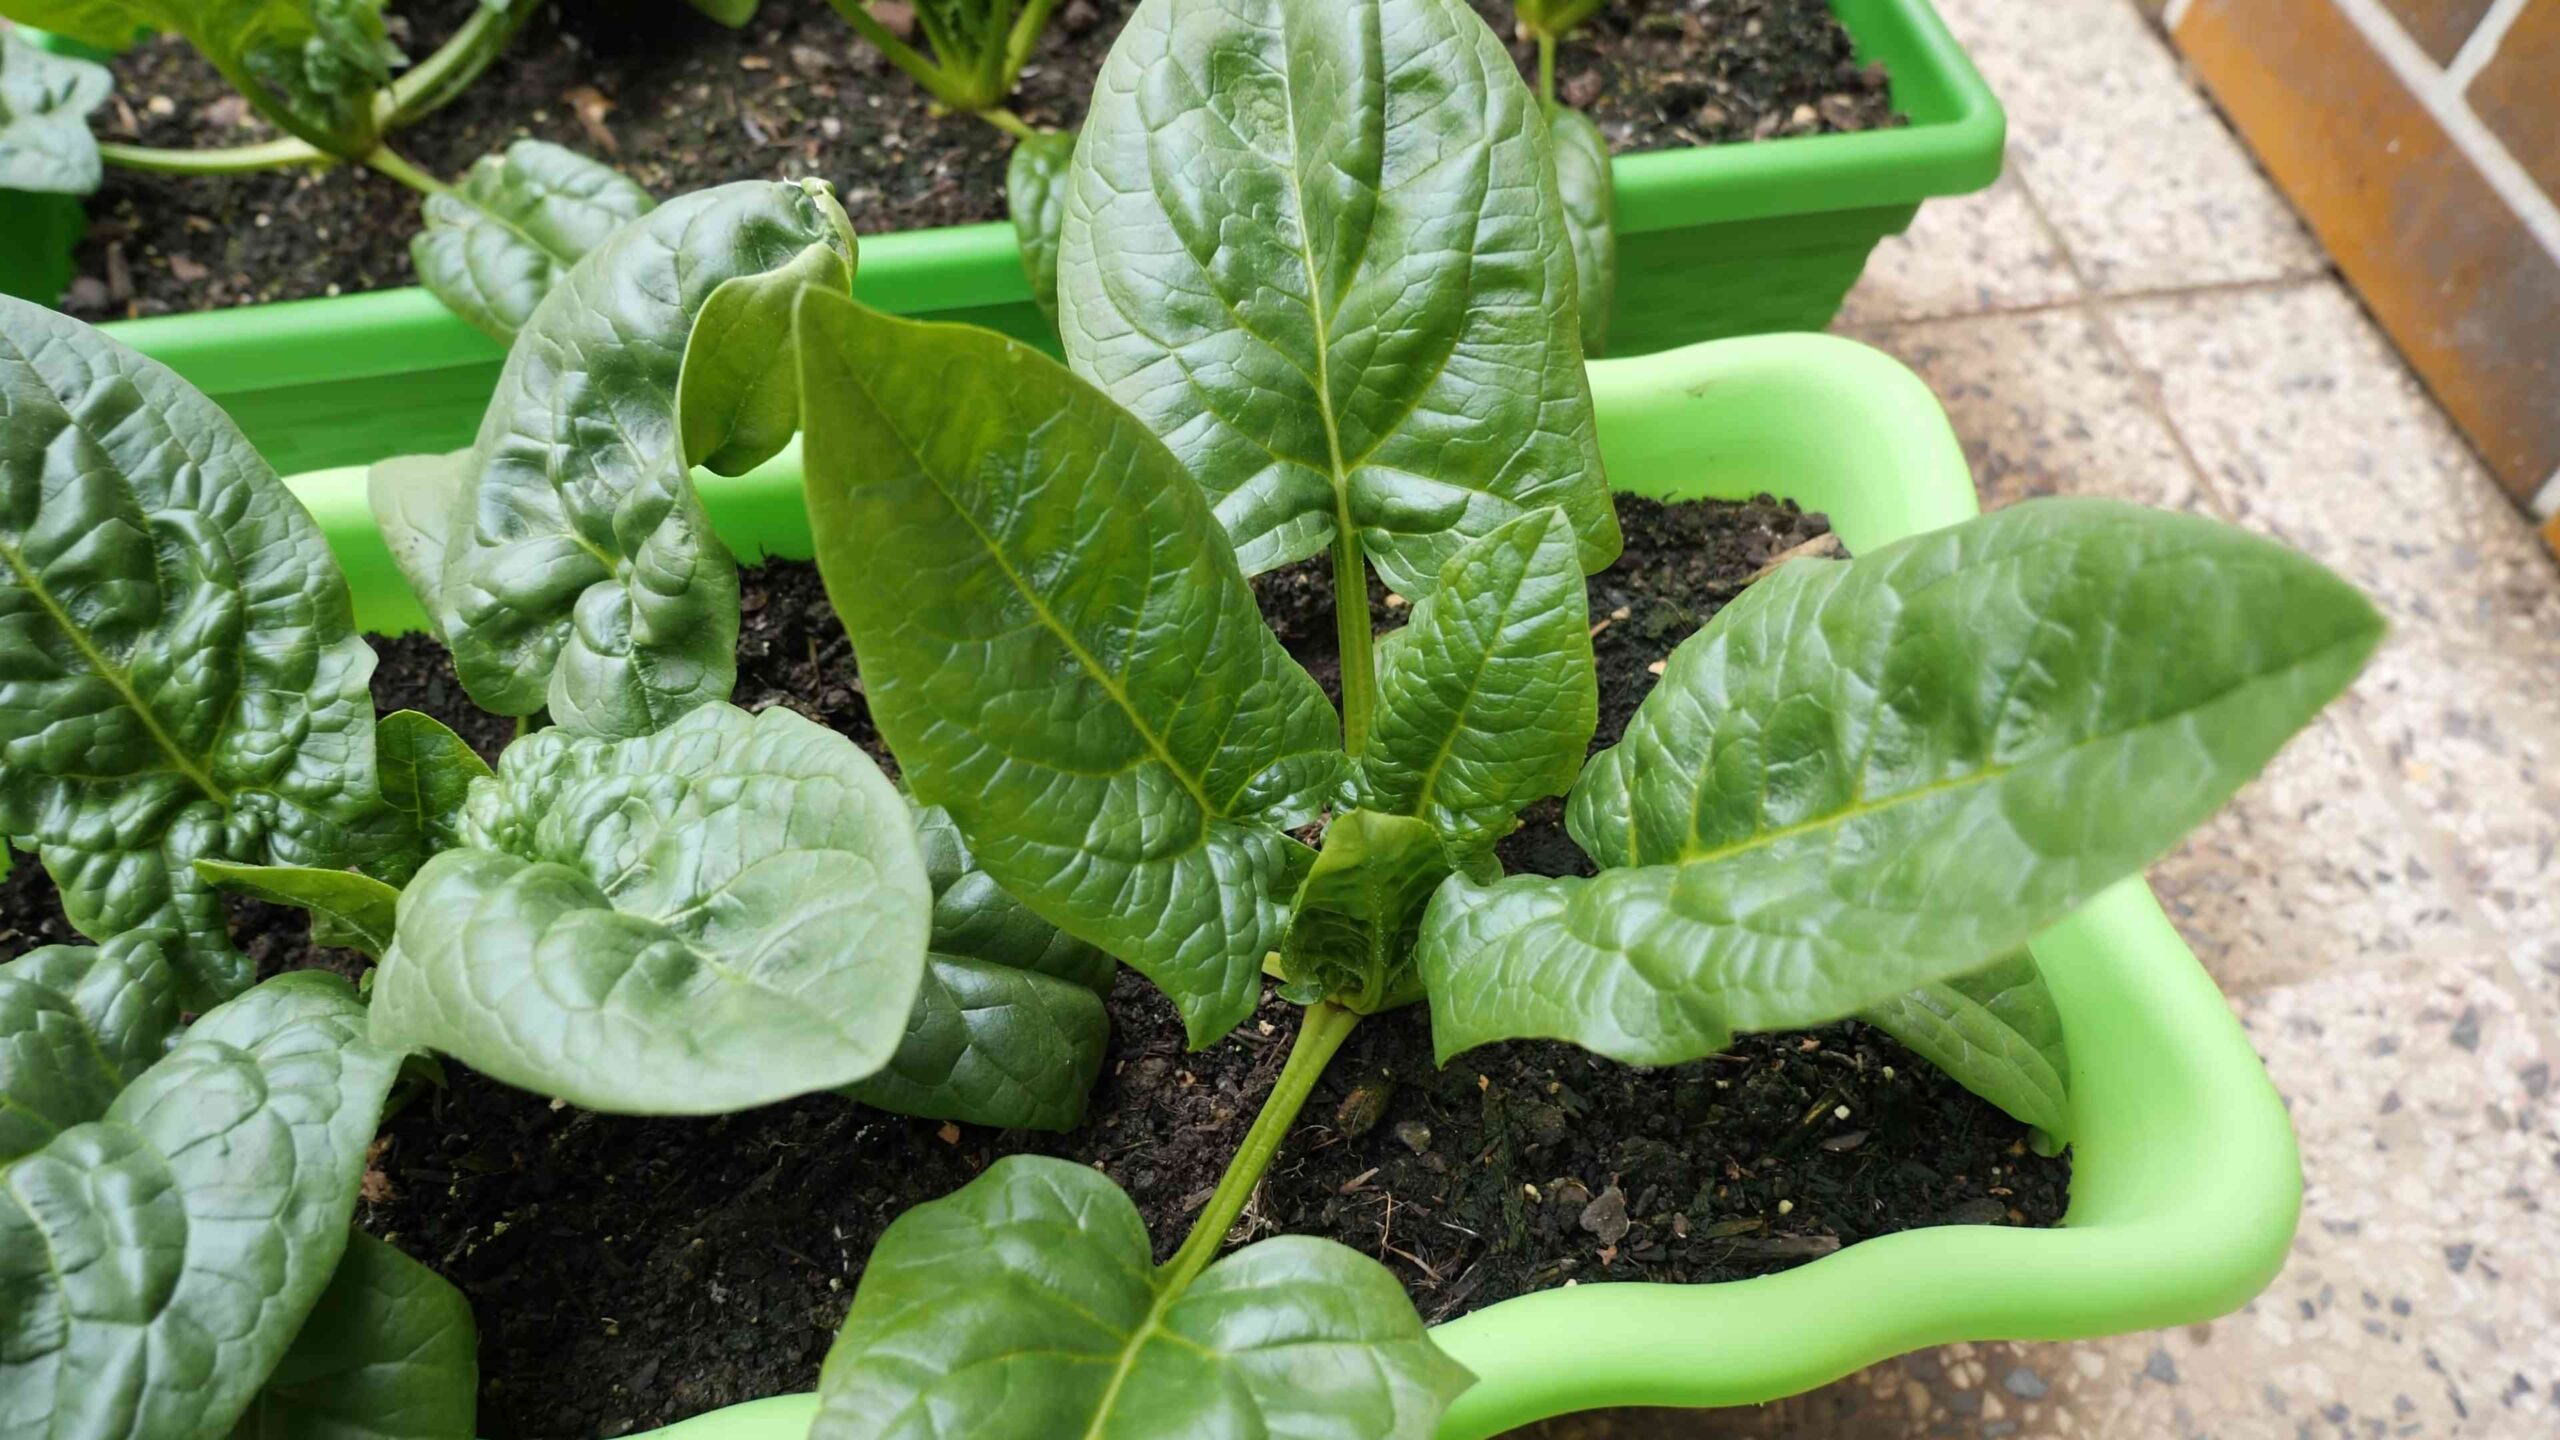
Grow Spinach in Pots and unlock a world of fresh, vibrant greens right at your doorstep! Imagine stepping outside and harvesting crisp, delicious spinach for your salad, smoothie, or side dish – all grown with your own two hands. For centuries, cultivating food close to home has been a cornerstone of self-sufficiency and a connection to nature. From ancient Roman kitchen gardens to the victory gardens of wartime, the ability to nurture our own food has always held a special significance.
But let’s face it, not everyone has a sprawling backyard suitable for a traditional garden. That’s where the magic of container gardening comes in! And that’s why I’m so excited to share these simple, effective DIY tricks and hacks that will empower you to grow spinach in pots, even if you only have a small balcony or patio.
Why is this so important? Because fresh, homegrown spinach is not only incredibly nutritious and flavorful, but it’s also a fantastic way to reduce your grocery bills, minimize your environmental impact, and experience the joy of watching something you planted flourish. Plus, knowing exactly where your food comes from gives you peace of mind. So, are you ready to ditch the wilted, store-bought spinach and embark on a rewarding gardening adventure? Let’s get started!
Grow Your Own Spinach Bounty in Pots: A Beginner’s Guide
Hey there, fellow gardening enthusiasts! I’m so excited to share my tried-and-true method for growing delicious, leafy spinach right in pots. Forget those sad, wilted bags from the grocery store – fresh, homegrown spinach is bursting with flavor and nutrients. Plus, it’s incredibly rewarding to harvest something you’ve nurtured from seed. This guide will walk you through every step, from choosing the right pot to harvesting your first crop. Let’s get started!
Choosing the Right Pot and Soil
Before we even think about seeds, let’s talk about the foundation of our spinach garden: the pot and the soil. These are crucial for healthy growth.
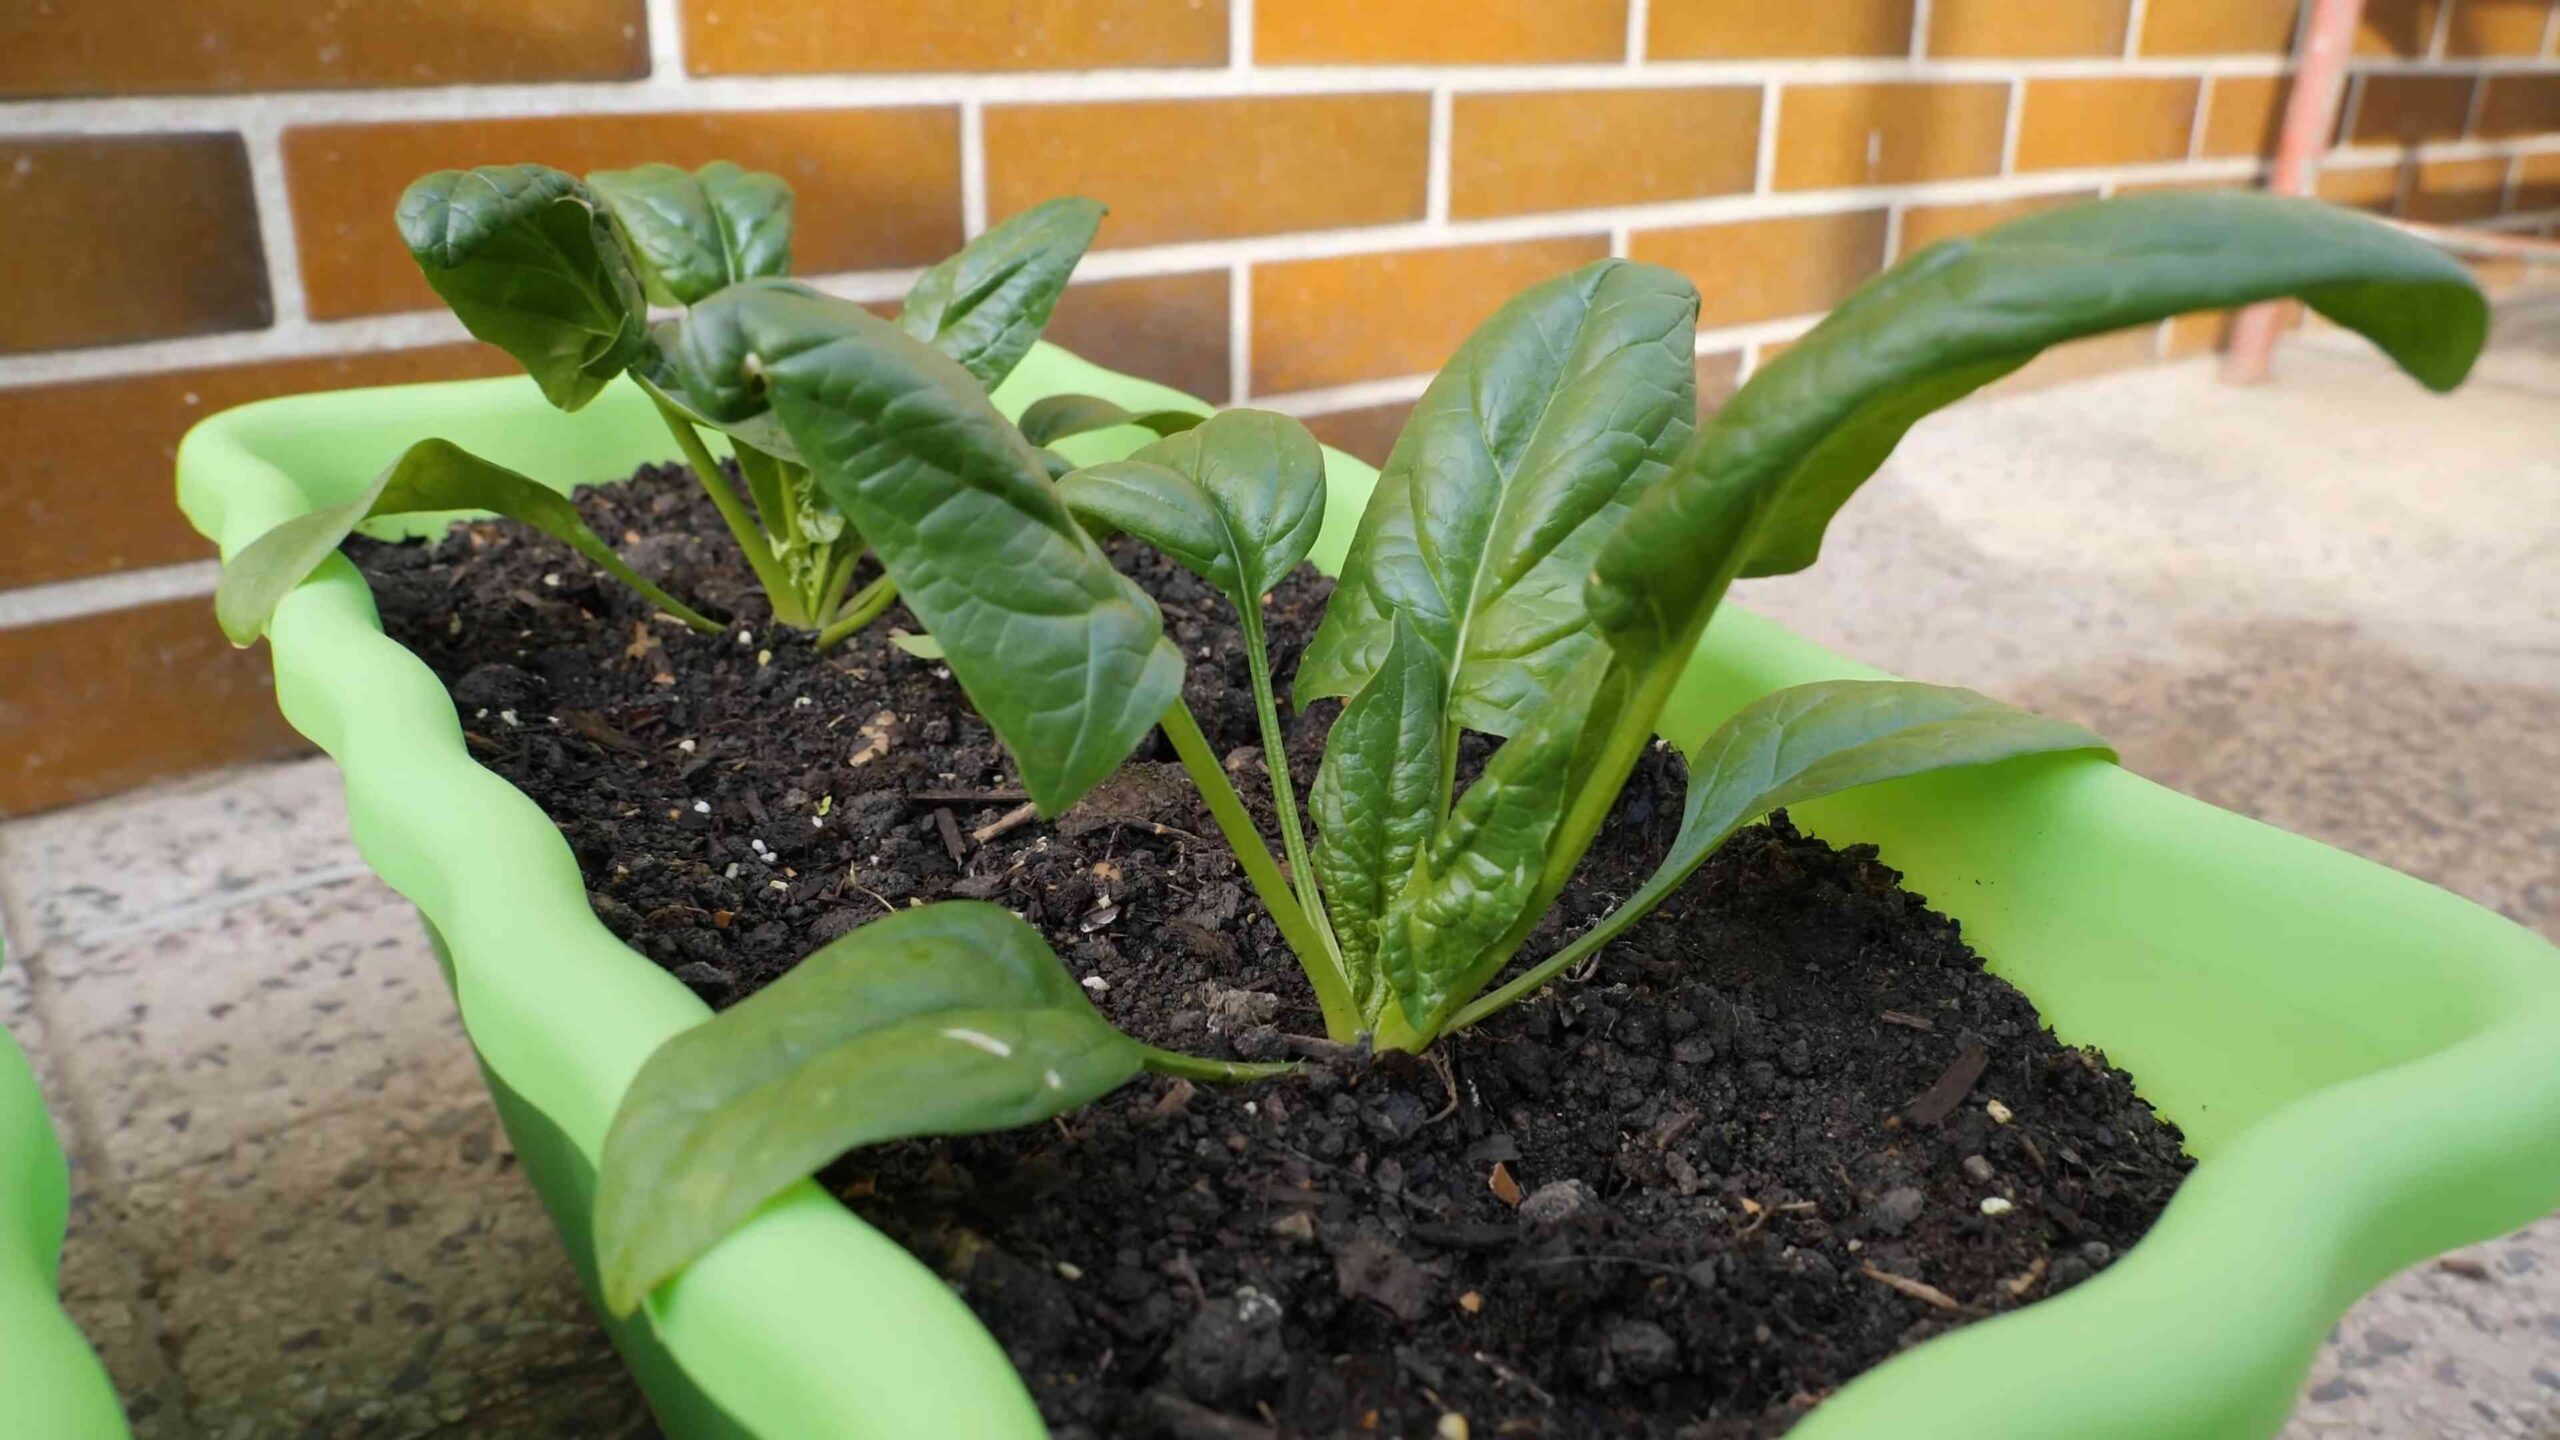
* Pot Size Matters: Spinach needs room for its roots to spread. I recommend a pot that’s at least 6-8 inches deep and 6-8 inches in diameter per plant. A larger pot is always better, as it provides more space for root growth and helps retain moisture. You can also use a long rectangular planter to grow several spinach plants in a row.
* Drainage is Key: Make sure your pot has drainage holes! Spinach hates soggy roots. If your pot doesn’t have drainage holes, you can drill some yourself.
* Pot Material: Plastic, terracotta, or even fabric pots will work. Terracotta pots dry out faster, so you’ll need to water more frequently. I personally prefer plastic pots because they’re lightweight and retain moisture well.
* Soil Selection: Spinach thrives in well-draining, nutrient-rich soil. Avoid using garden soil directly in your pots, as it can become compacted and doesn’t drain well. I highly recommend using a good quality potting mix. You can also amend your potting mix with compost or aged manure to boost its nutrient content.
Sowing Spinach Seeds
Now for the fun part: planting the seeds!
1. Timing is Everything: Spinach is a cool-season crop, meaning it prefers cooler temperatures. The best time to plant spinach is in early spring or early fall. In warmer climates, you can even grow spinach throughout the winter. Check your local frost dates to determine the best planting time for your area. I usually start my seeds indoors about 4-6 weeks before the last expected frost.
2. Starting Seeds Indoors (Optional): If you live in an area with a short growing season, starting your seeds indoors is a great way to get a head start. Fill small pots or seed trays with potting mix and sow the seeds about ½ inch deep. Keep the soil moist and place the pots in a warm, sunny location or under grow lights. Once the seedlings have a few true leaves, you can transplant them into your larger pots.
3. Direct Sowing: If you’re planting directly into your pots, fill the pot with potting mix, leaving about an inch of space at the top. Sow the seeds about ½ inch deep and 1-2 inches apart. Gently cover the seeds with soil and water thoroughly.
4. Watering After Sowing: Keep the soil consistently moist but not waterlogged. I like to use a spray bottle to gently water the seeds and seedlings.
5. Germination: Spinach seeds typically germinate in 5-10 days, depending on the temperature. Be patient, and you’ll soon see tiny green sprouts emerging from the soil!
Caring for Your Spinach Plants
Once your spinach seedlings have emerged, it’s time to provide them with the care they need to thrive.
1. Sunlight: Spinach needs at least 4-6 hours of sunlight per day. Place your pots in a sunny location, such as a patio, balcony, or windowsill. If you don’t have enough natural sunlight, you can supplement with grow lights.
2. Watering: Water your spinach plants regularly, especially during hot, dry weather. The soil should be consistently moist but not waterlogged. Check the soil moisture by sticking your finger into the soil. If the top inch of soil feels dry, it’s time to water.
3. Fertilizing: Spinach is a heavy feeder, so it’s important to fertilize your plants regularly. I recommend using a balanced liquid fertilizer every 2-3 weeks. You can also amend the soil with compost or aged manure.
4. Thinning: If you sowed your seeds closely together, you’ll need to thin the seedlings once they have a few true leaves. Thinning allows the remaining plants to have more space to grow and prevents overcrowding. Simply snip off the weaker seedlings at the soil line, leaving the strongest plants spaced about 2-3 inches apart.
5. Weed Control: Keep your pots free of weeds, as they can compete with your spinach plants for nutrients and water. Hand-pull any weeds that emerge.
6. Pest Control: Spinach is generally pest-resistant, but it can be susceptible to aphids, slugs, and snails. Inspect your plants regularly for pests and take action if necessary. You can use insecticidal soap or neem oil to control aphids. For slugs and snails, you can use beer traps or hand-pick them off the plants.
Harvesting Your Spinach
The moment we’ve all been waiting for: harvesting your delicious, homegrown spinach!
1. When to Harvest: You can start harvesting spinach leaves when they are about 4-6 inches long. The younger leaves are more tender and have a milder flavor.
2. How to Harvest: There are two main ways to harvest spinach:
* Cut-and-Come-Again: This method involves harvesting only the outer leaves, leaving the inner leaves to continue growing. This allows you to harvest spinach multiple times from the same plant. Simply use scissors or a knife to cut the outer leaves about an inch above the soil line.
* Whole Plant Harvest: This method involves harvesting the entire plant at once. This is a good option if you want to harvest a large amount of spinach at once or if the plant is starting to bolt (go to seed). To harvest the whole plant, simply cut it off at the soil line.
3. Harvesting Time: Harvest spinach in the morning, when the leaves are crisp and cool.
4. Washing and Storing: Wash your harvested spinach thoroughly to remove any dirt or debris. You can store spinach in the refrigerator for up to a week. To keep it fresh, wrap it in a damp paper towel and place it in a plastic bag.
Troubleshooting Common Spinach Problems
Even with the best care, you might encounter some problems while growing spinach. Here are a few common issues and how to address them:
* Yellowing Leaves: Yellowing leaves can be a sign of nutrient deficiency, overwatering, or underwatering. Make sure you’re fertilizing your plants regularly and that the soil is well-draining. Adjust your watering schedule as needed.
* Bolting: Bolting occurs when spinach plants go to seed prematurely. This is usually caused by hot weather or stress. To prevent bolting, plant spinach in early spring or fall, provide shade during hot weather, and water regularly. If your spinach plants start to bolt, you can still harvest the leaves, but they may become bitter.
* Pest Infestations: As mentioned earlier, spinach can be susceptible to aphids, slugs, and snails. Inspect your plants regularly for pests and take action if necessary.
Extending Your Spinach Harvest
Want to enjoy fresh spinach for as long as possible? Here are a few tips for extending your harvest:
* Succession Planting: Sow new spinach seeds every 2-3 weeks to ensure a continuous harvest.
* Choose Bolt-Resistant Varieties: Some spinach varieties are more resistant to bolting than others. Look for varieties like ‘Malabar’ or ‘Tyee’.
* Provide Shade: During hot weather, provide shade for your spinach plants to prevent bolting. You can use shade cloth or move the pots to a shadier location.
* Overwintering: In mild climates, you can overwinter spinach plants by protecting them from frost. Cover the plants with a layer of mulch or move the pots to a sheltered location.
Spinach Varieties to Consider
There are many different spinach varieties to choose from, each with its own unique characteristics. Here are a few of my favorites:
* ‘Bloomsdale Long Standing’: This is a classic spinach variety that is known for its large, crinkled leaves and excellent flavor.
* ‘Tyee’: This is a bolt-resistant variety that is ideal for growing in warmer climates.
* ‘Malabar’: Technically not a true spinach, Malabar spinach is a heat-tolerant alternative that thrives in hot weather.
* ‘Red Cardinal’: This variety has beautiful red stems and leaves, adding a pop of color to your garden.
* ‘Space’: This is a smooth-leafed variety that is easy to clean and has a mild flavor.
Enjoying Your Homegrown Spinach
Now that you’ve harvested your delicious, homegrown spinach, it’s time to enjoy it! Spinach is
Conclusion
So, there you have it! Growing spinach in pots is not only achievable, but it’s also incredibly rewarding. Forget those limp, pre-packaged greens from the supermarket. Imagine stepping out onto your balcony or patio and harvesting fresh, vibrant spinach leaves whenever you need them. The taste difference alone is enough to convince anyone to give it a try. But beyond the superior flavor, growing your own spinach offers a sense of accomplishment and a connection to nature, even in the smallest of spaces.
This DIY trick is a must-try for several reasons. First, it’s incredibly space-efficient. Whether you have a sprawling garden or just a sunny windowsill, you can cultivate spinach in pots. Second, it gives you complete control over the growing environment. You can choose the best soil, provide optimal watering, and protect your plants from pests and diseases more easily than you could in a traditional garden bed. Third, it’s a fantastic way to extend the growing season. By moving your pots indoors or to a sheltered location, you can enjoy fresh spinach even during cooler months.
But don’t stop there! Experiment with different varieties of spinach. Try ‘Bloomsdale Long Standing’ for its heat tolerance, or ‘Baby’s Leaf Hybrid’ for quick harvests. You can also companion plant your spinach with herbs like basil or chamomile to deter pests and enhance flavor. Consider adding a slow-release fertilizer to your potting mix to provide your spinach with a steady supply of nutrients. For a decorative touch, use colorful pots or create a tiered arrangement.
We’ve covered the basics, but the real magic happens when you put these tips into practice. Don’t be afraid to experiment and adapt the techniques to suit your specific environment and preferences. The key is to provide your spinach with well-draining soil, consistent moisture, and plenty of sunlight.
Ready to ditch the store-bought spinach and embrace the joy of homegrown greens? We encourage you to try this DIY trick and experience the satisfaction of harvesting your own delicious spinach. It’s easier than you think, and the rewards are well worth the effort.
And most importantly, we want to hear about your experiences! Share your photos, tips, and challenges in the comments below. Let’s create a community of pot-grown spinach enthusiasts and inspire others to join the fun. What are you waiting for? Get planting! Let’s grow some amazing spinach together!
Frequently Asked Questions (FAQ)
What kind of pot should I use for growing spinach?
The ideal pot for growing spinach should be at least 6-8 inches deep and wide. This provides enough space for the roots to develop properly. Choose a pot made from a breathable material like terracotta or fabric, as this will help prevent overwatering. Make sure the pot has drainage holes to allow excess water to escape. You can also use plastic pots, but be extra careful not to overwater. Consider the size of your growing space when selecting the pot size. Larger pots will require more space but can accommodate more plants.
What type of soil is best for growing spinach in pots?
Spinach thrives in well-draining, nutrient-rich soil with a pH between 6.0 and 7.0. A good potting mix specifically formulated for vegetables is an excellent choice. You can also create your own mix by combining equal parts of compost, peat moss (or coco coir), and perlite or vermiculite. Compost provides essential nutrients, peat moss or coco coir helps retain moisture, and perlite or vermiculite improves drainage. Avoid using garden soil, as it can be too heavy and may contain pests or diseases.
How much sunlight does spinach need when grown in pots?
Spinach needs at least 4-6 hours of direct sunlight per day. If you don’t have a sunny spot, you can supplement with grow lights. Place your pots in a location that receives morning sun and afternoon shade, especially during hot weather. Excessive heat can cause spinach to bolt (go to seed), making the leaves bitter. If you live in a particularly hot climate, consider using shade cloth to protect your plants from the intense sun.
How often should I water spinach in pots?
Spinach needs consistent moisture to thrive. Water your plants deeply whenever the top inch of soil feels dry to the touch. Avoid overwatering, as this can lead to root rot. Check the soil moisture regularly, especially during hot or windy weather. Water in the morning to allow the leaves to dry before nightfall, which can help prevent fungal diseases. Use a watering can or hose with a gentle spray to avoid damaging the delicate leaves.
How do I fertilize spinach grown in pots?
Spinach is a heavy feeder and benefits from regular fertilization. Use a balanced, water-soluble fertilizer diluted to half strength every 2-3 weeks. You can also add a slow-release fertilizer to the potting mix at planting time. Look for fertilizers that are rich in nitrogen, which promotes leafy growth. Avoid over-fertilizing, as this can burn the roots and damage the plants. Organic options like compost tea or fish emulsion are also excellent choices.
How do I harvest spinach from pots?
You can start harvesting spinach leaves when they are about 4-6 inches long. Harvest the outer leaves first, leaving the inner leaves to continue growing. This cut-and-come-again method allows you to harvest spinach multiple times from the same plant. Use scissors or a sharp knife to cut the leaves close to the base of the plant. Avoid pulling the leaves, as this can damage the roots. Harvest in the morning when the leaves are crisp and fresh.
What are some common pests and diseases that affect spinach grown in pots?
Common pests that affect spinach include aphids, spider mites, and leaf miners. You can control these pests by spraying your plants with insecticidal soap or neem oil. Diseases that can affect spinach include downy mildew and powdery mildew. To prevent these diseases, ensure good air circulation and avoid overwatering. Remove any infected leaves immediately. Consider using a fungicide if the problem persists. Regularly inspect your plants for signs of pests or diseases.
How can I prevent spinach from bolting (going to seed)?
Spinach is more likely to bolt in hot weather. To prevent bolting, choose heat-tolerant varieties, provide shade during the hottest part of the day, and water regularly. You can also mulch around the plants to help keep the soil cool. If your spinach starts to bolt, harvest the leaves immediately, as they will become bitter. Consider succession planting to ensure a continuous supply of fresh spinach throughout the growing season.
Can I grow spinach indoors in pots?
Yes, you can grow spinach indoors in pots, but you’ll need to provide adequate light. Place your pots near a sunny window that receives at least 4-6 hours of direct sunlight per day. If you don’t have enough natural light, you can supplement with grow lights. Use a full-spectrum grow light and position it a few inches above the plants. Rotate the pots regularly to ensure even growth. Maintain a consistent temperature and humidity level.
How long does it take to grow spinach in pots?
Spinach is a fast-growing crop. You can typically harvest your first leaves about 4-6 weeks after planting. The exact time will depend on the variety of spinach, the growing conditions, and the size of the leaves you want to harvest. Keep in mind that spinach grows best in cool weather, so it may take longer to mature during hot summer months.


Leave a Comment