

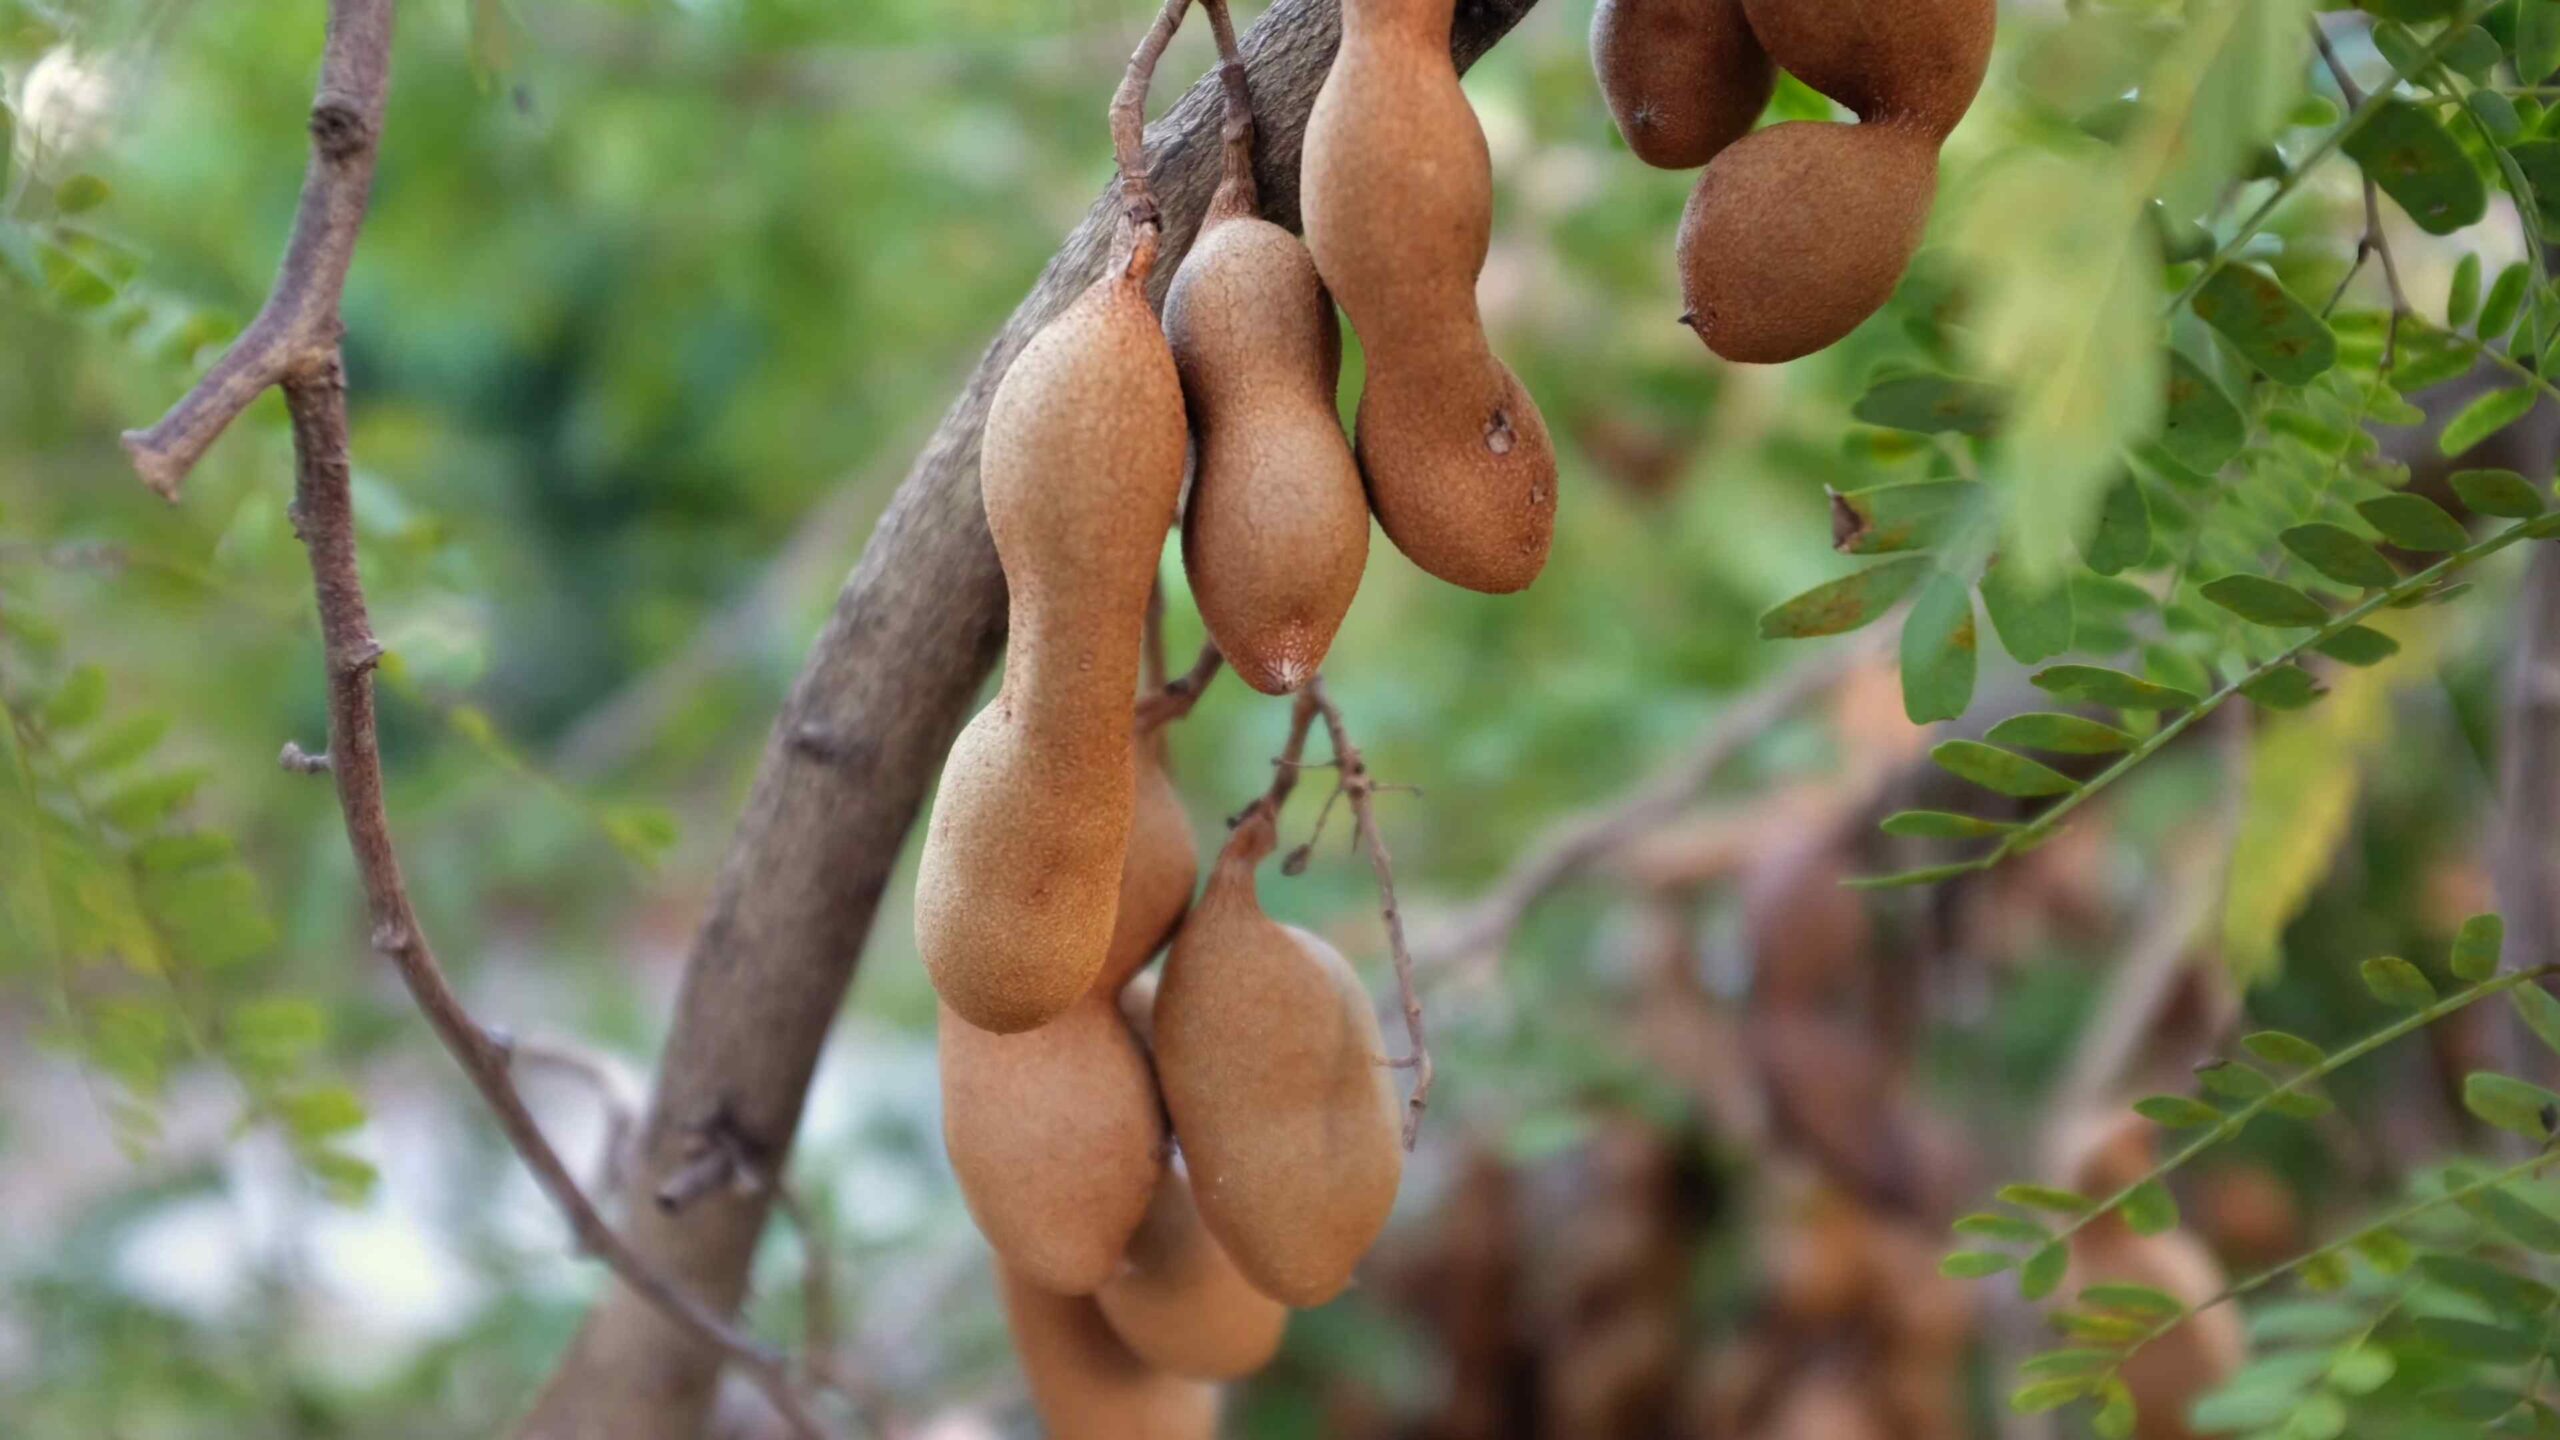
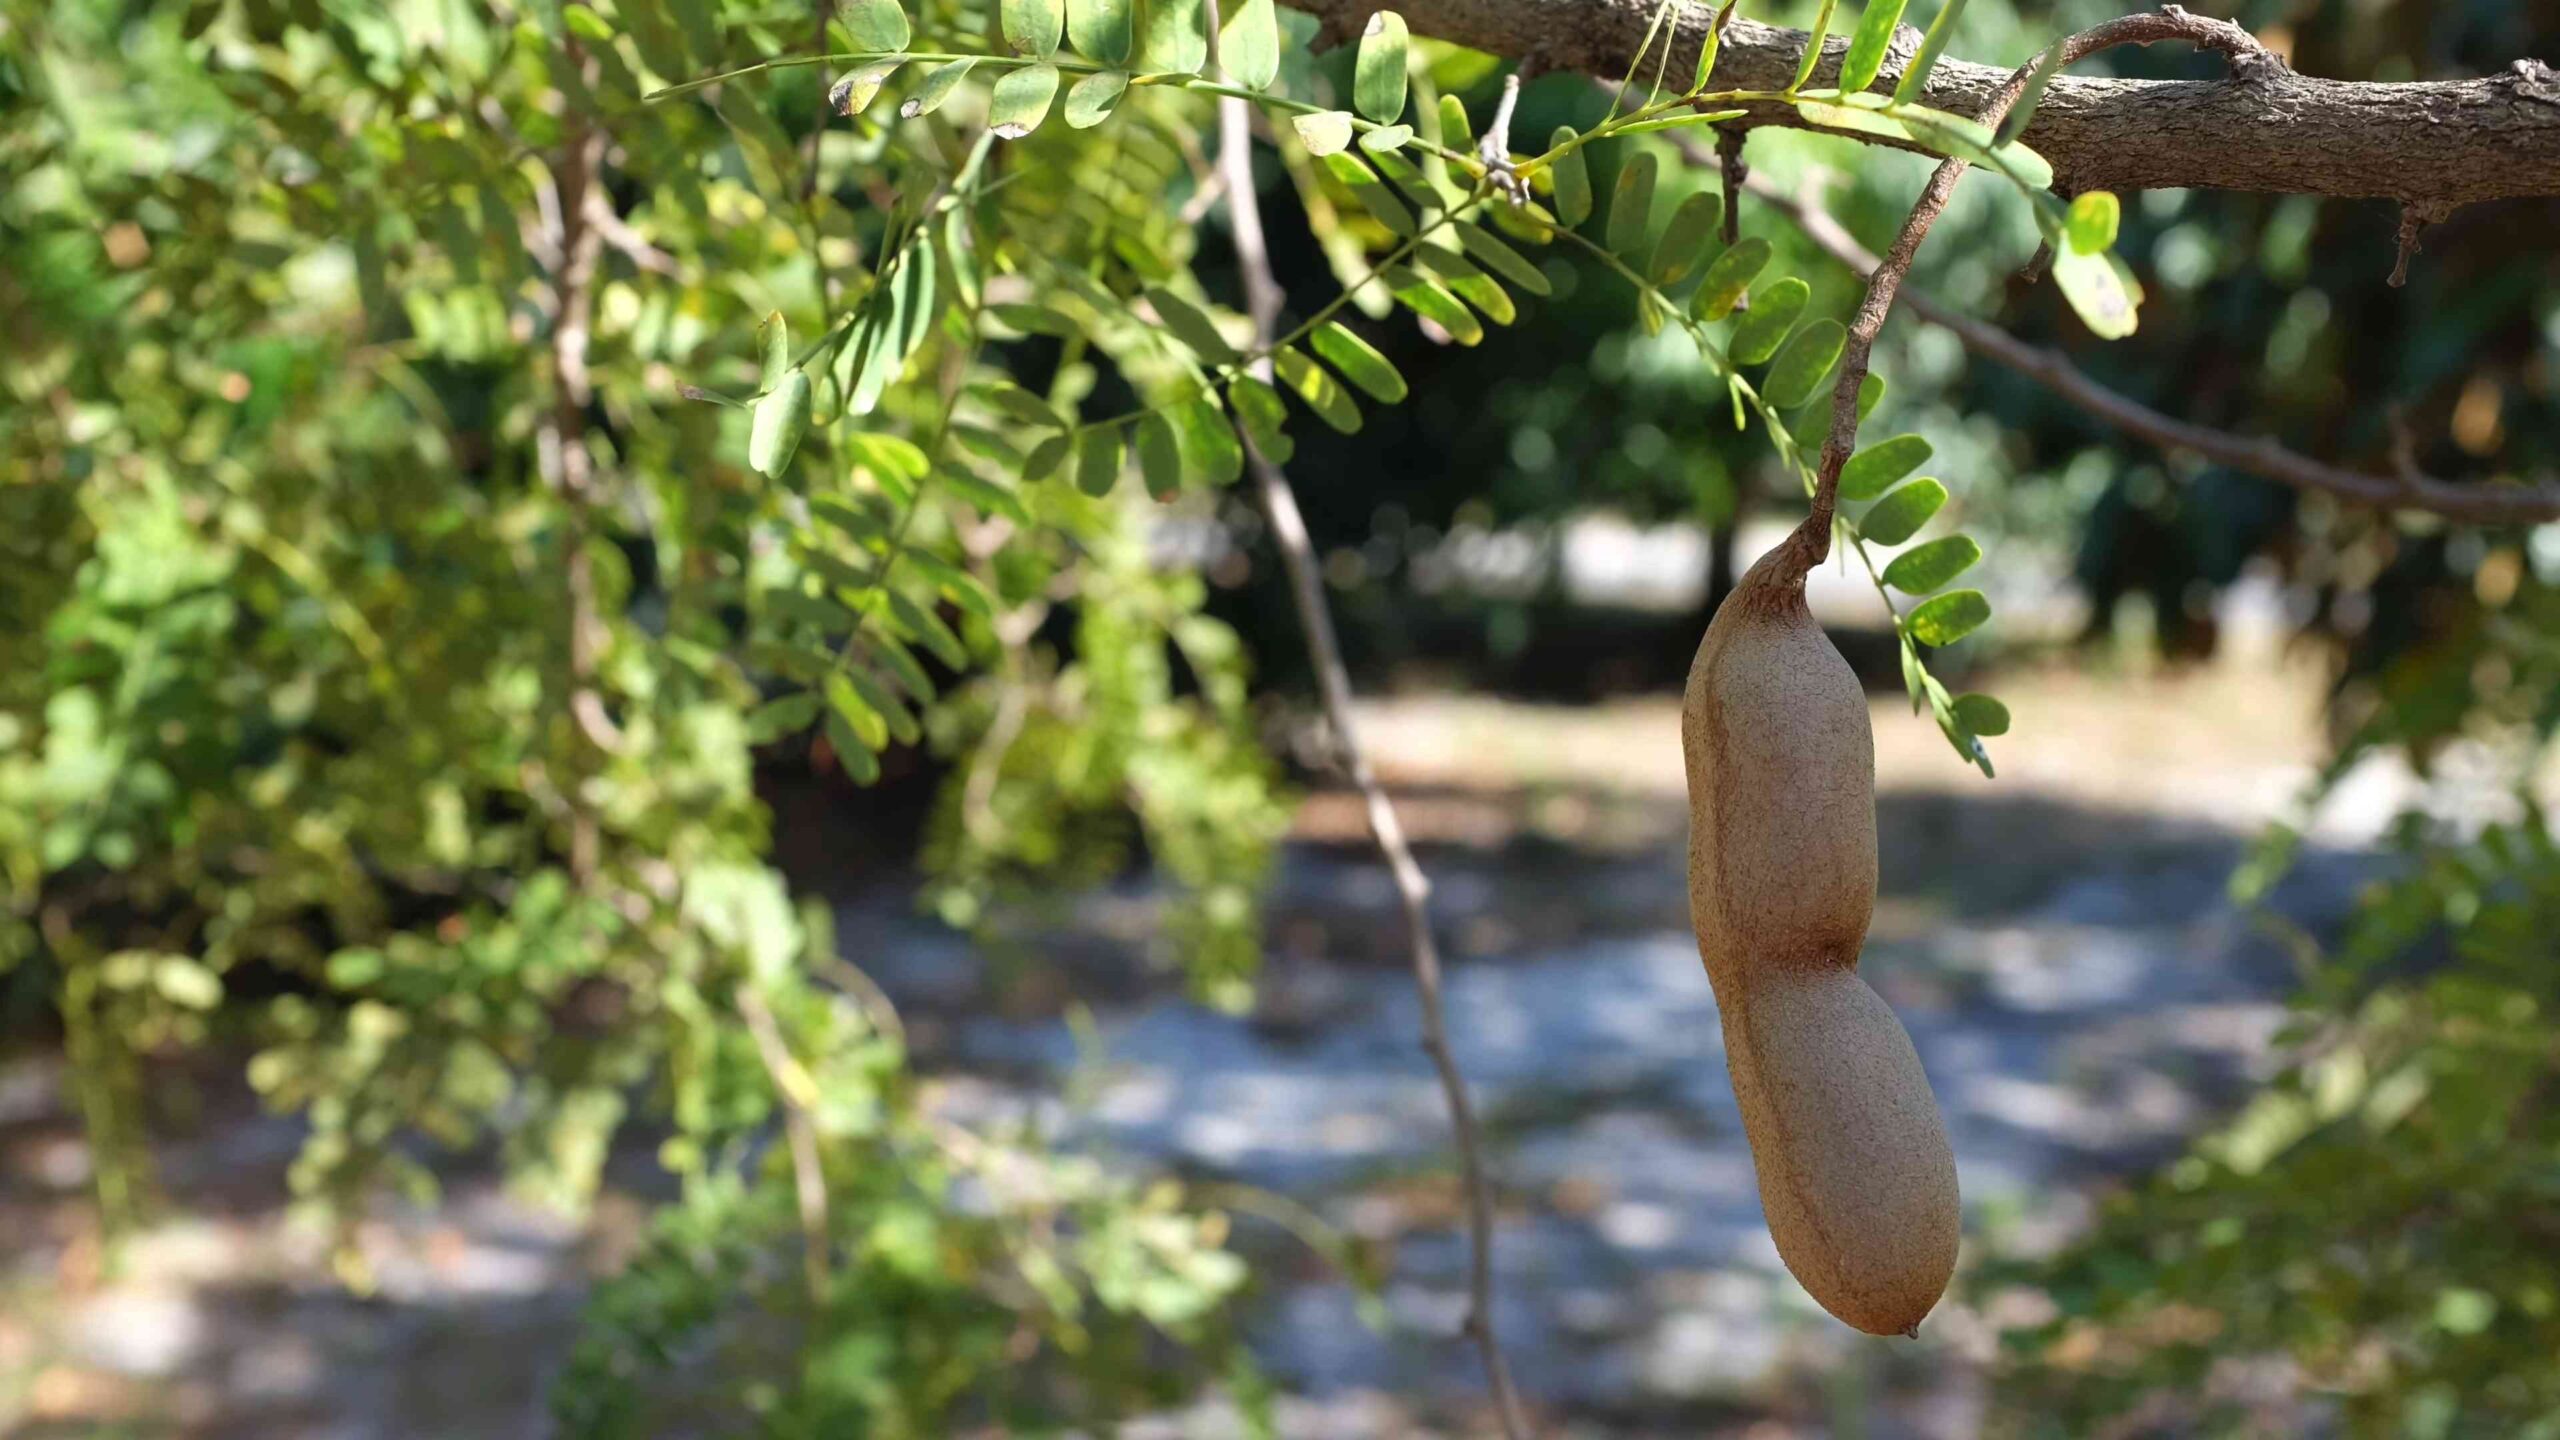
Grow Tamarind Tree at Home: Ever dreamt of having your own exotic fruit tree, right in your backyard? Imagine plucking fresh, tangy tamarind pods straight from the branch, ready to add a unique twist to your culinary creations! It sounds like a far-off tropical fantasy, but I’m here to tell you it’s absolutely achievable, even if you don’t live in a tropical paradise.
The tamarind tree, with its rich history deeply intertwined with cultures across Asia, Africa, and Latin America, has been cherished for centuries. Its fruit has been used in everything from traditional medicines to delectable candies and savory sauces. Beyond its culinary uses, the tamarind tree holds cultural significance, often symbolizing prosperity and good health.
But why should you learn to grow tamarind tree at home? Well, besides the sheer joy of nurturing a plant from seedling to fruit-bearing beauty, having your own tamarind tree offers a sustainable source of this incredible ingredient. Store-bought tamarind paste simply can’t compare to the fresh, vibrant flavor of homegrown tamarind. Plus, you’ll be reducing your carbon footprint and adding a touch of exotic elegance to your garden. In this article, I’ll guide you through simple, DIY tricks and hacks to successfully cultivate your own tamarind tree, regardless of your gardening experience. Let’s get started!
Growing Your Own Tamarind Tree: A DIY Guide
Okay, so you want to grow a tamarind tree at home? Awesome! It’s a rewarding project, and while it takes patience, the delicious, tangy fruit is totally worth the effort. I’m going to walk you through everything you need to know, from choosing the right seeds to caring for your little tree as it grows. Let’s get started!
Choosing and Preparing Your Tamarind Seeds
First things first, you need tamarind seeds. You have a couple of options here:
* Fresh Tamarind Pods: This is my preferred method. You can usually find tamarind pods at Asian or Latin American grocery stores. Look for pods that are plump and feel heavy for their size. The fresher the pods, the better the germination rate.
* Dried Tamarind Seeds: You can also buy dried tamarind seeds online or at specialty stores. Just make sure they look healthy and haven’t been sitting on the shelf for too long.
Once you have your seeds, we need to prepare them for planting. This involves scarification and soaking.
Scarification: Giving Your Seeds a Head Start
Tamarind seeds have a hard outer shell that can make it difficult for them to germinate. Scarification helps to weaken this shell, allowing water to penetrate and the seedling to emerge more easily.
1. Gather Your Supplies: You’ll need a small piece of sandpaper (medium grit works well), a nail file, or even a sharp knife (be careful!).
2. Gently Abrade the Seed Coat: Gently rub the sandpaper or nail file against the seed coat. The goal is to thin the coat, not to completely remove it. You should see a lighter color underneath. Be careful not to damage the inside of the seed.
3. Repeat: Do this for each seed you plan to plant.
Soaking: Hydrating Your Seeds
After scarification, soaking the seeds helps to further soften the seed coat and encourages germination.
1. Place Seeds in a Bowl: Put your scarified seeds in a small bowl or container.
2. Add Warm Water: Pour warm (not hot!) water over the seeds, ensuring they are fully submerged.
3. Soak for 24-48 Hours: Let the seeds soak for 24 to 48 hours. You’ll notice they will swell up a bit as they absorb water. Change the water every 12 hours to prevent bacterial growth.
Planting Your Tamarind Seeds
Now that your seeds are prepped and ready, it’s time to plant them!
1. Prepare Your Planting Containers: You’ll need small pots or seedling trays with drainage holes. I like to use biodegradable pots, so I can plant the whole thing directly into a larger pot later without disturbing the roots.
2. Choose Your Soil: Use a well-draining potting mix. A mix of potting soil, perlite, and vermiculite works great. This ensures good drainage and aeration, which is crucial for tamarind seedlings.
3. Fill the Containers: Fill your pots or trays with the potting mix, leaving about an inch of space at the top.
4. Plant the Seeds: Make a small hole (about 1/2 inch deep) in the center of each pot. Place one seed in each hole and cover it gently with soil.
5. Water Gently: Water the soil gently until it’s moist but not soggy. You don’t want to overwater, as this can lead to rot.
6. Provide Warmth and Light: Place the pots in a warm location with indirect sunlight. A sunny windowsill or a greenhouse is ideal. You can also use a grow light if you don’t have enough natural light.
7. Maintain Moisture: Keep the soil consistently moist but not waterlogged. Check the soil daily and water when the top inch feels dry.
Germination and Early Seedling Care
Germination usually takes anywhere from one to four weeks, depending on the seed quality and environmental conditions. Be patient!
1. Monitor for Germination: Keep an eye on your pots. Once you see little green sprouts emerging, you know your seeds have germinated!
2. Provide Adequate Light: Once the seedlings emerge, they need plenty of light. If you’re using a windowsill, rotate the pots regularly to ensure even growth. If you’re using a grow light, keep it on for about 12-16 hours a day.
3. Water Carefully: Continue to water the seedlings carefully, allowing the top inch of soil to dry out between waterings. Overwatering is a common mistake that can lead to root rot.
4. Fertilize Sparingly: Once the seedlings have a few sets of true leaves (the leaves that look like miniature versions of tamarind leaves), you can start fertilizing them with a diluted liquid fertilizer. Use a balanced fertilizer (e.g., 20-20-20) diluted to half strength. Fertilize every two to four weeks during the growing season (spring and summer).
5. Protect from Pests: Keep an eye out for pests like aphids or spider mites. If you spot any, treat them with insecticidal soap or neem oil.
Transplanting Your Tamarind Seedling
As your tamarind seedling grows, it will eventually need to be transplanted into a larger pot.
1. When to Transplant: Transplant your seedling when it has outgrown its current pot. This usually happens when the roots start to circle around the bottom of the pot or when the plant becomes root-bound.
2. Choose a Larger Pot: Select a pot that is at least twice the size of the current pot. Make sure it has drainage holes.
3. Prepare the Potting Mix: Use the same well-draining potting mix you used for planting the seeds.
4. Gently Remove the Seedling: Carefully remove the seedling from its current pot. If you used a biodegradable pot, you can plant the whole thing directly into the larger pot. Otherwise, gently loosen the soil around the roots and lift the seedling out.
5. Place the Seedling in the New Pot: Place the seedling in the center of the new pot and fill in the surrounding space with potting mix.
6. Water Thoroughly: Water the seedling thoroughly after transplanting.
7. Provide Support: If the seedling is tall and spindly, you may need to provide some support, such as a stake.
Caring for Your Growing Tamarind Tree
Now that your tamarind tree is growing in a larger pot, it’s time to focus on long-term care.
* Sunlight: Tamarind trees need plenty of sunlight. Aim for at least 6-8 hours of direct sunlight per day. If you live in a cloudy area, you may need to supplement with a grow light.
* Watering: Water your tamarind tree regularly, allowing the top inch of soil to dry out between waterings. Avoid overwatering, as this can lead to root rot. During the dormant season (fall and winter), reduce watering frequency.
* Fertilizing: Fertilize your tamarind tree regularly during the growing season (spring and summer). Use a balanced fertilizer (e.g., 20-20-20) or a fertilizer specifically formulated for fruit trees. Follow the instructions on the fertilizer label.
* Pruning: Prune your tamarind tree regularly to maintain its shape and encourage branching. Remove any dead, damaged, or diseased branches. You can also prune to control the size of the tree.
* Temperature: Tamarind trees are tropical plants and prefer warm temperatures. They can tolerate temperatures down to about 30°F (-1°C) for short periods, but they are best grown in temperatures above 60°F (15°C). If you live in an area with cold winters, you will need to bring your tamarind tree indoors during the winter months.
* Humidity: Tamarind trees prefer high humidity. If you live in a dry climate, you can increase the humidity around your tree by misting it regularly or placing it on a tray filled with water and pebbles.
* Pest and Disease Control: Keep an eye out for pests and diseases. Common pests that can affect tamarind trees include aphids, spider mites, and scale insects. Treat infestations with insecticidal soap or neem oil. Diseases are less common, but root rot can be a problem if the soil is not well-draining.
* Repotting: As your tamarind tree grows, it will eventually need to be repotted into a larger pot. Repot every one to two years, or when the roots start to circle around the bottom of the pot.
Patience is Key!
Growing a tamarind tree from seed takes time and patience. It can take several years for a tamarind tree to start producing fruit. However, the reward of harvesting your own delicious tamarind pods is well worth the wait.
Important Note: Tamarind trees can grow quite large,
Conclusion
So, there you have it! Growing a tamarind tree at home might seem like a tropical dream, but with a little patience and the right approach, it’s absolutely achievable. This DIY trick, focusing on seed preparation and early nurturing, is a game-changer for anyone eager to cultivate this unique and flavorful fruit in their own backyard or even indoors.
Why is this a must-try? Because store-bought tamarind trees can be expensive and may not always be adapted to your specific climate. Starting from seed allows you to select the healthiest seedlings and tailor their growth to your local conditions. Plus, there’s an undeniable satisfaction in watching a tiny seed transform into a thriving tree, knowing you played a crucial role in its journey.
Beyond the basic method outlined, there are several exciting variations you can explore. Consider experimenting with different soil mixtures to find what works best in your region. Some gardeners swear by adding a touch of bone meal to the soil to promote strong root development. You could also try grafting a branch from a known high-yielding tamarind tree onto your seedling once it’s established, potentially accelerating fruit production and ensuring desirable fruit characteristics. Another interesting variation is to try different scarification methods. While the sandpaper method is effective, some gardeners have had success with soaking the seeds in a mild acid solution (like lemon juice diluted in water) for a short period to weaken the seed coat. Remember to rinse thoroughly after soaking.
Don’t be afraid to get creative with your container choices, too. While plastic pots are practical, terracotta pots offer better drainage and aeration, which can be beneficial for tamarind trees. Just be mindful that terracotta pots dry out faster, so you’ll need to monitor the soil moisture more closely.
The key to success with this DIY trick is consistency and observation. Keep a close eye on your seedlings, adjusting your watering and fertilizing schedule as needed. Be patient – tamarind trees can take several years to bear fruit, but the reward of harvesting your own homegrown tamarind is well worth the wait.
We wholeheartedly encourage you to give this DIY trick a try. It’s a rewarding project that connects you with nature and provides you with a unique and delicious fruit. And most importantly, share your experiences! Let us know how your tamarind trees are growing, what challenges you’ve faced, and what successes you’ve celebrated. Your insights can help other aspiring tamarind growers and contribute to a growing community of home gardeners. Share your photos and stories on social media using relevant hashtags like #GrowTamarindAtHome, #DIYGardening, and #TamarindTree. Let’s learn and grow together!
Frequently Asked Questions (FAQ)
How long does it take for a tamarind tree to bear fruit when grown from seed?
Patience is key! Tamarind trees grown from seed typically take anywhere from 7 to 10 years to begin producing fruit. Grafted trees, on the other hand, can bear fruit much sooner, sometimes within 3 to 4 years. Factors like climate, soil quality, and overall care can also influence the fruiting timeline. Don’t be discouraged if it takes a while; the wait will be worth it when you finally harvest your own homegrown tamarind.
What is the best type of soil for growing a tamarind tree?
Tamarind trees thrive in well-draining soil that is slightly acidic to neutral (pH 6.0-7.0). A mixture of sandy loam, compost, and a bit of perlite or vermiculite works well to provide good drainage and aeration. Avoid heavy clay soils, as they can retain too much moisture and lead to root rot. You can amend clay soils with organic matter like compost and well-rotted manure to improve their drainage.
How often should I water my tamarind tree?
Watering frequency depends on several factors, including the climate, soil type, and the age of the tree. Young seedlings need consistent moisture, so water them regularly, keeping the soil consistently moist but not waterlogged. As the tree matures, you can reduce the watering frequency, allowing the soil to dry out slightly between waterings. During the dry season, water deeply and regularly to prevent drought stress. Always check the soil moisture before watering to avoid overwatering.
What kind of fertilizer should I use for my tamarind tree?
Tamarind trees benefit from regular fertilization, especially during the growing season (spring and summer). Use a balanced fertilizer with an NPK ratio of 10-10-10 or 14-14-14. Young trees need more nitrogen to promote leafy growth, while mature trees benefit from more phosphorus and potassium to encourage flowering and fruiting. You can also supplement with organic fertilizers like compost tea or fish emulsion. Avoid over-fertilizing, as it can damage the roots.
Can I grow a tamarind tree indoors?
Yes, you can grow a tamarind tree indoors, but it requires some extra care. Choose a large pot with good drainage and place it in a location that receives at least 6-8 hours of direct sunlight per day. You may need to supplement with artificial light, especially during the winter months. Indoor tamarind trees may not grow as quickly or produce as much fruit as those grown outdoors, but they can still be a beautiful and rewarding addition to your indoor garden. Regular pruning is essential to maintain a manageable size.
How do I protect my tamarind tree from pests and diseases?
Tamarind trees are generally resistant to pests and diseases, but they can be susceptible to certain problems, such as aphids, scale insects, and fungal diseases. Regularly inspect your tree for any signs of infestation or disease. Treat aphids and scale insects with insecticidal soap or neem oil. Prevent fungal diseases by ensuring good air circulation and avoiding overwatering. If you notice any serious problems, consult with a local gardening expert for advice.
What is the best time to plant a tamarind tree?
The best time to plant a tamarind tree is during the late spring or early summer, after the last frost. This gives the tree plenty of time to establish its roots before the onset of winter. In warmer climates, you can plant tamarind trees year-round, but avoid planting during the hottest and driest periods.
How do I prune my tamarind tree?
Pruning is essential for maintaining the shape and health of your tamarind tree. Prune young trees to establish a strong central leader and remove any dead, damaged, or crossing branches. Mature trees should be pruned to improve air circulation and light penetration, which can promote fruit production. The best time to prune tamarind trees is during the dormant season (late winter or early spring).
My tamarind tree is not flowering. What could be the reason?
Several factors can contribute to a lack of flowering in tamarind trees. These include insufficient sunlight, inadequate fertilization, improper watering, and young age. Ensure your tree receives at least 6-8 hours of direct sunlight per day, fertilize regularly with a balanced fertilizer, and water deeply but infrequently. Remember that tamarind trees grown from seed can take several years to mature and begin flowering.
Where can I find tamarind seeds?
You can find tamarind seeds inside the pods of tamarind fruit, which are available at many Asian and Latin American grocery stores. You can also purchase tamarind seeds online from reputable seed suppliers. Make sure to choose fresh, viable seeds for the best germination rates.


Leave a Comment