

Grow Watermelon at Home? Absolutely! Imagine biting into a juicy, sweet watermelon that you nurtured from seed to fruit, right in your own backyard. Forget those bland, store-bought melons – we’re talking about a flavor explosion that only comes from homegrown goodness. For centuries, watermelons have been a symbol of summer, abundance, and shared joy, gracing picnic tables and backyard barbecues across cultures. From their origins in Africa to their global popularity today, watermelons have always been a refreshing treat.
But let’s be honest, the thought of growing your own watermelon can seem a bit daunting. Maybe you think you need acres of land or a green thumb blessed by the gardening gods. That’s where these DIY tricks and hacks come in! I’m here to show you that growing watermelon at home is not only possible, but also surprisingly easy and rewarding, even if you’re a beginner gardener.
In this article, I’ll share my favorite tips and tricks for successfully cultivating these delicious fruits, no matter the size of your garden. We’ll cover everything from choosing the right variety and preparing your soil to protecting your precious melons from pests and diseases. So, get ready to roll up your sleeves and embark on a fun and fruitful journey to homegrown watermelon bliss!
Grow Your Own Juicy Watermelons: A DIY Guide
Okay, watermelon lovers, listen up! I’m going to walk you through everything you need to know to grow your own delicious watermelons right at home. It might seem intimidating, but trust me, with a little planning and effort, you’ll be enjoying homegrown watermelon all summer long. Let’s get started!
Choosing the Right Watermelon Variety
First things first, you need to pick the right watermelon variety for your climate and space. Some varieties are better suited for shorter growing seasons, while others need a lot of room to sprawl. Here are a few popular options:
* Sugar Baby: A classic, small, and early-maturing variety, perfect for smaller gardens. It typically produces melons weighing 8-10 pounds.
* Crimson Sweet: A larger, oblong watermelon with a sweet, red flesh. It takes a bit longer to mature but is well worth the wait. Expect melons around 20-25 pounds.
* Jubilee: A large, oblong watermelon with a light green rind and dark green stripes. It’s known for its disease resistance and sweet flavor. These can get quite big, often weighing 25-35 pounds.
* Bush Sugar Baby: If you’re really short on space, this is the watermelon for you! It’s a compact bush variety that produces small, personal-sized watermelons.
Consider your growing season length and available space when making your choice. Check the seed packet for specific information about each variety.
Preparing Your Garden Bed
Watermelons are heavy feeders, meaning they need a lot of nutrients to thrive. Proper soil preparation is crucial for a successful harvest.
* Sunlight: Watermelons need at least 6-8 hours of direct sunlight per day. Choose a location in your garden that gets plenty of sun.
* Soil: Watermelons prefer well-drained, sandy loam soil with a pH between 6.0 and 6.8. If your soil is heavy clay, amend it with plenty of organic matter, such as compost or well-rotted manure.
* Nutrients: Watermelons need a lot of nitrogen, phosphorus, and potassium. Before planting, amend your soil with a balanced fertilizer, following the instructions on the package. I like to use a slow-release fertilizer to provide a steady supply of nutrients throughout the growing season.
Starting Your Watermelon Seeds
You can either direct sow your watermelon seeds in the garden or start them indoors. Starting them indoors gives you a head start, especially if you have a short growing season.
* Direct Sowing: Wait until the soil temperature is consistently above 70°F (21°C) before direct sowing. Plant seeds about 1 inch deep and 2-3 feet apart.
* Starting Indoors: Start seeds indoors 3-4 weeks before the last expected frost. Use peat pots or biodegradable pots to avoid disturbing the roots when transplanting. Plant seeds about 1 inch deep in a seed-starting mix. Keep the soil moist and warm (around 80-85°F or 27-29°C) until germination. Once the seedlings emerge, provide them with plenty of light.
Transplanting Watermelon Seedlings
If you started your watermelon seeds indoors, it’s time to transplant them into the garden.
1. Harden Off Seedlings: Before transplanting, you need to harden off your seedlings. This means gradually exposing them to outdoor conditions over a period of 7-10 days. Start by placing them in a sheltered location for a few hours each day, gradually increasing the amount of time they spend outdoors.
2. Prepare the Planting Hole: Dig a hole that is slightly larger than the root ball of the seedling.
3. Transplant Carefully: Gently remove the seedling from its pot, being careful not to damage the roots. Place the seedling in the hole and backfill with soil. Water thoroughly.
4. Spacing: Space watermelon plants 2-3 feet apart in rows that are 6-8 feet apart. This gives them plenty of room to sprawl.
Caring for Your Watermelon Plants
Watermelons need consistent care to thrive. Here’s what you need to do:
* Watering: Watermelons need plenty of water, especially during hot, dry weather. Water deeply and regularly, aiming for about 1-2 inches of water per week. Avoid overhead watering, as this can promote fungal diseases. Drip irrigation is a great option for watermelons.
* Fertilizing: Side-dress your watermelon plants with a balanced fertilizer every 2-3 weeks. You can also use a liquid fertilizer, such as fish emulsion or seaweed extract.
* Weeding: Keep the area around your watermelon plants free of weeds. Weeds compete with watermelons for nutrients and water.
* Mulching: Mulch around your watermelon plants with straw or black plastic. Mulch helps to retain moisture, suppress weeds, and warm the soil.
* Pollination: Watermelons need to be pollinated to produce fruit. Bees are the primary pollinators. If you don’t have many bees in your area, you may need to hand-pollinate your watermelons. To hand-pollinate, use a small paintbrush to transfer pollen from the male flowers to the female flowers. Female flowers have a small, immature watermelon at the base of the flower.
Dealing with Pests and Diseases
Watermelons can be susceptible to a variety of pests and diseases. Here are some common problems and how to deal with them:
* Cucumber Beetles: These small, yellow and black beetles can damage watermelon plants by feeding on the leaves and spreading diseases. Control cucumber beetles with insecticides or by covering your plants with row covers.
* Squash Bugs: These large, brown bugs can suck the sap from watermelon plants, causing them to wilt and die. Control squash bugs by hand-picking them off the plants or by using insecticides.
* Aphids: These small, soft-bodied insects can suck the sap from watermelon plants, causing them to become weak and stunted. Control aphids with insecticidal soap or by releasing beneficial insects, such as ladybugs.
* Powdery Mildew: This fungal disease causes a white, powdery coating on the leaves of watermelon plants. Control powdery mildew with fungicides or by improving air circulation around the plants.
* Fusarium Wilt: This fungal disease causes watermelon plants to wilt and die. There is no cure for Fusarium wilt. Prevent it by planting disease-resistant varieties and by practicing crop rotation.
Harvesting Your Watermelons
Knowing when to harvest your watermelons is key to enjoying their sweet, juicy flavor. Here are a few signs that your watermelons are ripe:
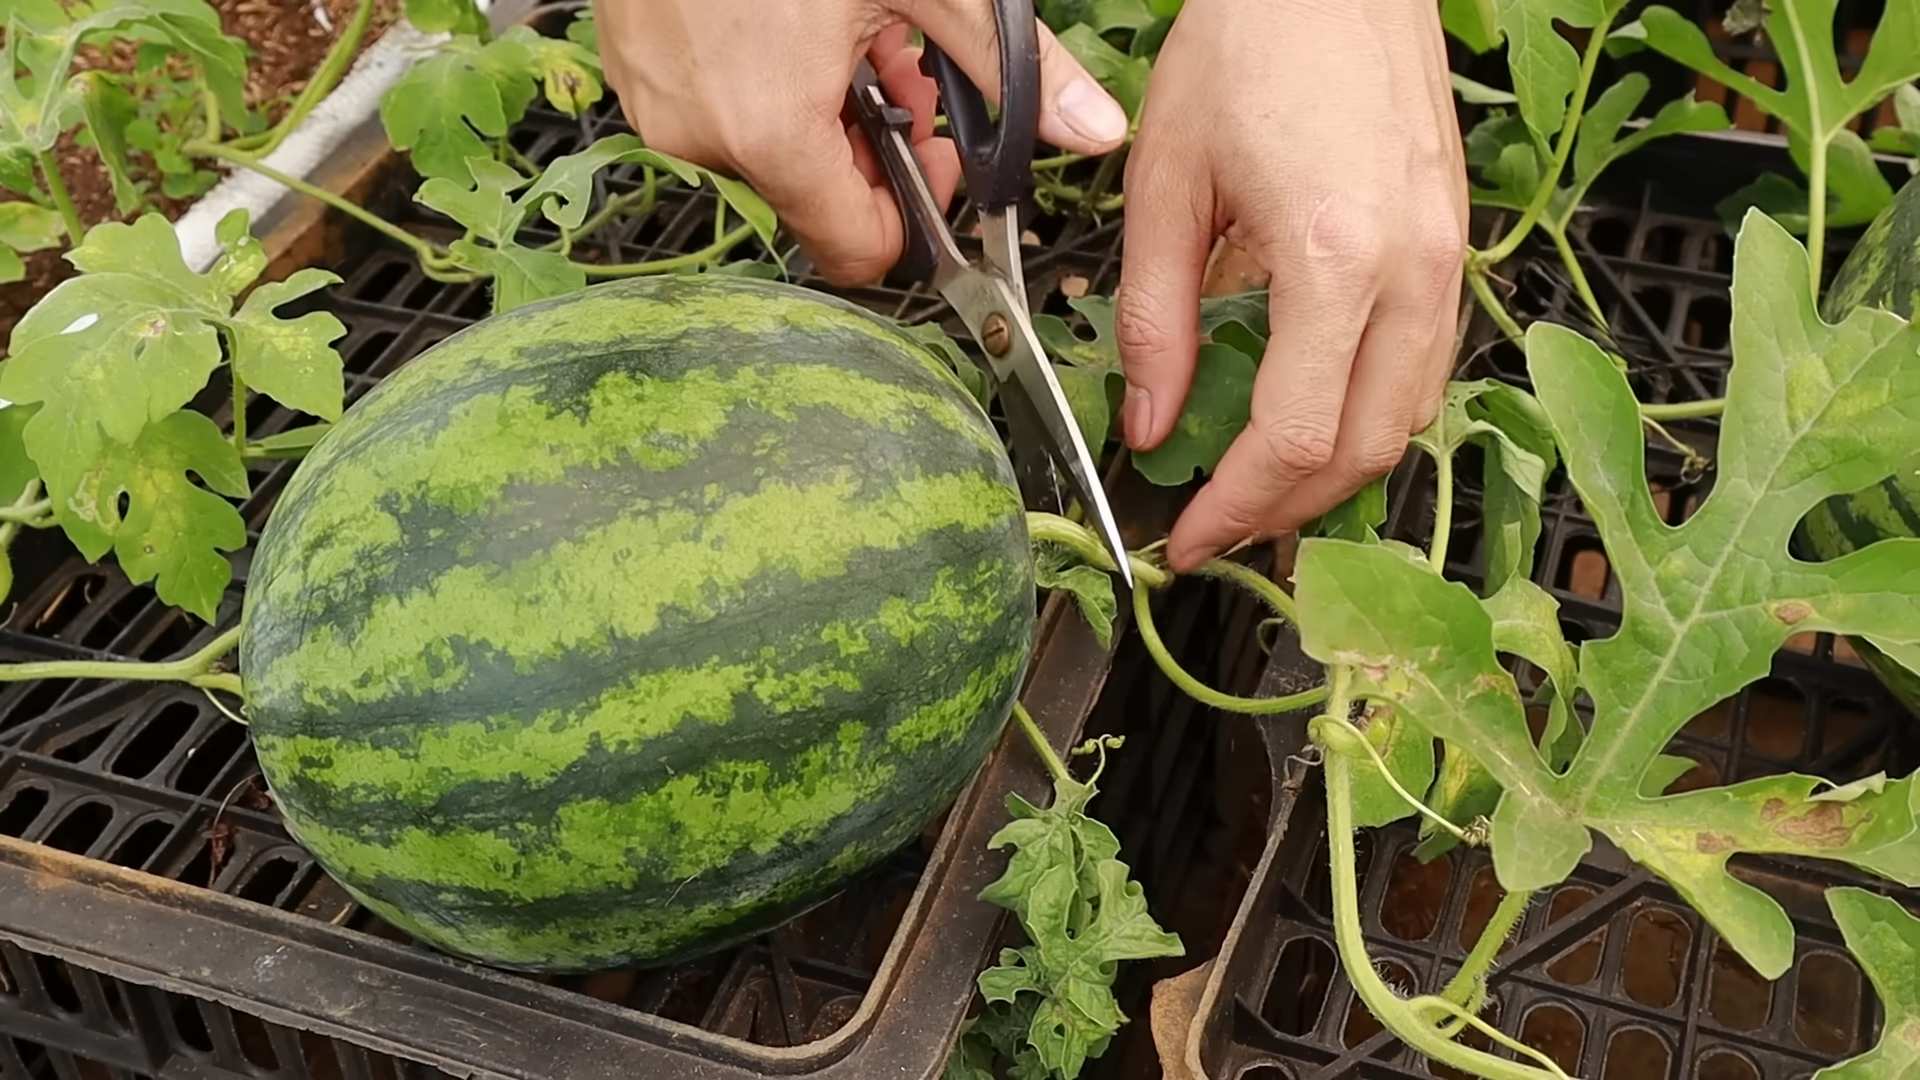
1. The tendril closest to the fruit turns brown and dries up. This is a reliable indicator of ripeness.
2. The underside of the watermelon (where it rests on the ground) turns from white to yellow. This is often called the “ground spot.”
3. The watermelon sounds dull and hollow when you thump it. This takes some practice, but you’ll get the hang of it.
4. The rind is hard and difficult to penetrate with your fingernail.
Once you’ve determined that your watermelon is ripe, use a sharp knife to cut it from the vine, leaving a few inches of stem attached.
Enjoying Your Homegrown Watermelons
Congratulations! You’ve successfully grown your own watermelons. Now it’s time to enjoy the fruits (or rather, the melons) of your labor.
* Chill your watermelon in the refrigerator for a few hours before serving. This will enhance its sweetness and juiciness.
* Cut your watermelon into wedges or cubes.
* Enjoy your watermelon plain or add it to salads, smoothies, or other recipes.
Bonus Tip: Saving Watermelon Seeds
If you want to grow the same variety of watermelon next year, you can save the seeds from your ripe watermelons.
1. Scoop out the seeds from the watermelon.
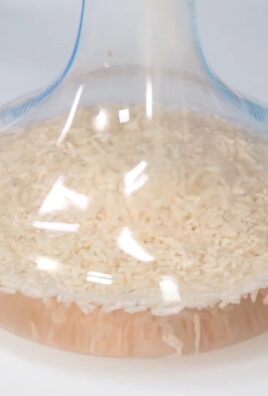
2. Rinse the seeds thoroughly to remove any pulp.
3. Spread the seeds out on a paper towel to dry.
4. Once the seeds are completely dry, store them in an airtight container in a cool, dark place.
With a little bit of effort, you can enjoy homegrown watermelons year after year. I hope this guide has been helpful. Happy gardening!
Conclusion
So, there you have it! Growing watermelon at home, while it might seem daunting at first, is absolutely achievable with a little patience, the right techniques, and a dash of enthusiasm. We’ve walked you through the essential steps, from selecting the perfect variety for your climate to nurturing your seedlings and providing the optimal growing conditions.
But why should you even bother? Why not just pick up a watermelon from the grocery store? The answer lies in the unparalleled satisfaction of harvesting a fruit you’ve nurtured from seed to table. Imagine the burst of sweet, juicy flavor, knowing you played an integral part in its creation. Plus, you’ll have the peace of mind knowing exactly what went into growing your watermelon – no mystery pesticides or long-distance transportation.
This DIY approach to growing watermelon offers a unique opportunity to connect with nature, learn about the growing process, and enjoy a truly rewarding experience. And let’s be honest, bragging rights are definitely a perk!
Beyond the Basics: Watermelon Variations and Enhancements
Don’t be afraid to experiment! Once you’ve mastered the basics, consider exploring different watermelon varieties. Perhaps you’d like to try a smaller, personal-sized watermelon like ‘Sugar Baby,’ or a yellow-fleshed variety for a unique twist.
Here are a few other ideas to elevate your watermelon growing game:
* Vertical Growing: If you’re short on space, consider training your watermelon vines to grow vertically on a trellis. This not only saves space but also improves air circulation and reduces the risk of fungal diseases.
* Companion Planting: Plant basil, marigolds, or nasturtiums near your watermelons to deter pests and attract beneficial insects.
* Watermelon Keg: Once you’ve harvested your watermelon, turn it into a fun and festive keg for your next summer gathering! There are plenty of tutorials online to guide you through the process.
* Grafted Watermelons: For increased disease resistance and vigor, consider purchasing grafted watermelon plants. These are typically grafted onto rootstocks that are resistant to common soilborne diseases.
Your Watermelon Adventure Awaits!
We truly believe that anyone can successfully grow watermelon at home with the right guidance. Don’t be intimidated by the process. Start small, be patient, and learn from your experiences. The reward of biting into a homegrown, perfectly ripe watermelon is well worth the effort.
So, grab your seeds, prepare your garden, and embark on your watermelon growing adventure today! We can’t wait to hear about your successes (and even your challenges – we all learn from them!). Share your photos, tips, and experiences with us in the comments below. Let’s create a community of passionate home gardeners, all united by our love for this iconic summer fruit. Happy growing!
Frequently Asked Questions (FAQ)
Q: What is the best time to start growing watermelon from seed?
A: The best time to start growing watermelon from seed depends on your climate. Watermelons are warm-weather crops and require a long growing season of at least 70-90 days. In colder climates, it’s best to start seeds indoors about 6-8 weeks before the last expected frost. In warmer climates, you can direct sow seeds into the garden after the soil has warmed up to at least 70°F (21°C). Check your local frost dates to determine the optimal timing for your region.
Q: What kind of soil is best for growing watermelon?
A: Watermelons thrive in well-drained, sandy loam soil that is rich in organic matter. The soil should have a pH between 6.0 and 6.8. Before planting, amend your soil with compost or well-rotted manure to improve its fertility and drainage. Avoid heavy clay soils, as they can retain too much moisture and lead to root rot. If you have clay soil, consider growing your watermelons in raised beds or containers.
Q: How much sunlight do watermelons need?
A: Watermelons need at least 6-8 hours of direct sunlight per day to thrive. Choose a planting location that receives full sun throughout the day. Insufficient sunlight can result in smaller fruits and reduced yields.
Q: How often should I water my watermelon plants?
A: Watermelons need consistent moisture, especially during fruit development. Water deeply and regularly, aiming to keep the soil consistently moist but not waterlogged. Water at the base of the plants to avoid wetting the foliage, which can increase the risk of fungal diseases. During hot, dry weather, you may need to water daily. Reduce watering as the fruits ripen to prevent them from cracking.
Q: How do I know when my watermelon is ripe?
A: Determining when a watermelon is ripe can be tricky, but here are a few indicators:
* The tendril closest to the fruit turns brown and dries up.
* The underside of the watermelon (where it rests on the ground) turns from white to a creamy yellow.
* The watermelon sounds dull and hollow when you thump it.
* The rind becomes dull and loses its glossy appearance.
It may take some practice to accurately determine ripeness, so don’t be discouraged if you don’t get it right the first time.
Q: What are some common pests and diseases that affect watermelons?
A: Watermelons can be susceptible to various pests and diseases, including:
* Aphids: Small, sap-sucking insects that can weaken plants.
* Cucumber beetles: Beetles that feed on leaves and transmit diseases.
* Squash vine borers: Larvae that bore into the stems of plants.
* Powdery mildew: A fungal disease that causes a white, powdery coating on leaves.
* Fusarium wilt: A soilborne fungal disease that causes wilting and death of plants.
To prevent pest and disease problems, practice good garden hygiene, such as removing plant debris and weeds. Use organic pest control methods, such as insecticidal soap or neem oil, to control pests. Choose disease-resistant watermelon varieties whenever possible.
Q: Do I need to pollinate my watermelon flowers?
A: Yes, watermelons require pollination to produce fruit. Watermelons have separate male and female flowers on the same plant. Bees are the primary pollinators of watermelons. To attract bees to your garden, plant flowering herbs and vegetables nearby. If you don’t have enough bees in your area, you can hand-pollinate your watermelon flowers. To hand-pollinate, use a small paintbrush to transfer pollen from the male flower to the female flower. The female flower has a small, immature watermelon at its base.
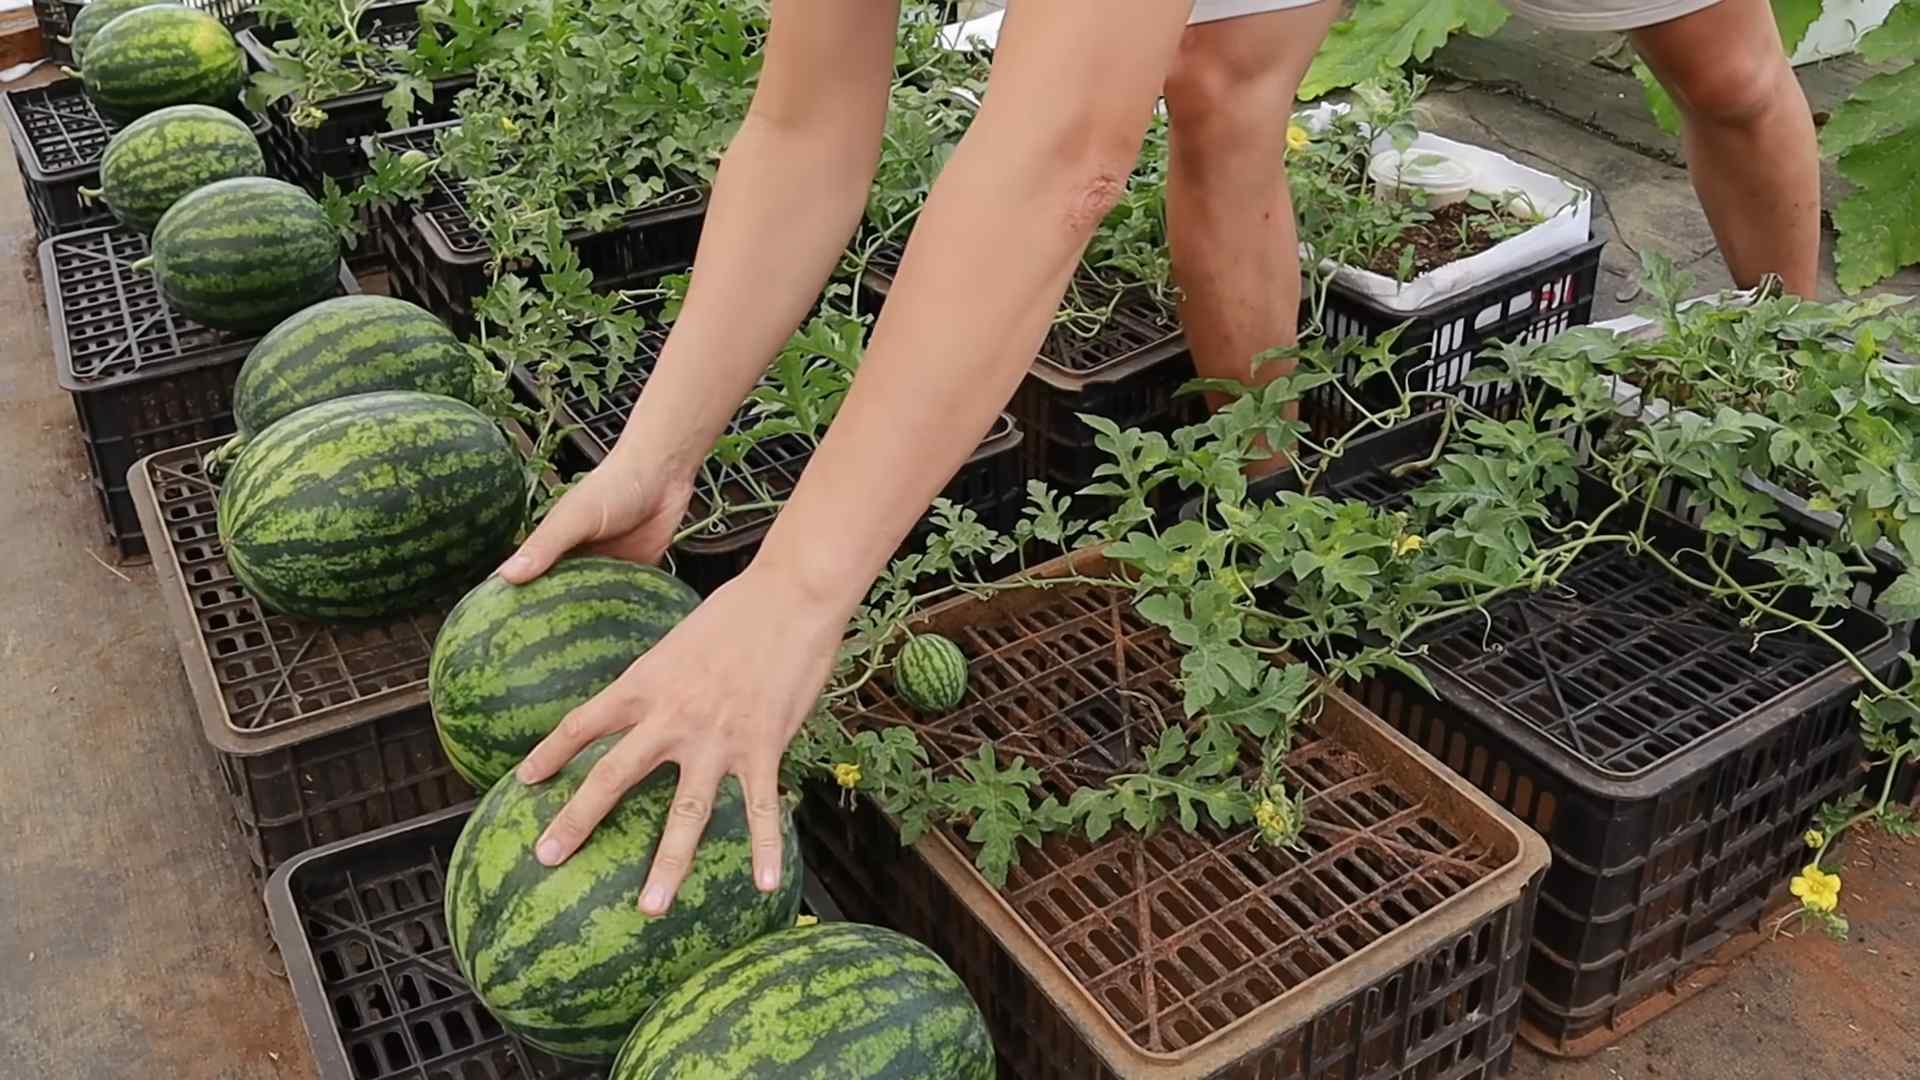
Q: Can I grow watermelon in containers?
A: Yes, you can grow watermelon in containers, but you’ll need a large container (at least 20 gallons) with good drainage. Choose a compact or bush-type watermelon variety that is suitable for container growing. Use a high-quality potting mix and provide regular watering and fertilization. You may also need to provide support for the vines as they grow.
Q: How do I store my harvested watermelons?
A: Store your harvested watermelons in a cool, dry place. Whole watermelons can be stored at room temperature for up to two weeks. Cut watermelons should be stored in the refrigerator, wrapped tightly in plastic wrap, and consumed within a few days.
Leave a Comment