

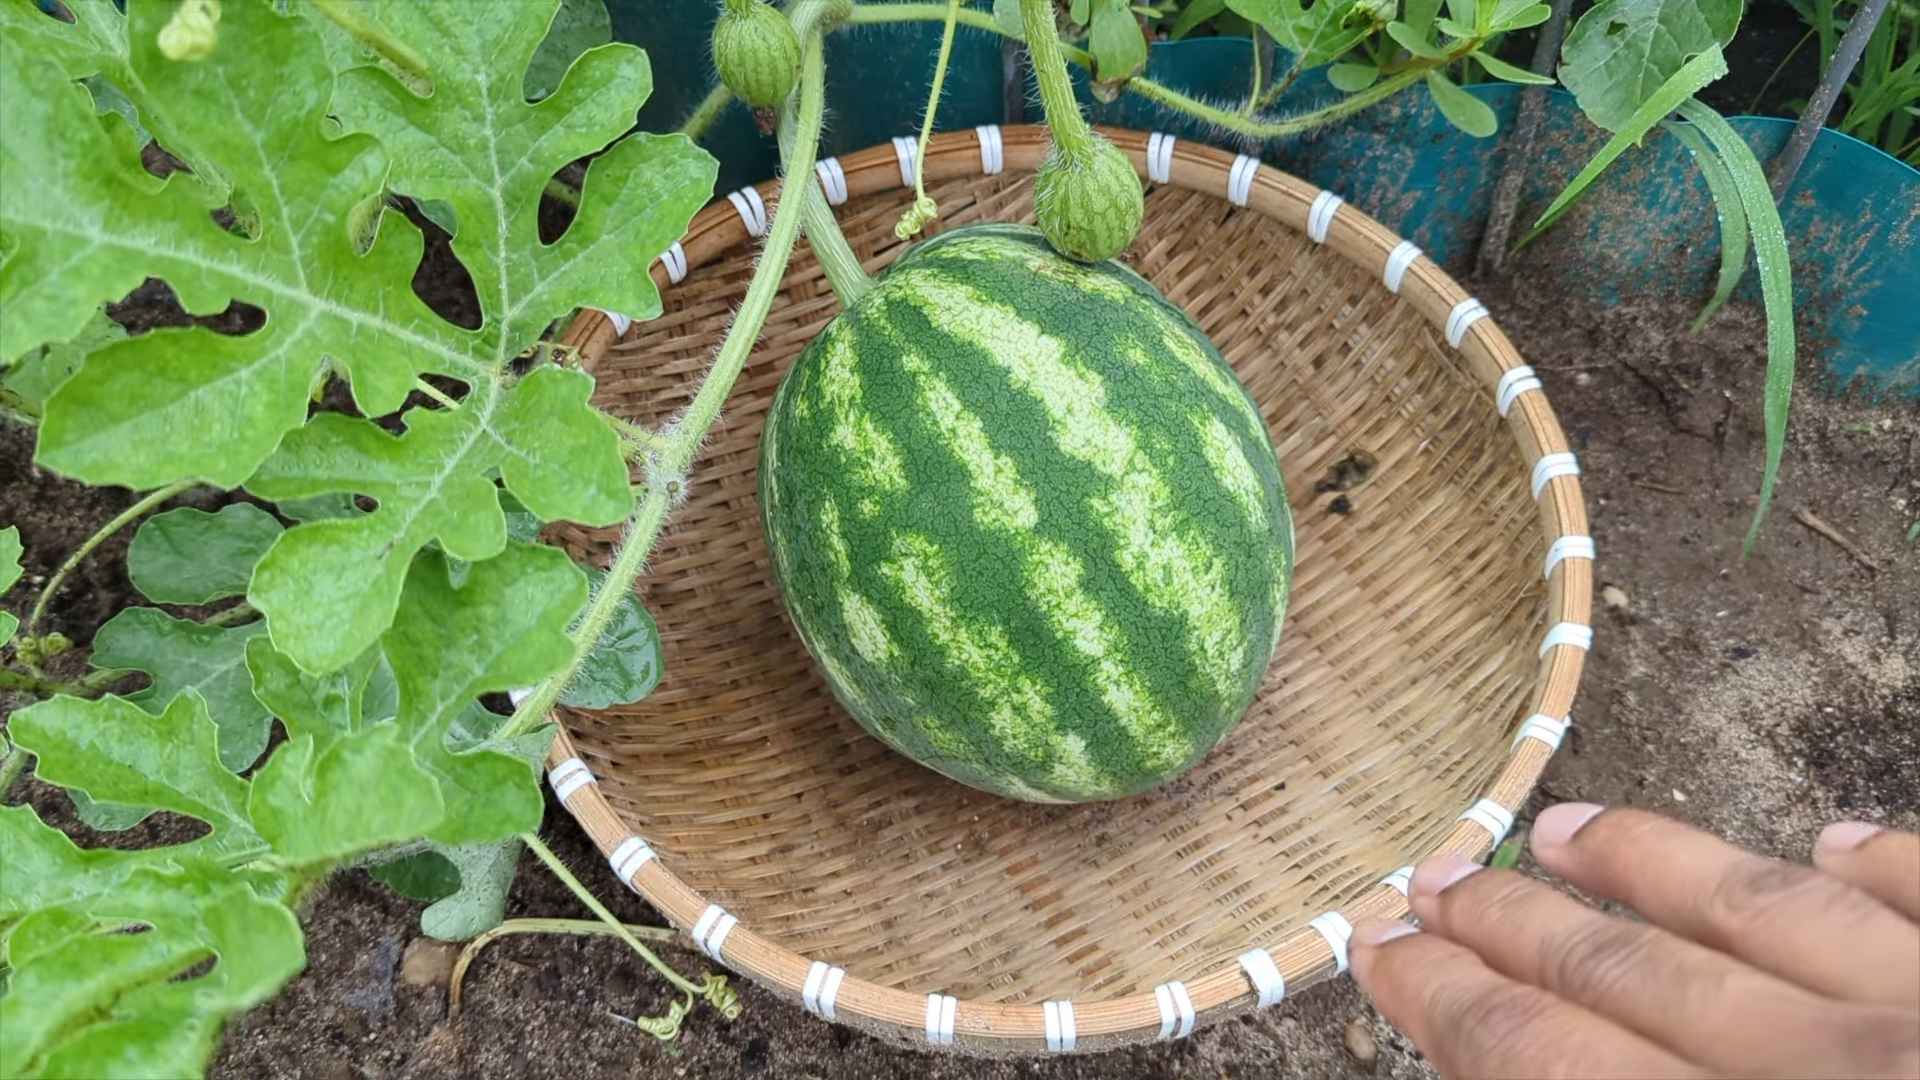
Grow Watermelons at Home, even if you think you don’t have the space! Have you ever dreamed of biting into a juicy, sun-ripened watermelon that you grew yourself? It sounds idyllic, doesn’t it? But the thought of sprawling vines taking over your entire backyard might seem daunting. Well, fear not, fellow gardening enthusiasts! This isn’t just another article about planting seeds; it’s your personal guide to unlocking the secrets of cultivating these summertime delights in even the most compact spaces.
Watermelons have a rich history, dating back thousands of years to Africa, where they were prized for their hydrating properties in arid climates. Over time, different cultures have embraced the watermelon, developing unique varieties and cultivation techniques. Today, we’re taking that knowledge and adapting it for the modern home gardener.
Why do you need these DIY tricks and hacks? Because store-bought watermelons, while convenient, often lack the intense flavor and satisfaction that comes from nurturing your own. Plus, knowing exactly where your food comes from and how it was grown is incredibly rewarding. I’m going to share some clever techniques to grow watermelons at home, regardless of your garden size. From vertical gardening solutions to space-saving container methods, we’ll explore everything you need to know to harvest your own sweet, refreshing watermelons this season. Get ready to impress your friends and family with your green thumb!
Growing Watermelons: A Beginner’s Guide to Sweet Success!
Okay, so you want to grow watermelons at home? Awesome! It might seem intimidating, but trust me, with a little planning and effort, you can be enjoying juicy, homegrown watermelon before you know it. I’m going to walk you through everything you need to know, from choosing the right variety to harvesting your prize-winning melon. Let’s get started!
Choosing the Right Watermelon Variety
First things first, you need to pick a watermelon variety that suits your climate and garden space. Not all watermelons are created equal! Some are huge and sprawling, while others are more compact and early-maturing. Here’s a breakdown to help you decide:
* Climate Considerations: If you live in a region with a short growing season, opt for early-maturing varieties like ‘Sugar Baby,’ “Bush Sugar Baby” or ‘Golden Midget.’ These varieties ripen faster and are more likely to produce fruit before the first frost. For longer, warmer climates, you have more options, including larger varieties like ‘Charleston Gray’ or ‘Crimson Sweet.’
* Space Constraints: Watermelons are vines, and some can spread quite a bit! If you have limited space, consider bush or compact varieties like ‘Bush Sugar Baby’ or ‘Garden Baby.’ These varieties are bred to be more contained and are perfect for smaller gardens or even containers. You can also train the vines to grow vertically on a trellis to save space.
* Taste Preferences: Do you prefer a super sweet, red-fleshed watermelon? Or maybe you’re curious about yellow or orange varieties? ‘Yellow Doll’ and ‘Orange Tendersweet’ are great options if you want to try something different. ‘Crimson Sweet’ is a classic red variety known for its sweetness and disease resistance.
* Seedless vs. Seeded: Seedless watermelons are convenient, but they require a little more attention to pollinate. If you’re a beginner, you might want to start with a seeded variety like ‘Sugar Baby’ or ‘Black Diamond.’ If you’re feeling adventurous, go for a seedless variety, but be sure to plant a pollinator variety (a seeded watermelon) nearby to ensure fruit set.
Preparing Your Garden Bed
Watermelons are heavy feeders, meaning they need a lot of nutrients to grow and produce fruit. Preparing your garden bed properly is crucial for success.
* Sunlight: Watermelons need at least 6-8 hours of direct sunlight per day. Choose a location in your garden that gets plenty of sun.
* Soil: Watermelons prefer well-drained, sandy loam soil with a pH between 6.0 and 6.8. If your soil is heavy clay, amend it with compost, aged manure, or other organic matter to improve drainage and fertility.
* Nutrients: Before planting, amend your soil with a generous amount of compost or well-rotted manure. You can also add a balanced fertilizer (like 10-10-10) according to the package directions. Watermelons need plenty of nitrogen early in their growth to develop strong vines, but they also need phosphorus and potassium for fruit production.
* Spacing: Give your watermelon plants plenty of room to spread. For vining varieties, space plants 3-5 feet apart in rows that are 6-8 feet apart. Bush varieties can be planted closer together, about 2-3 feet apart.
Planting Your Watermelon Seeds or Seedlings
You can start watermelon seeds indoors 4-6 weeks before the last expected frost, or you can direct sow them in the garden after the soil has warmed up to at least 70°F (21°C).
* Starting Seeds Indoors:
1. Fill seed trays or small pots with a seed-starting mix.
2. Plant 2-3 seeds per cell or pot, about 1 inch deep.
3. Water gently and keep the soil moist but not soggy.
4. Place the trays or pots in a warm location (75-85°F or 24-29°C) or use a heat mat to speed up germination.
5. Once the seedlings emerge, provide them with plenty of light. A sunny windowsill or grow lights will work.
6. Thin the seedlings to one plant per cell or pot after they have developed their first true leaves.
7. Harden off the seedlings by gradually exposing them to outdoor conditions for a week before transplanting them into the garden.
* Direct Sowing Seeds:
1. Wait until the soil has warmed up to at least 70°F (21°C).
2. Create small mounds of soil about 3-5 feet apart for vining varieties or 2-3 feet apart for bush varieties.
3. Plant 4-5 seeds per mound, about 1 inch deep.
4. Water gently and keep the soil moist but not soggy.
5. Once the seedlings emerge, thin them to the strongest 2-3 plants per mound.
* Transplanting Seedlings:
1. Choose a cloudy day to transplant your seedlings to minimize stress.
2. Dig a hole that is slightly larger than the root ball of the seedling.
3. Gently remove the seedling from its pot and loosen the roots slightly.
4. Place the seedling in the hole and backfill with soil.
5. Water thoroughly and apply a layer of mulch around the plant to help retain moisture and suppress weeds.
Caring for Your Watermelon Plants
Once your watermelon plants are in the ground, it’s important to provide them with the care they need to thrive.
* Watering: Watermelons need consistent moisture, especially during fruit development. Water deeply and regularly, aiming for about 1-2 inches of water per week. Avoid overhead watering, as this can promote fungal diseases. Drip irrigation or soaker hoses are ideal for watering watermelons. Reduce watering as the fruits ripen to prevent them from splitting.
* Fertilizing: Side-dress your watermelon plants with a balanced fertilizer (like 10-10-10) every 3-4 weeks. You can also use a liquid fertilizer, such as fish emulsion or seaweed extract, to provide a boost of nutrients. As the fruits begin to develop, switch to a fertilizer that is higher in phosphorus and potassium to promote fruit growth and sweetness.
* Weeding: Keep your watermelon patch free of weeds, as they can compete with the plants for nutrients and water. Hand-pull weeds regularly or use a hoe to cultivate the soil around the plants. Be careful not to damage the watermelon vines or roots.
* Pollination: Watermelons rely on bees and other pollinators to transfer pollen from the male flowers to the female flowers. If you notice a lack of bees in your garden, you can hand-pollinate the flowers yourself. To do this, use a small paintbrush to collect pollen from the male flowers and transfer it to the stigma of the female flowers. Female flowers have a small, immature watermelon at the base of the flower.
* Vine Training: As your watermelon vines grow, you can train them to grow in a specific direction or on a trellis. This can help to save space and improve air circulation. Use soft ties or twine to secure the vines to the trellis.
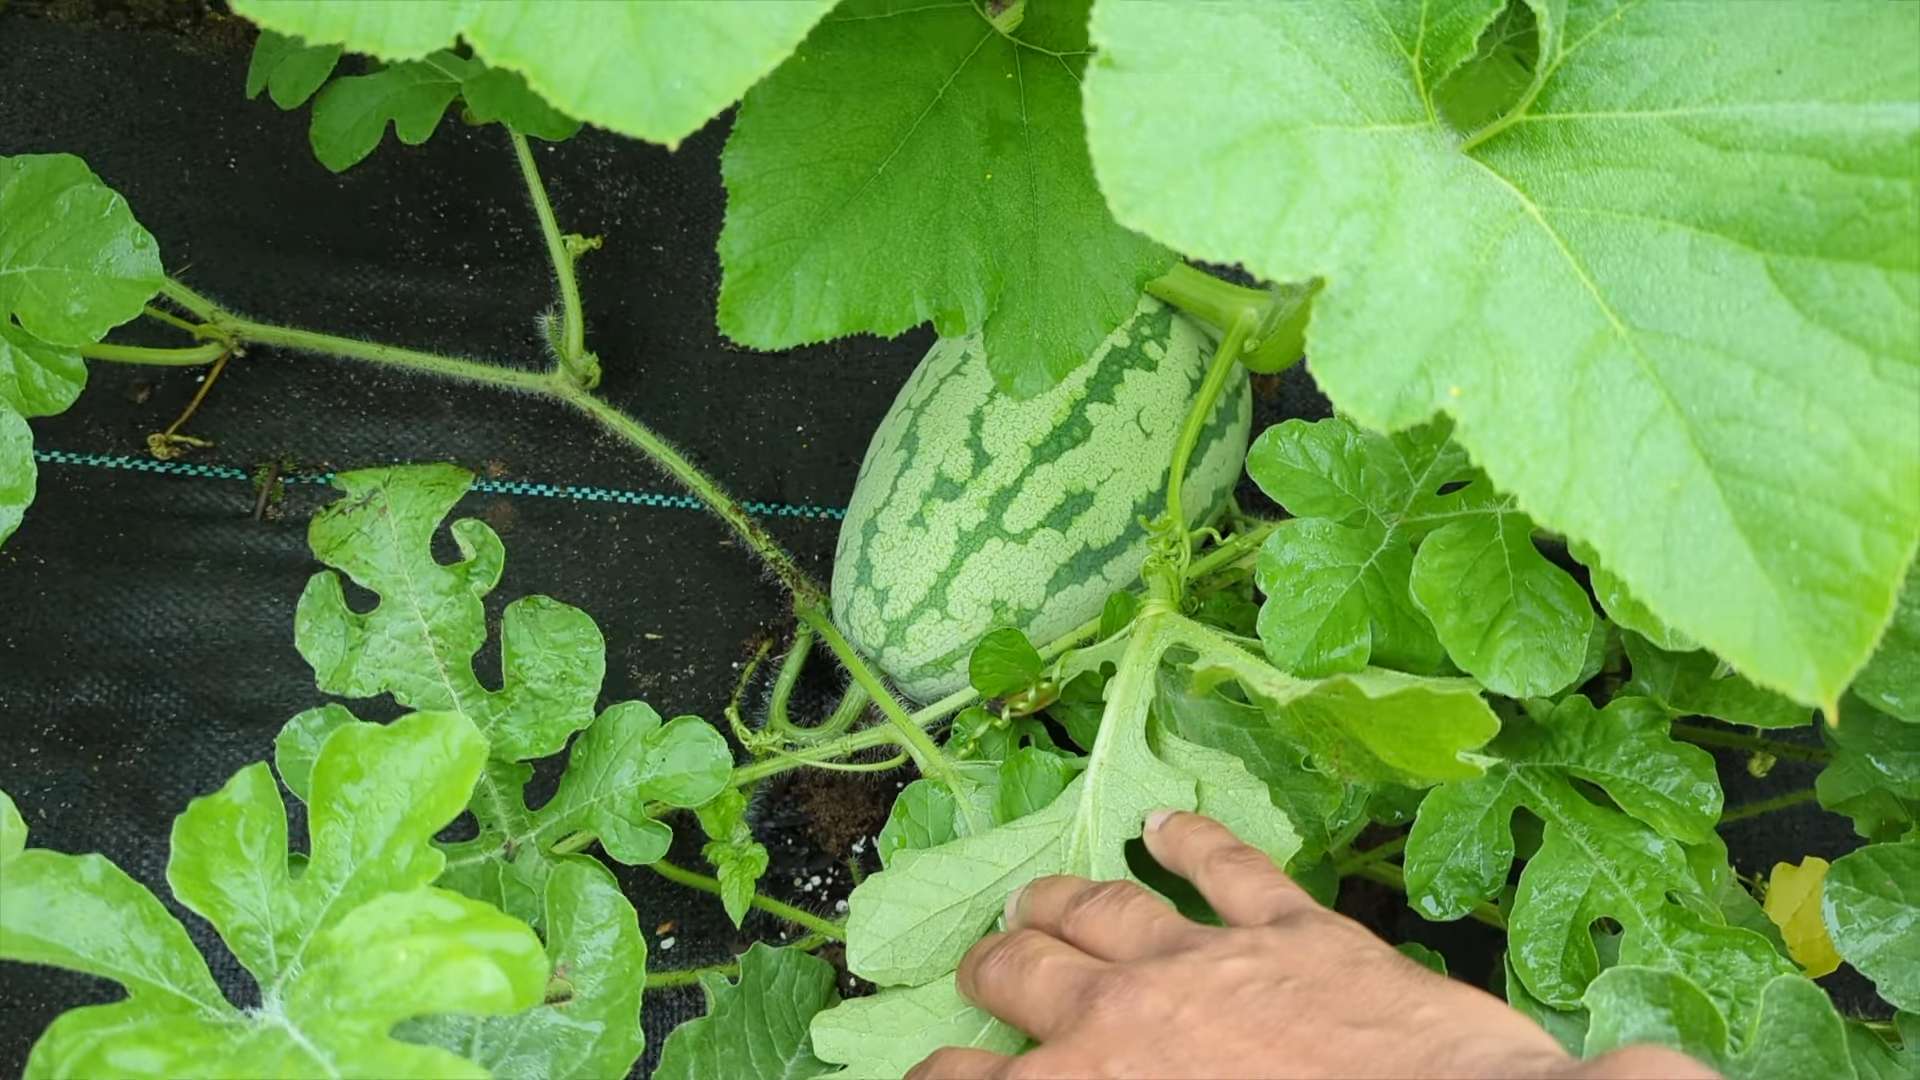
* Protecting the Fruit: As the watermelons grow, you may want to protect them from pests and diseases. Place a piece of cardboard or straw under each watermelon to prevent it from rotting on the ground. You can also cover the watermelons with netting to protect them from birds and other animals.
Dealing with Pests and Diseases
Watermelons can be susceptible to a variety of pests and diseases. Here are some common problems and how to deal with them:
* Cucumber Beetles: These small, yellow and black beetles can damage watermelon leaves and transmit diseases. Control them with insecticides or by covering the plants with row covers.
* Squash Bugs: These large, brown bugs can suck the sap from watermelon leaves and stems. Hand-pick them off the plants or use insecticides.
* Aphids: These small, sap-sucking insects can weaken watermelon plants. Control them with insecticidal soap or by releasing beneficial insects like ladybugs.
* Powdery Mildew: This fungal disease causes a white, powdery coating on watermelon leaves. Prevent it by providing good air circulation and avoiding overhead watering. Treat it with fungicides if necessary.
* Fusarium Wilt: This soilborne fungal disease can cause watermelon plants to wilt and die. Plant disease-resistant varieties and practice crop rotation to prevent it.
* Anthracnose: This fungal disease causes dark, sunken lesions on watermelon leaves and fruits. Prevent it by providing good air circulation and avoiding overhead watering. Treat it with fungicides if necessary.
Harvesting Your Watermelons
Knowing when to harvest your watermelons is key to enjoying their sweet, juicy flavor. Here are some signs that a watermelon is ripe:
Conclusion
So, there you have it! Growing watermelons at home might seem daunting at first, but with a little patience, the right techniques, and our simple DIY trick, you’ll be sinking your teeth into juicy, homegrown goodness before you know it. This isn’t just about saving money at the grocery store; it’s about experiencing the unparalleled satisfaction of nurturing a plant from seed to fruit, connecting with nature, and enjoying a flavor that store-bought watermelons simply can’t match.
The beauty of this DIY approach lies in its adaptability. Feel free to experiment with different watermelon varieties. Perhaps you’re drawn to the classic Crimson Sweet, known for its vibrant red flesh and exceptional sweetness. Or maybe you’re intrigued by the smaller, personal-sized Sugar Baby, perfect for individual servings. For a unique twist, consider growing yellow or orange-fleshed watermelons like the Yellow Crimson or OrangeGlo. These varieties offer a different flavor profile and a stunning visual appeal.
Beyond variety, you can also tailor the growing process to your specific environment. If you live in a region with a shorter growing season, starting your seeds indoors is crucial. Use peat pots or biodegradable containers to minimize root disturbance when transplanting. For those with limited space, consider training your watermelon vines vertically on a trellis. This not only saves space but also improves air circulation, reducing the risk of fungal diseases. You can even try growing watermelons in large containers, ensuring they have adequate drainage and nutrient-rich soil.
Remember, the key to successful watermelon cultivation is consistent care. Regular watering, proper fertilization, and vigilant pest control are essential. Keep a close eye on your plants for any signs of distress, such as yellowing leaves or insect infestations. Addressing these issues promptly will help ensure a bountiful harvest. And don’t forget the importance of pollination! If you’re not seeing fruit set, you may need to hand-pollinate the female flowers, especially if you have limited bee activity in your area.
This DIY trick for growing watermelons at home is more than just a method; it’s an invitation to embark on a rewarding gardening journey. It’s a chance to learn, experiment, and connect with the natural world. We are confident that you can successfully grow watermelons at home.
We wholeheartedly encourage you to give this a try. Don’t be afraid to get your hands dirty and embrace the challenges along the way. The reward of biting into a sweet, juicy watermelon that you’ve grown yourself is well worth the effort. And most importantly, we want to hear about your experiences! Share your photos, tips, and stories with us in the comments below. Let’s create a community of watermelon enthusiasts and learn from each other’s successes and failures. Together, we can all enjoy the delicious fruits (literally!) of our labor. Happy growing!
Frequently Asked Questions (FAQ)
Q: What is the best time to start growing watermelons?
A: The ideal time to start growing watermelons depends on your climate. Watermelons are warm-season crops and require a long growing season of at least 70-90 days. In colder climates, start seeds indoors 6-8 weeks before the last expected frost. In warmer climates, you can directly sow seeds outdoors after the soil has warmed up to at least 70°F (21°C). Generally, late spring or early summer is the best time to plant watermelons.
Q: What kind of soil is best for growing watermelons?
A: Watermelons thrive in well-drained, sandy loam soil that is rich in organic matter. The soil should have a pH between 6.0 and 6.8. Before planting, amend the soil with compost or well-rotted manure to improve its fertility and drainage. Avoid heavy clay soils, as they can retain too much moisture and lead to root rot. If you have clay soil, consider growing watermelons in raised beds or containers with a suitable potting mix.
Q: How much sunlight do watermelons need?
A: Watermelons require at least 6-8 hours of direct sunlight per day to produce sweet, juicy fruits. Choose a planting location that receives full sun throughout the day. Insufficient sunlight can result in smaller, less flavorful watermelons.
Q: How often should I water my watermelon plants?
A: Watermelons need consistent moisture, especially during fruit development. Water deeply and regularly, aiming for about 1-2 inches of water per week. Avoid overhead watering, as it can promote fungal diseases. Instead, water at the base of the plants or use a soaker hose. During hot, dry weather, you may need to water more frequently. Reduce watering as the fruits ripen to prevent them from splitting.
Q: What kind of fertilizer should I use for watermelons?
A: Watermelons are heavy feeders and benefit from regular fertilization. Before planting, incorporate a balanced fertilizer (e.g., 10-10-10) into the soil. After the plants start to vine, side-dress them with a nitrogen-rich fertilizer to promote vegetative growth. Once the fruits begin to set, switch to a fertilizer that is higher in phosphorus and potassium to support fruit development. Follow the instructions on the fertilizer label for application rates.
Q: How do I know when my watermelons are ripe?
A: Determining when a watermelon is ripe can be tricky, but there are several indicators to look for:
* **The tendril closest to the fruit turns brown and dries up.**
* **The spot where the watermelon rests on the ground (the “ground spot”) turns from white to yellow or cream-colored.**
* **The watermelon sounds dull and hollow when you thump it.**
* **The rind becomes dull and loses its glossy appearance.**
It may take some practice to accurately determine ripeness, so don’t be discouraged if you don’t get it right the first time.
Q: How can I prevent pests and diseases from affecting my watermelons?
A: To prevent pests and diseases, practice good garden hygiene. Remove weeds and debris from around the plants to improve air circulation. Use row covers to protect young plants from pests like cucumber beetles. Monitor your plants regularly for signs of pests or diseases, such as aphids, squash bugs, or powdery mildew. Treat infestations promptly with appropriate insecticides or fungicides. Crop rotation can also help prevent soilborne diseases.
Q: Can I grow watermelons in containers?
A: Yes, you can grow watermelons in containers, but you’ll need a large container (at least 20 gallons) with good drainage. Choose a dwarf or bush variety of watermelon that is better suited for container growing. Use a high-quality potting mix and provide regular watering and fertilization. Container-grown watermelons may require more frequent watering than those grown in the ground.
Q: How do I hand-pollinate watermelons?
A: If you’re not seeing fruit set, you may need to hand-pollinate the female flowers. Female flowers have a small, immature watermelon at the base of the flower, while male flowers do not. To hand-pollinate, use a small paintbrush or cotton swab to collect pollen from the male flower and transfer it to the stigma of the female flower. Do this in the morning, when the flowers are open.
Q: What are some common problems when growing watermelons?
A: Some common problems include:
* **Poor pollination:** This can result in small or misshapen fruits.
* **Blossom-end rot:** This is caused by calcium deficiency and can be prevented by ensuring adequate calcium levels in the soil.
* **Fungal diseases:** Powdery mildew, downy mildew, and anthracnose can affect watermelon plants. Use fungicides and improve air circulation to prevent these diseases.
* **Pests:** Cucumber beetles, squash bugs, and aphids can damage watermelon plants. Use insecticides or row covers to control these pests.
By addressing these problems promptly, you can ensure a healthy and productive watermelon crop.
Leave a Comment