

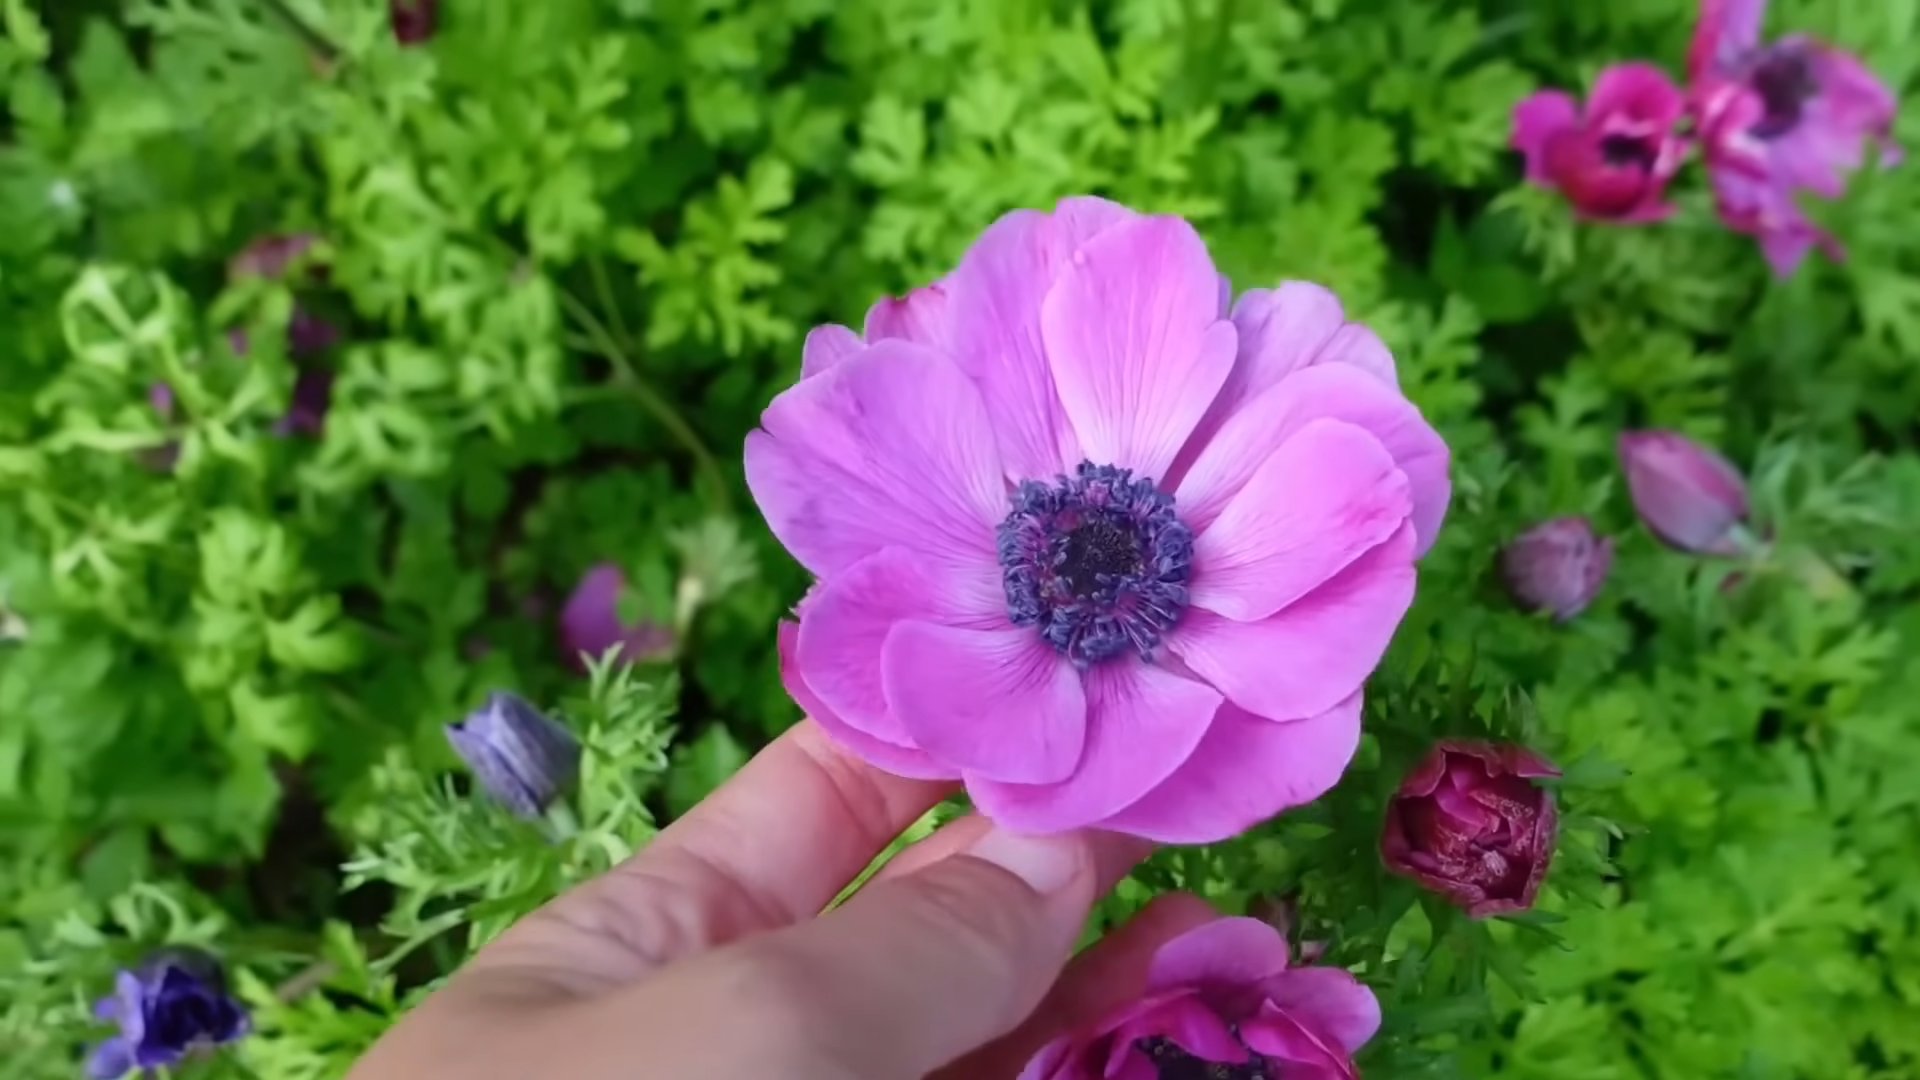
Growing Anemones Tips: Ever dreamt of a vibrant burst of color gracing your garden, a whimsical dance of delicate petals swaying in the breeze? I know I have! Anemones, with their captivating beauty and relatively easy cultivation, offer just that. But let’s be honest, sometimes even the most enthusiastic gardener needs a little help to unlock their full potential.
These charming flowers boast a rich history, gracing landscapes and folklore for centuries. From ancient Greek mythology, where they sprung from the tears of Aphrodite, to their symbolic representation of anticipation and protection, anemones have always held a special place in our hearts and gardens. But beyond the romance, successfully growing anemones tips can sometimes feel like a secret code.
That’s where this DIY guide comes in! I’m sharing my tried-and-true tricks and hacks to help you cultivate thriving anemones, regardless of your gardening experience. Whether you’re struggling with bulb dormancy, battling pests, or simply seeking to maximize your blooms, I’ve got you covered. Because let’s face it, a garden overflowing with these stunning flowers is a reward worth pursuing. So, grab your gardening gloves, and let’s dive into the wonderful world of anemones!
Growing Anemones: A DIY Guide to Breathtaking Blooms
Anemones, with their vibrant colors and delicate petals, are a true delight in any garden. I’ve always been captivated by their beauty, and after a few trials and errors, I’ve finally cracked the code to successfully growing these beauties. Let me share my secrets with you! This guide will walk you through everything you need to know, from selecting the right corms to enjoying a stunning display of anemone flowers.
Choosing and Preparing Your Anemone Corms
The first step to anemone success lies in selecting healthy corms and preparing them properly. Think of corms as the anemone’s energy storage unit – a good start here sets the stage for vibrant blooms later.
* Selecting Healthy Corms: Look for firm, plump corms. Avoid any that are soft, shriveled, or show signs of mold. Larger corms generally produce more flowers.
* Soaking the Corms: This is crucial! Anemone corms are notoriously dry and need to be rehydrated before planting.
1. Fill a bowl with lukewarm water.
2. Place the corms in the water and let them soak for 2-4 hours. You’ll notice they start to plump up as they absorb water. Some people even recommend adding a rooting hormone to the water at this stage, but I’ve found it’s not always necessary.
3. Keep an eye on the corms. If they’re still floating after a few hours, gently push them down to ensure they’re fully submerged.
* Pre-sprouting (Optional but Recommended): For an extra head start, you can pre-sprout your corms.
1. After soaking, place the corms in a container filled with damp (not soggy!) vermiculite or peat moss.
2. Keep the container in a cool, dark place (around 50-60°F or 10-15°C).
3. Check the corms regularly. In a week or two, you should see small roots emerging.
4. Once the roots are about half an inch long, they’re ready to plant.
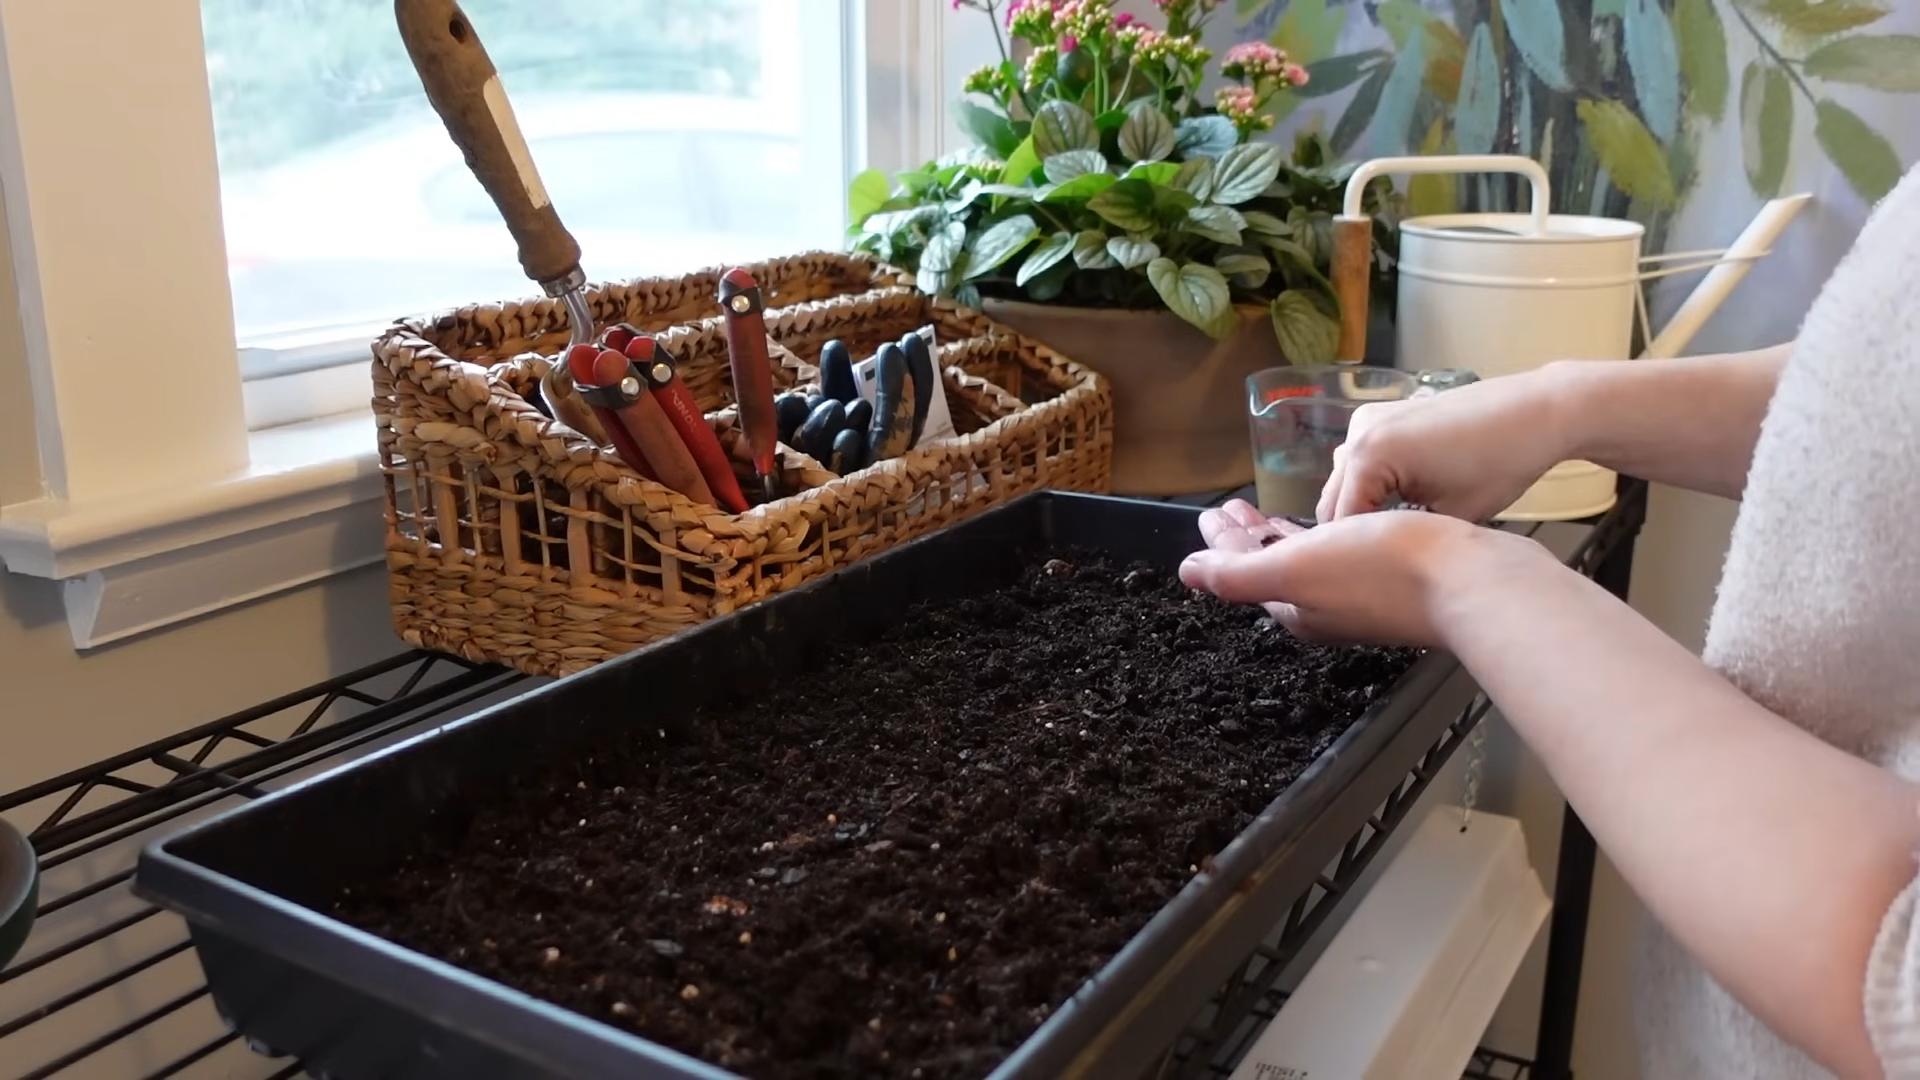
Planting Your Anemone Corms
Now comes the exciting part – getting those corms into the ground! Proper planting depth and spacing are key to healthy growth.
* Choosing the Right Location: Anemones thrive in well-drained soil and prefer a sunny location. They need at least 6 hours of sunlight per day. If you live in a warmer climate, a spot with partial afternoon shade is ideal.
* Preparing the Soil: Anemones aren’t too fussy about soil type, but they do need good drainage. Amend heavy clay soil with compost or other organic matter to improve drainage. I like to add a little bone meal to the planting hole to encourage strong root growth.
* Planting Depth and Spacing:
1. Dig a hole about 2-3 inches deep.
2. Place the corm in the hole with the pointed end facing down (if you can identify it – sometimes it’s hard to tell!). If you pre-sprouted your corms, be extra careful not to damage the delicate roots.
3. Cover the corm with soil and gently firm it down.
4. Space the corms about 4-6 inches apart.
* Watering After Planting: Water thoroughly after planting to settle the soil around the corms.
Caring for Your Anemones
Once your anemones are planted, consistent care is essential for beautiful blooms.
* Watering: Keep the soil consistently moist, but not waterlogged. Water when the top inch of soil feels dry to the touch. Avoid overhead watering, as this can promote fungal diseases.
* Fertilizing: Feed your anemones with a balanced liquid fertilizer every 2-3 weeks during the growing season. I like to use a fertilizer that’s specifically formulated for flowering plants.
* Mulching: Apply a layer of mulch around the plants to help retain moisture, suppress weeds, and regulate soil temperature.
* Pest and Disease Control: Anemones are generally pest-resistant, but they can be susceptible to aphids, slugs, and snails. Check your plants regularly and take action if you see any signs of infestation. Slugs and snails can be handpicked or trapped. For aphids, try spraying with insecticidal soap. Fungal diseases can be prevented by ensuring good air circulation and avoiding overhead watering. If you notice any signs of disease, treat with a fungicide.
* Staking (If Necessary): Some taller varieties of anemones may need staking to prevent them from flopping over. Use bamboo stakes or other supports to keep the plants upright.
Encouraging Continuous Blooming
To keep your anemones blooming for as long as possible, deadhead spent flowers regularly. This encourages the plant to produce more blooms instead of putting energy into seed production. Simply snip off the faded flowers just below the flower head.
Overwintering Anemones
Whether or not you need to overwinter your anemones depends on your climate.
* In Mild Climates (Zones 7-10): Anemones can often be left in the ground over winter. Cut back the foliage after it dies back in the fall and apply a layer of mulch to protect the corms from frost.
* In Cold Climates (Zones 3-6): It’s best to dig up the corms in the fall and store them indoors over winter.
1. After the foliage has died back, carefully dig up the corms.
2. Gently brush off any excess soil.
3. Allow the corms to dry for a few days in a cool, dry place.
4. Store the corms in a paper bag or container filled with dry peat moss or vermiculite.
5. Keep the container in a cool, dark place (around 40-50°F or 4-10°C) over winter.
6. Replant the corms in the spring after the last frost.
Troubleshooting Common Anemone Problems
Even with the best care, you might encounter a few challenges when growing anemones. Here are some common problems and how to address them:
* No Blooms: This could be due to several factors, including insufficient sunlight, poor soil drainage, or corms that weren’t properly rehydrated. Make sure your anemones are getting enough sunlight, the soil is well-drained, and you soaked the corms before planting.
* Yellowing Leaves: Yellowing leaves can be a sign of overwatering, underwatering, or nutrient deficiency. Check the soil moisture and adjust your watering accordingly. If the soil is consistently moist, it could be a sign of root rot. Improve drainage by amending the soil with compost or other organic matter. If the leaves are yellowing all over, it could be a sign of nutrient deficiency. Fertilize with a balanced liquid fertilizer.
* Leggy Growth: Leggy growth (tall, spindly stems) is usually a sign of insufficient sunlight. Move your anemones to a sunnier location.
* Rotting Corms: Rotting corms are usually caused by poor drainage or overwatering. Make sure the soil is well-drained and avoid overwatering. If you suspect root rot, dig up the corms and inspect them. If they’re soft and mushy, they’re likely rotting and should be discarded.
Choosing Anemone Varieties
There are many different varieties of anemones to choose from, each with its own unique colors and characteristics. Here are a few popular choices:
* Anemone coronaria (Poppy Anemone): These are the most common type of anemone, known for their vibrant colors and poppy-like flowers. They come in a wide range of colors, including red, pink, purple, blue, and white. ‘De Caen’ and ‘St. Brigid’ are popular cultivars.
* Anemone blanda (Grecian Windflower): These are smaller, more delicate anemones that bloom in early spring. They come in shades of blue, pink, and white.
* Anemone hupehensis (Japanese Anemone): These are taller, later-blooming anemones that produce masses of delicate pink or white flowers in the fall. They’re a great choice for adding late-season color to your garden.
* Anemone nemorosa (Wood Anemone): These are native woodland plants that thrive in shady conditions. They produce delicate white flowers in early spring.
Propagating Anemones
While anemones are typically grown from corms, you can also propagate them from seed, although it’s a more challenging process.
* Collecting Seeds: Allow the seed heads to dry on the plant. Once they’re dry, collect the seeds and store them in a paper bag in a cool, dry place.
* Sowing Seeds:
Conclusion
So, there you have it! Mastering the art of growing anemones doesn’t have to be shrouded in mystery or reserved for seasoned gardeners. With a little patience, the right conditions, and this straightforward DIY trick, you can unlock a vibrant explosion of color in your own garden. We’ve demystified the process, providing you with a clear path to success, even if you’re a beginner.
Why is this DIY approach a must-try? Because it empowers you to take control of your anemone cultivation. You’re not relying on expensive pre-sprouted bulbs or complicated techniques. Instead, you’re nurturing these delicate beauties from the very beginning, ensuring they’re acclimated to your specific environment and ready to thrive. This hands-on approach fosters a deeper connection with your garden and a greater sense of accomplishment when those first vibrant blooms appear.
But the beauty of gardening lies in its adaptability! Feel free to experiment with variations on this DIY trick. For instance, if you live in a particularly warm climate, consider using a slightly cooler location for pre-sprouting your anemone bulbs. You could also try different types of growing mediums, such as a mix of coco coir and perlite, to see what works best for your soil conditions. Some gardeners even add a small amount of bone meal to the soaking water to provide an extra boost of phosphorus, which promotes strong root development.
Don’t be afraid to get creative with your anemone displays! Plant them in clusters for a dramatic splash of color, or intersperse them with other spring-blooming flowers like tulips and daffodils for a diverse and visually appealing garden bed. Anemones also thrive in containers, making them perfect for patios, balconies, or even indoor spaces with sufficient sunlight.
Ultimately, the key to success with growing anemones is observation and adaptation. Pay close attention to your plants, monitor their growth, and adjust your techniques as needed. Remember, every garden is unique, and what works for one gardener may not work for another.
We are confident that this DIY trick will significantly improve your chances of success with growing anemones. It’s a simple, cost-effective, and rewarding way to bring these stunning flowers into your life.
Now, it’s your turn! We wholeheartedly encourage you to try this DIY trick for growing anemones and witness the magic unfold in your own garden. Once you’ve experienced the joy of nurturing these vibrant blooms, we’d love to hear about your journey. Share your experiences, tips, and photos with us in the comments below. Let’s create a community of anemone enthusiasts, sharing our knowledge and inspiring each other to cultivate even more beautiful gardens. Happy gardening!
Frequently Asked Questions (FAQ)
What exactly are anemones, and why should I grow them?
Anemones are a genus of flowering plants in the buttercup family (Ranunculaceae). They are prized for their vibrant, poppy-like blooms that come in a wide array of colors, including red, pink, purple, white, and even bi-colored varieties. Growing anemones adds a touch of elegance and whimsy to any garden, attracting pollinators like bees and butterflies. They are relatively easy to grow, especially with the DIY trick outlined above, and their long-lasting blooms make them excellent cut flowers for bouquets and arrangements. Their relatively short stature also makes them ideal for borders, rock gardens, and container planting.
When is the best time to plant anemone bulbs?
The ideal planting time for anemone bulbs depends on your climate. In regions with mild winters (zones 7-10), you can plant them in the fall (October-November) for spring blooms. In colder climates (zones 3-6), it’s best to plant them in the spring (March-April) after the last frost. Planting in the fall in warmer climates allows the bulbs to establish roots over the winter, resulting in earlier and more abundant blooms in the spring. If you’re unsure about your climate zone, consult a local gardening resource or your local extension office.
How long does it take for anemone bulbs to sprout after planting?
Anemone bulbs can be a bit slow to sprout, so patience is key. Generally, you can expect to see sprouts emerge within 2-4 weeks after planting, but it can sometimes take longer, especially if the soil is cold or the bulbs are not properly pre-soaked. The pre-soaking step is crucial because it helps to rehydrate the dried bulbs and kickstart the germination process. Make sure to keep the soil consistently moist, but not waterlogged, during this period.
What kind of soil do anemones prefer?
Anemones thrive in well-draining soil that is rich in organic matter. Amend your soil with compost or well-rotted manure before planting to improve drainage and fertility. A slightly acidic to neutral soil pH (around 6.0-7.0) is ideal. If your soil is heavy clay, consider adding sand or perlite to improve drainage. Avoid planting anemones in overly wet or compacted soil, as this can lead to bulb rot.
How much sunlight do anemones need?
Anemones prefer a location that receives full sun to partial shade. In warmer climates, partial shade during the hottest part of the day is beneficial to prevent the flowers from fading too quickly. In cooler climates, full sun is generally preferred to encourage strong growth and abundant blooms. Observe your garden throughout the day to determine the best location for your anemones, taking into account the amount of sunlight and shade they will receive.
How often should I water anemones?
Water anemones regularly, especially during dry periods. Keep the soil consistently moist, but avoid overwatering, which can lead to bulb rot. Water deeply when the top inch of soil feels dry to the touch. During the blooming period, increase watering slightly to support flower production. After the blooms fade, gradually reduce watering as the foliage begins to die back.
Do I need to fertilize anemones?
Yes, fertilizing anemones can help to promote strong growth and abundant blooms. Apply a balanced fertilizer (e.g., 10-10-10) in the spring when the plants begin to emerge. You can also use a fertilizer specifically formulated for bulbs. Avoid over-fertilizing, as this can lead to excessive foliage growth at the expense of flowers. A light feeding every few weeks during the blooming period can also be beneficial.
Are anemones deer resistant?
Anemones are considered to be moderately deer resistant, but this can vary depending on the deer population in your area and the availability of other food sources. If deer are a problem in your garden, consider protecting your anemones with fencing or deer repellent. You can also plant them near other deer-resistant plants to deter deer from browsing.
How do I store anemone bulbs for the winter?
In colder climates where anemones are not hardy, you will need to dig up the bulbs in the fall after the foliage has died back. Allow the bulbs to dry completely before storing them in a cool, dry place, such as a garage or basement. Store them in a paper bag or mesh bag to allow for air circulation. Replant the bulbs in the spring after the last frost. In warmer climates where anemones are hardy, you can leave the bulbs in the ground over the winter.
What are some common problems that affect anemones?
Some common problems that can affect anemones include bulb rot, fungal diseases, and pests such as aphids and slugs. Bulb rot is usually caused by overwatering or poor drainage. Fungal diseases can be prevented by providing good air circulation and avoiding overhead watering. Aphids can be controlled with insecticidal soap or neem oil. Slugs can be controlled with slug bait or by hand-picking them off the plants. Regularly inspect your anemones for signs of pests or diseases and take action promptly to prevent them from spreading.


Leave a Comment