

Growing Dill Windowsill Herb Garden: Imagine fresh, fragrant dill sprigs just an arm’s reach away, ready to elevate your culinary creations! No sprawling garden needed – just a sunny windowsill and a little know-how. For centuries, dill has been cherished not only for its distinct flavor but also for its medicinal properties. Ancient Egyptians used it to soothe digestion, while Romans believed it brought good fortune.
Today, in our fast-paced lives, the simple act of nurturing a plant can be incredibly grounding. And let’s be honest, who wants to run to the grocery store every time a recipe calls for a pinch of fresh dill? That’s where this DIY guide comes in. I’m going to show you how incredibly easy it is to create your own thriving growing dill windowsill herb garden, even if you’ve never grown anything before.
This isn’t just about convenience; it’s about connecting with nature, reducing your carbon footprint, and enjoying the unparalleled taste of homegrown herbs. Plus, a lush, green windowsill garden adds a touch of beauty to any home. So, grab your pots, soil, and dill seeds, and let’s embark on this rewarding journey together! I promise, you’ll be amazed at how simple and satisfying it is to have fresh dill at your fingertips.
Growing Dill Indoors: Your Guide to a Thriving Windowsill Herb Garden
Hey there, fellow herb enthusiasts! I’m so excited to share my secrets to growing lush, fragrant dill right on your windowsill. Forget those sad, wilted bunches from the grocery store – fresh, homegrown dill is just a few steps away! This guide will walk you through everything you need to know, from choosing the right container to harvesting your bounty. Let’s get started!
Choosing the Right Container and Soil
Before we even think about seeds, we need to set the stage for success. The right container and soil are crucial for healthy dill growth.
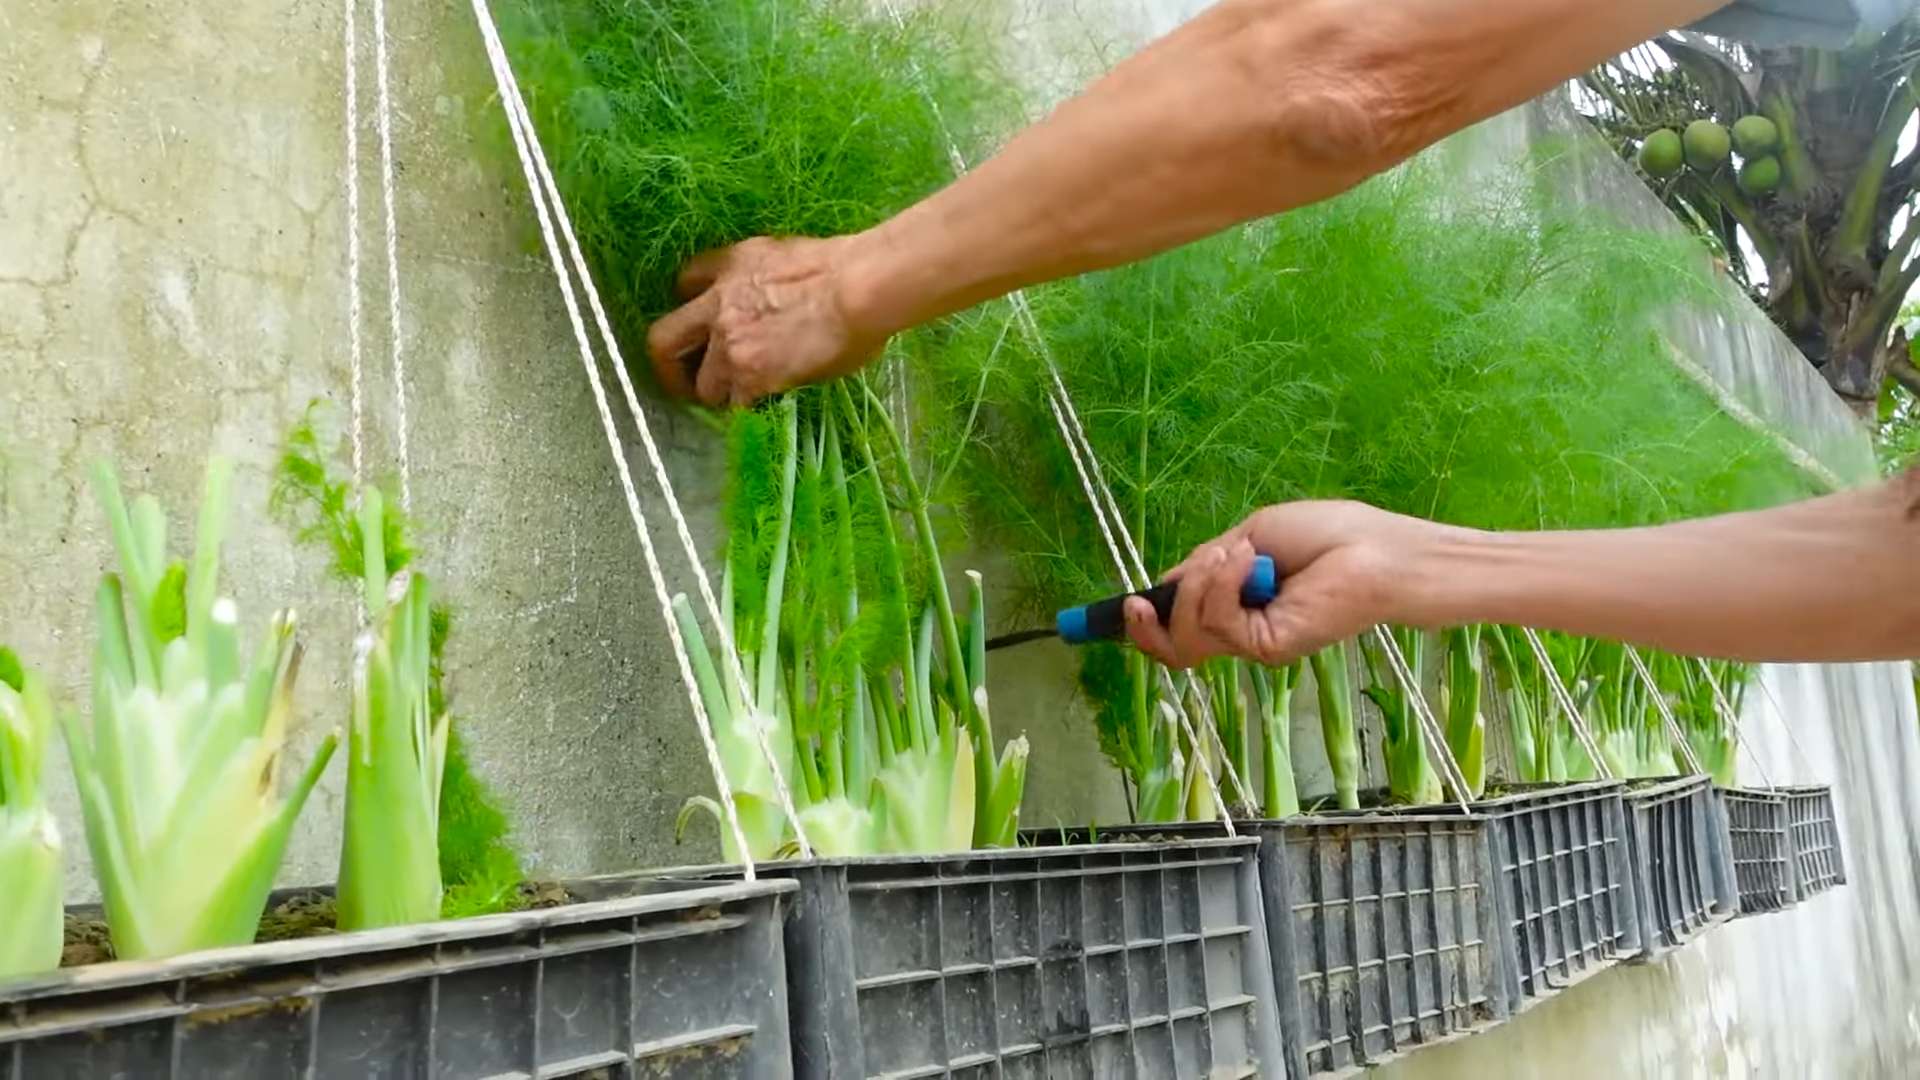
* Container Size: Dill has a surprisingly deep root system. I recommend a pot that’s at least 6-8 inches deep and 6 inches in diameter. This gives the roots plenty of room to spread out and prevents the plant from becoming root-bound.
* Drainage: This is non-negotiable! Make sure your pot has drainage holes. Dill hates sitting in soggy soil, which can lead to root rot. If your pot doesn’t have drainage, you can drill some yourself, or use a liner with drainage holes inside a decorative pot.
* Material: Plastic, terracotta, or ceramic pots all work well. Terracotta pots are porous, which helps the soil dry out faster, which can be beneficial if you tend to overwater. Plastic pots retain moisture better, so they might be a better choice if you’re a forgetful waterer.
* Soil: Don’t use garden soil! It’s too heavy and doesn’t drain well enough for container gardening. Instead, opt for a high-quality potting mix specifically designed for herbs or vegetables. I like to add a little perlite or vermiculite to improve drainage and aeration.
Planting Your Dill Seeds
Now for the fun part – planting those tiny seeds that will soon become a fragrant dill plant!
1. Prepare the Soil: Fill your chosen container with the potting mix, leaving about an inch of space at the top. Gently pat the soil down to remove any large air pockets.
2. Sow the Seeds: Dill seeds are small, so you don’t need to bury them too deep. Sprinkle the seeds evenly over the surface of the soil. I usually aim for about 5-10 seeds per pot.
3. Cover the Seeds: Lightly cover the seeds with a thin layer of potting mix, about ¼ inch deep.
4. Water Gently: Use a spray bottle or watering can with a gentle rose to water the soil thoroughly. Be careful not to dislodge the seeds. You want the soil to be moist but not waterlogged.
5. Provide Warmth: Dill seeds germinate best in warm temperatures (around 70-75°F). Place your pot in a warm location, such as near a sunny window or on a heat mat.
6. Cover (Optional): To help retain moisture and speed up germination, you can cover the pot with plastic wrap or a clear plastic bag. Just make sure to remove the cover once the seedlings emerge to prevent fungal diseases.
Caring for Your Dill Plant
Once your dill seedlings have sprouted, it’s time to provide them with the care they need to thrive.
* Light: Dill needs plenty of sunlight – at least 6 hours of direct sunlight per day. A south-facing window is ideal. If you don’t have enough natural light, you can supplement with a grow light. I’ve found that using a grow light really makes a difference, especially during the winter months.
* Watering: Water your dill plant when the top inch of soil feels dry to the touch. Avoid overwatering, as this can lead to root rot. Water deeply, allowing the excess water to drain out of the drainage holes.
* Fertilizing: Dill is a relatively light feeder, but it will benefit from occasional fertilization. Use a balanced liquid fertilizer diluted to half strength every 2-4 weeks. I like to use an organic fertilizer to keep things natural.
* Thinning: Once your seedlings have a few sets of true leaves, you’ll need to thin them out. This means removing some of the weaker seedlings to give the remaining plants more room to grow. Snip the unwanted seedlings off at the soil level with scissors. Aim to have about 2-3 dill plants per pot.
* Pinching: Pinching back the tips of your dill plant encourages bushier growth. Simply snip off the top inch or two of the main stem. This will also delay flowering, which can make the leaves taste bitter.
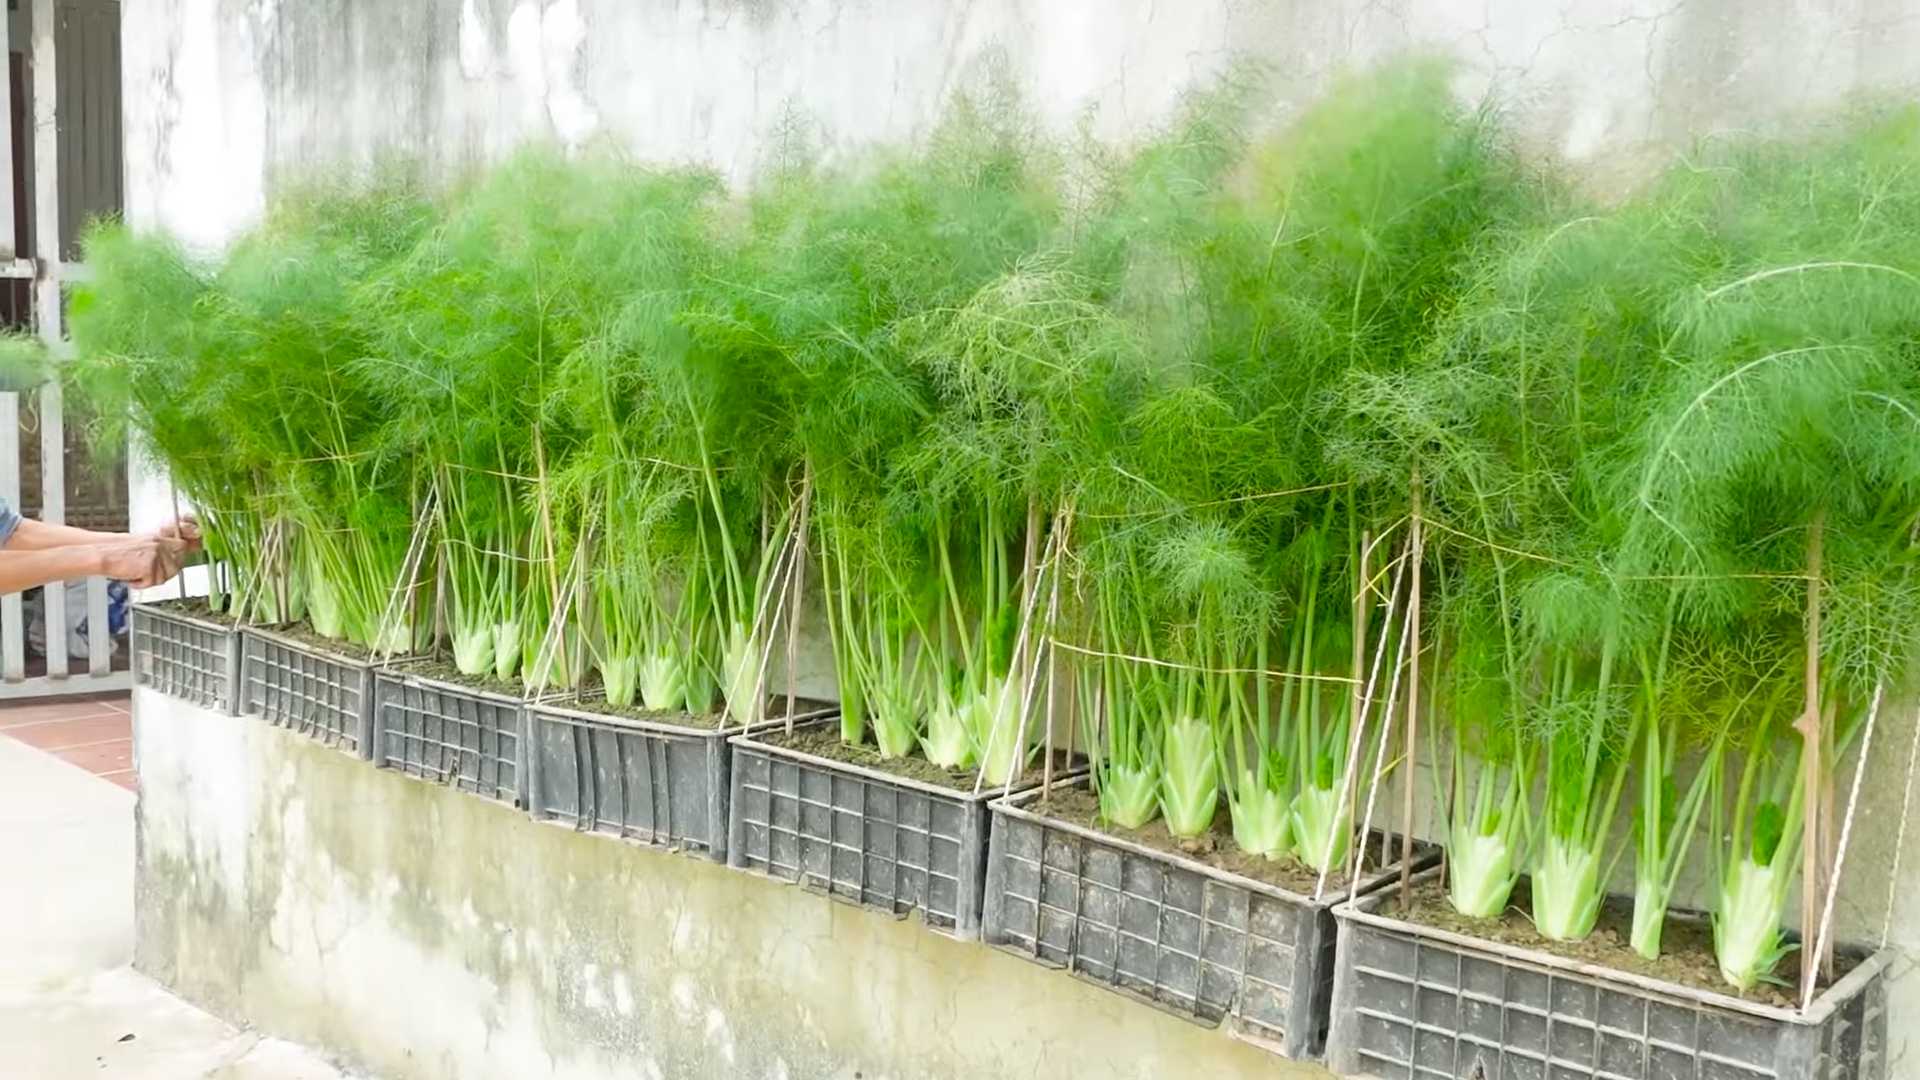
* Support: As your dill plant grows taller, it may need some support to prevent it from flopping over. You can use a small stake or trellis to provide support.
Dealing with Pests and Diseases
Thankfully, dill is relatively pest-resistant. However, it can occasionally be affected by aphids, spider mites, or powdery mildew.
* Aphids: These tiny pests suck the sap from plants, causing them to become weak and stunted. You can control aphids by spraying them with a strong stream of water or by using insecticidal soap.
* Spider Mites: These tiny pests create webs on plants and cause the leaves to become speckled and yellow. You can control spider mites by increasing humidity and by spraying them with insecticidal soap.
* Powdery Mildew: This fungal disease causes a white, powdery coating to appear on the leaves. You can prevent powdery mildew by providing good air circulation and by avoiding overhead watering. If powdery mildew does occur, you can treat it with a fungicide.
Harvesting Your Dill
The best part of growing your own dill is, of course, harvesting it!
* When to Harvest: You can start harvesting dill leaves as soon as the plant is about 6-8 inches tall. The leaves will be most flavorful before the plant flowers.
* How to Harvest: Use scissors or pruning shears to snip off the leaves you need. You can harvest individual leaves or entire stems.
* Encouraging Continued Growth: To encourage continued growth, avoid harvesting more than one-third of the plant at a time. Also, pinch back the tips of the stems after harvesting to promote bushier growth.
* Dill Seeds: If you allow your dill plant to flower, it will produce seeds. You can harvest the seeds once they turn brown and dry. Dill seeds have a stronger, more pungent flavor than the leaves.
Extending the Harvest
Dill is an annual plant, meaning it completes its life cycle in one year. However, you can extend the harvest by succession planting.
* Succession Planting: Sow new dill seeds every 2-3 weeks to ensure a continuous supply of fresh dill throughout the growing season. I usually start a new batch of seeds just as I’m starting to harvest from the previous batch.
* Overwintering: In mild climates, you may be able to overwinter your dill plant indoors. Bring the plant indoors before the first frost and place it in a sunny location. Water sparingly during the winter months.
Using Your Fresh Dill
Now that you have a bountiful supply of fresh dill, it’s time to put it to good use!
* Culinary Uses: Dill is a versatile herb that can be used in a variety of dishes. It’s a classic addition to pickles, dips, sauces, and salads. It also pairs well with fish, chicken, and vegetables. I love adding fresh dill to my scrambled eggs in the morning!
* Drying Dill: If you have more dill than you can use fresh, you can dry it for later use. To dry dill, simply hang the stems upside down in a cool, dry place until the leaves are brittle. You can also dry dill in a dehydrator or oven.
* Freezing Dill: Another way to preserve dill is to freeze it. Chop the dill leaves and place them in ice cube trays. Fill the trays with water or olive oil and freeze. Once frozen, transfer the dill cubes to a freezer bag.
Troubleshooting
Even with the best care, you may encounter some problems when growing dill indoors. Here are some common issues and how to fix them:
* Yellowing Leaves: This can be caused by overwatering, underwatering, or nutrient deficiencies. Check the soil moisture and adjust your watering accordingly. If the problem persists, try fertilizing your plant.
* Leggy Growth: This is usually caused by insufficient light. Move your plant to a sunnier location or supplement with a grow light.
* Lack of Flavor: This can be caused by flowering. Pinch back the tips of the stems to delay flowering and maintain the flavor of the leaves.
* Plant Wilting: This can be caused by root rot. Make sure your pot has drainage holes and avoid overwatering. If root rot is severe, you may need to repot your plant in fresh soil.
Final Thoughts
Growing dill indoors is a rewarding experience that allows you to enjoy fresh, flavorful herbs year-round. With a little care and attention, you can have a thriving dill plant right on your
Conclusion
So, there you have it! Cultivating your own dill windowsill herb garden is not just a charming addition to your kitchen; it’s a game-changer for flavor, freshness, and sustainability. Forget those sad, wilted bunches from the grocery store. Imagine snipping vibrant, fragrant dill sprigs right before adding them to your favorite dishes. The difference in taste is truly remarkable. This simple DIY project empowers you to elevate your cooking with the freshest possible ingredients, all while adding a touch of green to your indoor space.
Why is this a must-try? Because it’s incredibly easy, cost-effective, and rewarding. Even if you’ve never considered yourself a gardener, you can absolutely succeed with this project. Dill is a relatively low-maintenance herb, thriving with just a few hours of sunlight and consistent watering. Plus, think of the satisfaction of nurturing something from seed to harvest!
But the benefits extend beyond just fresh dill. Growing your own herbs reduces your reliance on store-bought produce, minimizing your carbon footprint and saving you money in the long run. It’s a small step towards a more sustainable lifestyle that anyone can take.
Looking for variations? Absolutely! Consider companion planting. Dill thrives alongside other herbs like basil and parsley, so you could create a mini herb garden on your windowsill. You can also experiment with different varieties of dill. ‘Bouquet’ dill is a popular choice for its abundant foliage, while ‘Fernleaf’ dill is more compact and ideal for smaller spaces. You could even try growing dill in different types of containers, from repurposed jars to decorative pots, to match your kitchen decor.
Another fun variation is to experiment with different growing mediums. While potting mix is the standard, you could try using coco coir or even a hydroponic system for a different approach. Just be sure to research the specific needs of dill when using alternative growing mediums.
And don’t forget about the flowers! Dill flowers are not only beautiful but also edible and attract beneficial insects to your garden. Let a few plants bolt (go to seed) to enjoy their delicate yellow blooms and attract pollinators like bees and butterflies to your outdoor space, if you choose to move your dill outside during warmer months.
We wholeheartedly encourage you to give this DIY dill windowsill herb garden a try. It’s a simple project with significant rewards. Once you experience the joy of harvesting your own fresh dill, you’ll never go back to store-bought again.
We’re eager to hear about your experiences! Share your photos, tips, and challenges in the comments below. Let’s create a community of windowsill gardeners and inspire others to embrace the freshness and flavor of homegrown herbs. What are you waiting for? Get planting!
Frequently Asked Questions (FAQ)
What kind of container should I use for my dill windowsill herb garden?
The best container for your dill depends on the space you have available and your aesthetic preferences. Ideally, choose a pot that is at least 6 inches deep and wide to allow the dill roots to grow comfortably. Make sure the container has drainage holes to prevent waterlogging, which can lead to root rot. Terracotta pots are a good option as they allow for good air circulation, but plastic pots are also fine and tend to retain moisture better. You can also repurpose containers like yogurt tubs or tin cans, just make sure to clean them thoroughly and drill drainage holes. Consider the overall look and feel of your kitchen when choosing a container to ensure it complements your decor.
How much sunlight does dill need when grown indoors?
Dill thrives in bright, sunny locations. Aim for at least 6 hours of direct sunlight per day. A south-facing windowsill is usually ideal. If you don’t have a sunny windowsill, you can supplement with a grow light. Place the grow light a few inches above the dill plants and keep it on for 12-14 hours per day. Rotate the pot regularly to ensure all sides of the plant receive adequate light. Insufficient sunlight can lead to leggy growth and reduced flavor.
How often should I water my dill plant?
Water your dill plant when the top inch of soil feels dry to the touch. Avoid overwatering, as this can lead to root rot. Water thoroughly until excess water drains out of the drainage holes. During warmer months, you may need to water more frequently. Check the soil moisture regularly and adjust your watering schedule accordingly. Dill prefers consistently moist soil, but not soggy.
What kind of soil should I use for growing dill?
Use a well-draining potting mix specifically formulated for herbs or vegetables. Avoid using garden soil, as it can be too heavy and compact, hindering drainage. A good potting mix will provide the necessary nutrients and aeration for healthy dill growth. You can also amend the potting mix with perlite or vermiculite to improve drainage.
How do I harvest dill from my windowsill herb garden?
You can start harvesting dill leaves once the plant is about 6-8 inches tall. Use scissors or pruning shears to snip off the leaves as needed. Avoid removing more than one-third of the plant at a time, as this can stress the plant. To encourage bushier growth, pinch off the top growth of the plant. You can also harvest the dill seeds once the plant flowers and the seeds turn brown.
My dill plant is turning yellow. What could be the problem?
Yellowing leaves can indicate several issues. Overwatering is a common cause, so ensure your pot has good drainage and allow the soil to dry slightly between waterings. Underwatering can also cause yellowing, so check the soil moisture regularly. Nutrient deficiencies can also lead to yellowing leaves. Fertilize your dill plant with a balanced liquid fertilizer every few weeks. Pests like aphids can also cause yellowing, so inspect your plant for any signs of infestation.
How do I prevent pests from attacking my dill plant?
Regularly inspect your dill plant for any signs of pests. Aphids, spider mites, and whiteflies are common pests that can attack dill. If you spot any pests, try washing them off with a strong stream of water. You can also use insecticidal soap or neem oil to control pests. Ensure good air circulation around your plant to prevent pest infestations.
Can I grow dill from seed indoors?
Yes, you can easily grow dill from seed indoors. Sow the seeds directly into your potting mix, about ¼ inch deep. Keep the soil moist and warm until the seeds germinate, which usually takes about 7-14 days. Once the seedlings emerge, provide them with plenty of sunlight or grow lights. Thin the seedlings to one plant per pot once they are a few inches tall.
How long will my dill plant last?
Dill is an annual herb, meaning it completes its life cycle in one growing season. However, you can extend the life of your dill plant by regularly harvesting the leaves and preventing it from flowering. Once the plant flowers and goes to seed, it will start to decline. You can collect the seeds and sow them for a new crop of dill.
Can I transplant my dill plant outdoors?
Yes, you can transplant your dill plant outdoors once the weather warms up and the risk of frost has passed. Choose a sunny location with well-draining soil. Harden off the plant by gradually exposing it to outdoor conditions for a week before transplanting. Water the plant thoroughly after transplanting.


Leave a Comment