

Growing Lavender Shrubs can transform your garden into a fragrant, buzzing paradise, and I’m here to show you how surprisingly easy it is to cultivate these beauties yourself! Forget those expensive nursery plants – we’re diving into the world of DIY propagation and care, unlocking the secrets to thriving lavender right in your backyard.
Lavender has a rich history, dating back to ancient times when it was used for medicinal purposes, perfumes, and even embalming! The Romans carried lavender throughout their empire, spreading its cultivation and appreciation. Today, lavender fields evoke images of the French countryside, but you don’t need to travel to Provence to enjoy its charm.
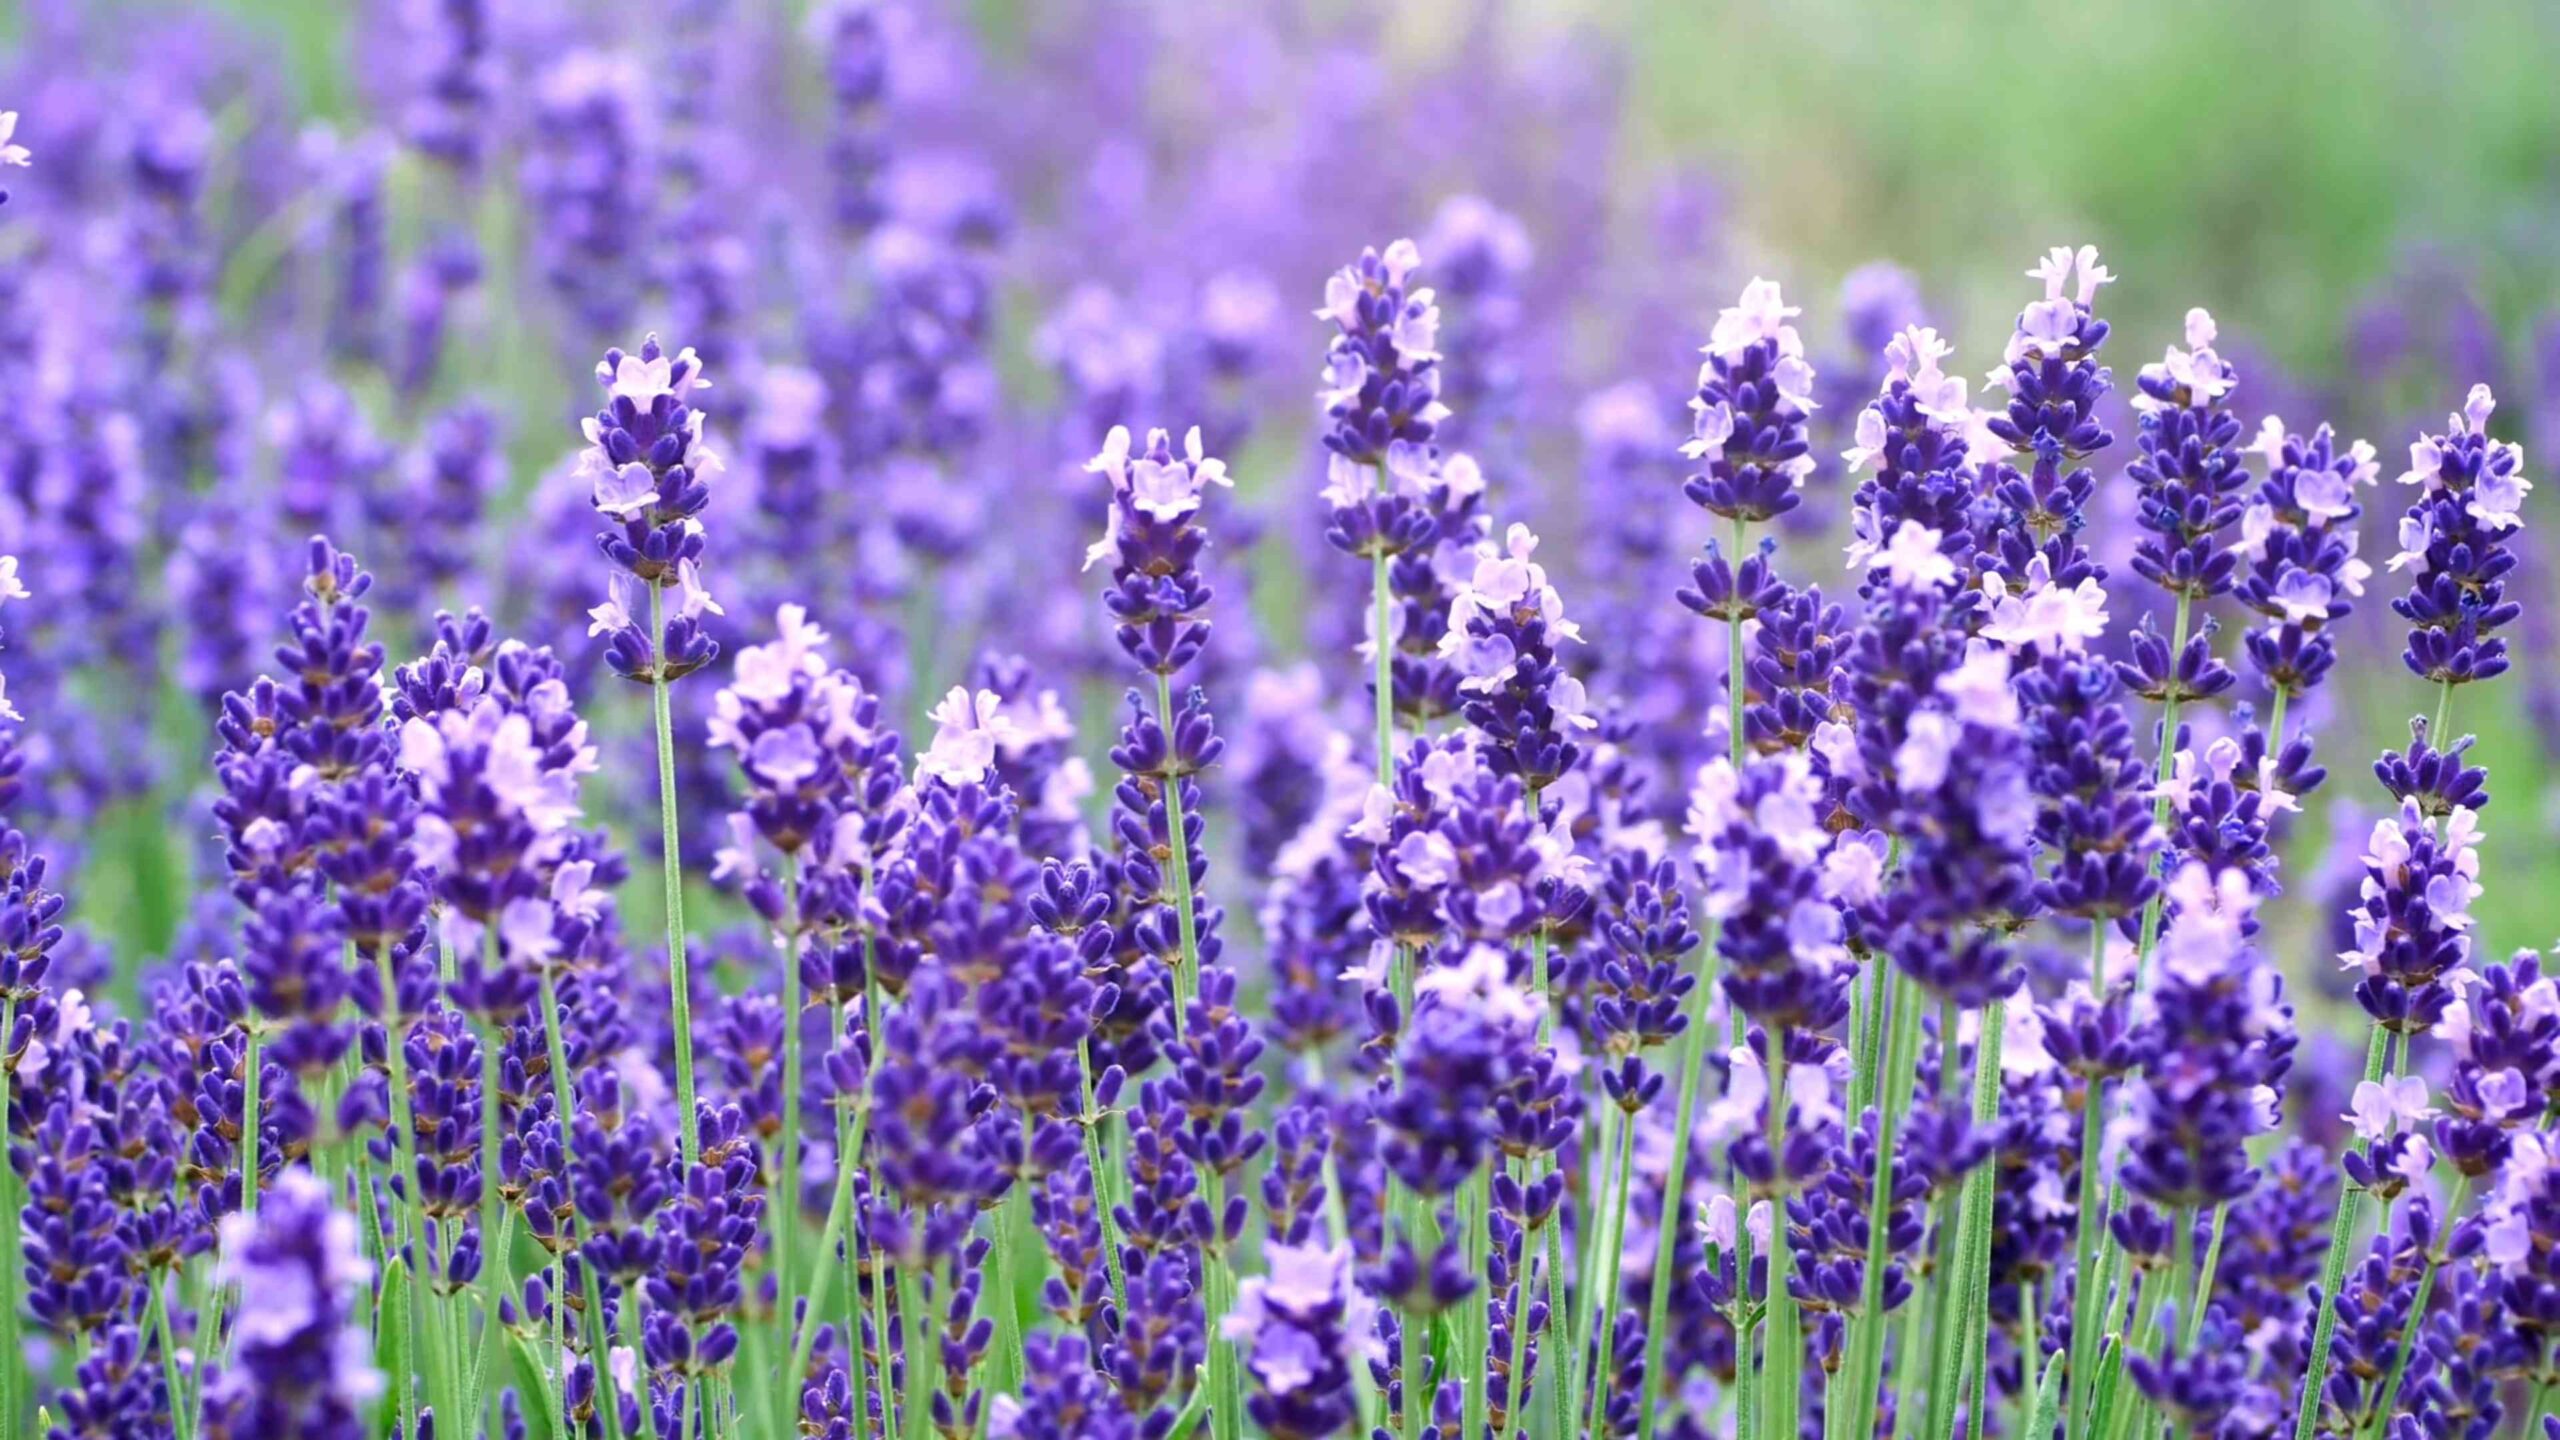
So, why should you embark on this DIY lavender adventure? Well, for starters, lavender is incredibly versatile. It attracts pollinators like bees and butterflies, adding life and vibrancy to your garden. Plus, its calming scent is known to reduce stress and improve sleep. But more importantly, learning these simple tricks will save you money and give you the satisfaction of nurturing your own plants from start to finish. I’ll guide you through everything from choosing the right variety to propagating new plants from cuttings, ensuring you have a flourishing lavender garden for years to come. Let’s get started and unlock the secrets to successfully growing lavender shrubs!
DIY: Propagating Lavender from Cuttings – A Beginner’s Guide
Hey there, fellow garden enthusiasts! Ever admired those lush, fragrant lavender bushes and wished you could have more without breaking the bank? Well, I’m here to tell you that propagating lavender from cuttings is totally doable, even for beginners. It’s a rewarding process, and before you know it, you’ll have a whole lavender field (or at least a few extra plants!) to enjoy. Let’s dive in!
What You’ll Need
Before we get our hands dirty, let’s gather our supplies. Here’s what you’ll need:
* Healthy Lavender Plant: Choose a mature, healthy lavender plant as your source. Avoid plants that show signs of disease or stress.
* Sharp, Clean Pruning Shears or Knife: Sterilize your cutting tools with rubbing alcohol to prevent the spread of diseases.
* Rooting Hormone (Optional but Recommended): This helps speed up the rooting process and increases your success rate.
* Small Pots or Seed Trays: Choose pots with drainage holes.
* Well-Draining Potting Mix: A mix of perlite, vermiculite, and peat moss works well. You can also use a commercial seed starting mix.
* Watering Can or Spray Bottle: For gentle watering.
* Clear Plastic Bag or Humidity Dome (Optional): To create a humid environment.
* Labels and a Pen: To keep track of your cuttings.
Taking the Cuttings
The best time to take lavender cuttings is in late spring or early summer, when the plant is actively growing. I’ve had success in early fall too, but spring/summer is generally more reliable.
1. Select Healthy Stems: Look for new growth that is green and flexible, but not too soft. Avoid woody stems. Choose stems that are about 4-6 inches long.
2. Make the Cut: Using your sterilized pruning shears or knife, make a clean cut just below a leaf node (the point where leaves grow from the stem).
3. Prepare the Cutting: Remove the leaves from the bottom 1-2 inches of the stem. This will prevent them from rotting when they’re buried in the soil. I usually just pinch them off with my fingers.
4. Optional: Dip in Rooting Hormone: If you’re using rooting hormone, dip the cut end of the stem into the powder or liquid. Tap off any excess. This step isn’t essential, but it definitely boosts your chances of success.
Planting the Cuttings
Now comes the fun part – getting those cuttings into the soil!
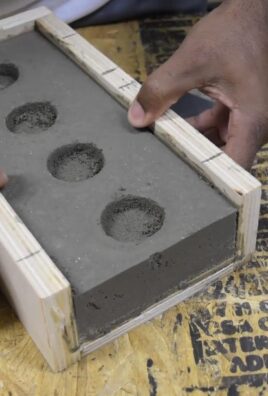
1. Prepare the Pots: Fill your small pots or seed trays with the well-draining potting mix. Moisten the mix thoroughly, but don’t let it get soggy.
2. Make a Hole: Use a pencil or your finger to create a small hole in the center of each pot. This will help you insert the cutting without damaging the rooting hormone (if you used it).
3. Insert the Cutting: Gently insert the cutting into the hole, making sure that the bottom 1-2 inches of the stem are buried in the soil.
4. Gently Press the Soil: Gently press the soil around the base of the cutting to secure it in place.
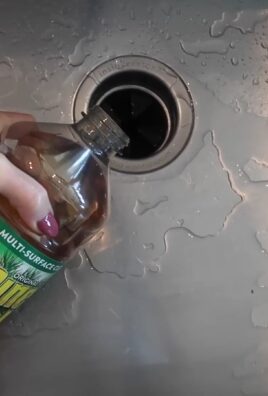
5. Water Gently: Water the cuttings gently with a watering can or spray bottle. Avoid overwatering, as this can lead to rot.
Creating a Humid Environment
Lavender cuttings need a humid environment to root successfully. Here are a couple of ways to achieve this:
* Plastic Bag Method: Place the pots inside a clear plastic bag. Seal the bag loosely to trap moisture, but leave a small opening for air circulation.
* Humidity Dome Method: If you have a humidity dome, place the seed tray or pots inside the dome.
Caring for Your Cuttings
Patience is key! It can take several weeks for lavender cuttings to root. Here’s how to care for them in the meantime:
1. Location: Place the cuttings in a bright, indirect light location. Avoid direct sunlight, as this can scorch the leaves. A windowsill with filtered light is ideal.
2. Watering: Keep the soil consistently moist, but not soggy. Check the soil moisture regularly and water when the top inch feels dry.
3. Humidity: Maintain a high humidity level. If you’re using a plastic bag, open it for a few minutes every day to allow for air circulation and prevent mold growth.
4. Check for Rooting: After a few weeks, gently tug on the cuttings to check for roots. If you feel resistance, it means they’ve started to root! You can also gently remove a cutting from its pot to check for root development.
Transplanting Your Lavender Seedlings
Once your lavender cuttings have developed a good root system, it’s time to transplant them into larger pots or directly into your garden.
1. Choose a Sunny Location: Lavender thrives in full sun, so choose a location that receives at least 6-8 hours of sunlight per day.
2. Prepare the Soil: Lavender prefers well-draining soil. If your soil is heavy clay, amend it with compost or other organic matter to improve drainage.
3. Dig a Hole: Dig a hole that is slightly larger than the root ball of the lavender seedling.
4. Remove the Seedling: Gently remove the lavender seedling from its pot, being careful not to damage the roots.
5. Place the Seedling: Place the seedling in the hole, making sure that the top of the root ball is level with the surrounding soil.
6. Fill the Hole: Fill the hole with soil and gently press it down around the base of the plant.
7. Water Thoroughly: Water the newly transplanted lavender thoroughly.
Ongoing Care
Congratulations! You’ve successfully propagated lavender from cuttings. Here are a few tips for ongoing care:
* Watering: Water lavender regularly, especially during dry periods. However, avoid overwatering, as this can lead to root rot.
* Fertilizing: Lavender doesn’t need a lot of fertilizer. A light feeding in the spring with a balanced fertilizer is usually sufficient.
* Pruning: Prune lavender after flowering to maintain its shape and encourage new growth. Cut back the stems by about one-third.
* Winter Protection: In colder climates, protect lavender from frost by mulching around the base of the plant.
Troubleshooting
Sometimes, things don’t go as planned. Here are a few common problems you might encounter when propagating lavender from cuttings:
* Cuttings Rotting: This is usually caused by overwatering or poor drainage. Make sure your potting mix is well-draining and avoid overwatering.
* Cuttings Not Rooting: This could be due to a number of factors, including poor quality cuttings, insufficient humidity, or lack of light. Make sure you’re using healthy cuttings, providing adequate humidity, and placing the cuttings in a bright, indirect light location.
* Cuttings Drying Out: This is usually caused by insufficient humidity. Make sure you’re providing a humid environment by using a plastic bag or humidity dome.
Extra Tips and Tricks
* Experiment with Different Lavender Varieties: Different lavender varieties may have different rooting success rates. Experiment to see which varieties work best for you.
* Take Multiple Cuttings: The more cuttings you take, the higher your chances of success.
* Be Patient: Rooting lavender cuttings can take time. Don’t get discouraged if you don’t see results immediately.
And that’s it! Propagating lavender from cuttings is a simple and rewarding way to expand your lavender collection. With a little patience and care, you’ll be enjoying the beauty and fragrance of lavender in your garden for years to come. Happy gardening!
Conclusion
So, there you have it! Mastering the art of growing lavender shrubs doesn’t require a green thumb blessed by the garden gods. It’s about understanding the plant’s needs, providing the right environment, and a little bit of patience. This DIY approach, focusing on well-draining soil, ample sunlight, and mindful watering, is a game-changer for anyone dreaming of a fragrant, purple-hued landscape.
Why is this a must-try? Because store-bought lavender, while beautiful, often lacks the robust health and longevity of plants nurtured from the ground up with your own care. You control the soil composition, ensuring it’s perfectly suited for lavender’s Mediterranean preferences. You monitor the watering, preventing the dreaded root rot that can plague these aromatic beauties. And, perhaps most importantly, you develop a connection with your plants, understanding their individual needs and celebrating their growth.
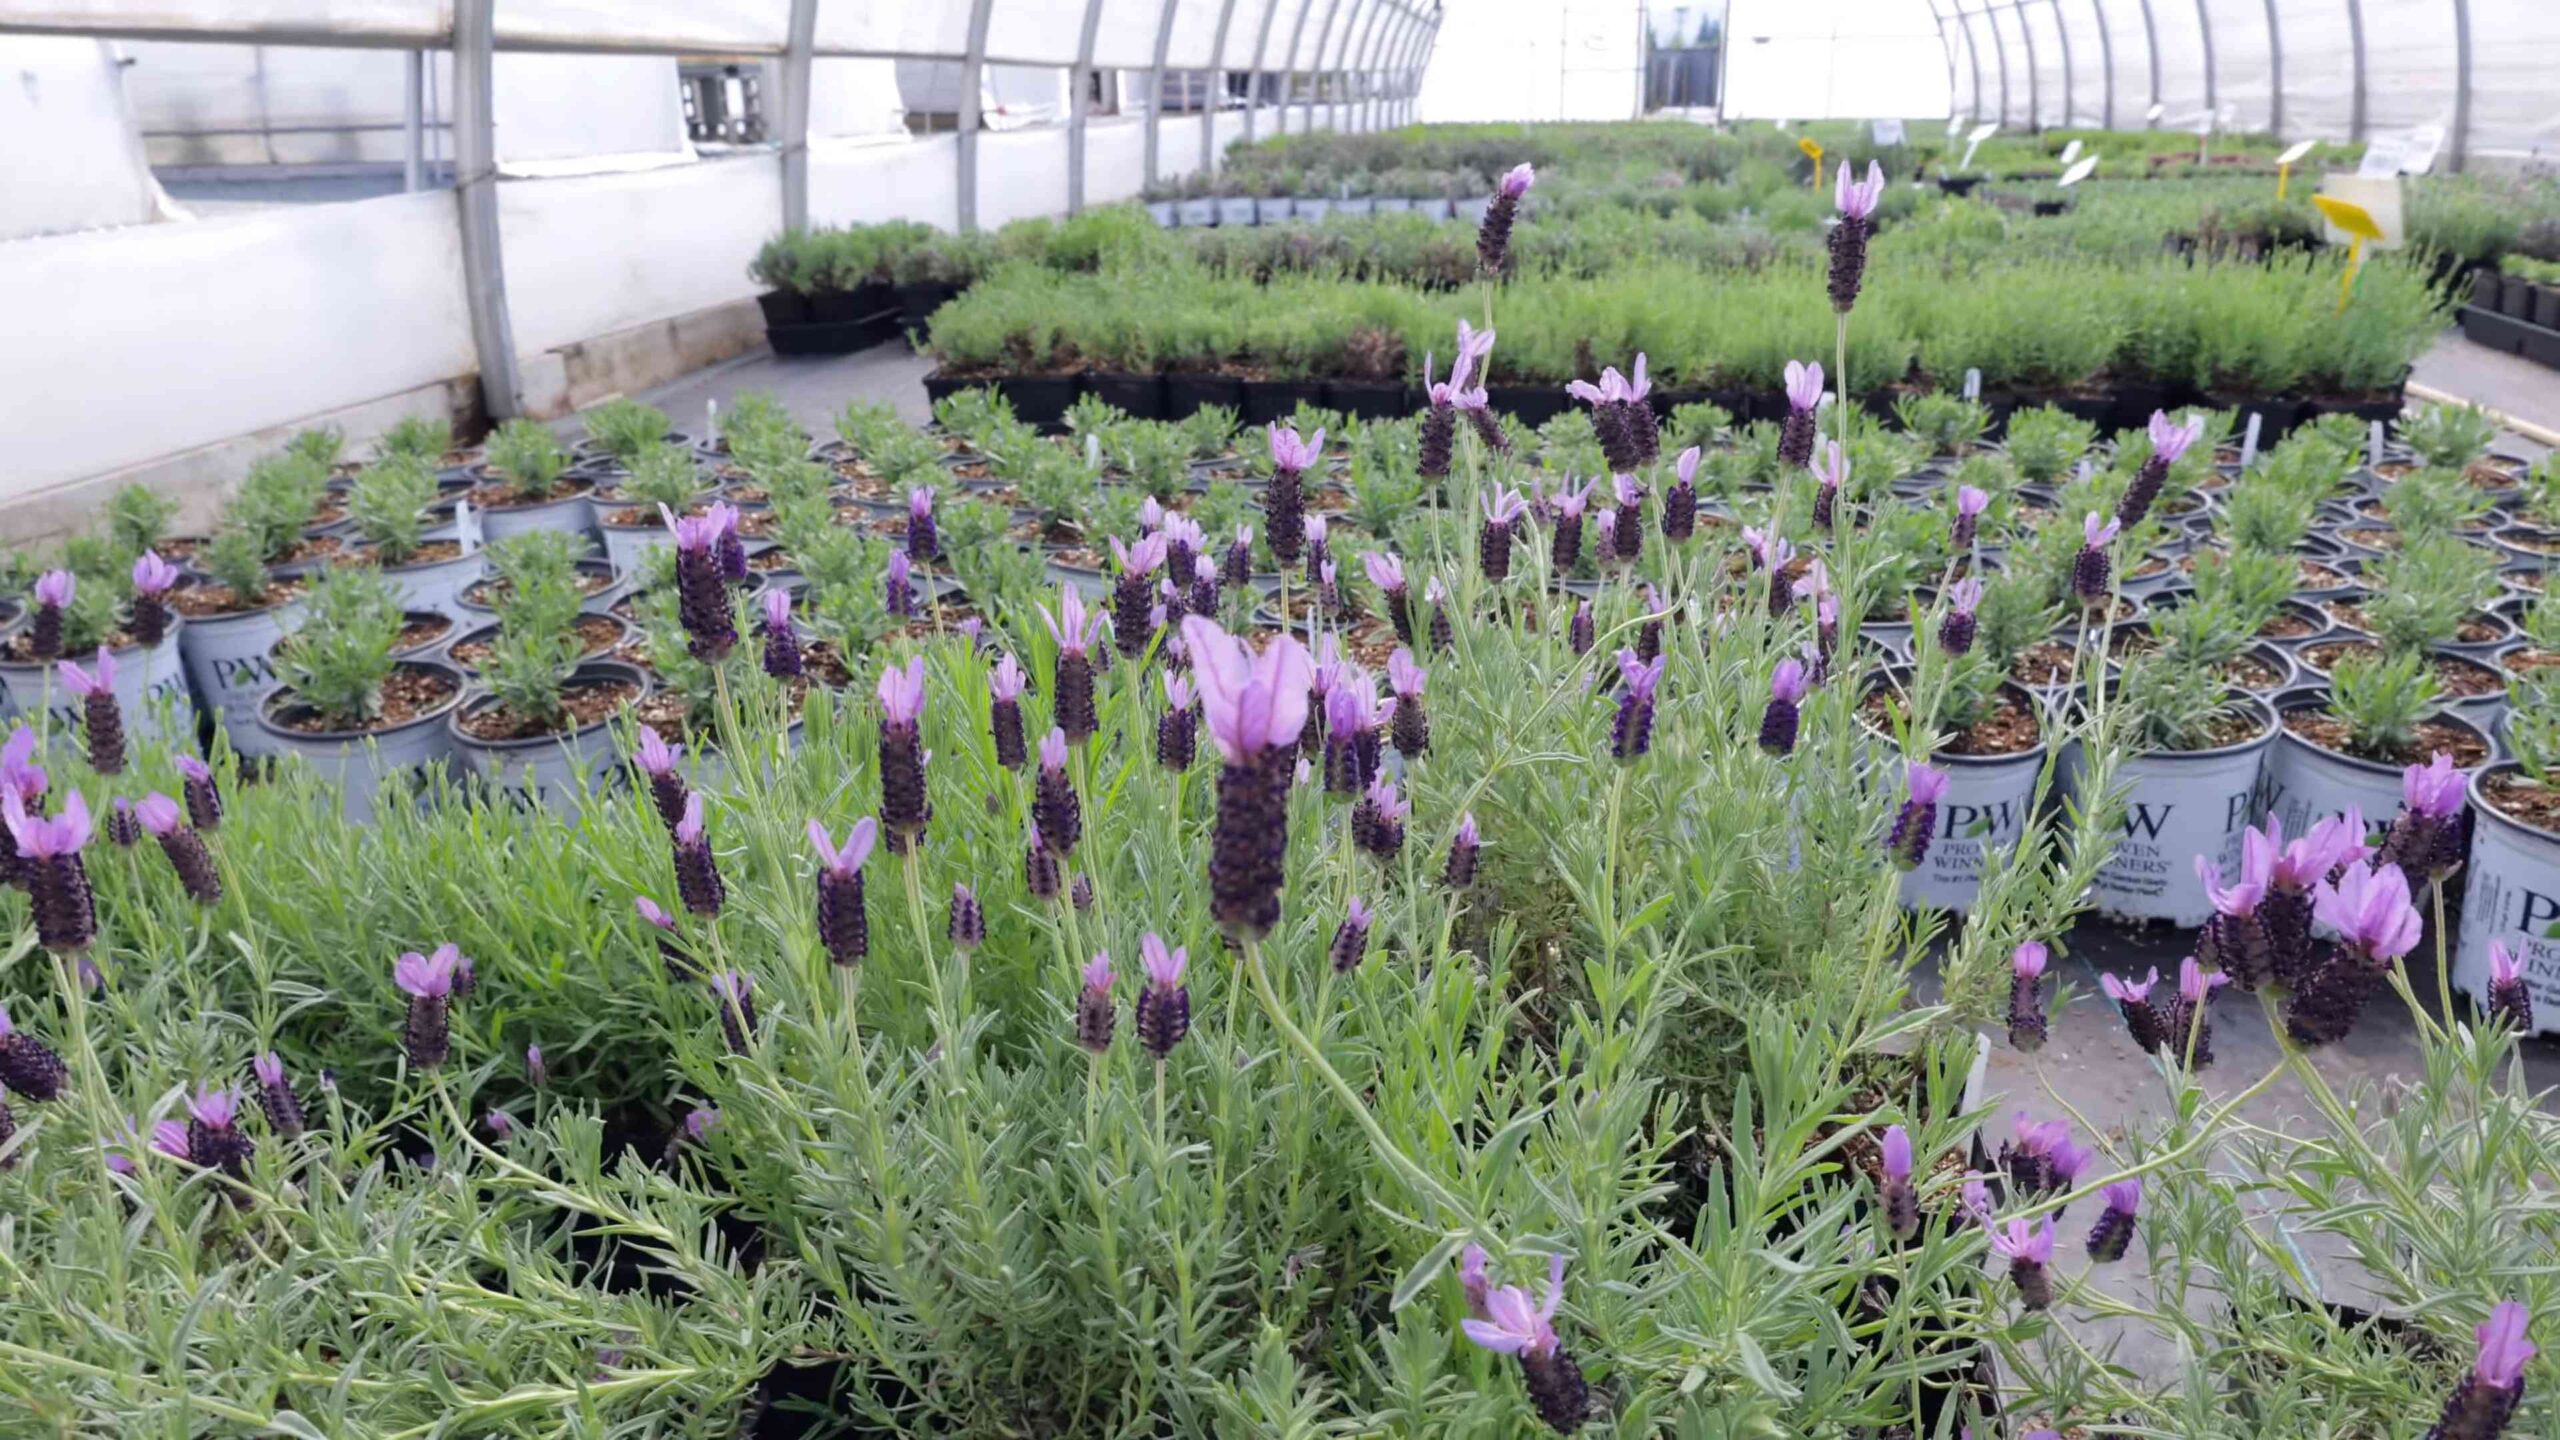
But the beauty of growing lavender shrubs lies in its adaptability. Feel free to experiment! Try different varieties of lavender to discover which thrives best in your specific climate and soil conditions. English lavender (Lavandula angustifolia) is a classic choice, known for its sweet fragrance and cold hardiness. Spanish lavender (Lavandula stoechas) offers a unique, rabbit-eared flower shape and a slightly more pungent aroma. French lavender (Lavandula dentata) boasts finely toothed leaves and a long blooming season.
Consider companion planting to enhance your lavender’s health and attract beneficial insects. Roses, echinacea, and thyme are all excellent companions that share similar growing requirements and create a visually stunning garden display. You can also incorporate lavender into your herb garden, using its fragrant leaves and flowers to flavor culinary creations or create soothing teas.
Don’t be afraid to get creative with your lavender shrubs! Use them to create fragrant hedges, line walkways, or fill containers for a portable burst of color and aroma. Dried lavender flowers can be used to make potpourri, sachets, or even infused oils for aromatherapy. The possibilities are endless!
This DIY method for growing lavender shrubs is not just about saving money; it’s about creating a thriving, fragrant ecosystem in your own backyard. It’s about connecting with nature, learning new skills, and enjoying the countless benefits that lavender has to offer.
We wholeheartedly encourage you to give this DIY trick a try. Start small, perhaps with just a few plants, and observe how they respond to your care. Document your progress, take photos, and most importantly, don’t be afraid to experiment.
And once you’ve experienced the joy of growing your own lavender shrubs, we’d love to hear about it! Share your successes, your challenges, and your unique variations in the comments below. Let’s create a community of lavender lovers, sharing our knowledge and inspiring each other to cultivate beautiful, fragrant gardens. Your insights could be invaluable to other aspiring lavender growers! Let us know what growing lavender shrubs means to you.
Frequently Asked Questions (FAQ)
What is the best time of year to plant lavender shrubs?
The ideal time to plant lavender shrubs is in the spring or early fall. This allows the plants to establish their root systems before the extreme temperatures of summer or winter arrive. Spring planting gives them the entire growing season to acclimate, while fall planting allows them to develop roots before the ground freezes. Avoid planting during the hottest part of summer or when the ground is frozen.
What kind of soil is best for growing lavender shrubs?
Lavender thrives in well-draining, slightly alkaline soil. Heavy clay soils can be problematic as they retain too much moisture, leading to root rot. Amend clay soils with sand, gravel, and organic matter to improve drainage. A soil pH between 6.5 and 8.0 is ideal. You can test your soil pH with a home testing kit or by sending a sample to a local agricultural extension office.
How much sunlight do lavender shrubs need?
Lavender requires at least six to eight hours of direct sunlight per day to thrive. Choose a location in your garden that receives full sun exposure. Insufficient sunlight can lead to leggy growth, reduced flowering, and increased susceptibility to diseases.
How often should I water my lavender shrubs?
Water lavender sparingly, especially once established. Overwatering is a common cause of lavender problems. Water deeply but infrequently, allowing the soil to dry out completely between waterings. During the first year after planting, water more regularly to help the plants establish their root systems. Reduce watering frequency during the dormant winter months.
How do I prune lavender shrubs?
Pruning is essential for maintaining the shape and health of lavender shrubs. Prune annually in late summer or early fall, after the flowers have faded. Remove about one-third of the plant’s growth, cutting back to just above a set of leaves. Avoid cutting into the old wood, as lavender does not typically regenerate from bare stems. Regular pruning encourages bushier growth and more abundant flowering.
What are some common pests and diseases that affect lavender shrubs?
Lavender is generally pest and disease resistant, but it can be susceptible to certain problems, including root rot, fungal diseases, and spittlebugs. Root rot is caused by overwatering and poor drainage. Fungal diseases can be prevented by ensuring good air circulation and avoiding overhead watering. Spittlebugs are sap-sucking insects that can cause cosmetic damage to the plants. They can be controlled with a strong spray of water or insecticidal soap.
Can I grow lavender shrubs in containers?
Yes, lavender can be successfully grown in containers. Choose a pot that is at least 12 inches in diameter and has drainage holes. Use a well-draining potting mix specifically formulated for container gardening. Place the container in a sunny location and water regularly, allowing the soil to dry out between waterings. Container-grown lavender may need to be fertilized more frequently than plants grown in the ground.
How do I harvest lavender flowers?
Harvest lavender flowers when the buds are just beginning to open. Cut the stems in the morning, after the dew has dried. Bundle the stems together and hang them upside down in a cool, dark, and well-ventilated place to dry. Once the flowers are completely dry, you can remove them from the stems and store them in an airtight container.
What are some uses for lavender flowers?
Lavender flowers have a wide range of uses, including aromatherapy, culinary applications, and crafting. They can be used to make potpourri, sachets, and essential oils. Lavender flowers can also be used to flavor baked goods, teas, and other culinary creations. They are also a popular ingredient in soaps, lotions, and other personal care products.
How do I propagate lavender shrubs?
Lavender can be propagated from stem cuttings. Take cuttings in the spring or early summer, using stems that are about 4-6 inches long. Remove the lower leaves and dip the cut end in rooting hormone. Plant the cuttings in a well-draining potting mix and keep them moist until they develop roots. Once the cuttings have rooted, they can be transplanted into individual pots or directly into the garden.

Leave a Comment