

Growing Peas Easily doesn’t have to be a daunting task! Imagine stepping outside your back door and harvesting plump, sweet peas straight from your own garden. No more trips to the grocery store for those little green gems – just fresh, homegrown goodness at your fingertips. For centuries, peas have been a staple in diets around the world, from ancient Roman feasts to humble cottage gardens. Their cultivation is deeply rooted in history, symbolizing abundance and nourishment.
But let’s be honest, sometimes getting those peas to actually *grow* can feel like a battle against the elements and sneaky garden pests. That’s where these DIY tricks and hacks come in! I’m going to share some of my favorite, tried-and-true methods for growing peas easily, even if you’re a complete beginner. We’ll cover everything from soil preparation to choosing the right varieties, ensuring you have a bountiful harvest.
Why do you need these DIY tricks? Because everyone deserves the joy of a thriving garden, and fresh peas are a delicious and rewarding crop to start with. Plus, knowing exactly where your food comes from and how it’s grown is incredibly empowering. So, grab your gardening gloves, and let’s get started on your pea-growing adventure!
Growing Peas Like a Pro: My Foolproof DIY Guide
Hey there, fellow garden enthusiasts! I’m so excited to share my tried-and-true method for growing peas. Trust me, even if you think you have a “brown thumb,” you can absolutely nail this. Peas are one of the most rewarding crops to grow – they’re delicious, relatively easy, and a fantastic early-season treat. Let’s dive in!
What You’ll Need
Before we get our hands dirty, let’s gather our supplies. This will make the whole process smoother and more enjoyable.
* Pea Seeds: Choose your variety! I personally love Sugar Snap peas for their edible pods, but there are tons of options like English peas (shelling peas) and snow peas. Make sure to buy seeds from a reputable source.
* Well-Draining Soil: Peas aren’t fans of soggy feet. Amend your soil with compost or other organic matter to improve drainage.
* Trellis or Support System: Most pea varieties need something to climb on. A simple trellis, netting, or even branches stuck in the ground will work.
* Gardening Gloves: Protect those precious hands!
* Hand Trowel or Garden Shovel: For digging those perfect little planting holes.
* Watering Can or Hose: Essential for keeping your peas hydrated.
* Optional:
* Root Inoculant: This helps peas fix nitrogen in the soil, leading to healthier plants.
* Row Covers: To protect seedlings from pests and frost.
* Compost or Aged Manure: To enrich the soil.
When to Plant
Timing is key when it comes to peas. They thrive in cool weather, so you’ll want to plant them early in the spring, as soon as the soil is workable. In many regions, this is around February or March. You can also plant a fall crop in late summer or early fall, depending on your climate.
Important Tip: Check your local frost dates to determine the best planting time for your area.
Preparing the Soil
Peas prefer well-draining soil that’s rich in organic matter. Here’s how I prepare my soil:
1. Clear the Area: Remove any weeds, rocks, or debris from the planting area.
2. Amend the Soil: Dig in plenty of compost or aged manure to improve soil fertility and drainage. I usually add a layer that’s about 2-3 inches thick.
3. Loosen the Soil: Use a garden fork or tiller to loosen the soil to a depth of at least 6 inches. This will make it easier for the pea roots to grow.
4. Level the Surface: Rake the soil to create a smooth, even surface.
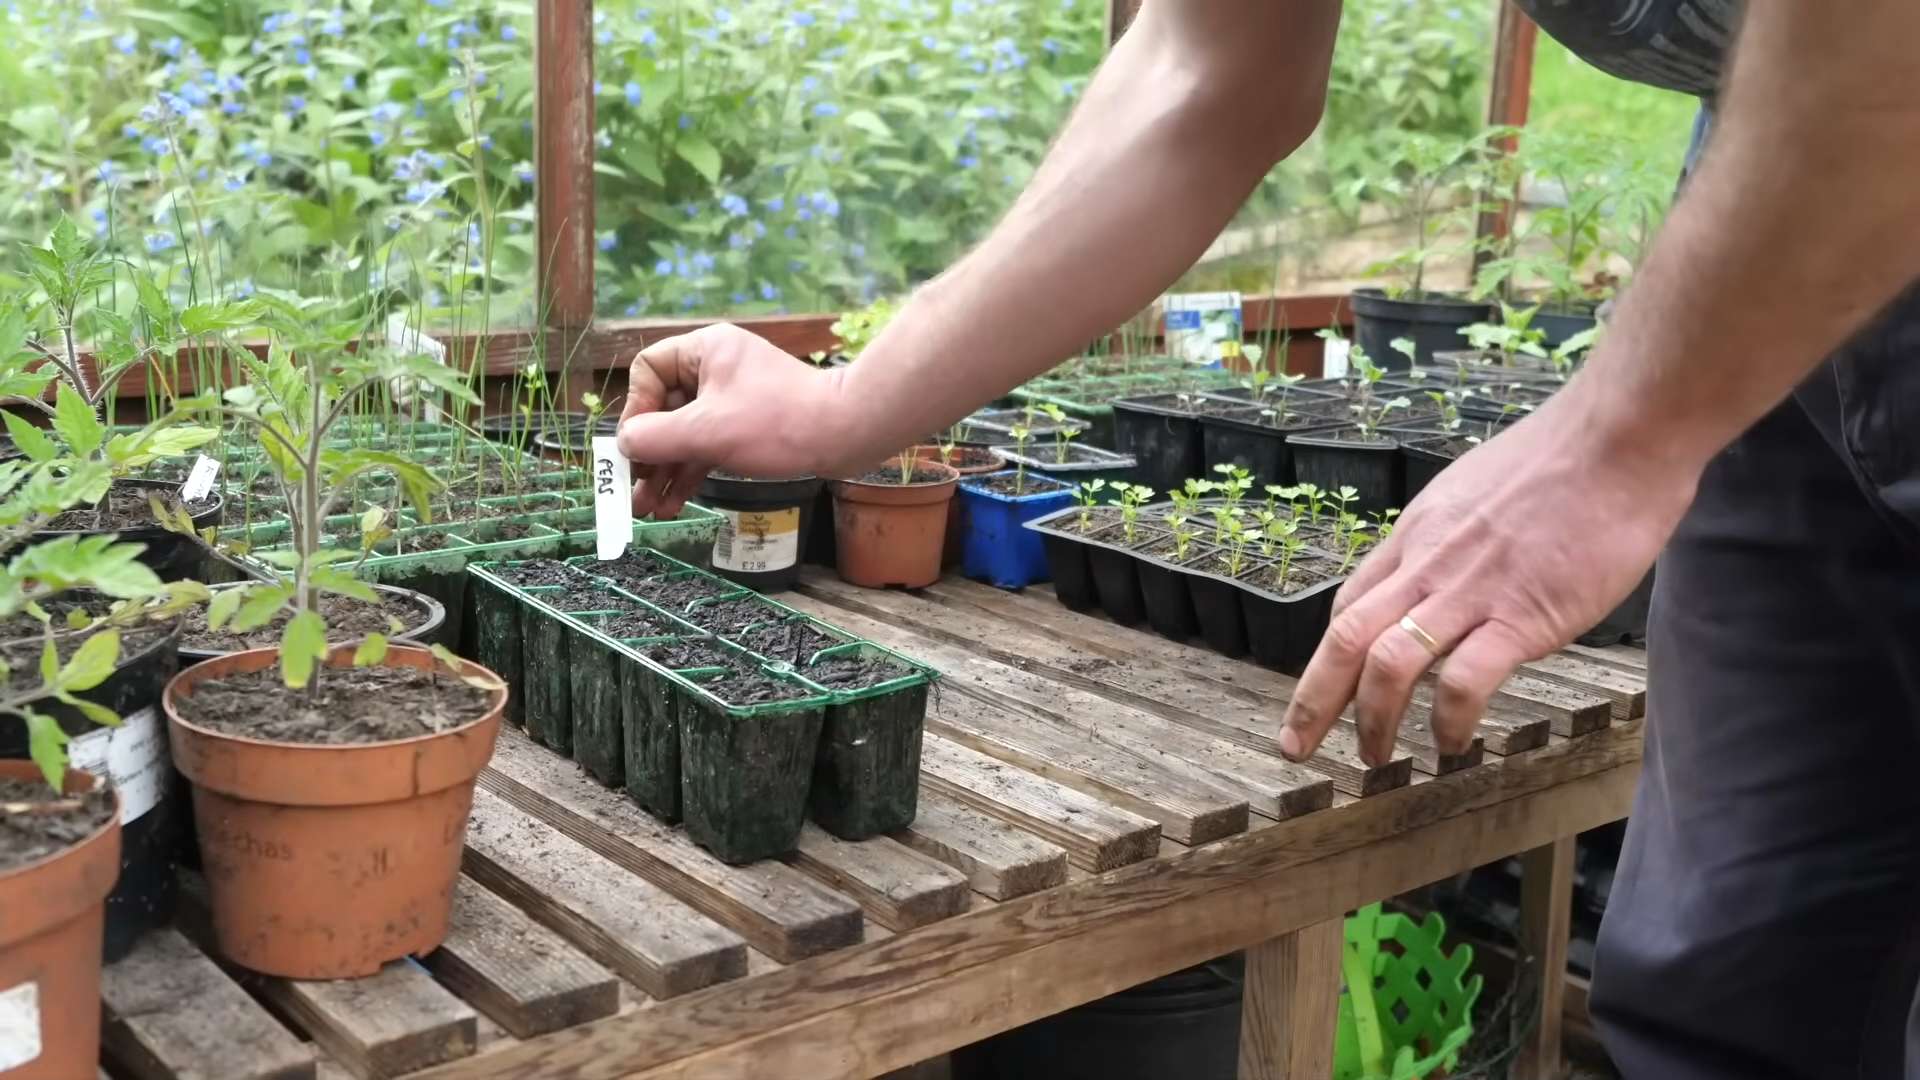
Planting the Pea Seeds
Now for the fun part! Here’s how I plant my pea seeds:
1. Soak the Seeds (Optional): Soaking the seeds in water for 12-24 hours before planting can help speed up germination. I usually skip this step, but it can be helpful if you’re in a hurry.
2. Dig the Furrows: Create furrows (shallow trenches) that are about 1-2 inches deep and 2-3 inches wide. Space the furrows about 6-8 inches apart.
3. Sow the Seeds: Place the pea seeds in the furrows, spacing them about 1-2 inches apart.
4. Cover the Seeds: Gently cover the seeds with soil and lightly pat down the surface.
5. Water Thoroughly: Water the planting area thoroughly to moisten the soil.
Pro Tip: If you’re using a root inoculant, sprinkle it on the seeds before covering them with soil.
Setting Up the Trellis
Peas are climbers, so they need a trellis or other support system to grow properly. Here’s how I set up my trellis:
1. Choose Your Trellis: There are many different types of trellises you can use, including bamboo stakes, netting, wire mesh, or even branches. I prefer using netting because it’s easy to install and provides plenty of support for the peas.
2. Install the Trellis: Place the trellis behind the row of pea plants. Make sure it’s securely anchored in the ground.
3. Guide the Peas: As the pea plants grow, gently guide their tendrils onto the trellis. They’ll eventually start climbing on their own.
Caring for Your Pea Plants
Once your pea plants are established, it’s important to provide them with proper care. Here’s what I do:
1. Water Regularly: Peas need consistent moisture, especially during flowering and pod development. Water deeply whenever the soil feels dry to the touch.
2. Weed Regularly: Keep the planting area free of weeds, which can compete with the pea plants for nutrients and water.
3. Fertilize (Optional): If your soil is poor, you can fertilize your pea plants with a balanced fertilizer. However, peas are generally not heavy feeders, so fertilization is often not necessary.
4. Protect from Pests: Peas can be susceptible to pests like aphids and pea weevils. Inspect your plants regularly and take action if you see any signs of infestation. Row covers can be helpful for preventing pest problems.
5. Pinch Back Tips (Optional): Pinching back the tips of the pea plants can encourage bushier growth and more pods.
Harvesting Your Peas
The moment you’ve been waiting for! Here’s how I harvest my peas:
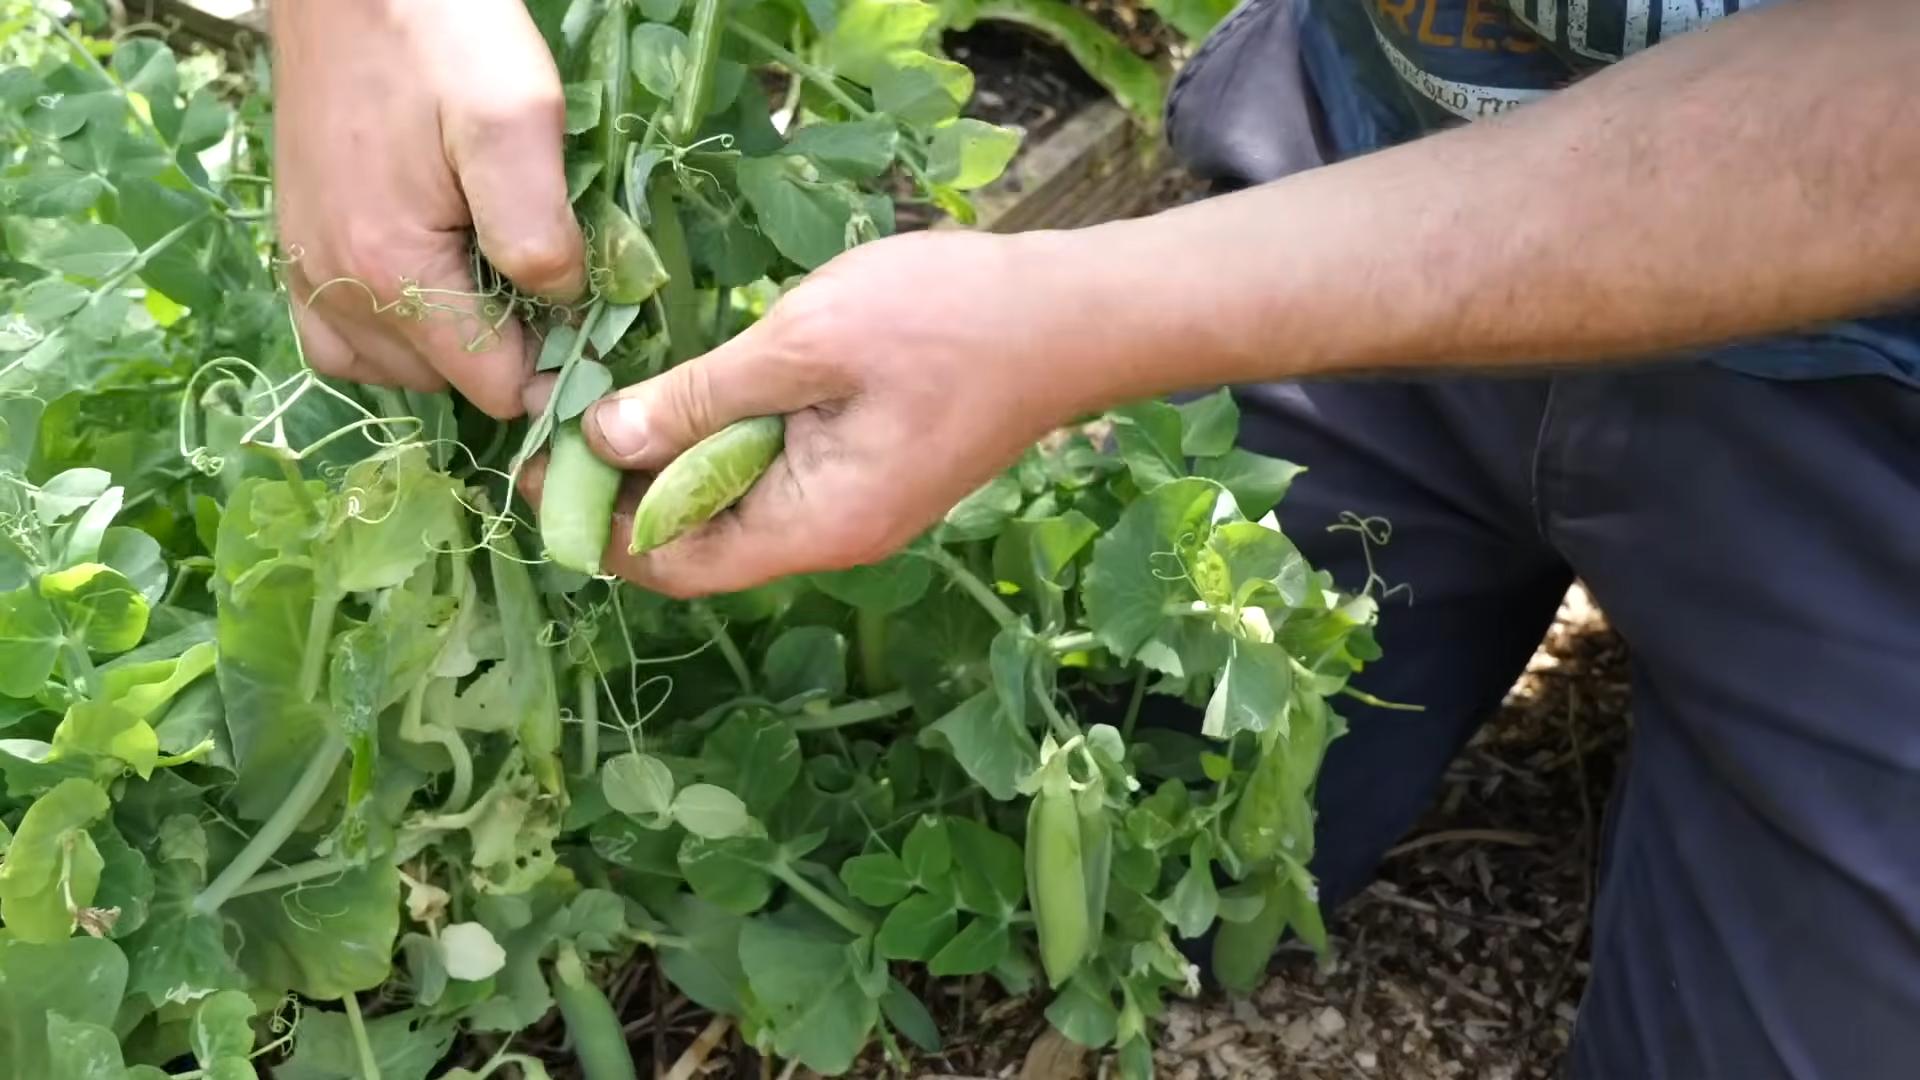
1. Know When to Harvest: The timing of the harvest depends on the type of pea you’re growing. Sugar snap peas are ready to harvest when the pods are plump and the peas inside are small. English peas are ready when the pods are full and the peas inside are large and round. Snow peas are ready when the pods are flat and tender.
2. Harvest Carefully: Use your fingers or scissors to gently remove the pea pods from the plant. Be careful not to damage the plant.
3. Harvest Regularly: Harvest your peas regularly to encourage continued production.
Important Tip: Peas are most flavorful when they’re freshly picked.
Troubleshooting Common Problems
Even with the best care, you might encounter some problems when growing peas. Here are some common issues and how I deal with them:
* Poor Germination: If your pea seeds aren’t germinating, it could be due to cold soil, poor soil drainage, or old seeds. Make sure the soil is warm enough and well-draining, and use fresh seeds.
* Yellowing Leaves: Yellowing leaves can be a sign of nutrient deficiency or disease. Make sure your soil is rich in nutrients and that your plants are not overwatered.
* Pest Infestations: Aphids and pea weevils can damage pea plants. Use insecticidal soap or other organic pest control methods to get rid of them.
* Powdery Mildew: Powdery mildew is a fungal disease that can affect pea plants. Improve air circulation and avoid overhead watering to prevent powdery mildew.
Extending the Harvest
Want to enjoy fresh peas for as long as possible? Here are a few tips for extending the harvest:
* Succession Planting: Plant new pea seeds every 2-3 weeks to ensure a continuous supply of peas.
* Choose Heat-Tolerant Varieties: Some pea varieties are more heat-tolerant than others. Choose these varieties for late-season planting.
* Provide Shade: Provide shade for your pea plants during the hottest part of the day to help them stay cool and productive.
Saving Pea Seeds
If you want to save seeds from your pea plants for next year, here’s how I do it:
1. Choose Healthy Plants: Select healthy, vigorous plants to save seeds from.
2. Allow Pods to Dry: Allow the pea pods to dry completely on the plant.
3. Harvest the Seeds: Remove the seeds from the dried pods.
4. Store the Seeds: Store the seeds in a cool, dry place in an airtight container.
Enjoying Your Harvest
Now that you’ve harvested your peas, it’s time to enjoy them! Here are a few of my favorite ways to eat fresh peas:
* Raw: Sugar snap peas are delicious eaten raw, straight from the garden.
* Steamed: Steaming peas is a quick and easy way to cook them.
* Sautéed: Sautéed peas with butter and garlic are a classic side dish.
* In Salads: Add peas to salads for a burst of freshness and flavor.
* In Soups: Peas are a great addition to soups and stews.
Growing peas is a rewarding experience that anyone can enjoy. With a little bit of planning and
Conclusion
So, there you have it! Growing peas easily doesn’t have to be a daunting task reserved for seasoned gardeners. With a little planning, the right preparation, and these simple DIY tricks, you can enjoy a bountiful harvest of sweet, delicious peas straight from your own backyard. We’ve demystified the process, offering practical solutions to common challenges and empowering you to take control of your pea-growing journey.
The beauty of this approach lies in its adaptability. Feel free to experiment with different pea varieties to find your favorites. Consider using vertical supports like trellises or netting to maximize space and improve air circulation, especially if you’re working with limited garden area. You can even try succession planting, sowing new seeds every few weeks, to extend your harvest season and enjoy fresh peas for a longer period.
Don’t be afraid to get creative with your soil amendments. While compost is a fantastic all-around choice, you can also incorporate other organic materials like well-rotted manure or leaf mold to further enrich the soil and provide your pea plants with the nutrients they need to thrive. Remember to monitor your plants regularly for pests and diseases, and take action promptly to prevent any problems from escalating.
Growing peas easily is not just about the end result; it’s about the entire experience. It’s about connecting with nature, nurturing life, and reaping the rewards of your hard work. It’s about the satisfaction of knowing that you’ve grown your own food, providing yourself and your loved ones with fresh, healthy produce.
We firmly believe that anyone can successfully grow peas, regardless of their gardening experience. All it takes is a willingness to learn, a little bit of effort, and the right guidance. We’ve provided you with the tools and knowledge you need to succeed, so now it’s time to put them into practice.
We encourage you to embrace the challenge, get your hands dirty, and experience the joy of growing your own peas. And most importantly, we want to hear about your experiences! Share your successes, your challenges, and your tips with us in the comments below. Let’s create a community of pea-growing enthusiasts, supporting each other and learning from each other’s experiences.
So, what are you waiting for? Grab your seeds, prepare your soil, and get ready to embark on a rewarding pea-growing adventure. You’ll be amazed at how easy and enjoyable it can be. Happy gardening!
Frequently Asked Questions (FAQs)
What is the best time of year to plant peas?
The best time to plant peas depends on your local climate. Peas are a cool-season crop, meaning they thrive in cooler temperatures. In most regions, the ideal planting time is early spring, as soon as the soil can be worked. This is typically a few weeks before the last expected frost. You can also plant peas in the late summer or early fall for a fall harvest, but be sure to choose a variety that matures quickly enough to avoid frost damage. Check your local extension office for specific recommendations for your area.
What kind of soil do peas need?
Peas prefer well-drained soil that is rich in organic matter. The ideal soil pH is between 6.0 and 7.0. Before planting, amend your soil with compost or other organic materials to improve drainage and fertility. Avoid planting peas in heavy clay soil, as this can lead to root rot. If you have clay soil, consider adding sand or other amendments to improve drainage.
How much sunlight do peas need?
Peas need at least 6 hours of sunlight per day to thrive. Choose a planting location that receives full sun for the majority of the day. If you live in a particularly hot climate, you may want to provide some afternoon shade to prevent the plants from overheating.
Do peas need support?
Yes, most pea varieties need support to climb. This helps to keep the plants off the ground, improving air circulation and reducing the risk of disease. You can use a variety of supports, such as trellises, netting, or even branches. Choose a support that is sturdy enough to support the weight of the plants and the peas.
How often should I water peas?
Peas need consistent moisture to thrive. Water them regularly, especially during dry periods. Aim to keep the soil consistently moist, but not waterlogged. Avoid overhead watering, as this can increase the risk of fungal diseases. Instead, water at the base of the plants.
What are some common pests and diseases that affect peas?
Some common pests that affect peas include aphids, pea weevils, and slugs. Common diseases include powdery mildew, root rot, and fusarium wilt. Monitor your plants regularly for signs of pests and diseases, and take action promptly to prevent any problems from escalating. Organic pest control methods, such as insecticidal soap or neem oil, can be effective for controlling aphids and other pests. Ensure good air circulation and proper drainage to prevent fungal diseases.
How do I know when peas are ready to harvest?
Peas are typically ready to harvest about 60-70 days after planting, depending on the variety. The pods should be plump and filled with peas, but not overly mature. The pods should also be easy to snap off the vine. Taste a few peas to make sure they are sweet and tender.
Can I save pea seeds for next year?
Yes, you can save pea seeds for next year. Allow some of the pods to dry completely on the vine. Once the pods are dry and brittle, shell the peas and store them in an airtight container in a cool, dry place. Be sure to label the container with the variety and date.
What are some different varieties of peas I can grow?
There are many different varieties of peas to choose from, including shelling peas, snap peas, and snow peas. Shelling peas are grown for their peas, which are shelled from the pods before eating. Snap peas have edible pods and peas, and can be eaten whole. Snow peas also have edible pods, but the pods are flatter and the peas are smaller. Some popular varieties include ‘Sugar Snap’ (snap pea), ‘Oregon Sugar Pod II’ (snow pea), and ‘Little Marvel’ (shelling pea). Experiment with different varieties to find your favorites.
How can I extend my pea harvest?
To extend your pea harvest, consider succession planting. Sow new seeds every few weeks to ensure a continuous supply of peas throughout the growing season. You can also choose varieties that mature at different times. Additionally, providing proper care, such as regular watering and fertilization, can help to prolong the harvest.
Leave a Comment