

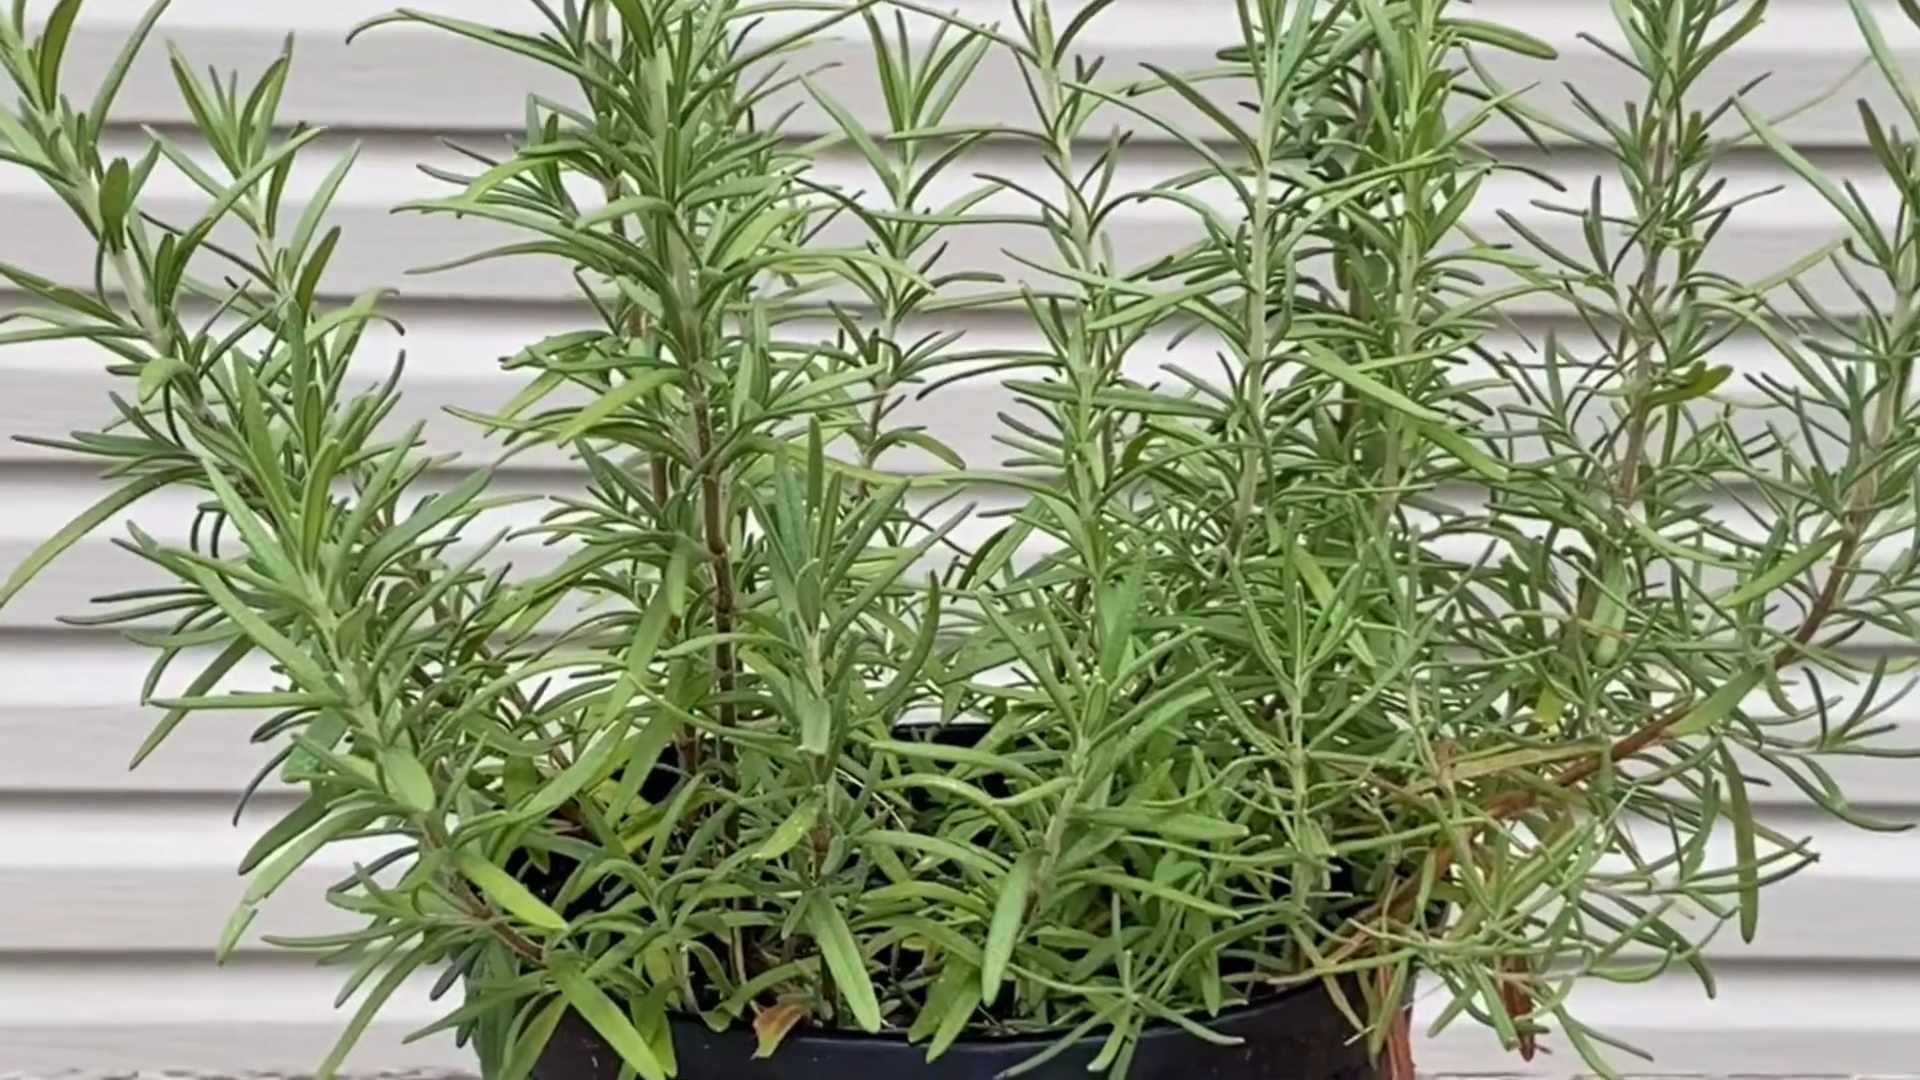
Growing Rosemary Indoors can seem like a daunting task, conjuring images of sun-drenched Mediterranean hillsides far removed from your cozy apartment. But fear not, fellow plant enthusiasts! I’m here to tell you that bringing the fragrant, flavorful magic of rosemary into your home is not only possible, but surprisingly easy with a few clever tricks and DIY hacks.
Rosemary, with its needle-like leaves and woody aroma, has a rich history. Ancient Greeks believed it improved memory, and it was often woven into wedding crowns to symbolize love and fidelity. For centuries, it’s been cherished for its culinary and medicinal properties. But you don’t need to travel to the Mediterranean to enjoy fresh rosemary!
In today’s busy world, having access to fresh herbs at your fingertips is a game-changer. Imagine adding a sprig of homegrown rosemary to your roasted chicken, infusing your olive oil with its distinctive flavor, or even using it to create a soothing herbal tea. No more last-minute trips to the grocery store or settling for dried, flavorless substitutes. This DIY guide will equip you with the knowledge and simple techniques to successfully growing rosemary indoors, regardless of your experience level. Let’s transform your windowsill into a thriving herb garden!
Growing Rosemary Indoors: A Comprehensive DIY Guide
Hey there, fellow plant enthusiasts! I’m so excited to share my secrets for successfully growing rosemary indoors. Rosemary, with its fragrant needles and culinary versatility, is a fantastic addition to any indoor garden. While it can be a bit finicky, following these steps will significantly increase your chances of enjoying fresh rosemary year-round. Let’s dive in!
Choosing the Right Rosemary Variety
Not all rosemary varieties are created equal, especially when it comes to indoor growing. Some are more compact and better suited for containers. Here are a few of my favorites:
* ‘Blue Boy’: This is a dwarf variety that stays relatively small, making it perfect for smaller pots. It has a lovely, strong fragrance.
* ‘Hill Hardy’: As the name suggests, this variety is quite resilient and can tolerate slightly cooler temperatures, which is beneficial in some indoor environments.
* ‘Arp’: Another cold-hardy option, ‘Arp’ rosemary is known for its lemon-pine scent and relatively upright growth habit.
Essential Supplies You’ll Need
Before we get started, let’s gather all the necessary supplies. Having everything on hand will make the process much smoother.
* Rosemary Plant: You can purchase a small rosemary plant from a local nursery or garden center. Alternatively, you can propagate rosemary from cuttings (more on that later!).
* Pot: Choose a pot that’s at least 6 inches in diameter and has drainage holes. Terra cotta pots are excellent because they allow the soil to breathe.
* Well-Draining Potting Mix: Rosemary hates soggy soil, so a well-draining mix is crucial. I recommend a mix specifically formulated for herbs or a blend of potting soil, perlite, and sand.
* Grow Light (Optional but Recommended): Rosemary needs a lot of sunlight, and indoor light can be insufficient, especially during winter. A grow light can supplement natural light and ensure healthy growth.
* Watering Can or Spray Bottle: For watering your rosemary.
* Fertilizer: A balanced liquid fertilizer diluted to half strength.
* Pruning Shears or Scissors: For trimming and harvesting.
* Pebbles or Gravel: To improve drainage in the pot.
Step-by-Step Planting and Care Guide
Now for the fun part! Let’s get your rosemary planted and thriving indoors.
1. Prepare the Pot:
* Start by placing a layer of pebbles or gravel at the bottom of the pot. This will help improve drainage and prevent the roots from sitting in water.
* Next, fill the pot with your well-draining potting mix, leaving about an inch of space at the top.
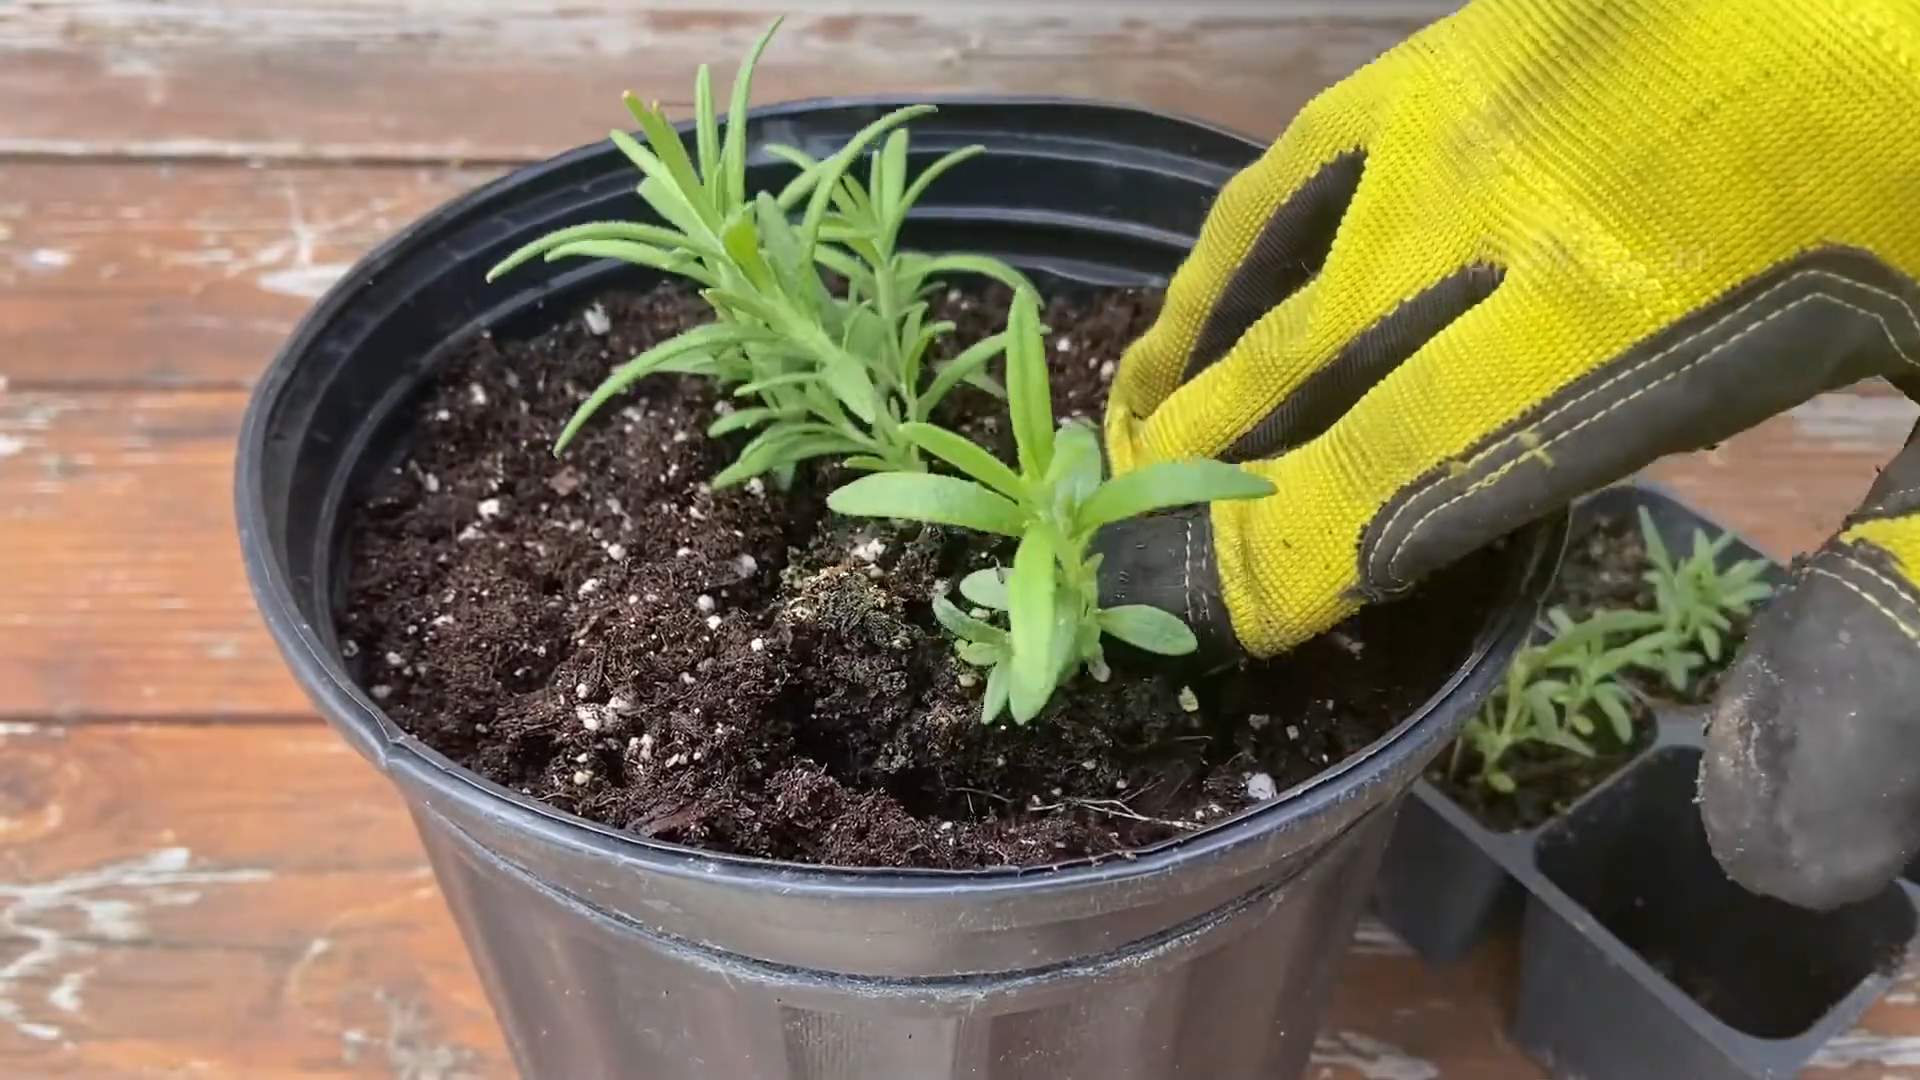
2. Plant the Rosemary:
* Gently remove the rosemary plant from its original container. If the roots are tightly packed, carefully loosen them with your fingers.
* Place the rosemary plant in the center of the pot, ensuring that the top of the root ball is level with the soil surface.
* Fill in around the plant with more potting mix, gently pressing down to secure it.
3. Water Thoroughly:
* Water the rosemary plant thoroughly until water drains out of the drainage holes. This will help settle the soil and ensure that the roots are properly hydrated.
4. Choose the Right Location:
* Rosemary needs at least 6-8 hours of sunlight per day. Place your rosemary plant in a south-facing window where it will receive the most sunlight.
* If you don’t have a sunny window, consider using a grow light. Position the grow light about 6-12 inches above the plant.
5. Watering Schedule:
* Rosemary prefers to dry out slightly between waterings. Water only when the top inch of soil feels dry to the touch.
* Avoid overwatering, as this can lead to root rot. When you do water, water deeply until water drains out of the drainage holes.
* During the winter months, when growth slows down, you may need to water less frequently.
6. Fertilizing:
* Feed your rosemary plant with a balanced liquid fertilizer diluted to half strength every 2-4 weeks during the growing season (spring and summer).
* Avoid fertilizing during the winter months when the plant is dormant.
7. Pruning:
* Pruning is essential for maintaining a healthy and bushy rosemary plant. Prune regularly to encourage new growth and prevent the plant from becoming leggy.
* Use clean pruning shears or scissors to trim the tips of the branches. You can also remove any dead or yellowing leaves.
* Don’t be afraid to harvest rosemary for culinary use! This will also help keep the plant in shape.
8. Humidity:
* Rosemary prefers relatively low humidity. Avoid placing your rosemary plant in a humid environment, such as a bathroom.
* If the air in your home is very dry, you can increase humidity by placing a tray of water near the plant or using a humidifier.
9. Temperature:
* Rosemary prefers temperatures between 60-70°F (15-21°C). Avoid placing your rosemary plant near drafts or sources of extreme heat or cold.
10. Repotting:
* As your rosemary plant grows, it may eventually outgrow its pot. Repot your rosemary plant into a larger pot every 1-2 years.
* Choose a pot that is 1-2 inches larger in diameter than the previous pot.
Troubleshooting Common Rosemary Problems
Even with the best care, you might encounter some common problems when growing rosemary indoors. Here’s how to tackle them:
* Yellowing Leaves: This can be caused by overwatering, underwatering, or nutrient deficiencies. Check the soil moisture and adjust your watering schedule accordingly. If the soil is dry, water thoroughly. If the soil is soggy, allow it to dry out completely before watering again. You can also try fertilizing with a balanced liquid fertilizer.
* Brown Leaves: This can be caused by dry air, lack of sunlight, or pests. Increase humidity by placing a tray of water near the plant or using a humidifier. Ensure that your rosemary plant is receiving enough sunlight. Check for pests and treat accordingly.
* Leggy Growth: This is usually caused by insufficient sunlight. Move your rosemary plant to a sunnier location or supplement with a grow light. Prune regularly to encourage bushier growth.
* Root Rot: This is caused by overwatering and poor drainage. Ensure that your pot has drainage holes and that you are using a well-draining potting mix. Allow the soil to dry out completely between waterings. If root rot is severe, you may need to repot the plant with fresh soil.
* Pests: Rosemary can be susceptible to pests such as spider mites, aphids, and whiteflies. Inspect your plant regularly for signs of pests. If you find pests, treat them with insecticidal soap or neem oil.
Propagating Rosemary from Cuttings
Want more rosemary plants? Propagating from cuttings is a great way to expand your rosemary collection. Here’s how I do it:
1. Take Cuttings:
* In the spring or summer, take 4-6 inch cuttings from healthy, new growth.
* Use clean pruning shears or scissors to make a clean cut just below a leaf node.
2. Prepare the Cuttings:
* Remove the leaves from the bottom 1-2 inches of the cutting.
* Dip the cut end of the cutting in rooting hormone (optional, but it helps).
3. Plant the Cuttings:
* Fill a small pot with well-draining potting mix.
* Make a hole in the soil with a pencil or your finger.
* Insert the cutting into the hole and gently press the soil around it.
4. Water and Cover:
* Water the cutting thoroughly.
* Cover the pot with a plastic bag or humidity dome to create a humid environment.
5. Provide Light and Warmth:
* Place the pot in a warm, bright location, but avoid direct sunlight.
* Keep the soil moist but not soggy.
6. Wait for Roots to Develop:
* Roots should develop in 4-8 weeks. You can check for roots by gently tugging on the cutting. If it resists, it has likely rooted.
7. Transplant:
* Once the cutting has developed roots, you can transplant it into a larger pot.
Harvesting and Using Your Rosemary
One of the best parts of growing rosemary is being able to harvest fresh sprigs whenever you need them!
* Harvesting: You can harvest rosemary at any time of year. Simply snip off sprigs as needed. Regular
Conclusion
So, there you have it! Mastering the art of growing rosemary indoors is not only achievable but also incredibly rewarding. We’ve walked through the essential steps, from selecting the right variety and pot to providing optimal light, water, and humidity. But why is this DIY trick a must-try?
Firstly, having fresh rosemary readily available at your fingertips elevates your culinary creations to a whole new level. Imagine the aroma of freshly snipped rosemary infusing your roasted chicken, pasta sauces, or even a simple loaf of bread. Store-bought dried rosemary simply can’t compare to the vibrant flavor and fragrance of homegrown herbs.
Secondly, growing rosemary indoors is a sustainable and cost-effective way to enjoy this versatile herb. You’ll reduce your reliance on commercially produced rosemary, which often travels long distances and may be treated with pesticides. Plus, a single rosemary plant can provide you with a steady supply of fresh herbs for months, if not years, saving you money in the long run.
Thirdly, and perhaps most importantly, nurturing a rosemary plant indoors is a therapeutic and fulfilling experience. The simple act of tending to a living thing, observing its growth, and enjoying its fragrant presence can be incredibly calming and stress-relieving. It’s a small connection to nature that can make a big difference in your daily life.
Variations and Suggestions:
Don’t be afraid to experiment with different rosemary varieties. ‘Blue Boy’ is a compact variety that’s well-suited for indoor growing, while ‘Trailing Rosemary’ can add a cascading element to your indoor herb garden. You can also try propagating rosemary from cuttings to expand your collection or share with friends and family.
Consider using a self-watering pot to simplify the watering process, especially if you tend to forget. Adding a layer of mulch to the soil surface can help retain moisture and suppress weeds. And don’t forget to fertilize your rosemary plant regularly with a balanced liquid fertilizer to ensure healthy growth.
A Final Word:
Growing rosemary indoors is a journey, not a destination. There will be challenges along the way, but with patience, persistence, and a little bit of love, you’ll be rewarded with a thriving rosemary plant that brings joy and flavor to your home.
We encourage you to give this DIY trick a try and share your experience with us. What variety of rosemary did you choose? What challenges did you encounter? What tips and tricks did you discover along the way? Your feedback will help us improve this guide and inspire others to embark on their own indoor rosemary growing adventures. So, grab a pot, some soil, and a rosemary seedling, and get ready to experience the magic of growing rosemary indoors!
Frequently Asked Questions (FAQs)
1. What is the best variety of rosemary to grow indoors?
While many rosemary varieties can be grown indoors, some are better suited than others. Compact varieties like ‘Blue Boy’ and ‘Dwarf Rosemary’ are excellent choices because they don’t require as much space. ‘Trailing Rosemary’ is also a good option if you want a cascading plant that can hang from a basket or spill over the edge of a pot. Ultimately, the best variety depends on your personal preference and the amount of space you have available. Consider the mature size of the plant and its growth habit before making your selection.
2. How much sunlight does indoor rosemary need?
Rosemary thrives in bright, sunny locations. Ideally, your indoor rosemary plant should receive at least six to eight hours of direct sunlight per day. A south-facing window is usually the best option. If you don’t have a sunny window, you can supplement with artificial light, such as a grow light. Position the grow light about 6-12 inches above the plant and keep it on for 12-16 hours per day. Insufficient light can lead to leggy growth and reduced flavor.
3. How often should I water my indoor rosemary plant?
Watering is crucial for the health of your rosemary plant, but overwatering can be detrimental. Allow the soil to dry out slightly between waterings. When the top inch of soil feels dry to the touch, it’s time to water. Water thoroughly until excess water drains out of the bottom of the pot. Avoid letting the plant sit in standing water, as this can lead to root rot. During the winter months, when the plant is not actively growing, you may need to water less frequently.
4. What type of soil is best for growing rosemary indoors?
Rosemary prefers well-draining soil that is slightly acidic to neutral. A good potting mix for rosemary should contain a combination of peat moss, perlite, and vermiculite. You can also add some sand to improve drainage. Avoid using heavy, clay-based soils, as they can retain too much moisture and lead to root rot. Ensure the pot you use has drainage holes to allow excess water to escape.
5. How do I fertilize my indoor rosemary plant?
Rosemary is not a heavy feeder, but it will benefit from regular fertilization, especially during the growing season (spring and summer). Use a balanced liquid fertilizer diluted to half strength. Fertilize every two to four weeks, following the instructions on the fertilizer label. Avoid over-fertilizing, as this can lead to excessive growth and reduced flavor. During the winter months, you can reduce or eliminate fertilization.
6. How do I prune my indoor rosemary plant?
Pruning is essential for maintaining the shape and health of your rosemary plant. Prune regularly to encourage bushier growth and prevent the plant from becoming leggy. Use sharp, clean pruning shears to trim the stems just above a leaf node. You can also harvest rosemary sprigs for culinary use as needed. Avoid removing more than one-third of the plant at a time.
7. How do I increase humidity for my indoor rosemary plant?
Rosemary prefers moderate humidity levels. If the air in your home is dry, you can increase humidity by misting the plant regularly, placing it on a pebble tray filled with water, or using a humidifier. Grouping plants together can also help create a more humid microclimate. Avoid placing the plant near heat sources, such as radiators, as this can dry out the air.
8. What are some common problems with indoor rosemary plants?
Some common problems with indoor rosemary plants include root rot, powdery mildew, and pest infestations. Root rot is usually caused by overwatering. Powdery mildew is a fungal disease that can occur in humid conditions. Pests such as aphids, spider mites, and whiteflies can also infest rosemary plants. Inspect your plant regularly for signs of problems and take action promptly to prevent them from spreading.
9. Can I propagate rosemary from cuttings?
Yes, rosemary can be easily propagated from cuttings. Take a 4-6 inch cutting from a healthy stem, remove the lower leaves, and dip the cut end in rooting hormone. Plant the cutting in a pot filled with well-draining potting mix. Keep the soil moist and place the pot in a warm, bright location. Roots should develop within a few weeks.
10. How do I harvest rosemary from my indoor plant?
Harvest rosemary sprigs as needed for culinary use. Use sharp scissors or pruning shears to cut the stems just above a leaf node. The best time to harvest rosemary is in the morning, after the dew has dried. You can use fresh rosemary immediately or dry it for later use. To dry rosemary, hang the sprigs upside down in a cool, dry place or use a dehydrator.


Leave a Comment