

Growing Sweet Melon at Home might seem like a distant dream reserved for seasoned farmers, but I’m here to tell you it’s absolutely achievable, even if you’re a beginner gardener like I once was! Forget those bland, store-bought melons – imagine biting into a juicy, sun-ripened melon you nurtured from seed to fruit, right in your own backyard or balcony.
Melons have a rich history, dating back to ancient civilizations in Africa and Asia, where they were prized for their sweetness and refreshing qualities. For centuries, cultivating melons was a symbol of abundance and prosperity. Today, we can tap into that tradition and bring a touch of that abundance to our own lives.
But why bother with the effort? Well, for starters, the taste difference is undeniable. Plus, growing sweet melon at home allows you to control exactly what goes into your food, avoiding harmful pesticides and ensuring the freshest possible produce. In this article, I’m going to share some simple yet effective DIY tricks and hacks that will empower you to successfully grow delicious, sweet melons, no matter your space or experience level. Get ready to transform your garden into a melon paradise!

Growing Sweet Melons at Home: A DIY Guide to Juicy Success
Okay, melon lovers, let’s get down to business! I’m going to walk you through everything you need to know to grow your own delicious, sweet melons right in your backyard. It might seem daunting, but trust me, with a little patience and these tips, you’ll be enjoying homegrown melon goodness in no time.
Choosing Your Melon Variety
First things first, you need to decide what kind of melon you want to grow! There are so many options, from classic watermelons to cantaloupes, honeydews, and even some more exotic varieties. Here’s a quick rundown to help you choose:
* Watermelons: These are the big guys! They need plenty of space and sunshine. Consider smaller “icebox” varieties if you have limited space.
* Cantaloupes: A popular choice, cantaloupes are relatively easy to grow and offer that classic melon flavor.
* Honeydews: Similar to cantaloupes in terms of growing requirements, honeydews have a smoother rind and a sweeter, milder flavor.
* Specialty Melons: Think Galia, Charentais, or even Korean melons. These can be a bit more challenging but offer unique flavors and textures.
My recommendation: If you’re a beginner, start with cantaloupe or a smaller watermelon variety. They’re generally more forgiving and will give you a good sense of the growing process.
Preparing Your Melon Patch
Melons are sun-worshippers and heavy feeders, so proper soil preparation is key.
* Sunlight: Melons need at least 6-8 hours of direct sunlight per day. Choose a location in your yard that gets plenty of sunshine.
* Soil: Melons thrive in well-drained, fertile soil. Amend your soil with plenty of compost or well-rotted manure. This will improve drainage, add nutrients, and help retain moisture.
* Soil pH: Melons prefer a slightly acidic to neutral soil pH (between 6.0 and 7.0). You can test your soil pH with a home testing kit or send a sample to your local agricultural extension office.
* Space: Melons need plenty of space to spread out. Watermelons, in particular, can take up a lot of room. Make sure you have enough space for the vines to grow without overcrowding other plants.
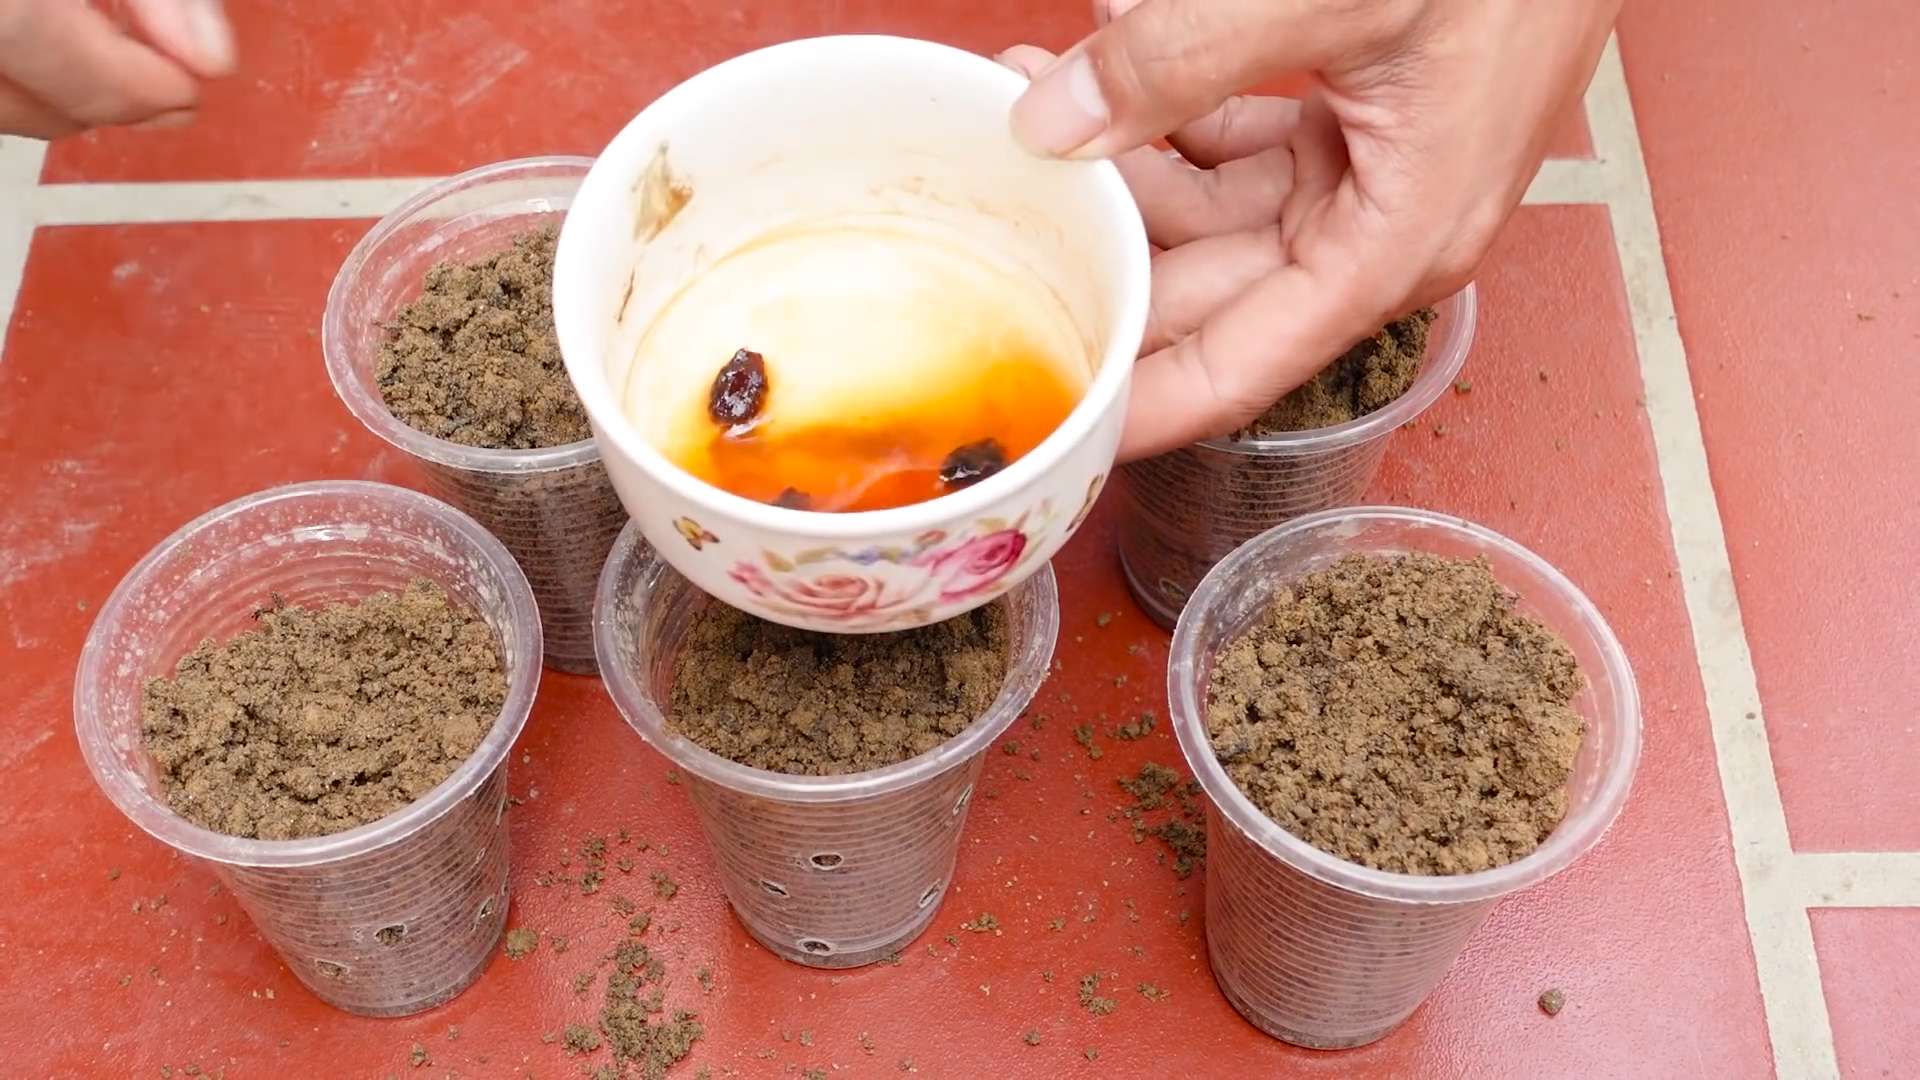
Starting Your Melon Seeds
You can either start your melon seeds indoors or direct sow them in the garden. Starting indoors gives you a head start, especially in cooler climates.
* Starting Indoors:
* When to Start: Start your seeds about 4-6 weeks before the last expected frost.
* Containers: Use peat pots or biodegradable containers. Melons don’t like to have their roots disturbed, so these types of containers will make transplanting easier.
* Soil: Use a seed-starting mix.
* Planting: Plant 2-3 seeds per pot, about 1 inch deep.
* Watering: Keep the soil moist but not soggy.
* Light: Provide plenty of light. A sunny windowsill or grow lights will work.
* Thinning: Once the seedlings emerge, thin them to one plant per pot. Choose the strongest seedling.
* Direct Sowing:
* When to Sow: Sow your seeds directly in the garden after the last expected frost, when the soil has warmed up to at least 70°F (21°C).
* Planting: Plant seeds about 1 inch deep, spacing them according to the variety you’re growing (check the seed packet for recommendations).
* Watering: Keep the soil moist until the seeds germinate.
Transplanting Your Melon Seedlings (If Starting Indoors)
Once the danger of frost has passed and the soil has warmed up, it’s time to transplant your melon seedlings into the garden.
1. Harden Off: Before transplanting, you need to “harden off” your seedlings. This means gradually exposing them to outdoor conditions over a period of about a week. Start by placing them outside in a sheltered location for a few hours each day, gradually increasing the amount of time they spend outdoors.
2. Prepare the Planting Hole: Dig a hole that is slightly larger than the root ball of the seedling.
3. Amend the Soil: Add a handful of compost or well-rotted manure to the planting hole.
4. Transplant Carefully: Gently remove the seedling from its container, being careful not to damage the roots. If you used a peat pot, you can plant the entire pot directly into the ground.
5. Water Thoroughly: Water the transplanted seedling thoroughly.
6. Mulch: Apply a layer of mulch around the plant to help retain moisture and suppress weeds. Straw, hay, or wood chips work well.
Caring for Your Melon Plants
Now that your melon plants are in the ground, it’s time to provide them with the care they need to thrive.
* Watering: Melons need consistent watering, especially during hot, dry weather. Water deeply and regularly, aiming for about 1-2 inches of water per week. Avoid overhead watering, as this can promote fungal diseases. Drip irrigation is ideal.
* Fertilizing: Melons are heavy feeders, so they need regular fertilization. Use a balanced fertilizer (e.g., 10-10-10) every 2-3 weeks. You can also side-dress your plants with compost or well-rotted manure.
* Weeding: Keep the area around your melon plants free of weeds. Weeds compete with your melon plants for water and nutrients.
* Pest Control: Keep an eye out for pests such as aphids, squash bugs, and cucumber beetles. You can control these pests with insecticidal soap, neem oil, or by hand-picking them off the plants.
* Disease Control: Melons are susceptible to fungal diseases such as powdery mildew and downy mildew. To prevent these diseases, provide good air circulation, avoid overhead watering, and apply a fungicide if necessary.
* Pruning (Optional): Some gardeners prune their melon vines to encourage larger fruit. If you choose to prune, remove any suckers (small shoots that grow from the base of the plant) and any dead or diseased leaves.
* Supporting the Fruit: As your melons grow, they may need support to prevent them from rotting on the ground. You can use melon cradles, slings, or even just place a piece of cardboard or wood under the fruit.
Pollination: The Key to Melon Success
Melons need to be pollinated in order to produce fruit. Bees are the primary pollinators of melons, so it’s important to attract bees to your garden. You can do this by planting flowers that attract bees, such as sunflowers, zinnias, and lavender.
If you’re not seeing many bees in your garden, you may need to hand-pollinate your melon flowers. Here’s how:
1. Identify Male and Female Flowers: Male flowers have a long, thin stem, while female flowers have a small, immature melon behind the flower.
2. Pollinate in the Morning: The best time to hand-pollinate is in the morning, when the flowers are open.
3. Transfer Pollen: Use a small paintbrush or cotton swab to collect pollen from the male flower.
4. Apply Pollen to Female Flower: Gently apply the pollen to the stigma (the sticky part) of the female flower.
5. Repeat: Repeat this process for all of the female flowers that you want to pollinate.
Harvesting Your Melons
Knowing when to harvest your melons is crucial for getting that perfect sweetness and flavor. Here are some tips for determining when your melons are ripe:
* Watermelons:
* Thump Test: A ripe watermelon will sound hollow when you thump it.
* Ground Spot: The ground spot (the area where the melon rests on the ground) should be yellow or cream-colored.
* Tendril: The tendril closest to the melon should be brown and dry.
* Cantaloupes:
* Aroma: A ripe cantaloupe will have a sweet, musky aroma.
* Stem Slip: The stem should easily slip from the melon when it’s ripe.
* Color: The rind should be a golden-tan color.
* Honeydews:
* Aroma: A ripe honeydew will have a slightly sweet aroma.
* Blossom End: The blossom end (the end opposite the stem) should be slightly soft and yielding to the touch.
* Color: The
Conclusion
So, there you have it! Growing sweet melon at home, while it might seem daunting at first, is entirely achievable with a little patience, the right techniques, and a dash of DIY ingenuity. We’ve explored a simple yet effective trick that can significantly boost your chances of harvesting juicy, flavorful melons right from your own backyard. This isn’t just about saving money; it’s about experiencing the unparalleled satisfaction of nurturing something from seed to table, knowing exactly what went into it, and enjoying a taste that surpasses anything you can find in a store.
This DIY approach, focusing on [mention the specific DIY trick discussed in the article, e.g., “vertical support systems” or “homemade pollination techniques”], offers several key advantages. It maximizes space, improves air circulation, reduces the risk of fungal diseases, and, most importantly, ensures that your melons receive the sunlight they need to develop their signature sweetness. Think of it as giving your melon plants a VIP treatment, setting them up for success from the very beginning.
But don’t stop there! Feel free to experiment with different melon varieties. Try cantaloupe, honeydew, or even some of the more exotic Asian melons. Each variety has its own unique flavor profile and growing requirements, offering a continuous learning experience and a diverse harvest. You can also adapt the DIY trick to suit your specific garden setup. If you have limited space, consider using hanging baskets or smaller containers. If you live in a cooler climate, you might want to build a mini greenhouse or use row covers to extend the growing season.
The key is to be adaptable and observant. Pay attention to your plants’ needs, adjust your techniques as necessary, and don’t be afraid to try new things. Gardening is a journey, not a destination, and every season brings new opportunities for learning and growth.
We are confident that by incorporating this DIY trick into your melon-growing endeavors, you’ll be well on your way to enjoying a bountiful harvest of sweet, delicious melons. The taste of a homegrown melon, ripened to perfection under the sun, is simply unmatched. It’s a reward for your hard work and dedication, a testament to the power of nature, and a source of immense pride.
Now, it’s your turn! We encourage you to give this DIY trick a try and share your experiences with us. Let us know what worked for you, what challenges you faced, and any tips or variations you discovered along the way. Your feedback will not only help us improve this guide but also inspire other gardeners to embark on their own melon-growing adventures. Share your photos and stories on our social media channels using [mention your hashtag or social media handles]. Let’s build a community of passionate melon growers and celebrate the joys of homegrown goodness together! Happy gardening!
Frequently Asked Questions (FAQ)
What are the best melon varieties to grow at home for beginners?
For beginners, cantaloupe and honeydew are generally considered easier to grow than watermelon. They tend to mature faster and are less susceptible to certain diseases. Look for varieties that are specifically bred for smaller gardens or container growing, such as ‘Sugar Baby’ watermelon (though it still needs space) or ‘Bush Sugar Baby’ which is more compact. ‘Minnesota Midget’ cantaloupe is another good option for smaller spaces. Always check the seed packet for specific growing instructions and days to maturity.
How often should I water my melon plants?
Melon plants need consistent watering, especially during fruit development. Water deeply at the base of the plant, avoiding wetting the foliage, which can encourage fungal diseases. Aim for about 1-2 inches of water per week, depending on the weather and soil conditions. Check the soil moisture regularly; if the top inch feels dry, it’s time to water. Reduce watering slightly as the melons ripen to concentrate the sugars and enhance their sweetness.
What kind of fertilizer should I use for my melon plants?
Melons are heavy feeders and benefit from regular fertilization. Start with a balanced fertilizer (e.g., 10-10-10) when planting, and then switch to a fertilizer higher in phosphorus and potassium (e.g., 5-10-10) once the plants start to flower and set fruit. Phosphorus promotes root and flower development, while potassium enhances fruit quality and disease resistance. You can also supplement with organic fertilizers like compost tea or fish emulsion. Avoid over-fertilizing with nitrogen, as this can lead to excessive foliage growth at the expense of fruit production.
How do I know when my melons are ripe?
Determining ripeness can be tricky, but here are some general guidelines:
* **Cantaloupe:** The stem should slip easily from the fruit with a gentle tug. The skin will also change color from green to tan or yellow, and the melon will have a fragrant aroma.
* **Honeydew:** The skin will turn from green to a creamy yellow color, and the blossom end (opposite the stem) will feel slightly soft and springy.
* **Watermelon:** Look for a dull thud when you tap the melon. The tendril closest to the melon should be brown and dry, and the underside of the melon (where it rests on the ground) should be yellow or cream-colored.
What are some common pests and diseases that affect melon plants, and how can I prevent them?
Common pests include aphids, squash bugs, and cucumber beetles. Diseases include powdery mildew, fusarium wilt, and anthracnose. To prevent these problems:
* **Practice crop rotation:** Avoid planting melons in the same spot year after year.
* **Provide good air circulation:** Space plants adequately and prune excess foliage.
* **Water at the base of the plant:** Avoid wetting the leaves.
* **Use insecticidal soap or neem oil:** For pest control.
* **Choose disease-resistant varieties:** When available.
* **Remove infected leaves or plants:** Promptly to prevent the spread of disease.
Can I grow melons in containers? What size container do I need?
Yes, you can grow melons in containers, but you’ll need a large container (at least 20 gallons) with good drainage. Choose bush or dwarf varieties that are specifically bred for container growing. Provide a trellis or support system for the vines to climb. Water and fertilize regularly, as container-grown plants tend to dry out and deplete nutrients more quickly.
How can I improve pollination for my melon plants?
Melons rely on pollinators like bees to set fruit. To attract pollinators to your garden:
* **Plant flowers that attract bees:** Such as lavender, sunflowers, and zinnias.
* **Avoid using pesticides:** That can harm pollinators.
* **Consider hand-pollinating:** If you’re not seeing enough bee activity. Use a small paintbrush to transfer pollen from the male flowers (which have a thin stem) to the female flowers (which have a small fruit at the base).
What if my melon plants are producing flowers but no fruit?
This could be due to several factors, including poor pollination, lack of nutrients, or stress from heat or drought. Make sure your plants are getting enough water and fertilizer, and try hand-pollinating the flowers if you suspect poor pollination. Also, ensure that the plants are not stressed by extreme temperatures or lack of sunlight.
How do I store my harvested melons?
Store ripe melons in the refrigerator for up to a week. Cut melons should be wrapped tightly in plastic wrap or stored in an airtight container to prevent them from drying out.
Is growing sweet melon at home really worth the effort?
Absolutely! While it requires some effort and attention, the taste of a homegrown, vine-ripened melon is far superior to anything you can buy in a store. Plus, you’ll have the satisfaction of knowing exactly what went into growing your food, and you’ll be supporting sustainable gardening practices. The experience of nurturing a plant from seed to harvest is incredibly rewarding, and the sweet, juicy taste of your homegrown melon will be the perfect reward for your hard work.


Leave a Comment