

Growing table olives at home might sound like a Mediterranean dream, but trust me, it’s more achievable than you think! For centuries, olives have been a staple in diets and cultures around the world, from the ancient Greeks who revered the olive tree as a symbol of peace and wisdom, to the modern-day foodies who can’t resist a perfectly brined olive on a charcuterie board.
Have you ever wondered how those bitter, rock-hard olives transform into the delicious, savory treats we enjoy? Well, that’s where the magic of curing comes in, and I’m here to guide you through the entire process. This beginner’s guide is your passport to growing table olives and creating your own homemade delicacies.
Why should you embark on this DIY adventure? Because store-bought olives can be expensive and often lack the unique flavor profiles you can achieve at home. Plus, there’s something incredibly satisfying about harvesting your own fruit and transforming it into something delicious. Imagine impressing your friends and family with olives you grew and cured yourself! This guide will provide you with simple, step-by-step instructions, ensuring even the most novice gardener can successfully grow and cure their own table olives. Let’s get started!
Growing Table Olives: A Beginner’s Guide to Delicious DIY Olives
Okay, so you want to grow your own table olives? Awesome! It’s a rewarding process, and nothing beats the taste of olives you’ve cured yourself. It might seem a little daunting at first, but trust me, with a little patience and the right information, you’ll be enjoying your own homegrown olives in no time. This guide will walk you through everything you need to know, from choosing the right tree to curing those delicious fruits.
Choosing the Right Olive Tree
First things first, you need an olive tree! But not just any olive tree will do. Some varieties are better suited for oil production, while others are specifically grown for table olives. Here’s what to consider:
* Variety: Look for varieties known for producing good table olives. Some popular choices include:
* Manzanilla: A classic Spanish variety, known for its large size and meaty texture. It’s a reliable producer and relatively easy to cure.
* Sevillano: Another Spanish variety, also large and flavorful. It’s a bit more susceptible to certain diseases than Manzanilla.
* Ascolano: An Italian variety, prized for its buttery flavor and tender flesh. It’s a bit more delicate to handle during curing.
* Mission: A California heirloom variety, known for its versatility and good flavor. It’s a hardy and reliable choice.
* Climate: Olive trees thrive in warm, sunny climates with mild winters. They need at least six hours of sunlight per day. Consider your local climate and choose a variety that’s well-suited to your area. They are generally hardy in USDA zones 8-10.
* Space: Olive trees can grow quite large, so make sure you have enough space in your yard. Consider a dwarf variety if you have limited space, or be prepared to prune regularly.
* Self-Fertility: Some olive varieties are self-fertile, meaning they can produce fruit without another tree nearby. Others require cross-pollination from a different variety. Check the specific requirements of the variety you choose. If you only have space for one tree, opt for a self-fertile variety.
* Where to Buy: Purchase your olive tree from a reputable nursery. This will ensure you’re getting a healthy tree of the correct variety. Ask the nursery staff for advice on choosing the right tree for your area.
Planting Your Olive Tree
Okay, you’ve got your tree! Now it’s time to get it in the ground. Here’s how:
1. Choose the Right Location: As mentioned before, olive trees need plenty of sunlight. Choose a spot in your yard that gets at least six hours of direct sunlight per day. The soil should be well-draining. Avoid areas where water tends to pool after rain.
2. Prepare the Soil: Olive trees prefer slightly alkaline soil with a pH between 6.5 and 8.0. Amend the soil with compost or other organic matter to improve drainage and fertility. If your soil is heavy clay, consider adding sand or gravel to improve drainage.
3. Dig the Hole: Dig a hole that’s twice as wide as the root ball of your olive tree and just as deep.
4. Plant the Tree: Gently remove the olive tree from its container. Loosen any circling roots. Place the tree in the hole, making sure the top of the root ball is level with the surrounding soil.
5. Backfill the Hole: Backfill the hole with the amended soil, gently tamping it down as you go.
6. Water Thoroughly: Water the tree thoroughly after planting. This will help settle the soil and encourage root growth.
7. Mulch: Apply a layer of mulch around the base of the tree, keeping it a few inches away from the trunk. Mulch helps retain moisture, suppress weeds, and regulate soil temperature.
Caring for Your Olive Tree
Once your olive tree is planted, it’s important to provide it with proper care to ensure it thrives.
* Watering: Water your olive tree regularly, especially during the first year after planting. Once established, olive trees are relatively drought-tolerant, but they still need regular watering during dry periods. Water deeply and infrequently, allowing the soil to dry out slightly between waterings.
* Fertilizing: Fertilize your olive tree in the spring with a balanced fertilizer. Follow the instructions on the fertilizer package. Avoid over-fertilizing, as this can lead to excessive vegetative growth at the expense of fruit production.
* Pruning: Prune your olive tree annually to maintain its shape, remove dead or diseased branches, and improve air circulation. The best time to prune is in late winter or early spring, before new growth begins.
* Pest and Disease Control: Olive trees are generally resistant to pests and diseases, but they can be susceptible to certain problems. Monitor your tree regularly for signs of pests or diseases. If you notice any problems, take action promptly to prevent them from spreading. Common pests include olive fruit fly and scale insects. Common diseases include olive knot and verticillium wilt. Consult with your local nursery or agricultural extension office for advice on controlling pests and diseases in your area.
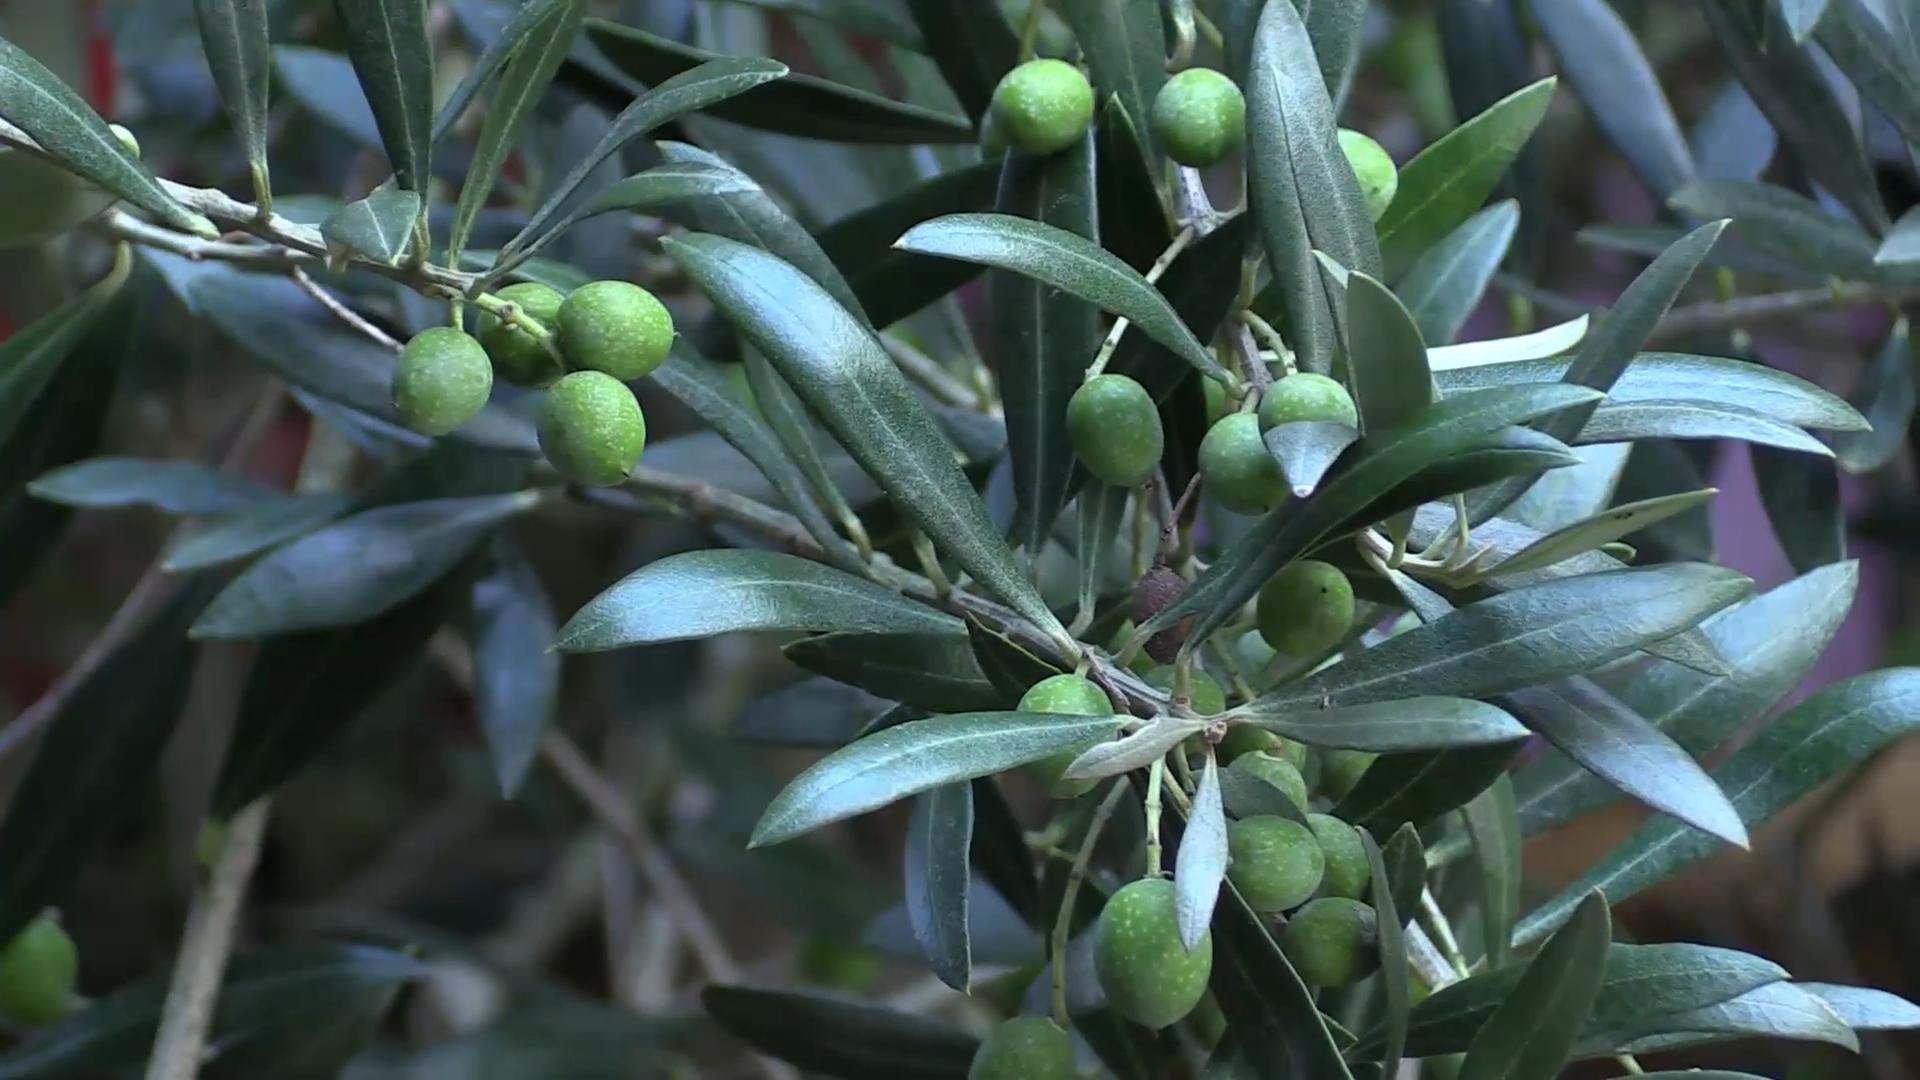
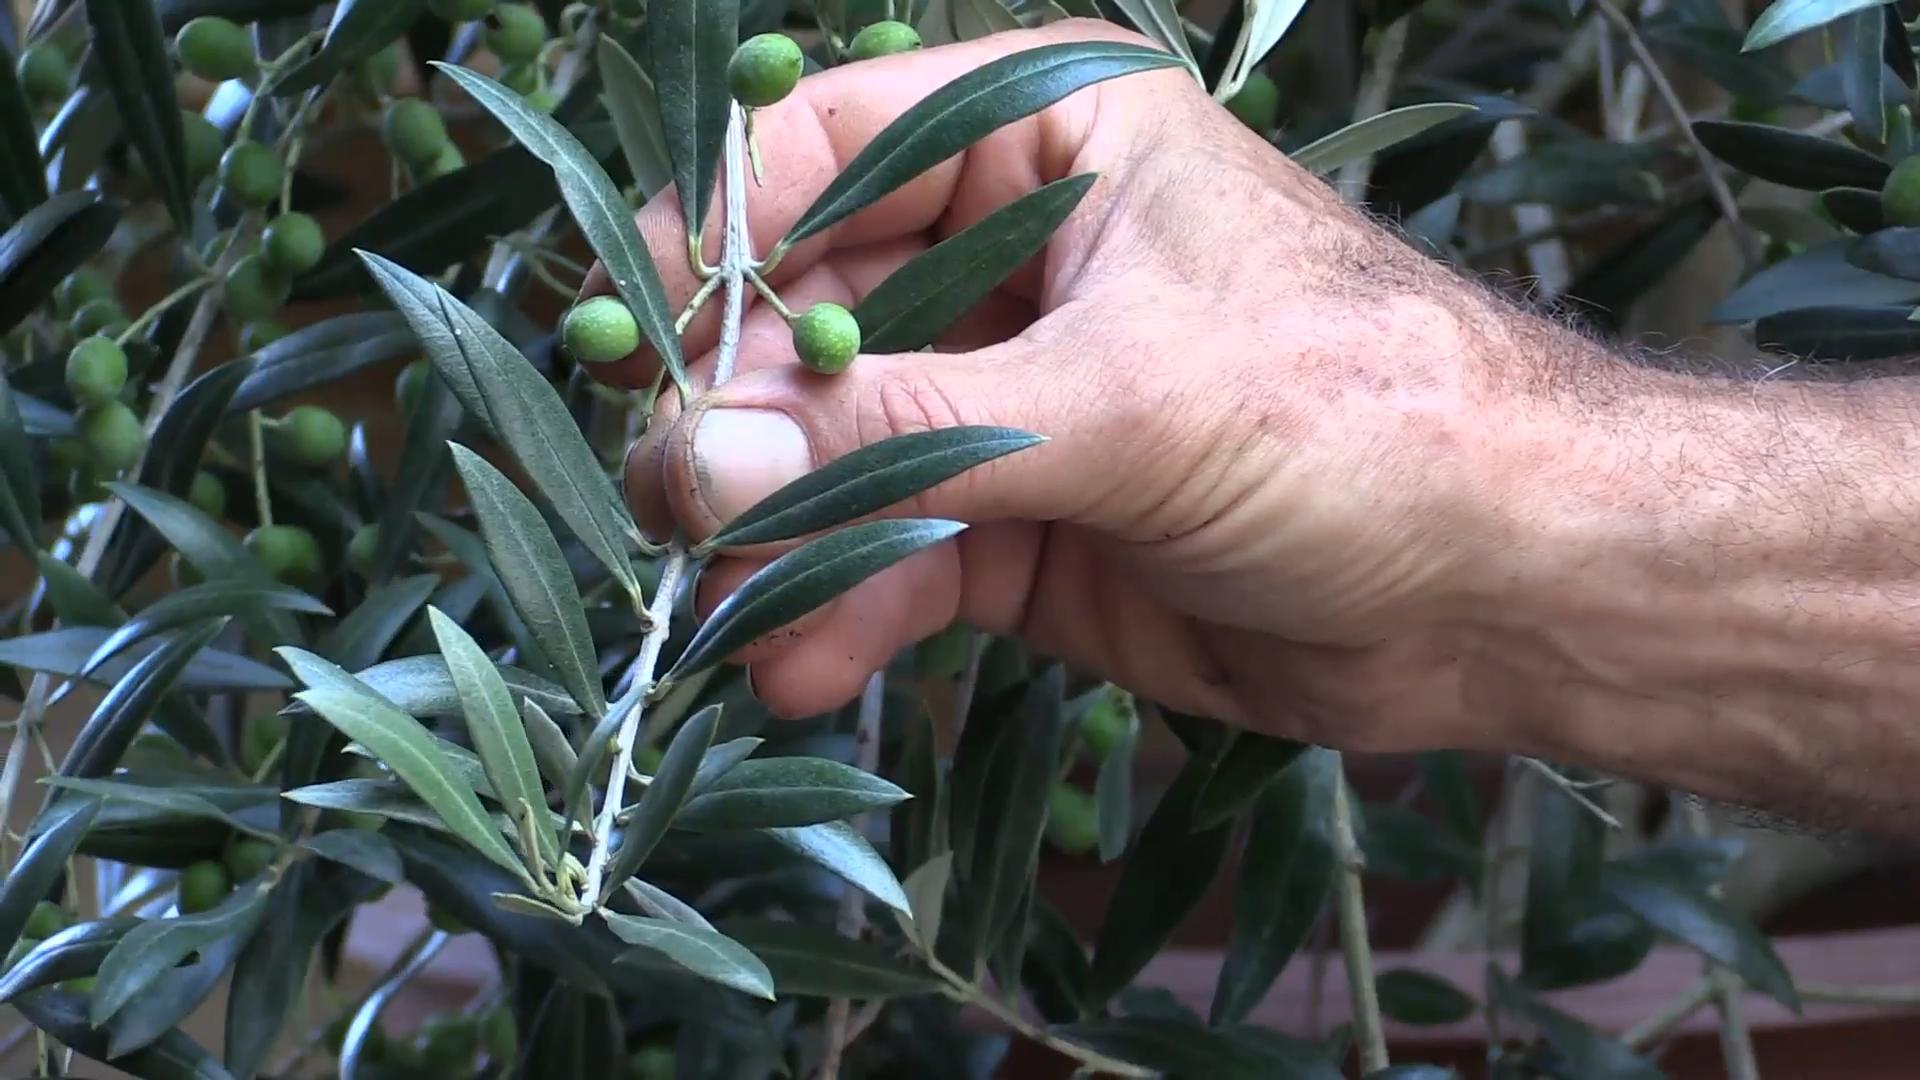
* Harvesting: Olive trees typically begin producing fruit after three to five years. The time of harvest depends on the variety and your personal preference. Green olives are typically harvested in the fall, while black olives are harvested in the winter. The olives should be firm and slightly colored.
Curing Your Olives: The Fun Part!
Okay, you’ve harvested your olives! Now comes the curing process. This is essential to remove the bitterness from the olives and make them palatable. There are several different methods for curing olives, but I’m going to share my favorite: the lye method. It’s relatively quick and easy, and it produces delicious olives.
Materials You’ll Need:
* Freshly harvested olives
* Lye (sodium hydroxide) – Handle with extreme caution!
* Water
* Glass or food-grade plastic containers (avoid aluminum)
* Salt
* Vinegar (optional)
* Herbs and spices (optional, such as garlic, oregano, rosemary, chili flakes)
Safety First!
Lye is a corrosive substance and can cause serious burns. Always wear gloves, eye protection, and a long-sleeved shirt when handling lye. Work in a well-ventilated area. Keep lye out of reach of children and pets. If lye comes into contact with your skin or eyes, rinse immediately with plenty of water and seek medical attention.
The Lye Curing Process:
1. Prepare the Lye Solution: In a large, non-reactive container (glass or food-grade plastic), carefully add lye to cold water. Always add lye to water, never water to lye. The mixture will heat up. Use a wooden or plastic spoon to stir until the lye is completely dissolved. The concentration of the lye solution will depend on the size and variety of your olives. A common starting point is a 2-3% solution (20-30 grams of lye per liter of water). For larger, thicker-skinned olives, you might need a slightly stronger solution.
2. Soak the Olives: Place the olives in a separate container. Pour the lye solution over the olives, making sure they are completely submerged. You may need to weigh them down with a plate or a jar filled with water.
3. Monitor the Olives: The lye solution will penetrate the olives and remove the bitterness. The time it takes for this process to complete depends on the size and variety of the olives, as well as the concentration of the lye solution. Check the olives daily. To test if they are ready, cut one open and taste the flesh near the pit. It should no longer be bitter. This process can take anywhere from a few hours to a few days.
4. Rinse Thoroughly: Once the olives are no longer bitter, drain the lye solution and rinse the olives thoroughly with cold water. Rinse them several times, changing the water each time, until all traces of lye are removed. This is crucial!
5. Brine the Olives: Prepare a brine solution by dissolving salt in water. A common ratio is 8-10% salt (80-100 grams of salt per liter of water). You can also add vinegar to the brine for extra flavor and preservation. A ratio of 1 part vinegar to 10 parts brine is a good starting point.
6. Soak in Brine: Place the rinsed olives in the brine solution. Again, make sure they are completely submerged. You can add herbs and spices to the brine for extra flavor. Garlic, oregano, rosemary, and chili flakes are all popular choices.
7. Wait and Enjoy: Allow the olives to soak in the brine for at least two weeks, or longer for a more intense flavor. Taste them periodically to check their
Conclusion
So, there you have it – a comprehensive guide to successfully growing table olives at home! We’ve demystified the process, broken down the complexities, and armed you with the knowledge to cultivate your own delicious, briny bounty. Why is this DIY trick a must-try? Because nothing compares to the satisfaction of harvesting and curing olives you’ve nurtured from sapling to fruit-bearing tree. Imagine the pride you’ll feel serving homemade olives to friends and family, knowing you played an integral role in bringing that flavor to the table.
Beyond the sheer satisfaction, growing your own table olives offers several tangible benefits. You have complete control over the growing process, ensuring your olives are free from unwanted pesticides and chemicals. You can choose olive varieties that perfectly suit your taste preferences, experimenting with different flavors and textures. Plus, it’s a fantastic way to connect with nature, learn about sustainable food practices, and add a beautiful, productive element to your garden or landscape.
But the journey doesn’t end here! Feel free to experiment with different curing methods. While we’ve outlined a traditional brine curing process, you can explore other options like dry-salting or lye curing, each imparting a unique flavor profile to your olives. Consider adding herbs and spices to your brine – garlic, chili flakes, rosemary, and lemon peel are all excellent additions that can elevate the taste of your homemade olives.
Don’t be afraid to try different olive varieties too! While this guide provides general advice applicable to most table olive varieties, each cultivar has its own nuances. Research the specific needs of the variety you choose and adjust your growing practices accordingly. Some varieties are more resistant to certain pests or diseases, while others may ripen earlier or later in the season.
Growing table olives is a rewarding experience that connects you to the land and provides you with a delicious, sustainable food source. It’s a journey of learning, experimentation, and ultimately, delicious rewards.
We encourage you to embark on this olive-growing adventure! Start small, be patient, and don’t be afraid to learn from your mistakes. The most important thing is to enjoy the process and celebrate the fruits (literally!) of your labor.
Once you’ve harvested and cured your first batch of homemade olives, we’d love to hear about your experience! Share your tips, tricks, and triumphs in the comments below. Let’s build a community of home olive growers and learn from each other’s successes and challenges. Together, we can unlock the secrets to growing the perfect table olive and enjoy the delicious rewards for years to come. So, grab your gardening gloves, choose your olive variety, and get ready to experience the joy of growing your own table olives!
Frequently Asked Questions (FAQ)
What is the best time of year to plant an olive tree?
The best time to plant an olive tree is typically in the spring or early fall. Planting during these seasons allows the tree to establish its root system before the extreme temperatures of summer or winter set in. Spring planting gives the tree the entire growing season to acclimate, while fall planting allows the roots to develop during the cooler months, preparing the tree for vigorous growth in the spring. Avoid planting during the hottest months of summer or when the ground is frozen in winter.
How much sunlight does an olive tree need?
Olive trees thrive in full sunlight, requiring at least 6-8 hours of direct sunlight per day. Adequate sunlight is crucial for photosynthesis, which fuels the tree’s growth and fruit production. Insufficient sunlight can lead to reduced fruit yield, weaker growth, and increased susceptibility to diseases. Choose a planting location that receives ample sunlight throughout the day, and avoid areas shaded by buildings or other trees.
What type of soil is best for olive trees?
Olive trees prefer well-draining soil with a slightly alkaline pH (around 6.5-8.0). Good drainage is essential to prevent root rot, a common problem for olive trees. Heavy clay soils can be amended with organic matter, such as compost or well-rotted manure, to improve drainage and aeration. Sandy soils may need amendments to improve water retention. A soil test can help determine the pH and nutrient levels of your soil, allowing you to make necessary adjustments before planting.
How often should I water my olive tree?
Watering frequency depends on several factors, including the age of the tree, the climate, and the soil type. Young olive trees require more frequent watering than established trees. During the first year after planting, water deeply and regularly, especially during dry periods. Once established, olive trees are relatively drought-tolerant and can withstand periods of dryness. However, regular watering during fruit development can improve fruit size and quality. Avoid overwatering, as this can lead to root rot. A good rule of thumb is to water when the top inch of soil feels dry to the touch.
How do I prune an olive tree?
Pruning is essential for maintaining the health and productivity of olive trees. The best time to prune is in late winter or early spring, before new growth begins. Remove any dead, damaged, or diseased branches. Thin out the canopy to improve air circulation and sunlight penetration. Prune to maintain a desired shape and size, and to encourage fruit production. Olive trees produce fruit on the previous year’s growth, so avoid excessive pruning that removes too much of the fruiting wood.
When will my olive tree start producing fruit?
Olive trees typically begin producing fruit within 3-5 years after planting, although it can take longer depending on the variety and growing conditions. Proper care, including adequate sunlight, well-draining soil, and regular fertilization, can help accelerate fruit production. Some olive varieties are self-pollinating, while others require cross-pollination from another olive variety. If you are unsure whether your olive variety is self-pollinating, consider planting two different varieties to ensure fruit set.
How do I protect my olive tree from pests and diseases?
Olive trees are susceptible to various pests and diseases, including olive fruit fly, olive knot, and verticillium wilt. Regular monitoring can help detect problems early, allowing you to take appropriate action. Encourage beneficial insects, such as ladybugs and lacewings, to control pest populations. Prune regularly to improve air circulation and reduce humidity, which can help prevent fungal diseases. Use organic pest control methods whenever possible, and avoid using broad-spectrum pesticides that can harm beneficial insects. Consult with your local agricultural extension office for specific recommendations on pest and disease management in your area.
What is the best way to cure olives at home?
There are several methods for curing olives at home, including brine curing, dry-salting, and lye curing. Brine curing is a popular method that involves soaking the olives in a saltwater solution for several weeks or months. Dry-salting involves covering the olives in salt, which draws out the bitterness. Lye curing is a faster method that uses lye to remove the bitterness, but it requires careful handling and monitoring. The best method depends on your personal preferences and the type of olive you are curing. Research different curing methods and choose the one that best suits your needs.
Can I grow olive trees in containers?
Yes, olive trees can be grown in containers, making them suitable for patios, balconies, and other small spaces. Choose a large container with good drainage holes. Use a well-draining potting mix and water regularly, especially during hot weather. Container-grown olive trees may require more frequent fertilization than those grown in the ground. Prune regularly to maintain a manageable size and shape. Bring container-grown olive trees indoors during the winter in colder climates to protect them from freezing temperatures.
What are some good olive varieties for growing at home?
Several olive varieties are well-suited for home growing, depending on your climate and taste preferences. ‘Mission’ is a popular variety known for its mild flavor and versatility. ‘Manzanillo’ is another common variety that produces large, flavorful olives. ‘Sevillano’ is a larger olive often used for stuffing. ‘Arbequina’ is a smaller, more cold-hardy variety that is well-suited for container growing. Research different olive varieties and choose one that is well-suited to your climate and growing conditions.


Leave a Comment