

Growing tomatoes at home can feel like a superpower, transforming your backyard or balcony into a miniature Italian countryside. Imagine biting into a sun-warmed, juicy tomato, bursting with flavor that no store-bought variety can ever match. That’s the magic we’re chasing! For centuries, tomatoes have been a symbol of abundance and vitality, originating in South America and eventually conquering the culinary world. From the simplest salsa to the most elaborate sauces, the tomato reigns supreme.
But let’s be honest, sometimes growing tomatoes at home feels more like a battle against pests, diseases, and unpredictable weather. That’s where these DIY tricks and hacks come in! I’m going to share some simple, yet incredibly effective, methods to help you cultivate a thriving tomato patch, even if you’re a complete beginner. We’ll cover everything from clever container gardening solutions to natural pest control strategies, ensuring you harvest a bumper crop of delicious tomatoes.
Why do you need these tricks? Because everyone deserves the joy of fresh, homegrown tomatoes! Plus, knowing exactly what goes into your food is incredibly empowering. So, grab your gardening gloves, and let’s dive into the world of DIY tomato growing!
DIY: From Seed to Sauce – Growing Delicious Tomatoes at Home
Okay, tomato lovers, gather ’round! I’m going to walk you through everything you need to know to grow your own juicy, flavorful tomatoes right in your backyard (or even on your balcony!). Trust me, there’s nothing quite like the taste of a homegrown tomato, and it’s way easier than you might think. Let’s get started!
Choosing Your Tomato Varieties
Before we even think about dirt, we need to decide what kind of tomatoes we want to grow. There are literally hundreds of varieties, so it can be a little overwhelming. Here’s a quick rundown to help you choose:
* **Determinate vs. Indeterminate:** This is the big one. Determinate tomatoes grow to a certain size and then produce all their fruit at once, making them great for canning. Indeterminate tomatoes keep growing and producing fruit throughout the season. I personally prefer indeterminate because I love having fresh tomatoes all summer long.
* **Size and Shape:** Do you want big, beefsteak tomatoes for sandwiches? Cherry tomatoes for snacking? Plum tomatoes for sauce? Think about how you plan to use your tomatoes and choose accordingly.
* **Disease Resistance:** Look for varieties that are resistant to common tomato diseases like Fusarium wilt, Verticillium wilt, and nematodes. This will save you a lot of headaches later on.
* **Days to Maturity:** This tells you how long it will take for the tomatoes to ripen after you transplant them. Choose varieties with different maturity dates to extend your harvest season.
Some of my personal favorites include:
* **’Early Girl’:** A reliable, early-producing variety that’s great for cooler climates.
* **’Roma’:** Perfect for making tomato sauce and paste.
* **’Sungold’:** Incredibly sweet and flavorful cherry tomatoes.
* **’Beefsteak’:** Huge, juicy tomatoes that are perfect for sandwiches.
* **’Brandywine’:** An heirloom variety with exceptional flavor.
Starting Your Tomato Seeds Indoors (Optional, but Recommended)
Starting your seeds indoors gives you a head start on the growing season, especially if you live in a colder climate. I highly recommend it!
**What You’ll Need:**
* Tomato seeds (obviously!)
* Seed starting trays or small pots
* Seed starting mix (this is different from regular potting soil)
* A heat mat (optional, but helpful)
* A grow light (also optional, but highly recommended)
* A spray bottle
**Step-by-Step Instructions:**
1. **Prepare Your Seed Starting Trays:** Fill your seed starting trays or pots with seed starting mix. Gently tap the trays to settle the soil.
2. **Sow Your Seeds:** Make a small indentation (about 1/4 inch deep) in the soil and drop in 2-3 seeds per cell or pot. Cover the seeds with a thin layer of seed starting mix.
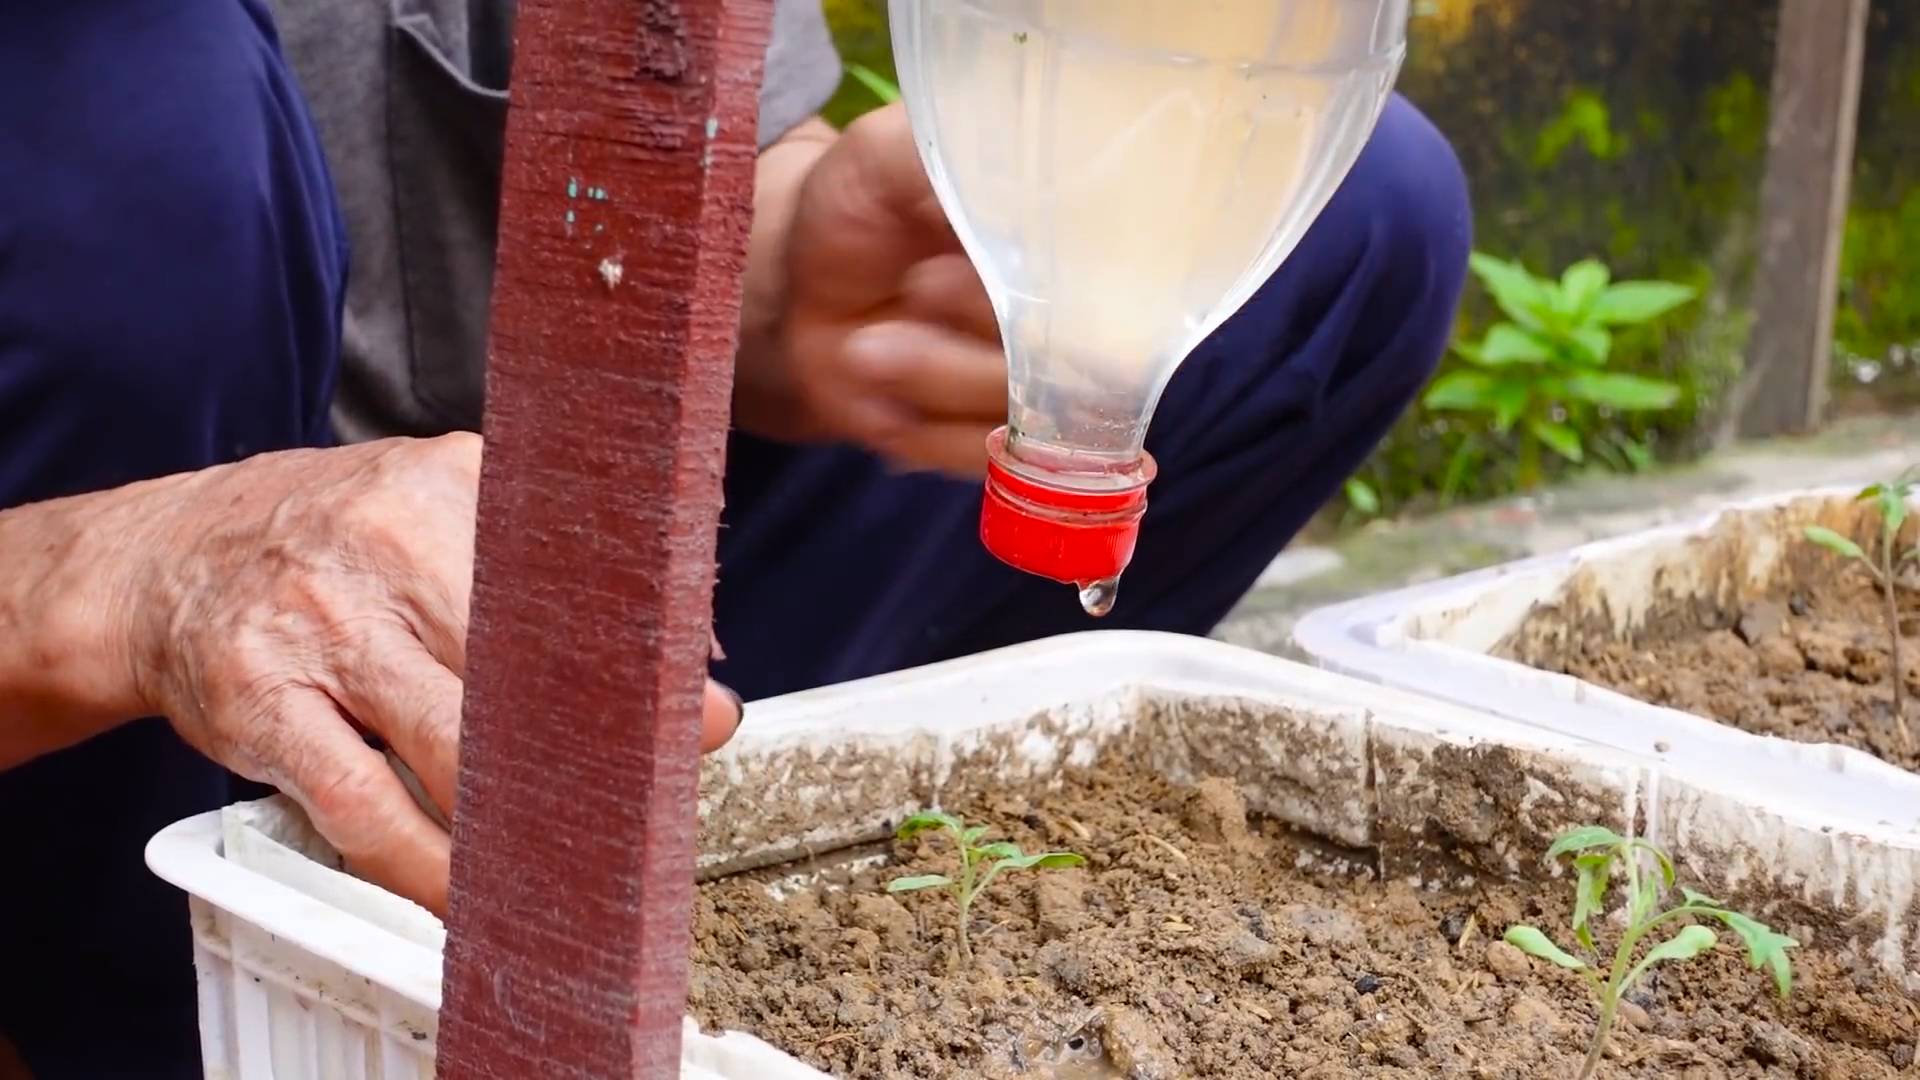
3. **Water Gently:** Use a spray bottle to gently moisten the soil. You don’t want to soak it, just keep it damp.
4. **Provide Warmth:** Place your seed starting trays on a heat mat (if using) and cover them with a humidity dome or plastic wrap to create a humid environment.
5. **Provide Light:** Place your seed starting trays under a grow light or in a sunny window. If using a grow light, keep it a few inches above the trays and adjust it as the seedlings grow.
6. **Keep the Soil Moist:** Check the soil daily and water as needed to keep it moist but not soggy.
7. **Thin Your Seedlings:** Once the seedlings have their first true leaves (the second set of leaves that appear after the cotyledons), thin them to one seedling per cell or pot. Snip off the weaker seedlings at the soil line with scissors.
8. **Harden Off Your Seedlings:** About a week before you plan to transplant your seedlings outdoors, start hardening them off. This means gradually exposing them to outdoor conditions. Start by placing them outside for an hour or two each day in a sheltered spot, and gradually increase the amount of time they spend outdoors each day.
Preparing Your Garden Bed
Whether you started your seeds indoors or bought seedlings from a nursery, you’ll need to prepare your garden bed before transplanting your tomatoes.
**What You’ll Need:**
* A sunny spot in your garden (tomatoes need at least 6-8 hours of sunlight per day)
* A shovel or garden fork
* Compost or well-rotted manure
* Tomato cages or stakes
* Optional: Fertilizer formulated for tomatoes
**Step-by-Step Instructions:**
1. **Choose a Sunny Location:** Find a spot in your garden that gets at least 6-8 hours of sunlight per day. Tomatoes thrive in full sun.
2. **Prepare the Soil:** Loosen the soil with a shovel or garden fork to a depth of at least 12 inches. Remove any rocks, weeds, or debris.
3. **Amend the Soil:** Tomatoes are heavy feeders, so it’s important to amend the soil with plenty of organic matter. Mix in a generous amount of compost or well-rotted manure. I usually add about 2-3 inches of compost to my tomato beds.
4. **Optional: Add Fertilizer:** If you want to give your tomatoes an extra boost, you can add a fertilizer formulated for tomatoes. Follow the instructions on the package.
5. **Install Tomato Cages or Stakes:** This is important! Tomatoes can get very heavy, and they’ll need support to prevent them from falling over. Install tomato cages or stakes before you transplant your seedlings.
Transplanting Your Tomato Seedlings
Now for the fun part – getting those little tomato plants into the ground!
**What You’ll Need:**
* Your tomato seedlings
* A trowel
* Water
**Step-by-Step Instructions:**
1. **Choose a Cloudy Day:** Transplanting on a cloudy day will help prevent your seedlings from getting stressed.
2. **Dig a Hole:** Dig a hole that’s deep enough to bury the bottom third of the tomato seedling’s stem. This might seem strange, but tomatoes can actually grow roots from their stems, which will make them stronger and more productive.
3. **Remove the Seedling from its Container:** Gently squeeze the sides of the container to loosen the seedling. Carefully remove the seedling from the container, being careful not to damage the roots.
4. **Plant the Seedling:** Place the seedling in the hole and backfill with soil. Gently firm the soil around the base of the plant.
5. **Water Thoroughly:** Water the seedling thoroughly to help it settle in.
6. **Add Mulch (Optional):** Mulch helps to retain moisture, suppress weeds, and regulate soil temperature. I like to use straw or wood chips.
Caring for Your Tomato Plants
Once your tomato plants are in the ground, it’s important to give them the care they need to thrive.
**Watering:**
* Water deeply and regularly, especially during hot, dry weather. Aim to water at the base of the plant to avoid wetting the foliage, which can lead to disease.
* A good rule of thumb is to water when the top inch of soil feels dry to the touch.
**Fertilizing:**
* Tomatoes are heavy feeders, so you’ll need to fertilize them regularly. Use a fertilizer formulated for tomatoes, following the instructions on the package.
* I like to fertilize my tomatoes every 2-3 weeks.
**Pruning:**
* Pruning can help to improve air circulation, reduce disease, and encourage fruit production.
* For indeterminate tomatoes, you’ll want to prune off the suckers that grow between the main stem and the branches. These suckers will just take energy away from the plant and reduce fruit production.
* For determinate tomatoes, you don’t need to prune as much. Just remove any dead or diseased leaves.
**Pest and Disease Control:**
* Keep an eye out for pests and diseases, and take action promptly if you see any problems.
* Common tomato pests include aphids, tomato hornworms, and whiteflies.
* Common tomato diseases include early blight, late blight, and blossom end rot.
* There are many organic and conventional methods for controlling pests and diseases. Choose the method that’s right for you.
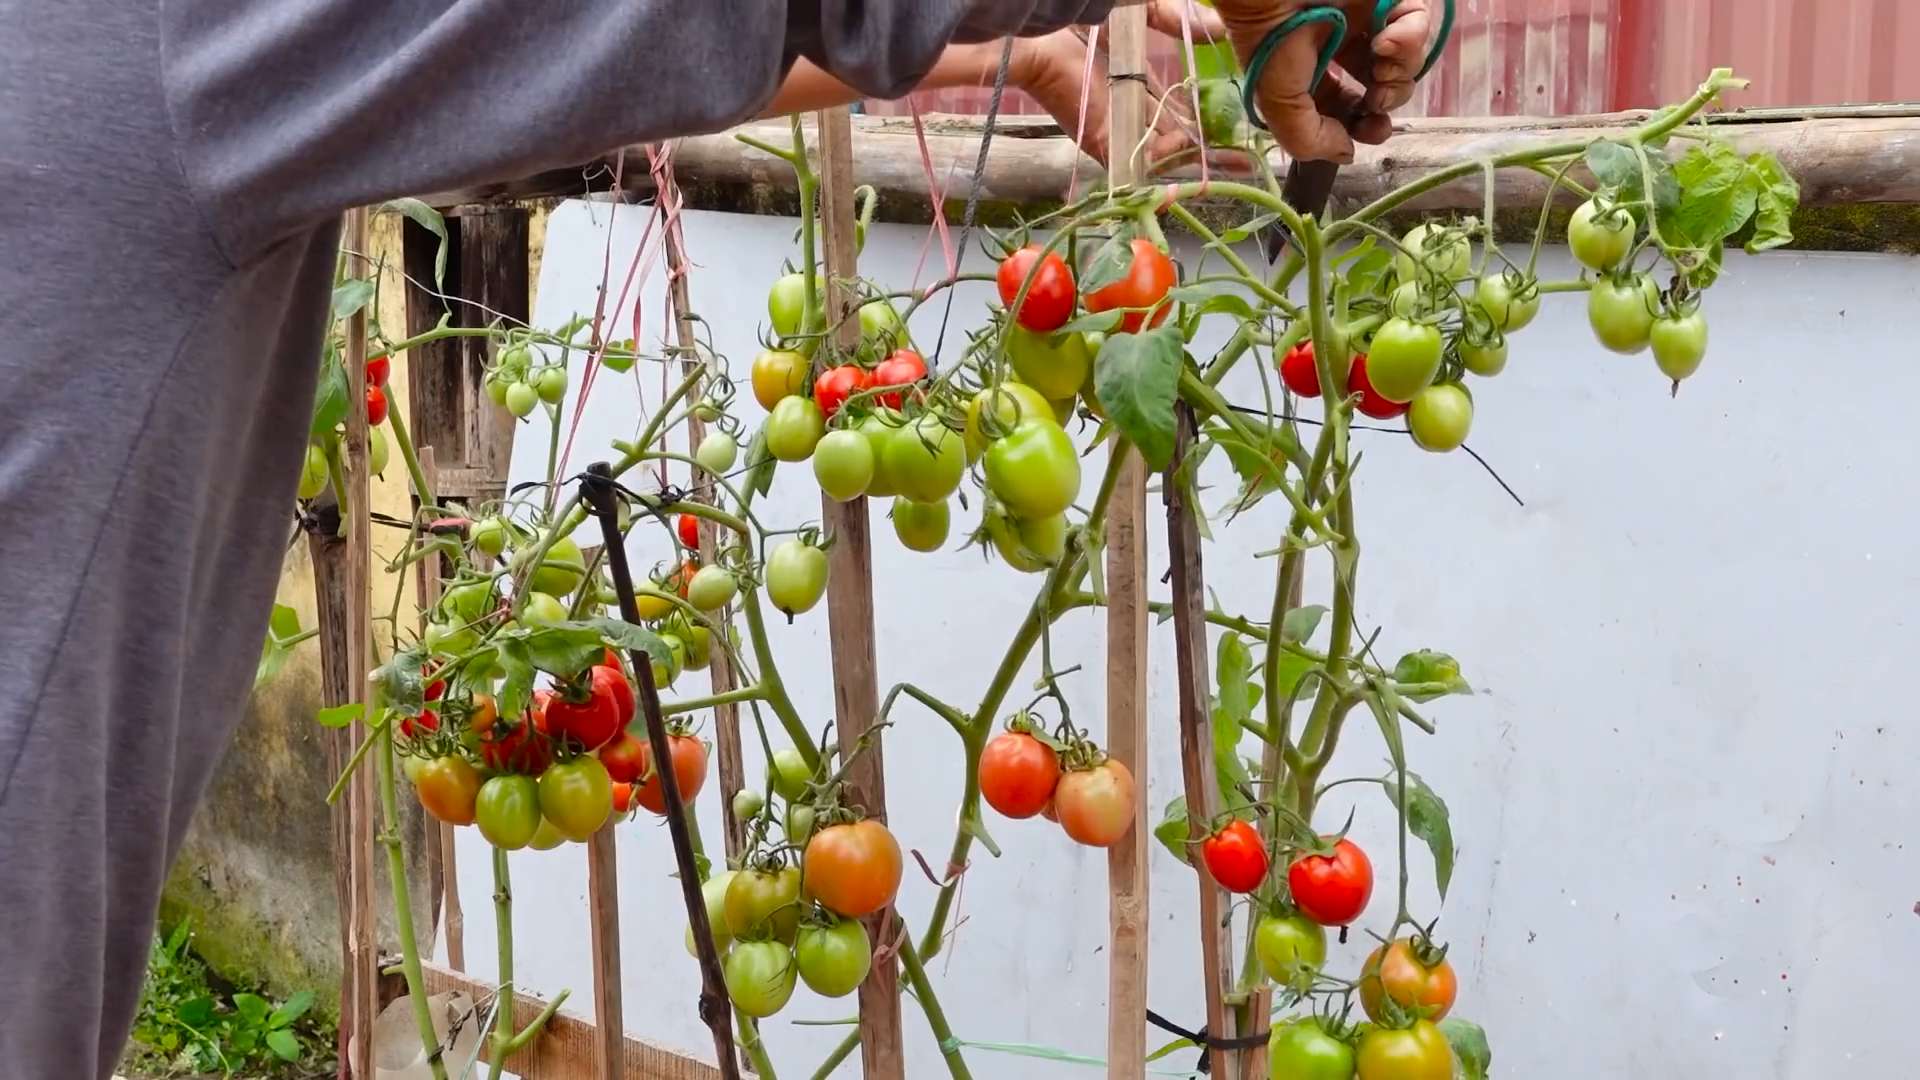
Harvesting Your Tomatoes
The moment we’ve all been waiting for – harvesting those delicious tomatoes!
* Tomatoes are ripe when they are fully colored and slightly soft to the touch.
* Gently twist the tomato off the vine.
* Store your tomatoes at room temperature for the best flavor. Don’t refrigerate them, as this will make them mealy.
Troubleshooting Common Tomato Problems
Even with the best care, you might encounter some problems along the way. Here are a few common issues and how to fix them:
* **Blossom End Rot:** This is caused by a calcium deficiency. Make sure your soil has enough calcium, and water regularly to help the plants absorb it.
* **Cracking:** This
Conclusion
So, there you have it! Growing tomatoes at home, especially with this simple DIY trick, is more than just a gardening project; it’s an investment in flavor, freshness, and a deeper connection to your food. Forget those bland, store-bought tomatoes that lack the vibrant taste of summer. With a little effort and this easy method, you can cultivate juicy, sun-ripened tomatoes bursting with flavor right in your own backyard, balcony, or even windowsill.
This DIY approach isn’t just about saving money (though that’s certainly a perk!). It’s about control. You get to choose the variety of tomato that best suits your taste, whether it’s a sweet cherry tomato for snacking, a robust Roma for sauces, or a beefsteak for slicing onto sandwiches. You control the soil, the water, and the nutrients, ensuring your plants receive the best possible care. And you avoid the pesticides and chemicals often used in commercial farming.
But the real magic lies in the taste. Homegrown tomatoes, nurtured with your own hands, possess an unparalleled sweetness and depth of flavor that you simply can’t find anywhere else. Imagine biting into a perfectly ripe tomato, still warm from the sun, its juices exploding with a tangy, sweet, and slightly acidic taste. That’s the reward waiting for you at the end of this DIY journey.
Ready to take your tomato game to the next level? Don’t be afraid to experiment! Try different tomato varieties to discover your favorites. Consider companion planting with basil, marigolds, or other herbs to deter pests and enhance flavor. You can even adapt this DIY trick to different growing methods, such as using raised beds, containers, or even hydroponics.
For example, if you live in a colder climate, you might want to start your tomato seeds indoors several weeks before the last frost. This will give your plants a head start and ensure a longer growing season. Or, if you have limited space, you could try growing tomatoes in hanging baskets or vertical planters.
Another variation is to experiment with different types of soil. While a well-draining potting mix is generally recommended, you can also amend your soil with compost, aged manure, or other organic matter to improve its fertility and drainage.
And don’t forget about fertilizer! Tomatoes are heavy feeders, so they need regular fertilization to thrive. Use a balanced fertilizer specifically formulated for tomatoes, and follow the instructions on the label.
The possibilities are endless! The key is to have fun, be patient, and learn from your experiences.
We’re confident that this DIY trick will transform your tomato-growing experience. But don’t just take our word for it. Give it a try and see for yourself! We encourage you to share your results, tips, and tricks in the comments below. Let’s build a community of tomato-loving gardeners and learn from each other. What varieties are you growing? What challenges have you faced? What successes have you celebrated? We can’t wait to hear your stories! Happy growing!
Frequently Asked Questions (FAQ)
Q: What is the best time to start growing tomatoes at home?
A: The best time to start growing tomatoes depends on your climate. In warmer climates with long growing seasons, you can start seeds directly outdoors after the last frost. However, in colder climates, it’s best to start seeds indoors 6-8 weeks before the last expected frost. This gives your plants a head start and ensures a longer growing season. You can transplant the seedlings outdoors once the weather has warmed up and the risk of frost has passed. Check your local weather forecast and gardening resources for specific recommendations for your area.
Q: What kind of soil is best for growing tomatoes?
A: Tomatoes thrive in well-draining, fertile soil that is rich in organic matter. A good potting mix specifically formulated for vegetables is a great option for container gardening. If you’re planting in the ground, amend your soil with compost, aged manure, or other organic matter to improve its fertility and drainage. The ideal soil pH for tomatoes is between 6.0 and 6.8. You can test your soil pH with a soil testing kit and adjust it accordingly.
Q: How much sunlight do tomatoes need?
A: Tomatoes need at least 6-8 hours of direct sunlight per day to thrive. Choose a location that receives plenty of sunlight throughout the day. If you’re growing tomatoes indoors, you may need to supplement with grow lights to provide adequate light. Insufficient sunlight can lead to leggy plants, poor fruit production, and bland-tasting tomatoes.
Q: How often should I water my tomato plants?
A: Water your tomato plants deeply and regularly, especially during hot, dry weather. The frequency of watering will depend on the weather, the type of soil, and the size of the plant. As a general rule, water when the top inch of soil feels dry to the touch. Avoid overwatering, as this can lead to root rot. It’s best to water in the morning to allow the foliage to dry before nightfall, which can help prevent fungal diseases.
Q: What are some common tomato pests and diseases, and how can I prevent them?
A: Tomatoes are susceptible to a variety of pests and diseases, including aphids, whiteflies, tomato hornworms, blossom end rot, and fungal diseases like early blight and late blight. To prevent these problems, choose disease-resistant tomato varieties, practice good sanitation in your garden, and monitor your plants regularly for signs of pests or diseases. You can also use organic pest control methods, such as insecticidal soap or neem oil, to control pests. To prevent fungal diseases, ensure good air circulation around your plants, avoid overhead watering, and apply a fungicide if necessary.
Q: How do I know when my tomatoes are ripe?
A: Tomatoes are typically ripe when they have reached their mature color and are slightly soft to the touch. The color will vary depending on the variety of tomato. Gently squeeze the tomato; it should give slightly but not be mushy. Ripe tomatoes will also have a distinct aroma. The best way to tell if a tomato is ripe is to taste it!
Q: Can I grow tomatoes in containers?
A: Yes, you can definitely grow tomatoes in containers! Choose a large container (at least 10 gallons) with drainage holes. Use a good quality potting mix and provide your plants with plenty of sunlight, water, and fertilizer. Dwarf or determinate tomato varieties are often better suited for container gardening than indeterminate varieties, which can grow very large.
Q: What is blossom end rot, and how can I prevent it?
A: Blossom end rot is a common problem in tomatoes that is caused by a calcium deficiency. It appears as a dark, leathery spot on the bottom of the tomato. To prevent blossom end rot, ensure that your soil has adequate calcium levels. You can add lime or bone meal to your soil before planting. Also, water your plants consistently to prevent fluctuations in soil moisture, which can affect calcium uptake.
Q: How can I encourage more fruit production on my tomato plants?
A: To encourage more fruit production, make sure your tomato plants are getting plenty of sunlight, water, and fertilizer. Prune your plants regularly to remove suckers (the small shoots that grow between the main stem and the branches). This will help to improve air circulation and direct the plant’s energy towards fruit production. You can also hand-pollinate your tomato flowers by gently shaking the plant or using a small brush to transfer pollen from one flower to another.


Leave a Comment