

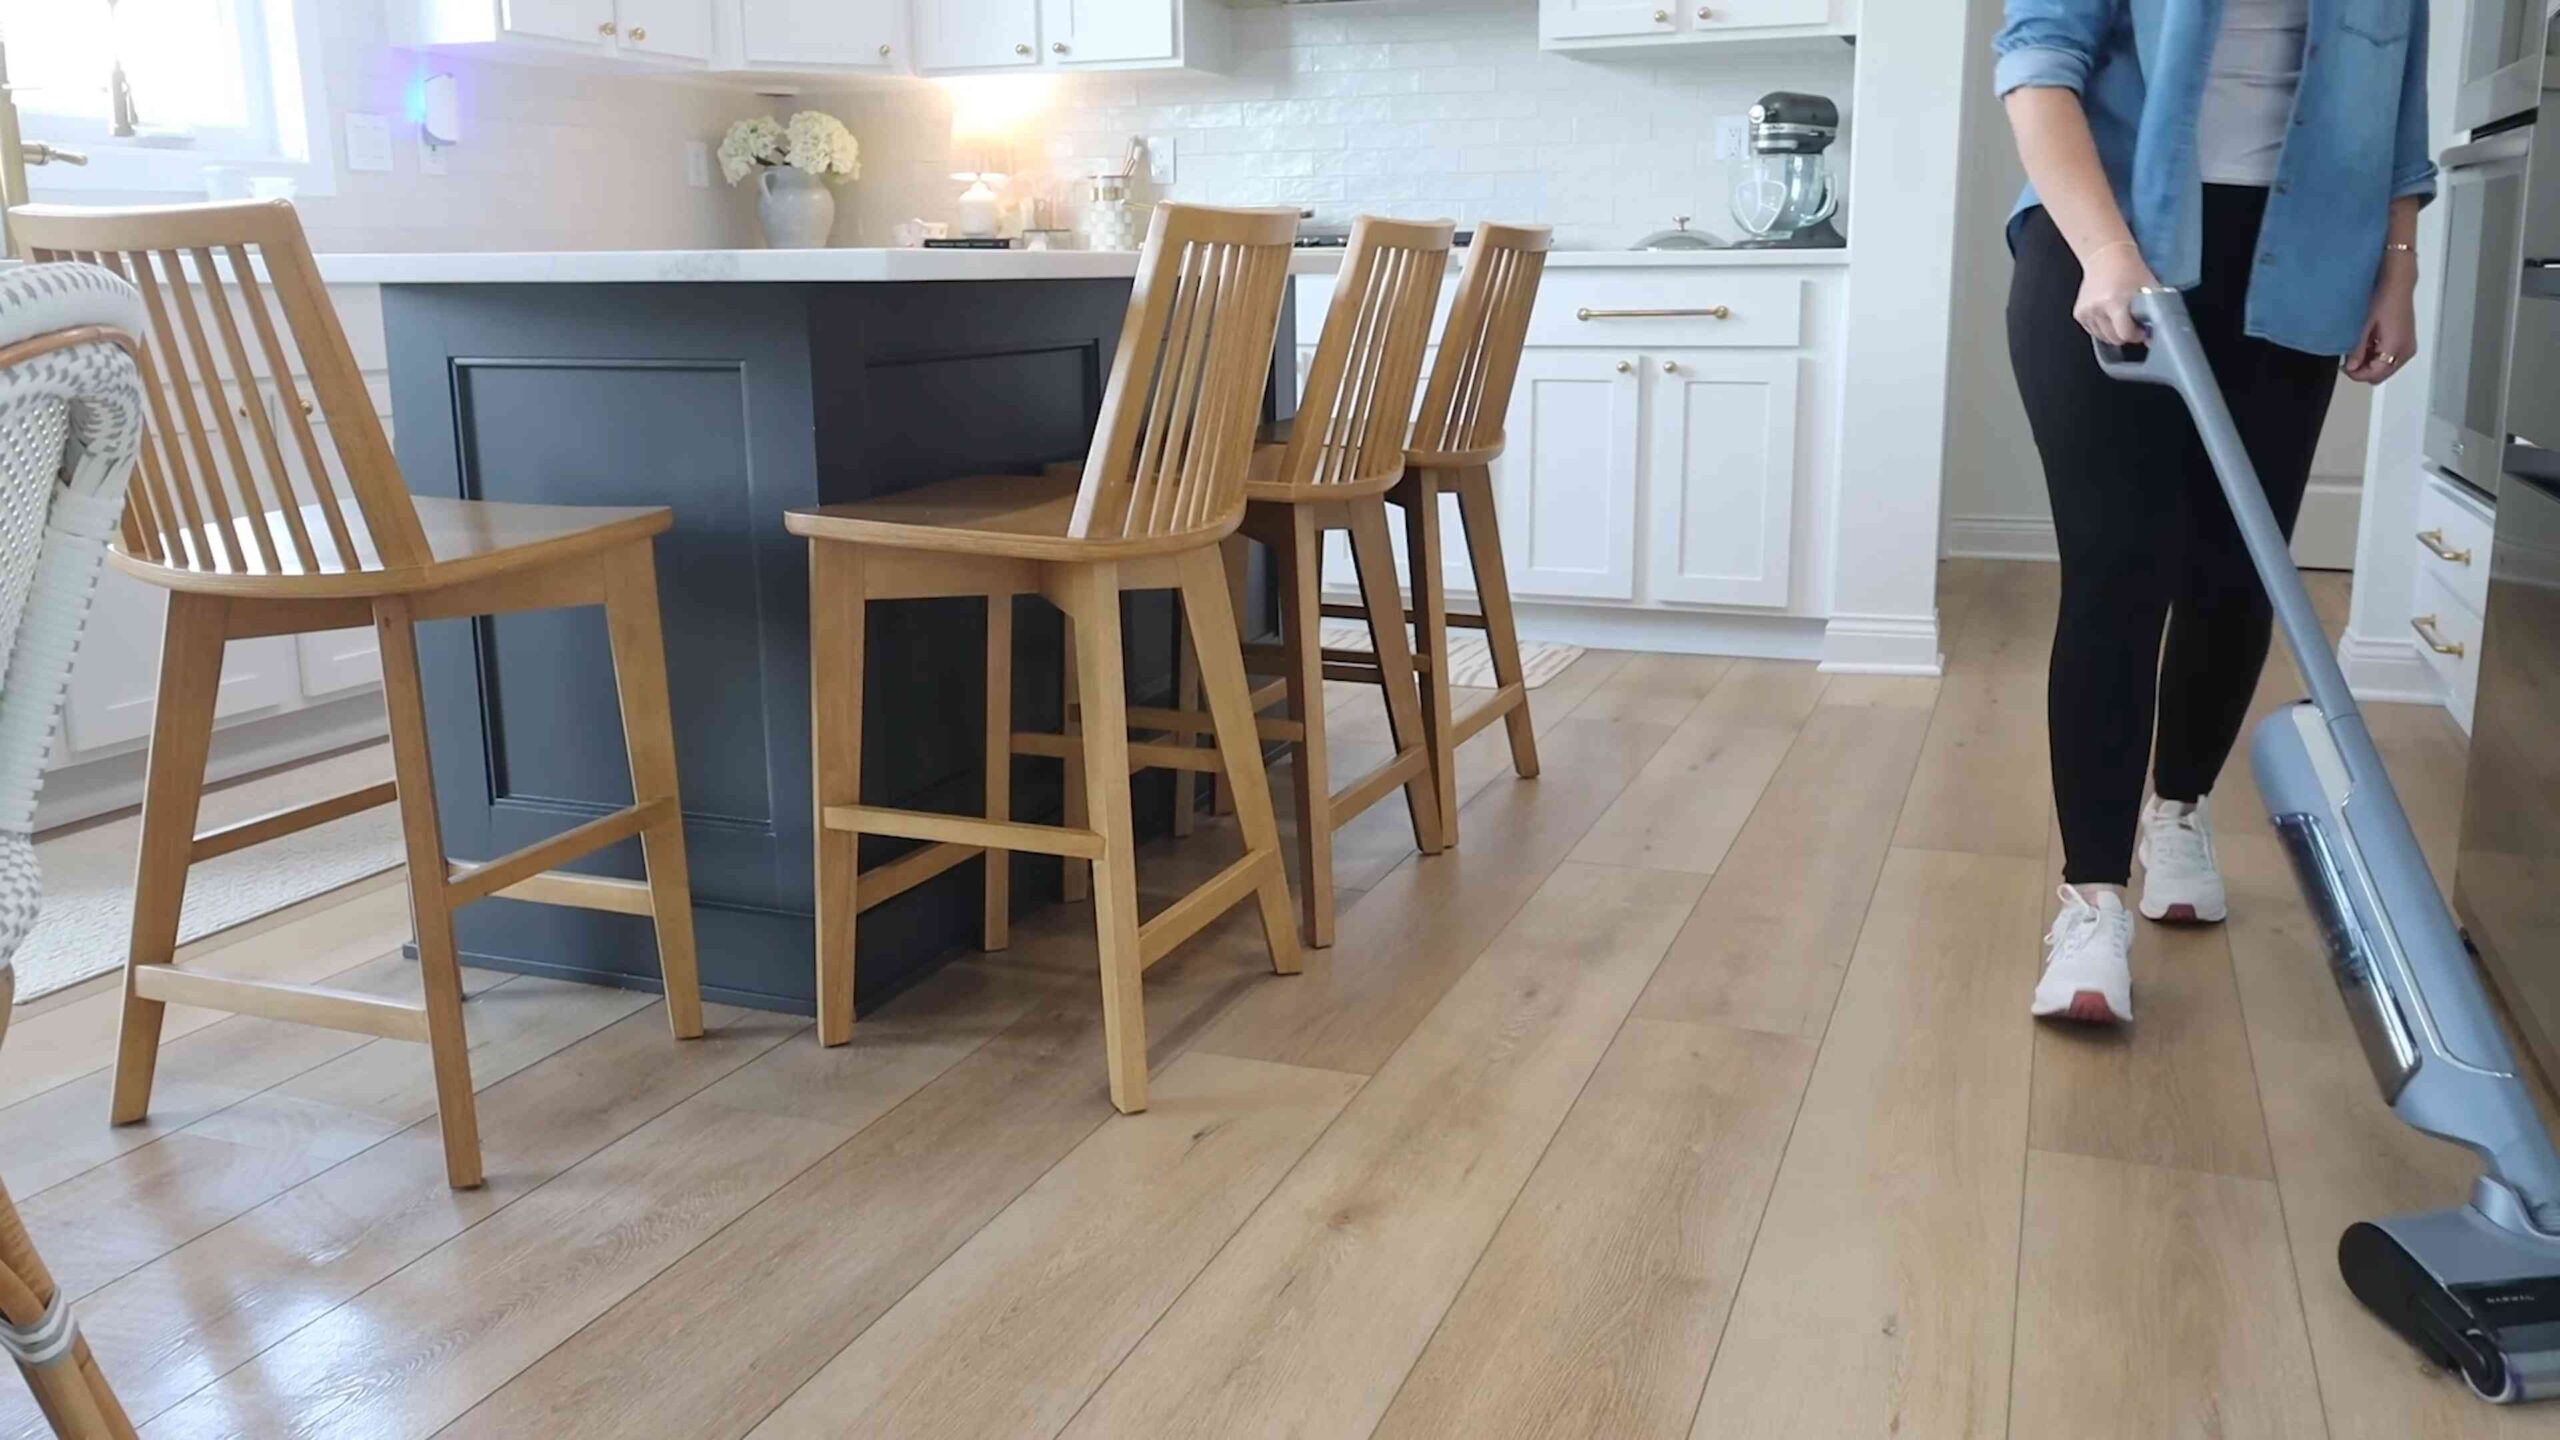
Household chores tips – let’s be honest, nobody jumps for joy at the thought of tackling them! But what if I told you there were ways to make those dreaded tasks not just bearable, but maybe even… dare I say… enjoyable? For centuries, people have been devising clever shortcuts and ingenious methods to keep their homes sparkling. Think about it – our grandmothers probably had a whole arsenal of natural cleaning solutions and organizational hacks passed down through generations. These weren’t just about cleanliness; they were about creating a comfortable, healthy, and happy home.
In today’s fast-paced world, who has time to spend hours scrubbing and tidying? That’s where these DIY household chore tricks come in! We all crave a clean and organized space, but often feel overwhelmed by the sheer volume of tasks. This article is your secret weapon, packed with simple, effective, and often surprising household chores tips that will save you time, money, and sanity. From decluttering hacks to natural cleaning solutions, I’m going to share my favorite DIY tricks that will transform your home from chaotic to calm in no time. Get ready to reclaim your weekends and finally enjoy a sparkling clean home without breaking a sweat!
“`html
DIY Household Hacks to Make Chores a Breeze!
Okay, let’s be honest, nobody *loves* chores. But what if I told you there were some super simple DIY hacks that could make them faster, easier, and maybe even…dare I say…a little bit fun? I’ve gathered some of my favorite tricks that have seriously changed my cleaning game, and I’m so excited to share them with you!
Cleaning Hacks for a Sparkling Kitchen
The kitchen, the heart of the home, but also a magnet for messes! These hacks will help you tackle those tough kitchen cleaning tasks with ease.
Cleaning a Greasy Microwave
Microwaves can get seriously gross, seriously fast. But don’t worry, you don’t need harsh chemicals to clean them!
What you’ll need:
* 1 cup water
* 1 tablespoon white vinegar or lemon juice
* Microwave-safe bowl
* Sponge or cloth
Step-by-step instructions:
1. Combine water and vinegar/lemon juice: Pour the water into the microwave-safe bowl and add the vinegar or lemon juice. I personally prefer lemon juice because it leaves a fresh, citrusy scent.
2. Microwave the mixture: Place the bowl in the microwave and heat on high for 5-7 minutes. The water will boil and create steam, which will loosen the grime inside.
3. Let it sit: Leave the microwave door closed for another 2-3 minutes to allow the steam to work its magic.
4. Wipe it clean: Carefully remove the bowl (it will be hot!) and use a sponge or cloth to wipe down the inside of the microwave. The loosened grime should come off easily. For stubborn spots, you might need a little extra elbow grease.
De-gunking Your Blender
Blenders are amazing for smoothies, soups, and sauces, but cleaning them can be a pain. This hack makes it a breeze!
What you’ll need:
* Warm water
* Dish soap
Step-by-step instructions:
1. Fill with warm water: Immediately after using your blender, fill it about halfway with warm water.
2. Add dish soap: Add a squirt or two of dish soap.
3. Blend: Secure the lid and blend on high speed for 10-20 seconds.
4. Rinse and dry: Pour out the soapy water, rinse the blender thoroughly, and let it air dry.
Cleaning Burnt Food from Pots and Pans
Ugh, burnt food. We’ve all been there. But don’t throw that pan away just yet!
What you’ll need:
* 1 cup water
* 2 tablespoons baking soda
* ½ cup white vinegar
* Scrubbing sponge or pad
Step-by-step instructions:
1. Boil water and baking soda: Pour the water into the burnt pot or pan and add the baking soda. Bring the mixture to a boil on the stovetop.
2. Simmer and scrape: Let the mixture simmer for 10-15 minutes, scraping the bottom of the pan with a wooden spoon or spatula to loosen the burnt food.
3. Add vinegar: Remove the pan from the heat and carefully add the vinegar. It will fizz, so be prepared!
4. Let it sit: Let the mixture sit for another 10-15 minutes.
5. Scrub and wash: Pour out the mixture and scrub the pan with a scrubbing sponge or pad. The burnt food should come off much easier now. Wash the pan with soap and water as usual.
Bathroom Cleaning Hacks for a Fresh Space
The bathroom can be a breeding ground for germs and grime. These hacks will help you keep it clean and fresh.
Cleaning Showerheads
Hard water can leave mineral deposits on your showerhead, reducing water pressure and making it look dingy.
What you’ll need:
* White vinegar
* Plastic bag
* Rubber band or twist tie
Step-by-step instructions:
1. Fill the bag with vinegar: Pour enough white vinegar into the plastic bag to completely submerge the showerhead.
2. Secure the bag: Attach the bag to the showerhead using a rubber band or twist tie, making sure the showerhead is fully immersed in the vinegar.
3. Soak overnight: Let the showerhead soak in the vinegar overnight.
4. Remove and rinse: Remove the bag and rinse the showerhead thoroughly with water. Use an old toothbrush to scrub away any remaining mineral deposits.
Cleaning Grout
Grout can get stained and discolored over time. This simple paste will help you brighten it up.
What you’ll need:
* Baking soda
* Water
* Old toothbrush
Step-by-step instructions:
1. Make a paste: Mix baking soda and water to form a thick paste.
2. Apply to grout: Apply the paste to the grout lines using your fingers or a small spatula.
3. Scrub: Use an old toothbrush to scrub the grout lines.
4. Rinse: Rinse the grout with water and wipe clean with a damp cloth.
Cleaning Toilet Bowls
Let’s face it, cleaning the toilet isn’t anyone’s favorite chore. But this hack makes it a little less unpleasant.
What you’ll need:
* ½ cup baking soda
* 1 cup white vinegar
Step-by-step instructions:
1. Pour in baking soda: Pour the baking soda into the toilet bowl.
2. Add vinegar: Slowly pour the vinegar into the bowl. It will fizz.
3. Let it sit: Let the mixture sit for about 30 minutes.
4. Scrub and flush: Scrub the bowl with a toilet brush and flush.
Living Room and Bedroom Cleaning Hacks for a Cozy Home
These hacks will help you keep your living spaces clean and comfortable.
Freshening Up Your Mattress
Mattresses can accumulate dust mites, dead skin cells, and odors over time. This simple freshening trick will help keep your mattress clean and comfortable.
What you’ll need:
* Baking soda
* Essential oil (optional)
* Vacuum cleaner with upholstery attachment
Step-by-step instructions:
1. Sprinkle baking soda: Sprinkle a generous layer of baking soda over the entire surface of your mattress. If you want to add a pleasant scent, mix a few drops of your favorite essential oil (like lavender or eucalyptus) into the baking soda before sprinkling.
2. Let it sit: Let the baking soda sit on the mattress for at least 30 minutes, or even better, for a few hours. This will allow the baking soda to absorb odors and moisture.
3. Vacuum: Use the upholstery attachment of your vacuum cleaner to thoroughly vacuum up all the baking soda.
Dusting Blinds
Dusting blinds can be tedious, but this hack makes it much easier.
What you’ll need:
* Old sock
* White vinegar
* Spray bottle
Step-by-step instructions:
1. Mix vinegar and water: Mix equal parts white vinegar and water in a spray bottle.
2. Spray the sock: Lightly spray the sock with the vinegar solution.
3. Dust the blinds: Slip the sock over your hand and use it to wipe down the blinds, one slat at a time. The sock will trap the dust and the vinegar solution will help to loosen any stubborn grime.
Cleaning Upholstery
Spills and stains happen. This DIY upholstery cleaner can help you tackle them without harsh chemicals.
What you’ll need:
* 1 teaspoon dish soap
* 1 tablespoon white vinegar
* 1 cup warm water
* Spray bottle
* Clean cloth
Step-by-step instructions:
1. Mix the solution: Combine the dish soap, vinegar, and warm water in a spray bottle.
2. Test in a hidden area: Before applying the solution to the entire stain, test it in a hidden area of the upholstery to make sure it doesn’t damage the fabric.
3. Spray and blot: Lightly spray the stain with the solution and blot it with a clean cloth. Avoid rubbing, as this can spread the stain.
4. Repeat as needed: Repeat the process until the stain is gone.
5. Dry: Blot the area with a dry cloth to remove excess moisture and allow it to air dry.
Laundry Hacks for Fresh and Clean Clothes
Laundry can feel like a never-ending task. These hacks will help you streamline your laundry routine and keep your clothes looking their best.
DIY Laundry Detergent Booster

Conclusion
So, there you have it! Transforming your approach to household chores doesn’t require expensive gadgets or harsh chemicals. This simple, yet incredibly effective, DIY trick is a game-changer for anyone looking to streamline their cleaning routine and achieve sparkling results with minimal effort. We’ve shown you how to leverage readily available ingredients and a bit of ingenuity to create a powerful cleaning solution that’s both budget-friendly and environmentally conscious.
Why is this a must-try? Because it’s not just about cleaning; it’s about reclaiming your time and energy. Imagine spending less time scrubbing and more time doing the things you truly enjoy. This DIY approach empowers you to take control of your cleaning process, tailoring it to your specific needs and preferences. Plus, you’ll have the satisfaction of knowing exactly what’s going into your cleaning products, avoiding potentially harmful chemicals found in many store-bought alternatives.
But the beauty of this DIY trick lies in its versatility. Feel free to experiment with different essential oils to create your signature scent. Lavender, lemon, tea tree, and eucalyptus are all excellent choices, each offering unique aromatherapy benefits while enhancing the cleaning power of the solution. For tougher stains, consider adding a tablespoon of borax or washing soda to the mix. And if you’re dealing with hard water, a splash of white vinegar can help prevent mineral buildup and leave surfaces gleaming.
Don’t be afraid to adjust the ratios of ingredients to suit your specific cleaning needs. If you find the solution too strong, simply dilute it with more water. Conversely, if you need extra cleaning power, add a bit more of the active ingredients. The key is to experiment and find what works best for you and your home.
We’re confident that once you try this DIY trick, you’ll be amazed by the results. It’s a simple, effective, and sustainable way to tackle household chores and create a cleaner, healthier living environment. So, ditch the expensive cleaning products and embrace the power of DIY!
Now, we want to hear from you! Give this DIY trick a try and share your experience with us. What variations did you try? What were your results? What tips and tricks did you discover along the way? Your feedback is invaluable and will help us refine and improve this method for everyone. Share your stories, photos, and videos on social media using the hashtag #DIYCleaningMagic. Let’s create a community of DIY enthusiasts who are passionate about creating cleaner, healthier homes! We are eager to see how this **household chores** hack transforms your cleaning routine.
Frequently Asked Questions
What exactly are the benefits of using a DIY cleaning solution compared to store-bought products?
DIY cleaning solutions offer a multitude of benefits. Firstly, they are often significantly cheaper than store-bought alternatives. You’re using ingredients you likely already have in your pantry, saving you money on expensive cleaning products. Secondly, DIY solutions are generally safer for your health and the environment. You avoid harsh chemicals, artificial fragrances, and other potentially harmful ingredients found in many commercial cleaners. This is especially important for households with children, pets, or individuals with sensitivities. Thirdly, DIY allows for customization. You can tailor the ingredients and scents to your specific needs and preferences, creating a cleaning solution that is perfectly suited to your home. Finally, using DIY solutions reduces your environmental impact by minimizing plastic waste and the use of harmful chemicals that can pollute waterways.
Are DIY cleaning solutions as effective as store-bought products?
In many cases, yes! While some heavy-duty cleaning tasks might require specialized products, DIY solutions are surprisingly effective for everyday cleaning. Ingredients like vinegar, baking soda, and lemon juice possess natural cleaning properties that can tackle grease, grime, and stains. The key is to use the right ingredients for the specific cleaning task and to follow the instructions carefully. For example, vinegar is excellent for disinfecting and removing hard water stains, while baking soda is a gentle abrasive that can scrub away grime. With a little experimentation, you can create DIY cleaning solutions that are just as effective, if not more so, than many store-bought products.
What safety precautions should I take when making and using DIY cleaning solutions?
Safety is paramount when working with any cleaning solution, even DIY ones. Always wear gloves to protect your skin from irritation. Avoid mixing certain ingredients, such as bleach and ammonia, as this can create toxic fumes. Store your DIY cleaning solutions in clearly labeled containers, out of reach of children and pets. When using a new DIY solution for the first time, test it on a small, inconspicuous area to ensure it doesn’t damage the surface. And always ventilate the area well when cleaning, especially when using solutions with strong odors like vinegar.
Can I use essential oils in my DIY cleaning solutions, and if so, which ones are best?
Yes, essential oils are a fantastic addition to DIY cleaning solutions! They not only add a pleasant scent but also possess antibacterial, antiviral, and antifungal properties that can enhance the cleaning power of your solutions. Some of the best essential oils for cleaning include:
* **Lemon:** A natural degreaser and disinfectant.
* **Tea Tree:** A powerful antibacterial and antifungal agent.
* **Lavender:** Known for its calming scent and antiseptic properties.
* **Eucalyptus:** Effective against bacteria and viruses, and has a refreshing scent.
* **Peppermint:** A natural insect repellent and has a invigorating scent.
When using essential oils, start with a few drops and adjust to your preference. Be sure to use pure, high-quality essential oils for the best results.
How long can I store my DIY cleaning solutions?
The shelf life of DIY cleaning solutions depends on the ingredients used. Solutions containing water are more prone to bacterial growth and should be used within a few weeks. Solutions made with vinegar or alcohol have a longer shelf life, typically several months. To maximize the shelf life of your DIY cleaning solutions, store them in airtight containers in a cool, dark place. Always label your containers with the date you made the solution so you can keep track of its freshness. If you notice any changes in color, odor, or consistency, discard the solution.
What are some common mistakes to avoid when making DIY cleaning solutions?
One common mistake is using the wrong ratios of ingredients. Always follow the recipe carefully and measure ingredients accurately. Another mistake is mixing incompatible ingredients, such as bleach and vinegar, which can create dangerous fumes. Avoid using abrasive cleaners on delicate surfaces, as this can cause scratches. And always test new solutions on a small, inconspicuous area before using them on a larger surface. Finally, don’t forget to label your containers clearly to avoid confusion and accidental misuse.
Can this DIY trick be used on all surfaces?
While this DIY trick is versatile, it’s not suitable for all surfaces. Avoid using vinegar-based solutions on natural stone surfaces like marble or granite, as the acid can etch the stone. Be cautious when using abrasive cleaners on delicate surfaces like wood or painted walls. Always test the solution on a small, inconspicuous area first to ensure it doesn’t damage the surface. For delicate surfaces, consider diluting the solution with more water or using a gentler cleaning agent like castile soap.
Leave a Comment