

Increase Watermelon Yield and transform your backyard into a personal watermelon patch bursting with juicy goodness! Have you ever dreamed of biting into a perfectly ripe, homegrown watermelon, the sweet juice dripping down your chin? It’s a quintessential summer experience, and with a few clever DIY tricks, it’s more achievable than you might think. For centuries, watermelons have been a symbol of abundance and refreshment, enjoyed in cultures around the world, from ancient Egypt where they were buried with pharaohs to modern-day picnics and barbecues.
But let’s face it, getting a bountiful harvest of these sweet giants can be tricky. Many gardeners struggle with small, bland watermelons, or worse, plants that simply don’t produce. That’s where these DIY hacks come in! I’m going to share some simple, yet effective techniques to increase watermelon yield, even if you’re a beginner gardener. These aren’t complicated methods requiring expensive equipment; they’re practical tips and tricks you can implement right now to give your watermelon plants the boost they need. Imagine the satisfaction of sharing your homegrown watermelons with friends and family, knowing you nurtured them from tiny seeds to delicious, refreshing treats. Let’s get started and unlock the secrets to a watermelon harvest you’ll be proud of!

Maximize Your Watermelon Harvest: A DIY Guide to Bumper Crops!
Okay, watermelon lovers, let’s talk about getting serious about our watermelon game. We all dream of juicy, sweet watermelons bursting from our gardens, right? But sometimes, those dreams fall a little flat. Don’t worry! I’m here to share some tried-and-true DIY techniques to dramatically increase your watermelon yield. This isn’t just about getting *some* watermelons; it’s about getting a *lot* of them!
Understanding Watermelon Needs: The Foundation for Success
Before we dive into the nitty-gritty, let’s quickly cover the basics. Watermelons are hungry, thirsty, and sun-loving plants. They need:
* Full Sun: At least 6-8 hours of direct sunlight per day. No excuses!
* Well-Drained Soil: Watermelons hate soggy feet.
* Rich Soil: They’re heavy feeders, so nutrient-rich soil is crucial.
* Consistent Watering: Especially during fruit development.
* Warm Temperatures: Watermelons thrive in warm weather.
Keep these needs in mind as we move forward. Addressing these fundamentals is the first step to a bountiful harvest.
DIY Hack #1: Soil Preparation – The Secret Weapon
The foundation of any successful garden is the soil. Watermelons are no exception. In fact, they’re particularly demanding. Here’s how to create the perfect watermelon playground:
1. Choose Your Location Wisely: Select a spot that gets ample sunlight and has good drainage. If your soil is heavy clay, consider raised beds or amending the soil extensively.
2. Soil Testing is Key: Before you do anything, test your soil’s pH. Watermelons prefer a slightly acidic pH of 6.0 to 6.8. You can buy a soil testing kit at most garden centers or send a sample to your local agricultural extension office.
3. Amend, Amend, Amend!: This is where the magic happens. Watermelons are heavy feeders, so we need to load up the soil with organic matter. Here’s my go-to recipe:
* Compost: Add a generous layer of compost (2-4 inches) to the planting area. Compost provides essential nutrients and improves soil structure.
* Well-Rotted Manure: If you have access to well-rotted manure (cow, horse, or chicken), incorporate it into the soil. Manure is a fantastic source of nitrogen, phosphorus, and potassium. Be sure it’s well-rotted to avoid burning the roots.
* Bone Meal: Bone meal is rich in phosphorus, which is crucial for root development and fruit production. Add bone meal according to the package instructions.
* Wood Ash: Wood ash contains potassium, another essential nutrient for watermelons. Use wood ash sparingly, as it can raise the soil pH.
4. Till or Dig It In: Thoroughly till or dig the amendments into the top 12-18 inches of soil. This ensures that the nutrients are evenly distributed and readily available to the watermelon roots.
5. Create Mounds or Rows: Watermelons benefit from being planted on slightly raised mounds or rows. This improves drainage and warms the soil more quickly.
DIY Hack #2: Strategic Planting and Spacing
How you plant your watermelons can significantly impact your yield. Here’s the lowdown:
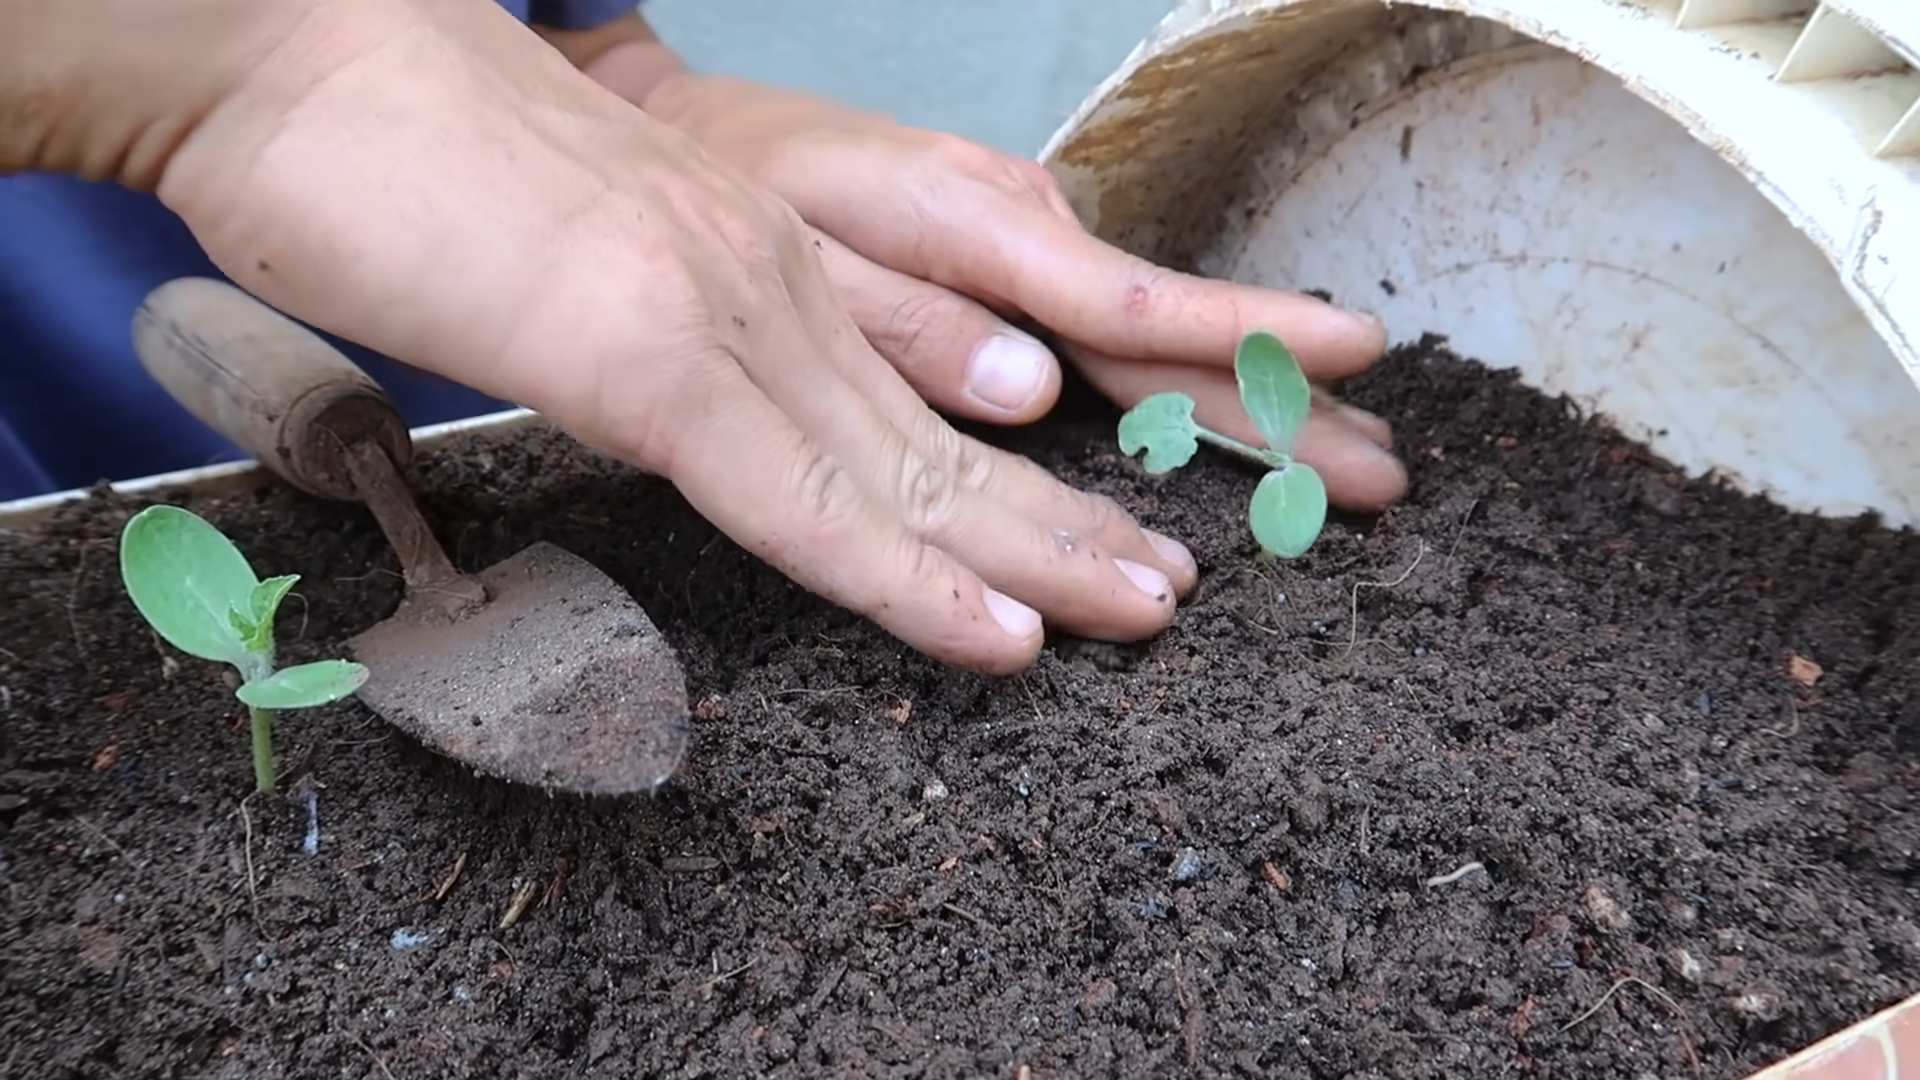
1. Start Seeds Indoors (Optional): To get a head start, you can start watermelon seeds indoors 4-6 weeks before the last expected frost. Use peat pots or biodegradable containers to avoid disturbing the roots when transplanting.
2. Direct Sowing: If you live in a warm climate with a long growing season, you can direct sow watermelon seeds directly into the garden after the last frost.
3. Planting Depth: Plant seeds about 1 inch deep.
4. Spacing is Crucial: Watermelons need plenty of space to sprawl. Here’s a general guideline:
* Bush Varieties: 3-4 feet apart.
* Vining Varieties: 6-8 feet apart.
* Between Rows: 8-10 feet apart.
5. Hills or Rows: Plant 2-3 seeds per hill or every few feet in a row. Once the seedlings emerge, thin them to the strongest plant.
6. Water Thoroughly: After planting, water the seeds or seedlings thoroughly.
DIY Hack #3: The Art of Watering and Feeding
Watermelons are thirsty and hungry plants. Consistent watering and regular feeding are essential for maximizing yield.
1. Watering Deeply and Regularly: Watermelons need about 1-2 inches of water per week, especially during fruit development. Water deeply and infrequently, rather than shallowly and frequently. This encourages deep root growth.
2. Avoid Overhead Watering: Overhead watering can lead to fungal diseases. Use a soaker hose or drip irrigation to water at the base of the plants.
3. Mulching is Your Friend: Apply a layer of organic mulch (straw, hay, or wood chips) around the watermelon plants. Mulch helps retain moisture, suppress weeds, and regulate soil temperature.
4. Fertilizing Schedule: Watermelons are heavy feeders, so regular fertilization is crucial.
* At Planting: Apply a balanced fertilizer (10-10-10) according to the package instructions.
* After Flowering: Switch to a fertilizer that is higher in phosphorus and potassium (e.g., 5-10-10). Phosphorus promotes fruit development, and potassium enhances fruit quality.
* Foliar Feeding: Consider foliar feeding with a seaweed extract or fish emulsion every 2-3 weeks. Foliar feeding provides micronutrients directly to the leaves.
5. Monitor for Nutrient Deficiencies: Keep an eye out for signs of nutrient deficiencies, such as yellowing leaves or stunted growth. Adjust your fertilization schedule accordingly.
DIY Hack #4: Pollination Power – Hand Pollination for the Win!
Watermelons need to be pollinated to produce fruit. If you’re not seeing a lot of bees in your garden, you may need to lend a helping hand.
1. Understanding Watermelon Flowers: Watermelons have separate male and female flowers. Male flowers appear first and have a long, thin stem. Female flowers have a small, immature watermelon at the base of the flower.
2. Identifying the Right Time: The best time to hand-pollinate is early in the morning, when the flowers are fully open.
3. The Hand-Pollination Process:
* Collect Pollen: Gently remove a male flower from the vine.
* Remove Petals: Carefully remove the petals from the male flower to expose the pollen-covered stamen.
* Transfer Pollen: Gently rub the stamen of the male flower onto the stigma (the sticky center) of the female flower.
* Repeat: Repeat this process with several female flowers.
4. Mark Pollinated Flowers: Use a piece of ribbon or string to mark the pollinated flowers. This will help you track their development.
5. Observe Fruit Development: If pollination is successful, the small watermelon at the base of the female flower will begin to swell within a few days.
DIY Hack #5: Pruning for Productivity
Pruning watermelons can seem counterintuitive, but it can actually increase your yield by directing the plant’s energy towards fruit production.
1. Identify Suckers: Suckers are small shoots that grow from the base of the plant or from the leaf axils (the point where the leaf joins the stem).
2. Remove Suckers: Remove suckers regularly to prevent them from diverting energy away from the main vines and developing fruits.
3. Limit Fruit per Vine: For larger watermelon varieties, it’s best to limit the number of fruits per vine to 2-3. This will ensure that the plant’s energy is concentrated on producing fewer, but larger and higher-quality watermelons.
4. Pinch Back Vine Tips: Once the main vines have reached a desired length (around 6-8 feet), pinch back the tips to encourage lateral branching and fruit development.
5. Remove Damaged or Diseased Leaves: Regularly remove any damaged or diseased leaves to prevent the spread of disease and improve air circulation.
DIY Hack #6: Protecting Your Precious Cargo
Watermelons are susceptible to various pests and diseases. Here’s how to protect your crop:
1. Pest Control:
* Cucumber Beetles: These pests can transmit diseases and damage young plants. Use row covers to protect seedlings and apply insecticidal soap or neem oil if necessary.
* Squash Bugs: Squash bugs can
Conclusion
So, there you have it! This simple, yet incredibly effective DIY trick to increase watermelon yield is a game-changer for any gardener, whether you’re a seasoned pro or just starting out. We’ve walked you through the process, highlighting the science behind why it works and offering practical tips to ensure your success.
But why is this a must-try? Because who doesn’t want more delicious, juicy watermelons from their garden? Imagine the satisfaction of harvesting a bumper crop, enough to share with family, friends, and neighbors. Think of the incredible summer treats you can create: refreshing watermelon salads, homemade watermelon juice, or even grilled watermelon for a unique and flavorful experience. This isn’t just about growing watermelons; it’s about cultivating a sense of accomplishment and enjoying the fruits (literally!) of your labor.
Beyond the increased yield, this method also promotes healthier plants. By providing the right nutrients and support, you’re strengthening your watermelon vines, making them more resistant to pests and diseases. This means less time spent battling problems and more time enjoying your thriving garden.
Ready to take your watermelon game to the next level? Don’t be afraid to experiment! Try different variations of the feeding solution. Some gardeners swear by adding a touch of Epsom salts to the mix for an extra boost of magnesium. Others incorporate compost tea for a wider range of beneficial microbes. The key is to observe your plants closely and adjust your approach based on their needs.
Consider these variations to further enhance your results:
* Vertical Growing: Train your watermelon vines to grow vertically on a trellis. This not only saves space but also improves air circulation, reducing the risk of fungal diseases.
* Companion Planting: Plant beneficial companion plants like marigolds or basil near your watermelons to deter pests and attract pollinators.
* Mulching: Apply a layer of organic mulch around your watermelon plants to retain moisture, suppress weeds, and regulate soil temperature.
* Pollination Assistance: If you’re experiencing pollination problems, hand-pollinate your watermelon flowers in the early morning.
We’re confident that this DIY trick will transform your watermelon harvest. But don’t just take our word for it – give it a try and see the results for yourself! We encourage you to document your journey, take photos of your progress, and share your experiences with us and the wider gardening community. Let us know what worked best for you, what challenges you faced, and any tips you discovered along the way. Your insights could help other gardeners achieve their watermelon dreams.
So, grab your gardening gloves, gather your supplies, and get ready to witness the magic of this simple yet powerful technique. Happy gardening, and may your watermelon patch be overflowing with abundance! We can’t wait to hear about your success stories. Remember, a little effort can go a long way in achieving a bountiful harvest. This method to increase watermelon yield is not just a trick; it’s a pathway to a more rewarding and fulfilling gardening experience.
Frequently Asked Questions (FAQ)
What exactly does this DIY trick do to increase watermelon yield?
This DIY trick primarily focuses on providing targeted nutrition and support to your watermelon plants during critical growth stages. By supplementing the soil with a nutrient-rich solution, you’re ensuring that your plants have the resources they need to develop strong vines, produce healthy flowers, and set a greater number of fruits. The support structure, whether it’s a trellis or a simple stake, helps to keep the watermelons off the ground, preventing rot and allowing them to ripen more evenly. Ultimately, this combination of nutrition and support leads to a significant increase in the number and size of watermelons you harvest.
How often should I apply the feeding solution?
The frequency of application depends on several factors, including the age of your plants, the type of soil you have, and the weather conditions. As a general guideline, you should apply the feeding solution every 1-2 weeks during the active growing season, particularly when the plants are flowering and setting fruit. If you have sandy soil that drains quickly, you may need to apply it more frequently. Conversely, if you have heavy clay soil, you can reduce the frequency to avoid overwatering. Always observe your plants closely for signs of nutrient deficiencies or overwatering and adjust your watering schedule accordingly.
What if I don’t have all the ingredients for the feeding solution? Can I substitute anything?
Yes, you can definitely make substitutions based on what you have available. The key is to provide a balanced blend of essential nutrients. If you don’t have fish emulsion, you can use compost tea or a diluted seaweed extract as an alternative source of nitrogen and micronutrients. Bone meal can be replaced with rock phosphate or wood ash to provide phosphorus. Epsom salts can be omitted if your soil is already rich in magnesium. The most important thing is to ensure that your plants are receiving adequate amounts of nitrogen, phosphorus, and potassium, as well as essential micronutrients.
My watermelon plants are already quite large. Is it too late to start using this trick?
No, it’s never too late to start! While it’s ideal to begin applying this trick early in the growing season, you can still see benefits even if your plants are already well-established. The feeding solution will help to support the development of existing fruits and encourage the production of new ones. The support structure will also help to protect the fruits from rot and improve air circulation. Just be sure to adjust the amount of feeding solution based on the size of your plants and avoid over-fertilizing.
What are some common signs of nutrient deficiencies in watermelon plants?
Recognizing nutrient deficiencies early on is crucial for addressing them promptly. Some common signs include:
* Yellowing leaves: This can indicate a nitrogen deficiency.
* Stunted growth: This can be caused by a lack of phosphorus or potassium.
* Small, pale fruits: This can be a sign of a general nutrient deficiency.
* Blossom end rot: This is often caused by a calcium deficiency.
* Curled or distorted leaves: This can be a sign of a micronutrient deficiency.
If you notice any of these symptoms, test your soil to determine the specific nutrient deficiencies and adjust your feeding solution accordingly.
How do I know when my watermelons are ripe and ready to harvest?
Determining when a watermelon is ripe can be tricky, but there are several telltale signs to look for:
* The tendril closest to the fruit turns brown and dry.
* The spot where the watermelon rests on the ground turns from white to yellow.
* The watermelon sounds hollow when you thump it.
* The rind becomes dull and loses its shine.
These are general guidelines, and the specific ripening time will vary depending on the variety of watermelon and the growing conditions.
Can I use this trick for other types of melons, like cantaloupe or honeydew?
Yes, this trick can be adapted for other types of melons as well. The basic principles of providing targeted nutrition and support apply to all melons. However, you may need to adjust the feeding solution based on the specific nutrient requirements of each type of melon. For example, cantaloupe may benefit from a slightly higher potassium content. You should also consider the size and growth habits of each type of melon when choosing a support structure.
What if I live in an area with a short growing season? Can I still use this trick to increase watermelon yield?
Absolutely! In fact, this trick can be particularly beneficial in areas with short growing seasons. By providing optimal nutrition and support, you can help your watermelon plants to grow more quickly and efficiently, maximizing your chances of harvesting a crop before the first frost. You may also want to consider starting your watermelon seeds indoors several weeks before the last expected frost to give them a head start. Choosing early-maturing varieties of watermelon can also help to ensure a successful harvest in a short growing season.


Leave a Comment