

Indoor edible plants – the words themselves conjure images of lush greenery thriving within the cozy confines of our homes, offering a fresh, flavorful bounty right at our fingertips. But let’s be honest, the idea can feel a little intimidating, right? Maybe you’ve tried growing herbs indoors before, only to be met with spindly stems and disappointing harvests. Or perhaps you’re simply unsure where to even begin. Well, fear not, fellow plant enthusiasts! This article is your ultimate guide to unlocking the secrets of successful indoor edible gardening, transforming your living space into a vibrant, productive oasis.
For centuries, humans have cultivated plants indoors, from the elaborate orangeries of European royalty to the humble windowsill herb gardens of everyday households. The desire to connect with nature and nurture life, even within the walls of our homes, is deeply ingrained in our history. Today, as we increasingly seek sustainable and self-sufficient lifestyles, growing our own food indoors has become more relevant than ever.
Imagine stepping into your kitchen and snipping fresh basil for your pasta, or harvesting a handful of juicy cherry tomatoes for your salad, all without leaving the comfort of your home. This isn’t just a whimsical dream; it’s an achievable reality with the right knowledge and a few clever DIY tricks. In this article, I’ll share my favorite hacks and tips for cultivating thriving indoor edible plants, regardless of your experience level. We’ll cover everything from choosing the right plants and providing optimal lighting to creating DIY self-watering systems and combating common pests. So, let’s ditch the grocery store produce aisle and embark on a journey to create your own flourishing indoor edible garden!
Creating Your Own Indoor Edible Herb Garden
Hey there, fellow plant enthusiasts! I’m so excited to share my experience with creating a thriving indoor edible herb garden. It’s easier than you might think, and nothing beats the flavor of fresh herbs you’ve grown yourself. Plus, it adds a lovely touch of green to your home! Let’s dive in!
Choosing Your Herbs
Before we get our hands dirty, let’s talk about which herbs are best suited for indoor growing. Not all herbs thrive indoors, so choosing the right ones is key to success.
* Light Requirements: Consider how much sunlight your space receives. Some herbs need a lot of direct sunlight, while others can tolerate partial shade.
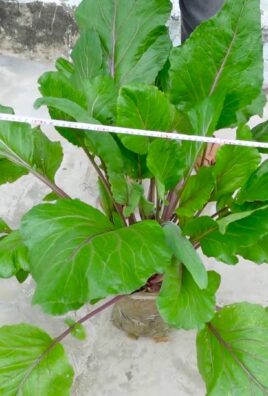
* Popular Choices: Basil, mint, chives, parsley, oregano, thyme, rosemary, and cilantro are all great options for indoor growing.
* Space Considerations: Think about how much space you have available. Some herbs, like mint, can spread quickly, so you might want to keep them in separate containers.
* Personal Preference: Ultimately, choose herbs that you enjoy using in your cooking!
Gathering Your Supplies
Okay, now for the fun part – gathering our supplies! Here’s what you’ll need:
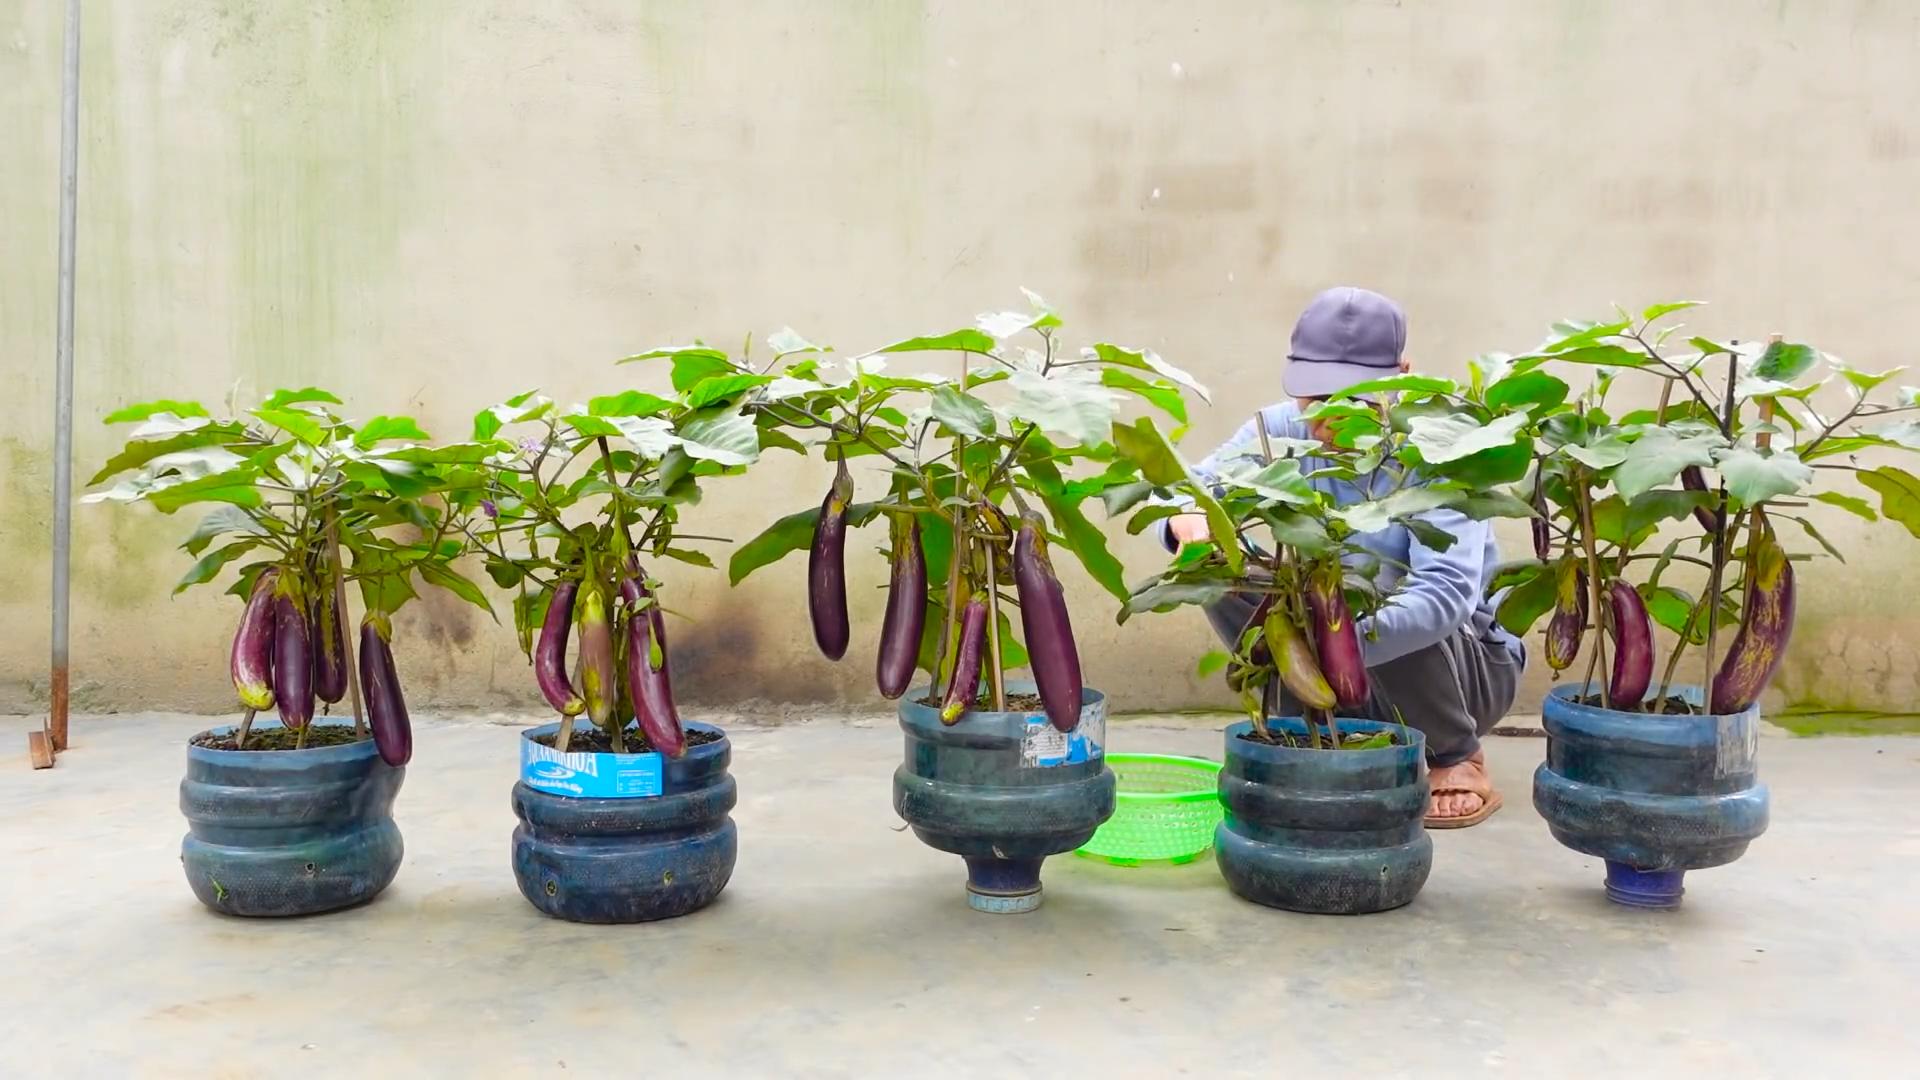
* Pots: Choose pots with drainage holes. Terra cotta pots are a great option because they allow the soil to breathe. The size will depend on the herb, but generally, 6-8 inch pots are a good starting point.
* Potting Mix: Use a high-quality potting mix specifically designed for herbs or vegetables. Avoid using garden soil, as it can compact and not drain well.
* Seeds or Seedlings: You can start your herbs from seeds or purchase seedlings from a local nursery. Seedlings will give you a head start.
* Watering Can: A watering can with a long spout will help you water your plants gently and evenly.
* Grow Lights (Optional): If you don’t have enough natural light, consider using grow lights to supplement.
* Fertilizer: A balanced liquid fertilizer will help your herbs thrive.
* Labels: Labeling your pots will help you keep track of which herb is which.
* Small Gardening Tools: A small trowel and hand rake can be helpful for planting and maintaining your herbs.
Planting Your Herbs
Alright, let’s get planting! This is where the magic happens.
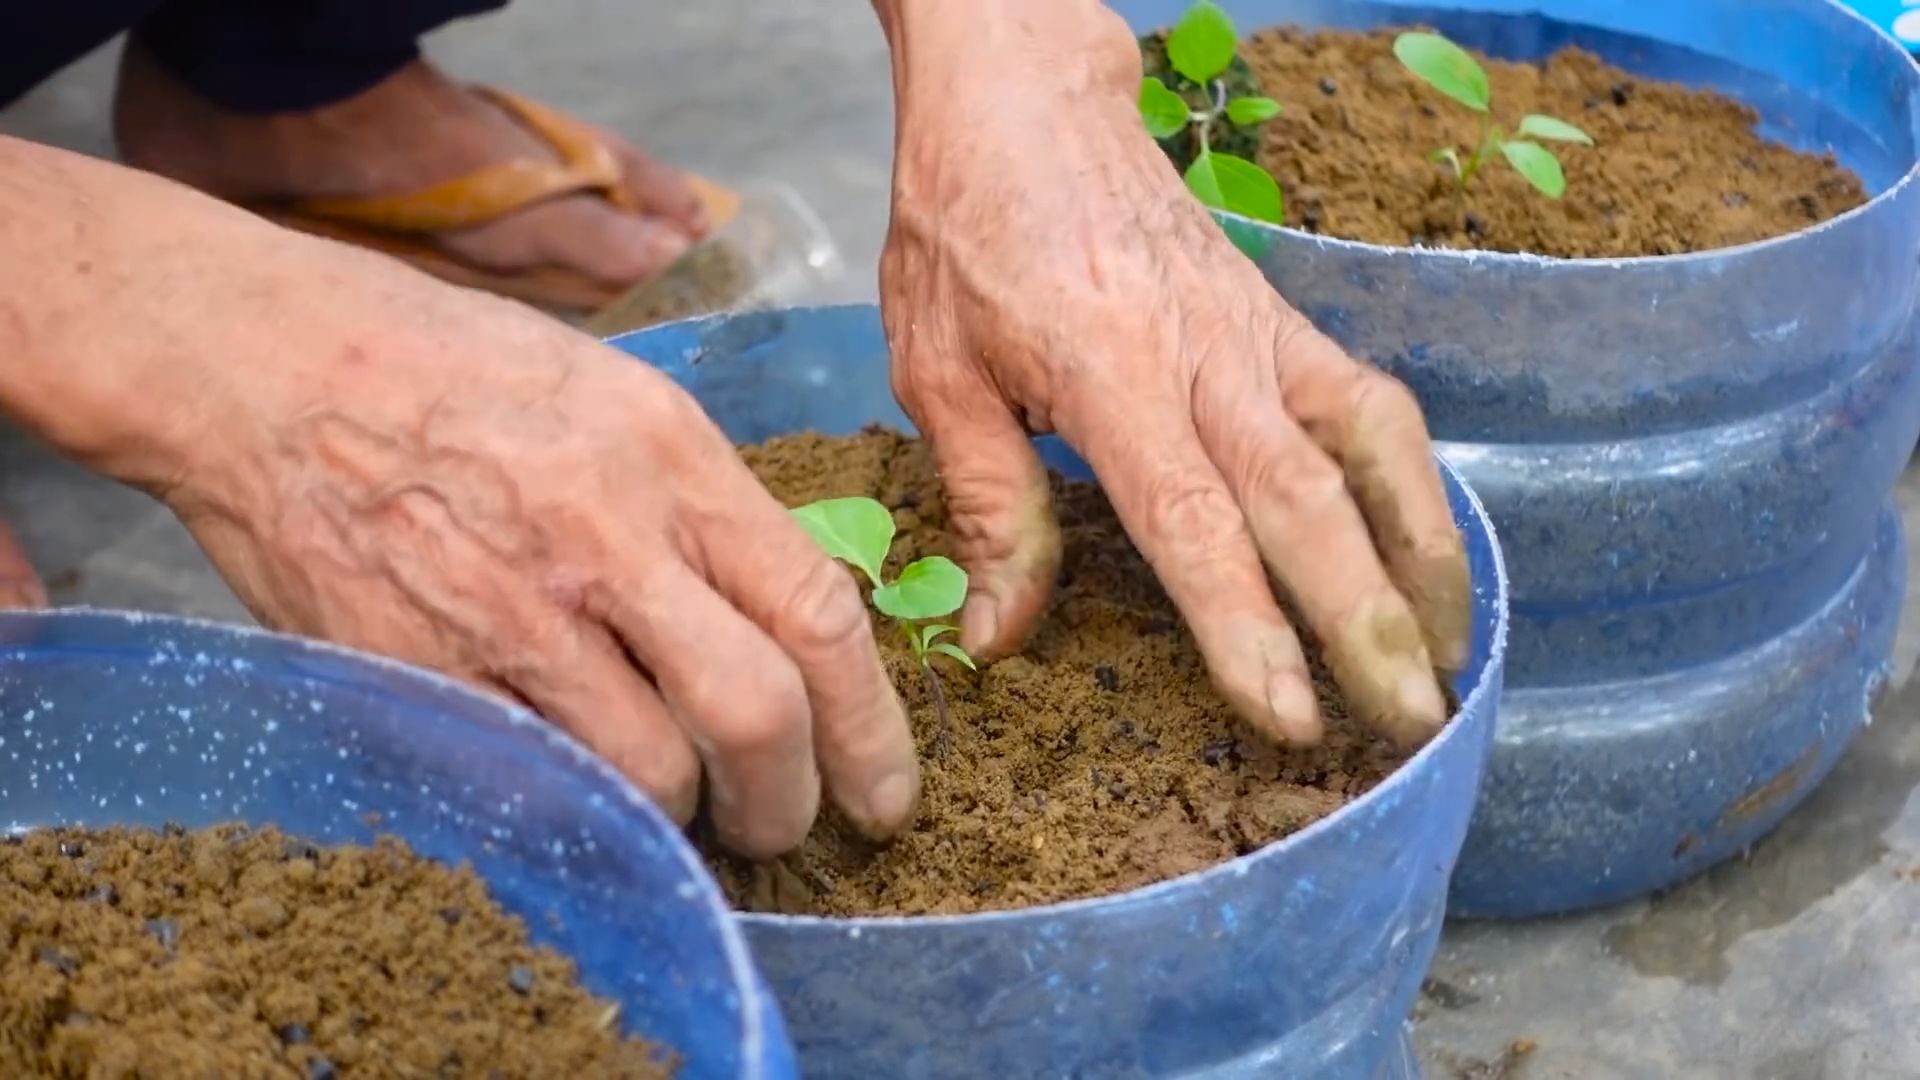
1. Prepare Your Pots: Fill your pots with potting mix, leaving about an inch of space at the top.
2. Planting Seeds: If you’re starting from seeds, follow the instructions on the seed packet. Generally, you’ll want to sow the seeds thinly on the surface of the soil and then cover them with a thin layer of potting mix. Gently water the soil.
3. Planting Seedlings: If you’re using seedlings, gently remove them from their containers. Loosen the roots slightly and place the seedling in the pot. Fill in around the seedling with potting mix, gently patting it down.
4. Water Thoroughly: Water your newly planted herbs thoroughly until water drains out of the drainage holes.
5. Label Your Pots: Don’t forget to label your pots so you know which herb is which!
Finding the Right Spot
Location, location, location! Finding the right spot for your herb garden is crucial for its success.
* Sunlight: Most herbs need at least 6 hours of sunlight per day. A south-facing window is ideal.
* Temperature: Keep your herbs in a location where the temperature is consistently between 60-75°F (15-24°C).
* Humidity: Herbs generally prefer moderate humidity. If your home is very dry, you can increase the humidity by placing a tray of water near your plants or using a humidifier.
* Air Circulation: Good air circulation is important to prevent fungal diseases.
Caring for Your Herbs
Now that your herbs are planted and in the right spot, it’s time to learn how to care for them.
1. Watering: Water your herbs when the top inch of soil feels dry to the touch. Avoid overwatering, as this can lead to root rot.
2. Fertilizing: Fertilize your herbs every 2-4 weeks with a balanced liquid fertilizer. Follow the instructions on the fertilizer label.
3. Pruning: Pruning your herbs regularly will encourage them to grow bushier and produce more leaves. Pinch off the tips of the stems to promote branching.
4. Pest Control: Keep an eye out for pests like aphids, spider mites, and whiteflies. If you spot any pests, you can try washing them off with a strong stream of water or using an insecticidal soap.
5. Rotating Your Herbs: Rotate your herbs every few months to ensure they receive even sunlight.
6. Repotting: As your herbs grow, they may need to be repotted into larger containers.
Troubleshooting Common Problems
Even with the best care, you might encounter some problems along the way. Here are some common issues and how to fix them:
* Yellowing Leaves: Yellowing leaves can be a sign of overwatering, underwatering, or nutrient deficiency. Check the soil moisture and adjust your watering schedule accordingly. If the soil is dry, water thoroughly. If the soil is soggy, allow it to dry out before watering again. You may also need to fertilize your herbs.
* Leggy Growth: Leggy growth, where the stems are long and spindly, is usually a sign of insufficient light. Move your herbs to a sunnier location or supplement with grow lights.
* Powdery Mildew: Powdery mildew is a fungal disease that appears as a white, powdery coating on the leaves. Improve air circulation and avoid watering the leaves. You can also treat powdery mildew with a fungicide.
* Pests: As mentioned earlier, keep an eye out for pests. Treat infestations promptly to prevent them from spreading.
Harvesting Your Herbs
The best part of growing your own herbs is harvesting them!
* When to Harvest: You can start harvesting your herbs as soon as they have enough leaves.
* How to Harvest: Use scissors or pruning shears to cut off the stems just above a leaf node. This will encourage the plant to branch out and produce more leaves.
* Harvesting Frequency: Harvest your herbs regularly to keep them producing new growth.
* Preserving Your Herbs: If you have more herbs than you can use, you can preserve them by drying, freezing, or making pesto.
Specific Herb Tips
Let’s look at some specific tips for growing some popular herbs indoors:
* Basil: Basil needs plenty of sunlight and warm temperatures. Water regularly and fertilize every 2-4 weeks. Pinch off the flower buds to encourage leaf production.
* Mint: Mint is easy to grow but can be invasive. Keep it in its own container to prevent it from spreading. Mint prefers moist soil and partial shade.
* Chives: Chives are hardy and easy to grow. They prefer full sun and well-drained soil. Cut the leaves back to the base of the plant to encourage new growth.
* Parsley: Parsley needs plenty of sunlight and moist soil. It can be slow to germinate from seed, so you might want to start with seedlings.
* Oregano: Oregano prefers full sun and well-drained soil. It’s drought-tolerant, so don’t overwater it.
* Thyme: Thyme needs plenty of sunlight and well-drained soil. It’s also drought-tolerant.
* Rosemary: Rosemary needs plenty of sunlight and well-drained soil. It’s sensitive to overwatering, so let the soil dry out between waterings.
* Cilantro: Cilantro prefers cooler temperatures and partial shade. It tends to bolt (go to seed) quickly in hot weather. Plant cilantro every few weeks to ensure a continuous supply.
Choosing the Right Containers
The type of container you use can significantly impact your herb garden’s success. Here’s a breakdown:
* Terra Cotta Pots: These are porous, allowing for good air circulation and drainage. They’re a classic choice and look great. However, they dry out faster than other materials, so you’ll need to water more frequently.
* Plastic Pots: Plastic pots are lightweight, inexpensive, and retain moisture well. However, they don’t breathe as well as terra cotta, so be careful not to overwater.
* Ceramic Pots: Ceramic pots are attractive and come in a variety of styles. Make sure they have drainage holes.
* Self-Watering Pots: These pots have a reservoir that holds water, which the plant can draw up as needed. They’re a good option if you tend to forget to water your plants.
Conclusion
So, there you have it! Transforming your living space into a miniature, edible oasis is not only achievable but incredibly rewarding. This DIY trick for cultivating indoor edible plants is more than just a fun project; it’s a gateway to fresher, healthier meals, a deeper connection with nature, and a sustainable lifestyle. Imagine stepping into your kitchen and snipping fresh basil for your pasta, plucking ripe cherry tomatoes for your salad, or adding a vibrant touch of mint to your morning tea – all grown right in your own home.
This isn’t just about convenience; it’s about control. You know exactly what goes into your food, avoiding harmful pesticides and ensuring the highest quality ingredients. Plus, the simple act of nurturing these plants can be incredibly therapeutic, offering a calming and grounding experience in our often-hectic lives.
But the beauty of this DIY project lies in its adaptability. Feel free to experiment with different types of plants. While we’ve highlighted some easy-to-grow options like herbs and leafy greens, don’t be afraid to venture into other possibilities. Dwarf citrus trees can thrive indoors with the right care, adding a burst of sunshine and flavor to your home. Consider growing chili peppers for a spicy kick, or even mushrooms in a controlled environment. The possibilities are truly endless!
Don’t limit yourself to traditional pots either. Get creative with your containers! Repurpose old teacups, mason jars, or even create a vertical garden using recycled pallets. The visual appeal of your indoor garden is just as important as the edible bounty it provides. Think about incorporating different textures and colors to create a visually stunning display that complements your home décor.
Remember to adjust your watering schedule based on the specific needs of your plants and the humidity levels in your home. Overwatering is a common mistake, so err on the side of caution and allow the soil to dry out slightly between waterings. Proper lighting is also crucial, so ensure your plants receive adequate sunlight or supplement with grow lights if necessary.
We truly believe that anyone can successfully grow indoor edible plants with a little patience and dedication. It’s a journey of learning and discovery, and the rewards are well worth the effort.
So, what are you waiting for? Grab your gardening gloves, gather your supplies, and embark on this exciting adventure. We’re confident that you’ll be amazed at what you can achieve.
We encourage you to try this DIY trick and share your experiences with us! Post photos of your indoor edible gardens on social media using #IndoorEdibleGarden and tag us so we can see your amazing creations. We’d love to hear your tips, tricks, and any challenges you encounter along the way. Let’s build a community of indoor gardeners and inspire others to embrace the joy of growing their own food. Happy gardening!
Frequently Asked Questions (FAQ)
What are the easiest indoor edible plants to start with?
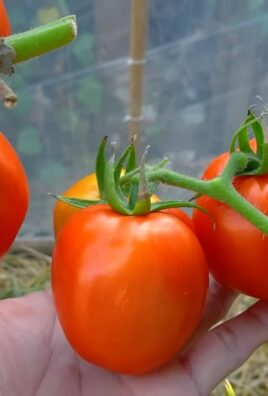
For beginners, herbs like basil, mint, chives, and parsley are excellent choices. They are relatively low-maintenance and can thrive in a sunny windowsill. Leafy greens like spinach, lettuce, and kale are also easy to grow indoors, especially in cooler climates. Cherry tomatoes and strawberries are also popular choices, but they may require more sunlight or supplemental lighting.
How much sunlight do indoor edible plants need?
Most indoor edible plants require at least 6-8 hours of direct sunlight per day. A south-facing window is ideal. If you don’t have enough natural light, you can supplement with grow lights. LED grow lights are energy-efficient and provide the full spectrum of light that plants need to thrive. Position the grow lights about 6-12 inches above the plants.
What type of soil should I use for indoor edible plants?
Use a well-draining potting mix specifically formulated for containers. Avoid using garden soil, as it can become compacted and doesn’t drain well in pots. You can also add compost to the potting mix to provide extra nutrients. Look for potting mixes that are organic and free of synthetic fertilizers.
How often should I water my indoor edible plants?
Water your plants when the top inch of soil feels dry to the touch. Avoid overwatering, as this can lead to root rot. The frequency of watering will depend on the type of plant, the size of the pot, and the humidity levels in your home. In general, you’ll need to water more frequently during the warmer months and less frequently during the cooler months.
How do I fertilize my indoor edible plants?
Fertilize your plants every 2-4 weeks with a balanced, water-soluble fertilizer. Follow the instructions on the fertilizer package. You can also use organic fertilizers like compost tea or fish emulsion. Avoid over-fertilizing, as this can burn the roots of your plants.
What are some common pests that affect indoor edible plants?
Common pests include aphids, spider mites, whiteflies, and fungus gnats. Inspect your plants regularly for signs of pests. If you find pests, you can try washing them off with a strong stream of water or using insecticidal soap or neem oil. Avoid using harsh chemicals, as these can harm your plants and make them unsafe to eat.
How do I prevent diseases in my indoor edible plants?
Provide good air circulation, avoid overwatering, and remove any dead or dying leaves. If you notice signs of disease, such as spots or discoloration on the leaves, you can try using a fungicide. Choose a fungicide that is safe for use on edible plants.
Can I grow indoor edible plants in a small space?
Yes! Many edible plants can be grown in small spaces, such as apartments or condos. Choose compact varieties and use vertical gardening techniques to maximize space. You can also grow plants in hanging baskets or on shelves.
What are the benefits of growing indoor edible plants?
Growing your own food indoors offers numerous benefits, including:
* Fresh, healthy ingredients: You’ll have access to fresh, organic produce right at your fingertips.
* Cost savings: Growing your own food can save you money on groceries.
* Environmental benefits: You’ll reduce your carbon footprint by growing your own food locally.
* Therapeutic benefits: Gardening can be a relaxing and rewarding hobby.
* Educational benefits: Growing your own food can teach you about plant life and sustainable living.
How do I harvest my indoor edible plants?
Harvest herbs by snipping off leaves or stems as needed. Harvest leafy greens by cutting off the outer leaves, allowing the inner leaves to continue growing. Harvest tomatoes and strawberries when they are ripe and fully colored.
What if my indoor edible plants aren’t growing well?
If your plants aren’t growing well, consider the following factors:
* Light: Are they getting enough sunlight or grow light?
* Water: Are you watering them properly?
* Soil: Are they planted in a well-draining potting mix?
* Fertilizer: Are you fertilizing them regularly?
* Pests and diseases: Are they affected by pests or diseases?
Adjust your care routine as needed to address any issues. With a little patience and attention, you can successfully grow indoor edible plants and enjoy the many benefits they offer.
Leave a Comment