

Indoor Fern Care can seem daunting, I know! You’re probably thinking, “Another plant to potentially kill?” But trust me, with a few simple tricks and DIY hacks, you can transform your home into a lush, green oasis with thriving ferns. For centuries, ferns have been cherished for their delicate beauty and air-purifying qualities. From Victorian parlors to modern apartments, these verdant plants have added a touch of elegance and tranquility to our living spaces.
But let’s be honest, ferns can be a bit finicky. They demand the right balance of humidity, light, and moisture, and getting it wrong can lead to crispy fronds and a generally unhappy plant. That’s where these DIY tricks come in! I’m going to share some easy-to-implement solutions that will help you provide the perfect environment for your ferns to flourish.
Why do you need these hacks? Because healthy, happy ferns not only look beautiful but also contribute to a healthier home environment. They filter out toxins, increase humidity, and create a sense of calm. Plus, mastering Indoor Fern Care is incredibly rewarding. There’s nothing quite like the satisfaction of watching your plants thrive under your care. So, let’s dive in and unlock the secrets to keeping your ferns green and gorgeous!
Reviving Your Fern: A DIY Guide to Lush Indoor Ferns
Okay, fern fanatics! Let’s face it, those beautiful, feathery fronds can be a bit… temperamental. But don’t despair! I’m here to share my secrets to keeping your indoor ferns happy and thriving. This guide is packed with tips and tricks to transform your struggling fern into a vibrant green masterpiece.
Understanding Your Fern’s Needs
Before we dive into the DIY magic, let’s quickly cover the basics. Ferns are all about humidity, moisture, and indirect light. Think rainforest floor, not desert sun!
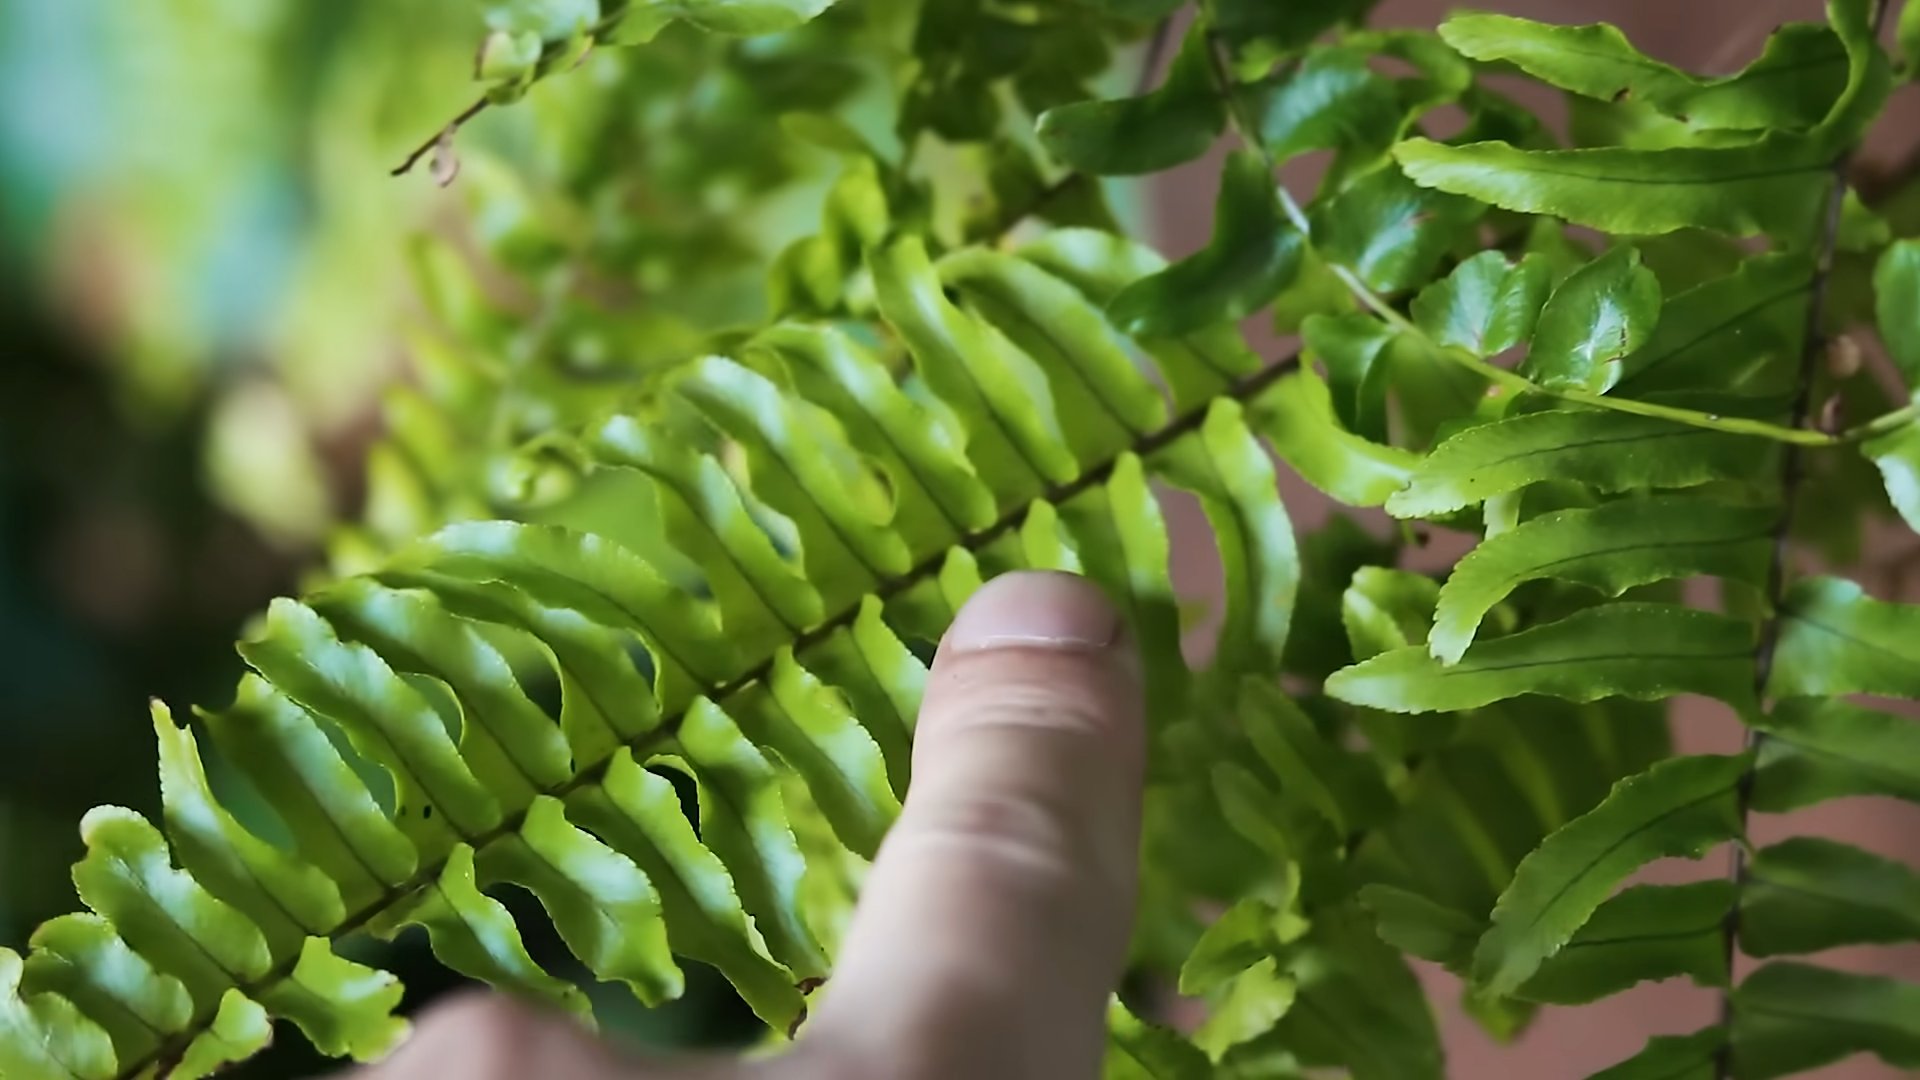
* Humidity is Key: Ferns crave humidity. Dry air is their nemesis.
* Moist, Not Soggy Soil: They like consistently moist soil, but never waterlogged.
* Indirect Light Only: Direct sunlight will scorch those delicate fronds.
* Proper Potting Mix: A well-draining, slightly acidic potting mix is essential.
* Regular Feeding: Ferns are light feeders, so a diluted fertilizer is best.
DIY Humidity Boosters
Ferns need humidity like we need air! Here are a few easy and affordable ways to create a humid environment for your leafy friend:
Pebble Tray Power
This is my go-to method, and it’s super simple!
1. Gather Your Supplies: You’ll need a shallow tray (like a saucer), some pebbles or gravel, and water.
2. Arrange the Pebbles: Spread the pebbles evenly across the bottom of the tray.
3. Add Water: Pour water into the tray, making sure the water level is just below the top of the pebbles. You don’t want the pot sitting directly in water, as this can lead to root rot.
4. Place Your Fern: Set your fern pot on top of the pebble-filled tray. As the water evaporates, it will create a humid microclimate around your fern.
5. Refill Regularly: Keep an eye on the water level and refill as needed.
DIY Humidity Dome
This is perfect for ferns that are really struggling or for propagating new ferns.
1. Find a Clear Container: A clear plastic storage bin, a large glass jar, or even a clear plastic bag will work. Make sure it’s large enough to comfortably fit your fern without the fronds touching the sides.
2. Prepare the Base: Place a layer of damp (not soaking wet!) sphagnum moss or perlite at the bottom of the container. This will help maintain humidity.
3. Position Your Fern: Carefully place your fern inside the container, on top of the moss or perlite.
4. Create Ventilation: If you’re using a completely sealed container, you’ll need to create some ventilation. You can do this by poking a few small holes in the lid or bag. Alternatively, you can simply leave the lid slightly ajar.
5. Monitor and Adjust: Keep an eye on the humidity levels inside the dome. If you see condensation forming excessively, increase ventilation. If the moss or perlite dries out, add a little water.
6. Gradually Acclimate: Once your fern starts to recover, gradually acclimate it to normal room humidity by removing the dome for increasing periods of time each day.
Group Planting for Humidity
Ferns love company! Grouping plants together naturally increases humidity.
1. Choose Compatible Plants: Select other plants that enjoy similar conditions as your fern – humidity, indirect light, and moist soil. Good companions include peace lilies, orchids, and other ferns.
2. Arrange Your Plants: Place your fern and its companions close together on a table or plant stand.
3. Water Regularly: Water all the plants as needed, ensuring the soil stays consistently moist.
4. Enjoy the Benefits: The transpiration from all the plants will create a more humid environment, benefiting your fern and its companions.
DIY Watering Techniques
Watering is crucial, but it’s easy to overdo it. Here’s how to water your fern like a pro:
The Finger Test
This is my go-to method for checking soil moisture.
1. Insert Your Finger: Gently insert your finger about an inch or two into the soil.
2. Assess the Moisture: If the soil feels dry to the touch, it’s time to water. If it feels moist, wait a day or two and check again.
3. Adjust Accordingly: Adjust your watering schedule based on the results of the finger test.
Bottom Watering
This method encourages healthy root growth and prevents soggy foliage.
1. Prepare a Basin: Fill a basin or sink with a few inches of water.
2. Place Your Fern: Set your fern pot in the basin of water.
3. Allow to Soak: Let the fern soak for about 15-20 minutes, or until the top of the soil feels moist.
4. Remove and Drain: Remove the fern from the basin and allow any excess water to drain out of the pot.
5. Return to Location: Place the fern back in its usual spot.
DIY Watering Can Hack
If you don’t have a watering can with a gentle spout, here’s a quick fix:
1. Grab a Plastic Bottle: Find an empty plastic bottle (like a water bottle or soda bottle).
2. Poke Holes: Use a needle or pin to poke several small holes in the bottle cap.
3. Fill and Water: Fill the bottle with water and screw the cap back on. Now you have a makeshift watering can with a gentle shower!
DIY Soil Mix for Thriving Ferns
Ferns need a well-draining, slightly acidic soil mix. Here’s my favorite DIY recipe:
1. Gather Your Ingredients: You’ll need:
* 1 part peat moss (or coconut coir for a more sustainable option)
* 1 part perlite
* 1 part potting soil
2. Mix Thoroughly: Combine all the ingredients in a large container and mix thoroughly until well combined.
3. Potting Time: Use this mix when repotting your fern or when planting a new fern.
DIY Fertilizer for Lush Growth
Ferns are light feeders, so a diluted fertilizer is best. Avoid over-fertilizing, as this can damage the roots.
Compost Tea
This is a natural and gentle fertilizer that’s perfect for ferns.
1. Gather Your Supplies: You’ll need:
* A bucket
* Compost
* Water
* A burlap sack or cheesecloth
2. Make the Tea: Fill the burlap sack or cheesecloth with compost and tie it closed. Place the sack in the bucket and fill the bucket with water.
3. Steep: Let the compost steep in the water for 24-48 hours.
4. Dilute: Remove the compost sack and dilute the compost tea with water until it’s a light brown color (about 1 part compost tea to 10 parts water).
5. Fertilize: Use the diluted compost tea to water your fern every few weeks during the growing season (spring and summer).
Diluted Liquid Fertilizer
If you prefer a commercial fertilizer, choose one that’s specifically formulated for ferns or houseplants.
1. Choose a Fertilizer: Select a balanced liquid fertilizer (e.g., 20-20-20) or one with a higher nitrogen content.
2. Dilute: Dilute the fertilizer to half or even a quarter of the recommended strength. Ferns are sensitive to over-fertilizing, so it’s better to err on the side of caution.
3. Fertilize: Water your fern with the diluted fertilizer every few weeks during the growing season.
DIY Pest Control
Even with the best care, ferns can sometimes attract pests. Here’s how to deal with them naturally:
Neem Oil Spray
Neem oil is a natural insecticide and fungicide that’s effective against a wide range of pests.
1. Mix the Solution: Mix 1 tablespoon of neem oil with 1 teaspoon of mild dish soap in 1 quart of water.
2. Spray Your Fern: Pour the solution into a spray bottle and thoroughly spray all parts of your fern, including the undersides of the leaves.
3. Repeat as Needed: Repeat the treatment every 7-10 days until the pests are gone.
Insecticidal Soap
Insecticidal soap is another effective and gentle option for controlling pests.
1. Purchase Insecticidal Soap: You can find insecticidal soap at most garden centers.
2. Follow Instructions: Follow the instructions on the product label for mixing and application.
3. Spray Your Fern: Thoroughly spray all parts of
Conclusion
So, there you have it! Mastering indoor fern care doesn’t have to be a daunting task. By implementing this simple, yet effective DIY humidity trick, you’re not just giving your ferns a fighting chance; you’re creating an environment where they can truly thrive. Think of it as a mini-rainforest right in your living room!
Why is this a must-try? Because ferns, with their delicate fronds and lush greenery, are notoriously sensitive to dry air. The average home, especially during winter months when the heating is on full blast, simply doesn’t provide the humidity levels these tropical beauties crave. This DIY solution bypasses the need for expensive humidifiers, offering a cost-effective and readily available way to boost moisture around your ferns. It’s a game-changer for anyone who has struggled to keep their ferns happy and healthy.
Beyond the basic setup, feel free to experiment! Consider using different types of pebbles or stones in your tray. River rocks, for instance, can add a natural, aesthetically pleasing touch. You can also incorporate activated charcoal into the pebble layer to help filter the water and prevent any unwanted odors. Another variation is to use terracotta saucers instead of plastic trays. Terracotta is porous and will slowly release moisture, further enhancing the humidity around your fern. Just be sure to keep the saucer filled with water.
For an extra boost, especially during particularly dry periods, you can combine this DIY humidity tray with occasional misting. Use a fine-mist sprayer and gently mist your fern’s fronds in the morning, allowing them to dry before nightfall to prevent fungal issues. Remember to use distilled or filtered water to avoid mineral buildup on the leaves.
We are confident that this simple trick will make a significant difference in the health and vitality of your indoor ferns. No more browning fronds, no more crispy edges, just vibrant, thriving greenery!
Don’t just take our word for it – give it a try! We’re eager to hear about your experiences. Share your results, variations, and any tips you discover in the comments below. Let’s create a community of thriving fern enthusiasts! Your success stories can inspire others to embrace the beauty and joy of indoor fern care. We believe that with a little effort and this simple DIY trick, anyone can cultivate a lush, green oasis within their home. So, go ahead, give your ferns the humidity they deserve and watch them flourish!
Frequently Asked Questions (FAQ)
What types of ferns benefit most from this DIY humidity trick?
This trick is beneficial for most common indoor fern varieties, including Boston ferns (Nephrolepis exaltata), maidenhair ferns (Adiantum), bird’s nest ferns (Asplenium nidus), and staghorn ferns (Platycerium). These ferns are all native to humid environments and require higher moisture levels than the average home provides. However, even ferns that are considered slightly more tolerant of drier conditions will appreciate the added humidity boost. If you’re unsure about the specific needs of your fern, it’s always a good idea to research its particular requirements.
How often should I refill the water in the humidity tray?
The frequency of refilling the water will depend on the humidity levels in your home and the size of the tray. Check the water level daily, especially during dry periods or when the heating is on. You’ll likely need to refill it every 1-3 days. The goal is to ensure that there’s always water in the tray, but the bottom of the pot should never be submerged in water. This can lead to root rot.
Can I use tap water in the humidity tray?
While tap water is generally safe, it can contain minerals and chemicals that can build up over time and potentially harm your fern. It’s best to use distilled or filtered water in the humidity tray to prevent mineral deposits on the pebbles and around the pot. This will also help maintain the overall health of your fern.
Will this DIY humidity trick attract pests?
If done correctly, this trick should not attract pests. However, stagnant water can attract mosquitoes or other insects. To prevent this, ensure that the water is clean and refreshed regularly. You can also add a few drops of neem oil to the water, which acts as a natural pest repellent. Additionally, make sure the pot is not sitting directly in the water, as this can create a breeding ground for fungus gnats.
My fern is still turning brown even with the humidity tray. What else could be the problem?
While humidity is crucial for ferns, other factors can also contribute to browning fronds. Consider the following:
* **Watering:** Are you watering your fern correctly? Ferns prefer consistently moist soil, but not soggy. Allow the top inch of soil to dry out slightly before watering again.
* **Light:** Is your fern getting the right amount of light? Ferns prefer bright, indirect light. Direct sunlight can scorch the fronds.
* **Fertilizer:** Are you fertilizing your fern? Ferns are light feeders and only need to be fertilized sparingly during the growing season (spring and summer). Use a balanced liquid fertilizer diluted to half strength.
* **Temperature:** Is your fern exposed to drafts or extreme temperature fluctuations? Ferns prefer consistent temperatures between 65-75°F (18-24°C).
* **Pests:** Inspect your fern for pests such as spider mites or mealybugs. Treat any infestations promptly.
Can I use this trick for other plants besides ferns?
Yes, this DIY humidity trick can benefit other plants that prefer high humidity, such as orchids, calatheas, peace lilies, and prayer plants. These plants also thrive in moist environments and will appreciate the added humidity boost. However, always research the specific needs of each plant to ensure that you’re providing the optimal growing conditions.
How do I clean the humidity tray?
Over time, the humidity tray can accumulate mineral deposits or algae. To clean it, simply remove the pebbles or stones and wash the tray with warm, soapy water. Rinse thoroughly and allow it to dry completely before refilling it with fresh water and pebbles. You can also soak the pebbles in a solution of water and vinegar to remove any mineral buildup.
Is there a downside to using a humidity tray?
The main potential downside is the risk of overwatering if the pot is allowed to sit directly in the water. This can lead to root rot, which is detrimental to the health of your fern. To avoid this, ensure that the pot is elevated above the water level using pebbles or stones. Also, regularly check the soil moisture to prevent overwatering.
Leave a Comment