

Living Room Cleaning Checklist: Is your living room looking less like a sanctuary and more like a disaster zone? Don’t worry, you’re not alone! We’ve all been there – life gets busy, and suddenly the heart of your home is buried under a mountain of clutter. But fear not, because I’m here to share a secret weapon: a comprehensive living room cleaning checklist that will transform your space from chaotic to cozy in no time!
For centuries, the living room has been a central gathering place, a space for families to connect, entertain guests, and simply unwind. From the grand salons of the past to the modern family rooms of today, this space holds a special significance. But a cluttered and dirty living room can hinder its purpose, creating stress and preventing you from truly enjoying your home.
That’s why a solid living room cleaning checklist is essential. It’s not just about tidiness; it’s about creating a healthier, more relaxing environment for yourself and your loved ones. Imagine sinking into a clean, fresh-smelling sofa after a long day, surrounded by an organized and inviting space. This DIY guide will provide you with the tools and techniques you need to achieve just that. I’ll walk you through each step, from decluttering surfaces to deep-cleaning carpets, ensuring no corner is left untouched. Get ready to reclaim your living room and rediscover the joy of a truly clean and comfortable home!
DIY Deep Clean Your Living Room: A Checklist and Guide
Okay, friends, let’s face it: the living room is often the heart of the home, but it can also become a magnet for clutter and dust bunnies. I’m going to walk you through a comprehensive deep clean that will leave your living room sparkling and feeling refreshed. Grab your cleaning supplies, put on some music, and let’s get started!
The Ultimate Living Room Cleaning Checklist
Before we dive into the nitty-gritty, here’s a handy checklist to keep us on track:
* **Declutter:** Remove anything that doesn’t belong in the living room.
* **Dusting:** Dust all surfaces, including furniture, shelves, electronics, and décor.
* **Window Cleaning:** Clean windows inside and out (if accessible).
* **Upholstery Cleaning:** Vacuum and spot clean upholstery. Consider deep cleaning if needed.
* **Floor Cleaning:** Vacuum or sweep, then mop or steam clean (depending on flooring type).
* **Rug Cleaning:** Vacuum and spot clean rugs. Consider professional cleaning for large or delicate rugs.
* **Lighting Fixtures:** Clean light fixtures and replace bulbs if necessary.
* **Baseboards and Trim:** Wipe down baseboards and trim.
* **Air Vents:** Clean air vents.
* **Organize:** Put everything back in its place, neatly and organized.
Phase 1: Decluttering and Prepping
This is arguably the most important step. A clean space starts with a clutter-free space!
1. Gather Your Supplies: Before you even think about cleaning, gather your arsenal. You’ll need:
* Cleaning cloths (microfiber are my favorite!)
* Dusting spray or furniture polish
* Glass cleaner
* Vacuum cleaner with attachments
* Mop and bucket (or steam mop)
* Floor cleaner appropriate for your flooring type
* Upholstery cleaner (if needed)
* All-purpose cleaner
* Trash bags
* Empty boxes or baskets for sorting
2. Clear the Decks: Start by removing anything that doesn’t belong in the living room. This includes toys, books, magazines, remote controls, blankets, and anything else that’s out of place. Use your empty boxes or baskets to sort items into categories: things to put away in other rooms, things to donate, and things to throw away.
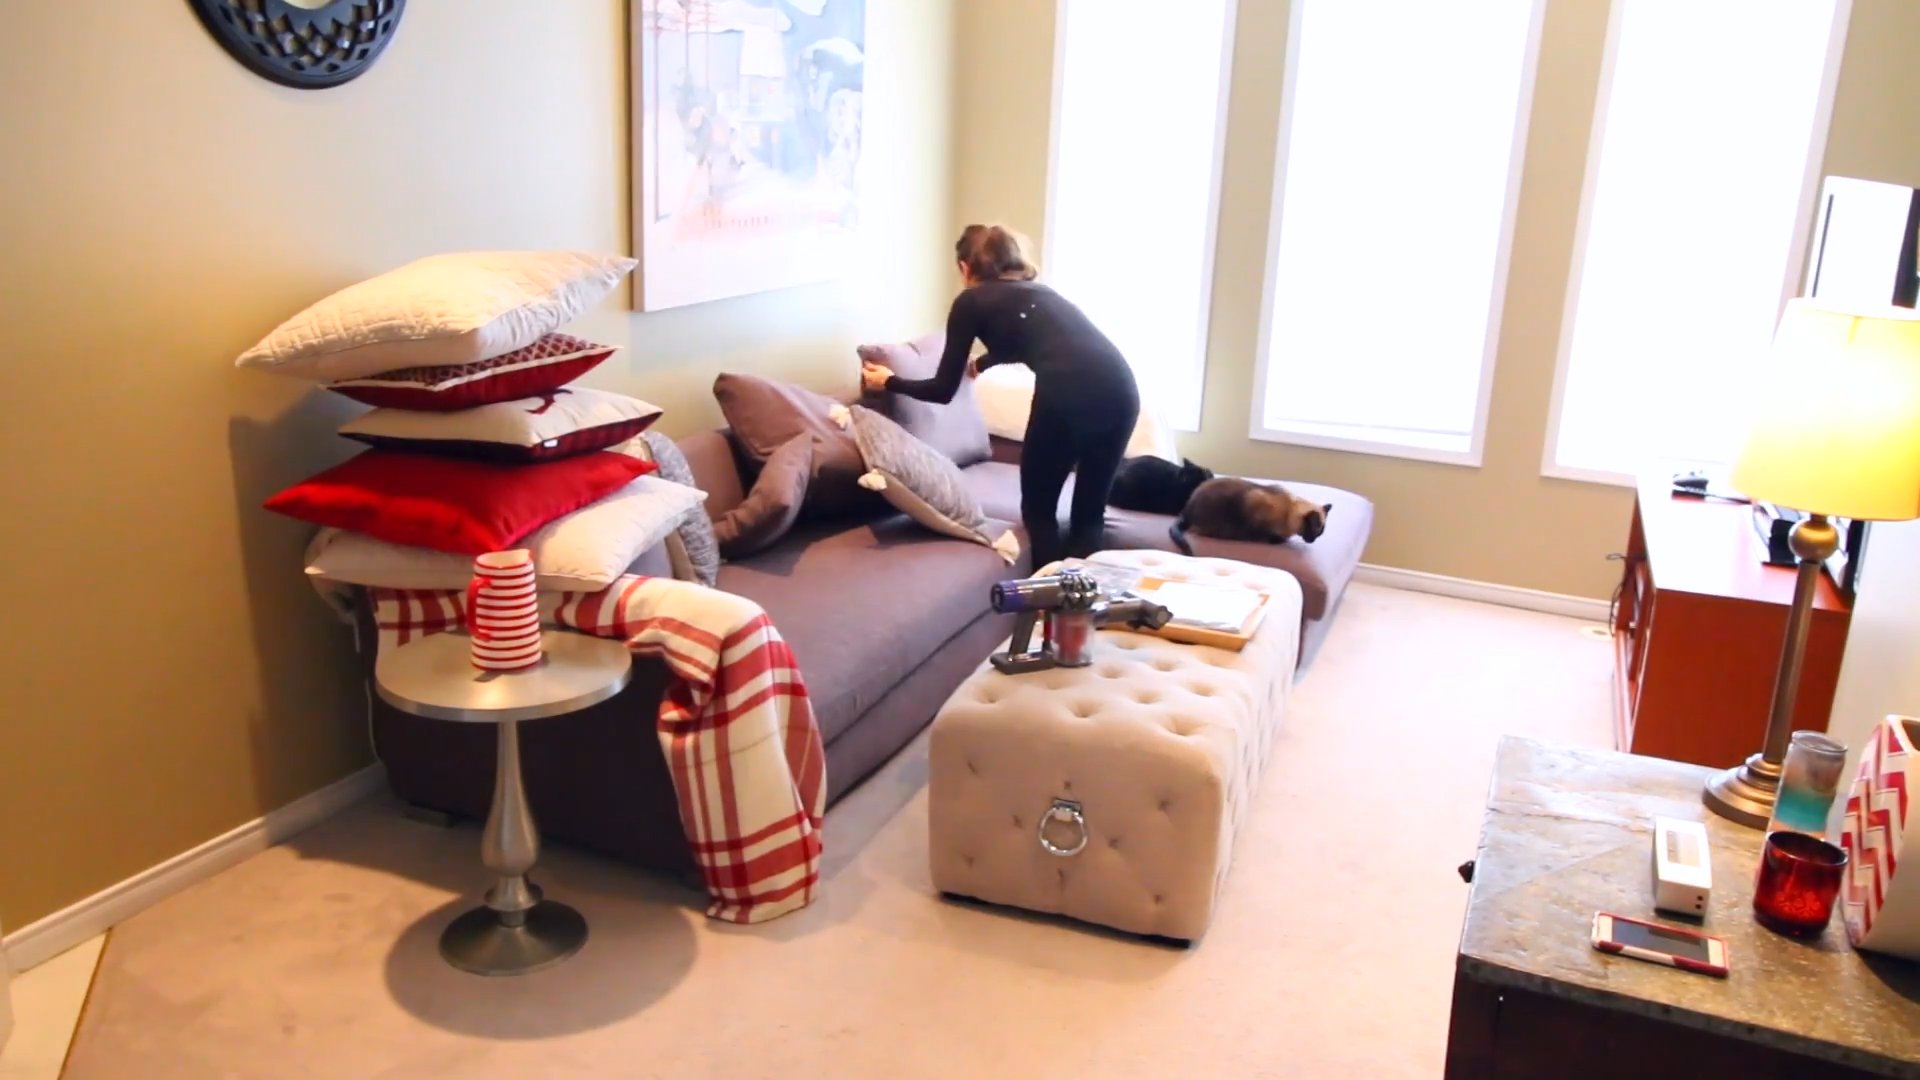
3. Remove Cushions and Rugs: Take all the cushions off the sofa and chairs. This will allow you to vacuum thoroughly and get into all the nooks and crannies. Roll up any rugs and move them out of the way. If you have a large rug, you might need help with this step.
4. Open Windows: Fresh air is your friend! Open the windows to ventilate the room while you clean. This will help to dissipate any cleaning odors and improve air quality.
5. Protect Sensitive Areas: If you’re using any harsh cleaning chemicals, protect delicate surfaces like wood furniture or electronics with a drop cloth or plastic sheeting.
Phase 2: Dusting and Surface Cleaning
Now that we’ve decluttered, it’s time to tackle the dust!
1. Dust from Top to Bottom: Always start dusting from the highest point in the room and work your way down. This prevents dust from falling onto surfaces you’ve already cleaned.
2. Ceiling Fans and Light Fixtures: Use a duster with an extension pole to reach ceiling fans and light fixtures. Be careful when cleaning light fixtures, and make sure the power is turned off. For intricate fixtures, you might want to use a damp cloth to wipe them down.
3. Shelves and Bookcases: Remove everything from shelves and bookcases. Dust the shelves thoroughly, then wipe them down with a damp cloth. Dust each item before putting it back on the shelf. This is a great opportunity to reorganize your shelves and get rid of anything you no longer need.
4. Electronics: Use a dry microfiber cloth to dust electronics like TVs, stereos, and game consoles. Avoid using liquid cleaners on electronics, as they can damage the screens. For stubborn fingerprints, you can use a slightly damp cloth, but be sure to dry the surface immediately.
5. Furniture: Dust all furniture surfaces, including tables, chairs, and cabinets. Use a dusting spray or furniture polish to protect and shine wood furniture. Pay attention to details like legs and carvings.
6. Window Sills and Frames: Wipe down window sills and frames with a damp cloth. Use an all-purpose cleaner to remove any stubborn dirt or grime.
7. Decor Items: Dust all décor items, such as picture frames, vases, and sculptures. Use a soft brush or cloth to avoid scratching delicate items.
Phase 3: Window Cleaning
Sparkling windows can make a huge difference in the overall appearance of your living room.
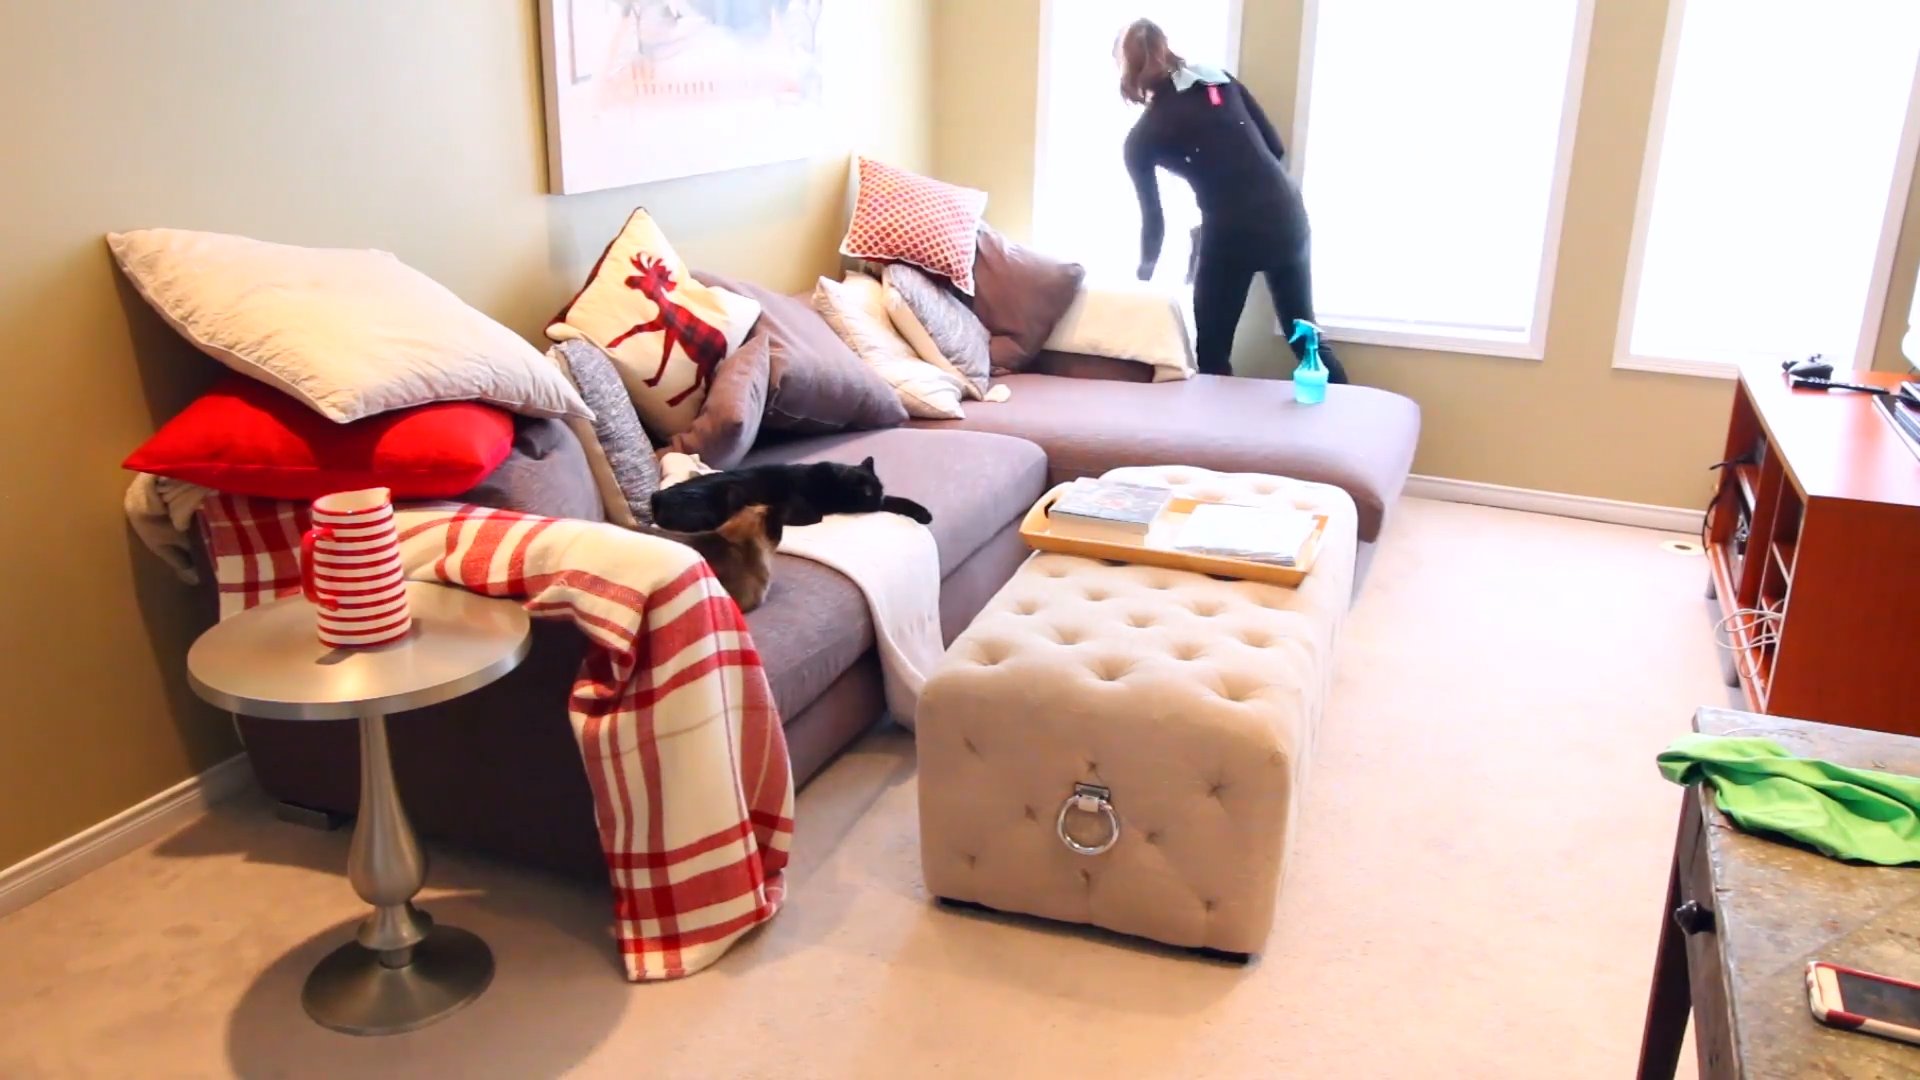
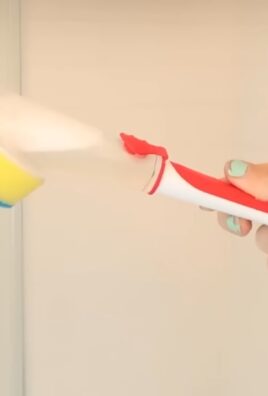
1. Prepare Your Cleaning Solution: You can use a commercial glass cleaner or make your own by mixing equal parts white vinegar and water in a spray bottle.
2. Spray and Wipe: Spray the window with your cleaning solution, then wipe it down with a clean microfiber cloth. Use a squeegee for a streak-free finish. Overlap each stroke of the squeegee to avoid leaving gaps.
3. Clean the Edges: Use a clean cloth to wipe the edges of the window and remove any excess cleaning solution.
4. Repeat on the Inside and Outside: Repeat the process on both the inside and outside of the window. If you have hard-to-reach windows, you may need to use a window cleaning tool with an extension pole.
Phase 4: Upholstery Cleaning
Your sofa and chairs deserve some love too!
1. Vacuum Thoroughly: Use the upholstery attachment on your vacuum cleaner to vacuum all surfaces of the sofa and chairs, including the cushions, back, arms, and under the cushions. Pay special attention to crevices and seams where dirt and crumbs tend to accumulate.
2. Spot Clean Stains: Identify any stains on the upholstery and treat them with an appropriate upholstery cleaner. Always test the cleaner in an inconspicuous area first to make sure it doesn’t damage the fabric. Follow the manufacturer’s instructions for applying the cleaner and removing the stain.
3. Deep Clean (Optional): If your upholstery is heavily soiled or has a lot of stains, you may want to consider deep cleaning it with an upholstery cleaning machine. You can rent these machines from most hardware stores or hire a professional upholstery cleaner.
4. Deodorize: Sprinkle baking soda over the upholstery and let it sit for at least 30 minutes to absorb odors. Then, vacuum up the baking soda.
Phase 5: Floor Cleaning
Time to get those floors looking their best!
1. Vacuum or Sweep: Vacuum or sweep the entire floor to remove any loose dirt, dust, and debris. Pay attention to corners and edges.
2. Mop or Steam Clean: Depending on your flooring type, mop or steam clean the floor. Use a floor cleaner that is appropriate for your flooring type. Follow the manufacturer’s instructions for using the cleaner.
3. Dry the Floor: If you’re using a mop, wring it out thoroughly to avoid leaving the floor too wet. If you’re using a steam mop, let the floor air dry. You can also use a clean towel to dry the floor if you want to speed up the process.
Phase 6: Rug Cleaning
Rugs can trap a lot of dirt and dust, so it’s important to clean them regularly.
1. Vacuum Thoroughly: Vacuum the rug thoroughly on both sides. Use the beater bar attachment on your vacuum cleaner to loosen dirt and debris.
2. Spot Clean Stains: Identify any stains on the rug and treat them with an appropriate rug cleaner. Always test the cleaner in an inconspicuous area first to make sure it doesn’t damage the rug. Follow the manufacturer’s instructions for applying the cleaner and removing the stain.
3. Deep Clean (Optional): For large or delicate rugs, you may want to consider professional cleaning.
4. Air Dry: Allow the rug to air dry completely before putting it back in place.
Phase 7: Finishing Touches
Almost there! Let’s wrap things up.
1. Clean Air Vents: Remove the air vents and wash them with soap and water. Dry them thoroughly before putting them back in place.
2. Wipe Down Baseboards and Trim: Wipe down baseboards and trim with a damp cloth. Use an all-purpose cleaner to remove any stubborn dirt or grime.
3. Replace Light Bulbs: Replace any burned-out light bulbs.
4. Arrange Furniture and Décor: Put the furniture and décor back in place, neatly and organized.
5. Enjoy Your Clean Living Room! Take a step back and admire your hard work. Your living room is now clean, fresh, and inviting.
Important
Conclusion
So, there you have it! Transforming your living room into a haven of cleanliness and comfort doesn’t require expensive cleaning services or an overwhelming amount of time. By implementing this simple, yet effective, living room cleaning checklist, you’re not just tidying up; you’re investing in your well-being and creating a space where you can truly relax and recharge.
This checklist is more than just a list of chores; it’s a roadmap to a consistently clean and inviting living room. The beauty of this DIY approach lies in its adaptability. Feel free to tailor the checklist to your specific needs and lifestyle. For example, if you have pets, you might want to increase the frequency of vacuuming or lint rolling. If you have young children, you might want to add a daily toy pick-up to the routine.
Consider these variations to personalize your living room cleaning checklist:
* Seasonal Deep Cleans: Add tasks like cleaning curtains, washing throw blankets, and polishing furniture to your checklist every few months for a more thorough clean.
* Focus on High-Traffic Areas: Pay extra attention to areas that get the most use, such as around the TV, coffee table, and seating areas.
* Incorporate Natural Cleaning Solutions: Replace harsh chemicals with eco-friendly alternatives like vinegar, baking soda, and lemon juice for a healthier home.
* Delegate Tasks: If you live with others, share the responsibility of maintaining a clean living room by assigning specific tasks to each person.
The key to success with this living room cleaning checklist is consistency. Even dedicating just 15-30 minutes each day or a few hours each week can make a significant difference in the overall cleanliness and appearance of your living room. Don’t be afraid to experiment with different schedules and routines until you find what works best for you.
We strongly encourage you to give this living room cleaning checklist a try. You’ll be amazed at how much of an impact it can have on your home and your overall sense of well-being. Once you’ve experienced the joy of a consistently clean and organized living room, we’d love to hear about your experience! Share your tips, tricks, and before-and-after photos in the comments below. Let’s inspire each other to create beautiful and inviting living spaces!
Frequently Asked Questions (FAQ)
Q: How often should I use this living room cleaning checklist?
A: The frequency depends on your lifestyle and how much use your living room gets. For most households, a daily quick tidy (5-10 minutes) and a more thorough weekly clean (30-60 minutes) will suffice. If you have pets or children, you might need to increase the frequency of certain tasks, such as vacuuming or dusting. Consider creating a schedule that works best for your needs. For example, you might do a quick tidy every evening before bed and a more in-depth clean on Saturday mornings.
Q: What if I don’t have time to do everything on the checklist every week?
A: Don’t worry! The checklist is designed to be flexible. Prioritize the tasks that are most important to you or that have the biggest impact on the overall cleanliness of your living room. You can also break down the tasks into smaller, more manageable chunks and spread them out throughout the week. For example, you could dust one day, vacuum another day, and clean the coffee table on a third day. The goal is to maintain a consistent level of cleanliness without feeling overwhelmed.
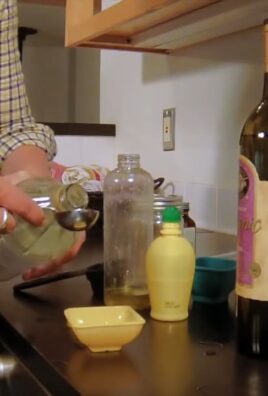
Q: What are some good natural cleaning solutions I can use in my living room?
A: There are many effective and eco-friendly cleaning solutions you can make at home. Here are a few ideas:
* All-Purpose Cleaner: Mix equal parts white vinegar and water in a spray bottle. This solution is great for cleaning surfaces like countertops, tables, and shelves.
* Glass Cleaner: Combine 1/4 cup white vinegar, 1/4 cup rubbing alcohol, and 2 cups water in a spray bottle. This will leave your windows and mirrors streak-free.
* Furniture Polish: Mix 1/4 cup olive oil, 1/4 cup white vinegar, and a few drops of lemon essential oil. Apply to a soft cloth and polish your wooden furniture.
* Carpet Deodorizer: Sprinkle baking soda on your carpets, let it sit for 15-30 minutes, and then vacuum it up. This will help to absorb odors and freshen your carpets.
Q: How can I get my family members to help with the living room cleaning checklist?
A: Communication and delegation are key! Talk to your family members about the importance of maintaining a clean and organized living room and explain how it benefits everyone. Assign specific tasks to each person based on their abilities and preferences. Make it fun by turning on some music or making it a competition. You can also create a reward system to incentivize participation. Remember to be patient and understanding, and focus on creating a collaborative environment.
Q: What are some tips for decluttering my living room?
A: Decluttering is an essential part of maintaining a clean and organized living room. Here are a few tips:
* Start Small: Don’t try to declutter everything at once. Focus on one area or category at a time, such as books, magazines, or toys.
* The One-In, One-Out Rule: For every new item you bring into your living room, get rid of one similar item.
* The 20-Minute Rule: Set a timer for 20 minutes and declutter as much as you can in that time. You’ll be surprised at how much you can accomplish in a short amount of time.
* Ask Yourself Questions: When deciding whether to keep or get rid of an item, ask yourself questions like: “Have I used this in the past year?” “Do I love this item?” “Does this item serve a purpose?”
* Donate or Sell Unwanted Items: Don’t just throw away your unwanted items. Donate them to a local charity or sell them online.
Q: How do I keep my living room clean with pets?
A: Pets can add a lot of joy to our lives, but they can also make it challenging to keep our living rooms clean. Here are a few tips:
* Regular Grooming: Brush your pets regularly to minimize shedding.
* Vacuum Frequently: Vacuum your living room at least once a week, or more often if you have pets that shed a lot.
* Use a Lint Roller: Keep a lint roller handy for quickly removing pet hair from furniture and clothing.
* Clean Up Accidents Immediately: Clean up any pet accidents immediately to prevent stains and odors.
* Invest in Pet-Friendly Furniture: Choose furniture that is durable and easy to clean.
* Wash Pet Bedding Regularly: Wash your pet’s bedding regularly to remove dirt, hair, and odors.
Q: What are some essential cleaning supplies for my living room?
A: Having the right cleaning supplies on hand will make it easier to maintain a clean living room. Here are some essentials:
* Vacuum Cleaner: A good vacuum cleaner is essential for cleaning carpets, rugs, and floors.
* Dusting Cloths: Microfiber cloths are great for dusting furniture, shelves, and other surfaces.
* All-Purpose Cleaner: Use an all-purpose cleaner to clean countertops, tables, and other surfaces.
* Glass Cleaner: Use a glass cleaner to clean windows and mirrors.
* Furniture Polish: Use furniture polish to protect and shine your wooden furniture.
* Lint Roller: Keep a lint roller handy for removing pet hair and lint from furniture and clothing.
* Mop and Bucket: Use a mop and bucket to clean hard floors.
* Sponges: Use sponges to clean up spills and messes.
Q: Where can I find more detailed instructions on how to clean specific items in my living room?
A: There are many resources available online and in libraries that provide detailed instructions on how to clean specific items in your living room. You can search for articles and videos on topics such as cleaning carpets, cleaning upholstery, cleaning windows, and cleaning furniture. You can also consult with professional cleaning services for advice and recommendations.
Leave a Comment