

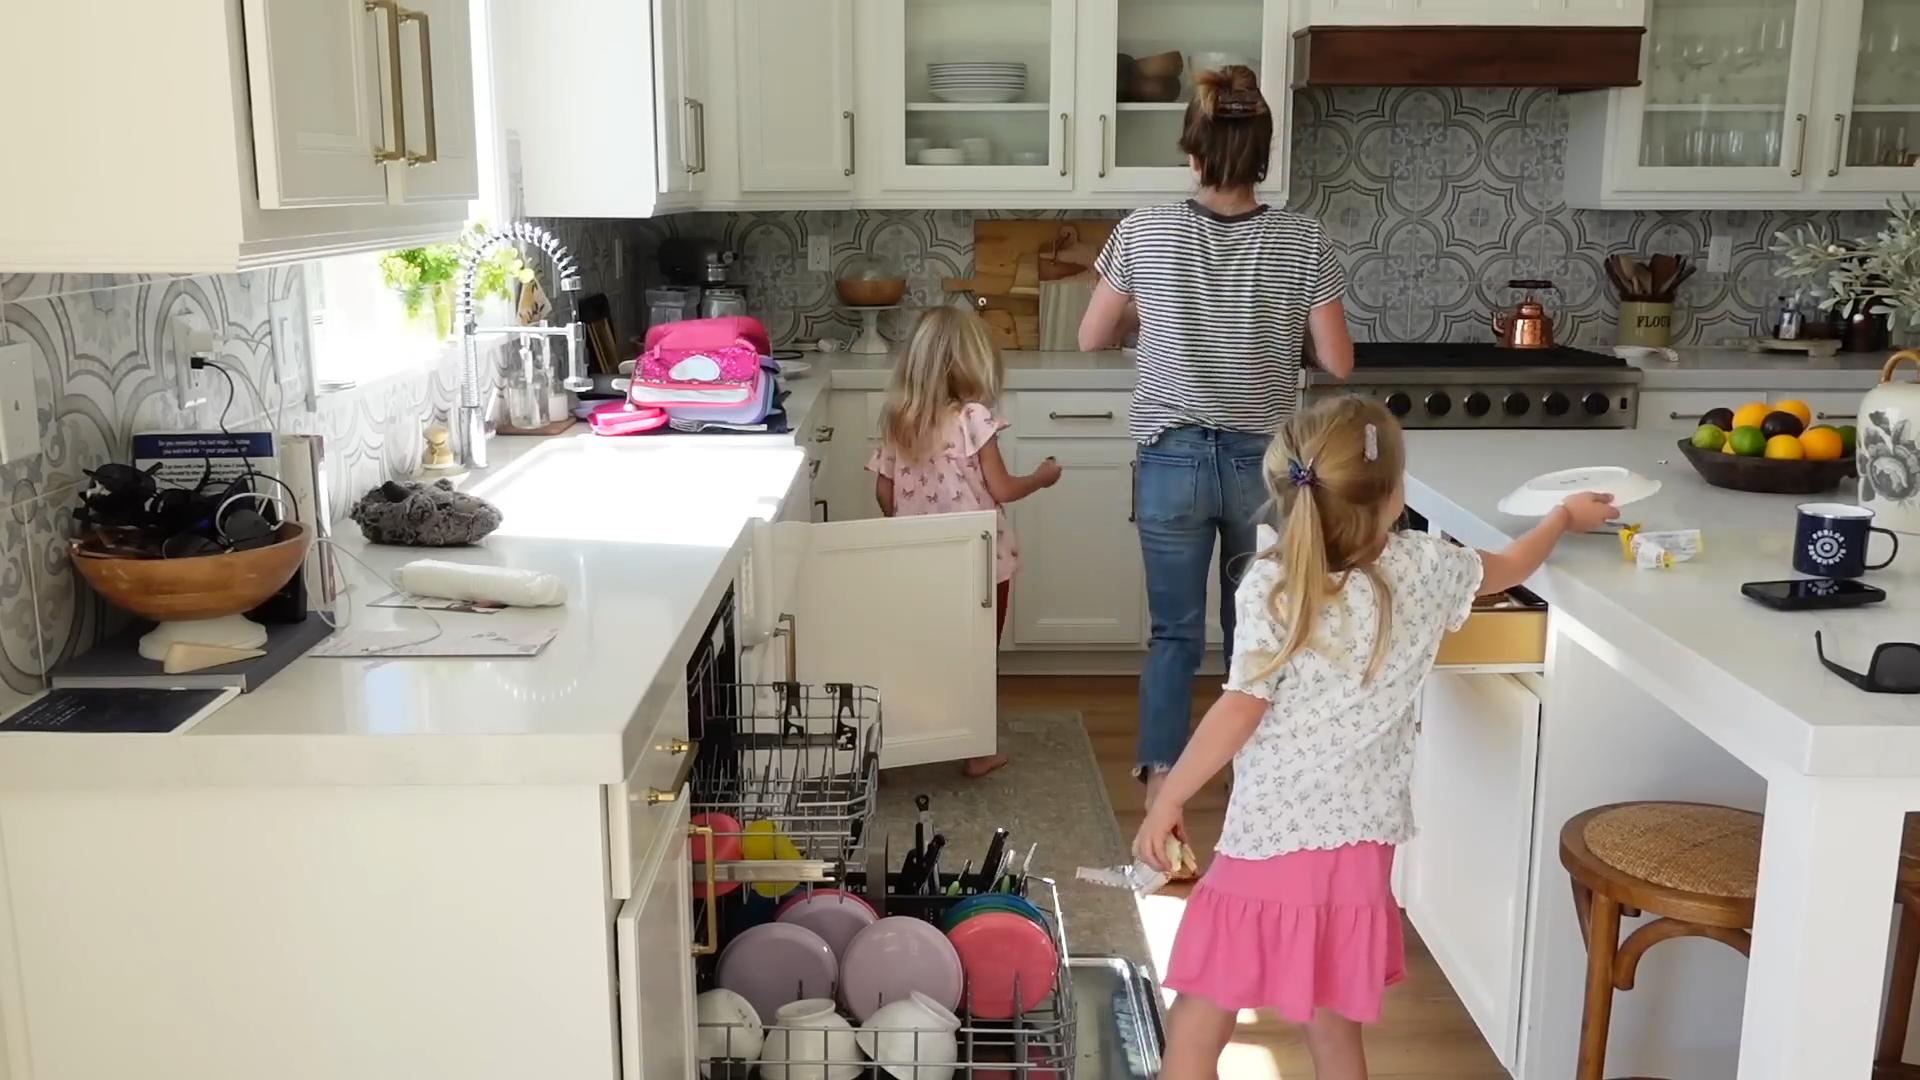
Mom hacks clean home kids – sounds like a superhero’s secret weapon, right? Well, in a way, it is! Let’s face it, keeping a home sparkling with little ones running around can feel like an Olympic sport. You’re constantly battling sticky fingers, rogue toys, and mysterious stains that seem to appear out of thin air. I get it; I’ve been there!
For generations, moms have been sharing tips and tricks to make life a little easier. These aren’t just random cleaning methods; they’re time-tested strategies passed down through families, whispered across playdates, and now, shared online. Think of it as a collective wisdom, a secret society of super-efficient parents!
But why do you need these mom hacks clean home kids edition? Because your time is precious! You deserve to spend less time scrubbing and more time making memories with your family. These DIY solutions are designed to be quick, easy, and often use ingredients you already have in your pantry. We’re talking about reclaiming your weekends, reducing stress, and creating a home that’s both clean and comfortable – a space where you can actually relax and enjoy your family. So, let’s dive into some game-changing DIY cleaning hacks that will transform your home and your sanity!
DIY Mom Hack: Transforming Old Baby Wipes Containers into Organized Bliss
Hey there, fellow parents! Let’s be honest, keeping a clean and organized home with kids feels like a Herculean task. But fear not! I’m here to share a super simple, budget-friendly DIY hack that has revolutionized my organizational game. We’re talking about repurposing those seemingly endless baby wipes containers into versatile storage solutions. Trust me, this is a game-changer.
Why Baby Wipes Containers?
Before we dive in, let’s talk about why these containers are perfect for upcycling. They’re:
* Durable: Made from sturdy plastic, they can withstand the wear and tear of daily life.
* Stackable: Their rectangular shape makes them ideal for stacking, maximizing vertical space.
* Various Sizes: They come in different sizes, catering to various storage needs.
* Free (or Nearly Free!): Since you’re already buying wipes, you’re essentially getting free storage containers!
* Easy to Clean: A quick wipe down is all it takes to keep them looking fresh.
What You’ll Need
Okay, let’s gather our supplies. This is a pretty low-key project, so you probably already have most of these things lying around:
* Empty baby wipes containers (as many as you want!)
* Scissors or a craft knife
* Sandpaper (optional, for smoothing rough edges)
* Decorative paper, fabric scraps, paint, or washi tape (for decorating – get creative!)
* Glue or double-sided tape (depending on your chosen decoration method)
* Labels (optional, but highly recommended for organization)
* A marker or label maker
Step-by-Step Guide: Transforming Your Containers
Alright, let’s get down to business! Here’s how to transform those empty wipes containers into organizational powerhouses:
1. Cleaning and Preparation
This is the most crucial first step. You want to start with a clean slate.
1. Empty the Container: Make sure the container is completely empty of wipes.
2. Remove Leftover Wipes: Sometimes, little bits of wipes get stuck inside. Remove any lingering pieces.
3. Wash Thoroughly: Wash the container with warm soapy water. I like to use dish soap.
4. Rinse Well: Rinse thoroughly to remove all soap residue.
5. Dry Completely: Let the container air dry completely. This is important to prevent mold or mildew growth, especially if you’re storing items that could be affected by moisture.
2. Removing the Lid (Optional)
This step depends on how you plan to use the container. Some people prefer to keep the lid on for dust protection, while others find it more convenient to remove it for easy access.
1. Assess Your Needs: Think about what you’ll be storing in the container. Will you need to access the contents frequently? If so, removing the lid might be the best option.
2. Carefully Remove the Lid: If you decide to remove the lid, use scissors or a craft knife to carefully detach it from the container. Be careful not to cut yourself!
3. Smooth Rough Edges (Optional): If removing the lid leaves any rough edges, use sandpaper to smooth them down. This will prevent scratches and make the container more comfortable to handle.
3. Decorating Your Containers
This is where the fun begins! Let your creativity shine and personalize your containers to match your home decor. Here are a few ideas:
1. Painting:
* Choose Your Paint: Acrylic paint works well on plastic. You might want to use a primer first for better adhesion.
* Apply the Paint: Apply the paint in thin, even coats. Let each coat dry completely before applying the next.
* Add Designs: Once the base coat is dry, you can add designs using stencils, freehand painting, or paint markers.
* Seal (Optional): Seal the paint with a clear coat of varnish or sealant for added durability.
2. Decorative Paper or Fabric:
* Measure and Cut: Measure the sides of the container and cut the paper or fabric to size.
* Apply Adhesive: Apply glue or double-sided tape to the container.
* Attach the Paper or Fabric: Carefully attach the paper or fabric to the container, smoothing out any wrinkles or bubbles.
* Trim Excess: Trim any excess paper or fabric around the edges.
3. Washi Tape:
* Choose Your Washi Tape: Washi tape comes in a variety of colors and patterns.
* Apply the Tape: Simply stick the washi tape to the container, creating stripes, patterns, or covering the entire surface.
* Overlap for Full Coverage: If you’re covering the entire surface, overlap the tape slightly to prevent gaps.
4. Decoupage:
* Choose Your Images: Select images from magazines, newspapers, or printed paper.
* Apply Mod Podge: Apply a layer of Mod Podge to the container.
* Attach the Images: Carefully attach the images to the container, smoothing out any wrinkles or bubbles.
* Seal with Mod Podge: Seal the images with several layers of Mod Podge, allowing each layer to dry completely before applying the next.
4. Labeling Your Containers
This is the key to staying organized! Clear labels will help you quickly identify the contents of each container.
1. Choose Your Labeling Method: You can use a marker, label maker, or pre-printed labels.
2. Write Clear Labels: Write clear and concise labels that accurately describe the contents of each container.
3. Attach the Labels: Attach the labels to the front of the containers, making them easy to read.
Creative Uses for Your Upcycled Containers
Now that you have your beautifully transformed containers, let’s explore some creative ways to use them around the house:
1. Bathroom Organization
* Cotton Balls and Swabs: Store cotton balls, cotton swabs, and other small toiletries.
* Makeup Brushes and Tools: Keep your makeup brushes, sponges, and other tools organized and easily accessible.
* Hair Accessories: Store hair ties, bobby pins, and headbands.
* First Aid Supplies: Organize bandages, antiseptic wipes, and other first aid essentials.
2. Kitchen Organization
* Snack Storage: Store individually wrapped snacks, granola bars, and other treats.
* Spice Packets: Keep your spice packets organized and easily accessible.
* Tea Bags: Store different types of tea bags.
* Utensil Organizer: Use a larger container to hold cooking utensils.
3. Kids’ Room Organization
* Toy Storage: Store small toys, building blocks, and art supplies.
* Crayon and Marker Holder: Keep crayons, markers, and colored pencils organized.
* Book Storage: Use larger containers to store small books.
* Craft Supply Organizer: Store glitter, glue, and other craft supplies.
4. Office Organization
* Pen and Pencil Holder: Keep pens, pencils, and highlighters organized.
* Paperclip and Binder Clip Storage: Store paperclips, binder clips, and other small office supplies.
* Sticky Note Holder: Keep sticky notes within easy reach.
* Cord Organizer: Use a container to store charging cables and other cords.
5. Laundry Room Organization
* Detergent Pod Storage: Store laundry detergent pods safely and neatly.
* Dryer Sheet Storage: Keep dryer sheets organized and easily accessible.
* Stain Remover Storage: Store stain removers and other laundry supplies.
* Lost Sock Container: Create a designated container for lost socks (maybe you’ll find their match someday!).
Tips for Success
* Start Small: Don’t feel like you have to tackle your entire house at once. Start with one area and gradually expand your organizational efforts.
* Declutter First: Before you start organizing, declutter your space. Get rid of anything you don’t need or use.
* Group Similar Items: Group similar items together to make it easier to find what you’re looking for.
* Maximize Vertical Space: Stack your containers to maximize vertical space.
* Be Consistent: Stick to your organizational system to maintain a clutter-free home.
* Get the Kids Involved: Make organizing a family affair! Involve your kids in the process and teach them the importance of staying organized.
Beyond the Basics: Advanced Container Customization
Feeling adventurous? Let’s take our container customization to the next level!
Adding Divid
Conclusion
So, there you have it! This simple yet incredibly effective DIY cleaning solution is a game-changer for busy moms looking to maintain a sparkling home without resorting to harsh chemicals or spending a fortune on store-bought products. We’ve shown you how to harness the power of readily available ingredients to create a cleaner that’s not only safe for your kids and pets but also remarkably efficient at tackling everyday messes.
This isn’t just another cleaning hack; it’s a pathway to a healthier, happier home environment. Think about it: fewer chemicals lingering in the air, less worry about accidental ingestion by curious little ones, and a significant reduction in your household cleaning budget. It’s a win-win-win!
The beauty of this DIY cleaning solution lies in its versatility. While we’ve provided a base recipe, feel free to experiment with different essential oils to customize the scent and add extra cleaning power. For instance, a few drops of tea tree oil can boost its antibacterial properties, while lemon essential oil adds a refreshing citrusy aroma and helps cut through grease. You can also adjust the ratio of ingredients to suit your specific cleaning needs. If you’re dealing with particularly stubborn stains, try increasing the concentration of vinegar or adding a small amount of baking soda for extra scrubbing power.
Don’t be afraid to get creative and tailor this DIY cleaning solution to your unique preferences and cleaning challenges. The possibilities are endless!
But the real magic happens when you put this DIY cleaning solution to the test in your own home. Imagine the satisfaction of knowing that you’re cleaning with a product you made yourself, using ingredients you trust. Picture your kids playing safely on floors cleaned with a gentle, non-toxic solution. Envision the peace of mind that comes with knowing you’re contributing to a healthier environment for your family.
We wholeheartedly encourage you to give this DIY cleaning solution a try. It’s easy to make, affordable, and incredibly effective. We’re confident that you’ll be amazed by the results.
And once you’ve experienced the benefits of this amazing mom hack, we’d love to hear about it! Share your experiences, tips, and variations in the comments below. Let’s create a community of moms who are passionate about creating clean, healthy homes for their families. Together, we can revolutionize the way we clean and make a positive impact on our planet. So, grab your ingredients, get mixing, and prepare to be amazed! Your sparkling clean home awaits!
Frequently Asked Questions
Is this DIY cleaning solution safe to use around kids and pets?
Absolutely! That’s one of the biggest advantages of this recipe. By using natural ingredients like vinegar, water, and essential oils, you’re avoiding the harsh chemicals found in many commercial cleaning products. This makes it a much safer option for homes with children and pets. However, it’s always a good idea to keep cleaning solutions out of reach of children and pets, regardless of their ingredients. Also, be mindful of essential oils, as some can be irritating to sensitive skin or harmful if ingested in large quantities. If you have any concerns, consult with your pediatrician or veterinarian.
What surfaces can I use this DIY cleaning solution on?
This DIY cleaning solution is generally safe for use on a wide variety of surfaces, including countertops, floors, appliances, and bathroom fixtures. However, it’s always a good idea to test it on a small, inconspicuous area first to ensure it doesn’t damage or discolor the surface. Avoid using it on porous surfaces like unsealed granite or marble, as the vinegar can etch the stone. Also, be cautious when using it on wood surfaces, as excessive moisture can cause warping or damage. If you’re unsure, consult the manufacturer’s instructions for the specific surface you’re cleaning.
How long does this DIY cleaning solution last?
Because this DIY cleaning solution doesn’t contain any preservatives, it’s best to use it within a few weeks. To maximize its shelf life, store it in a clean, airtight container in a cool, dark place. You can also add a few drops of grapefruit seed extract, which is a natural preservative, to help extend its shelf life. If the solution starts to look cloudy or develop an unusual odor, it’s best to discard it and make a fresh batch.
Can I use different essential oils in this DIY cleaning solution?
Yes, absolutely! Essential oils are a great way to customize the scent and add extra cleaning power to your DIY cleaning solution. Some popular options include lemon, tea tree, lavender, eucalyptus, and peppermint. Lemon essential oil is known for its degreasing properties, while tea tree oil has antibacterial and antifungal properties. Lavender essential oil adds a calming scent, while eucalyptus essential oil can help clear congestion. Peppermint essential oil has a refreshing scent and can also help repel insects. When choosing essential oils, be sure to select high-quality, pure essential oils from a reputable source.
What if I don’t like the smell of vinegar?
If you’re not a fan of the vinegar smell, don’t worry! The scent will dissipate quickly after cleaning. You can also mask the vinegar smell by adding a few drops of your favorite essential oil. Lemon, orange, and grapefruit essential oils are particularly effective at neutralizing the vinegar smell. You can also try using infused vinegar. To make infused vinegar, simply add citrus peels, herbs, or spices to a jar of vinegar and let it steep for a few weeks. This will infuse the vinegar with a more pleasant scent.
Can I use this DIY cleaning solution to clean my toilet?
Yes, this DIY cleaning solution can be used to clean your toilet. Simply spray it inside the bowl and let it sit for a few minutes before scrubbing with a toilet brush. You can also add a few drops of tea tree oil to boost its antibacterial properties. For stubborn stains, try sprinkling baking soda into the bowl before spraying with the cleaning solution.
Is this DIY cleaning solution effective at disinfecting?
While this DIY cleaning solution has some antibacterial properties, it’s not a substitute for a disinfectant. If you need to disinfect a surface, such as after handling raw meat or poultry, it’s best to use a commercial disinfectant that’s specifically designed for that purpose. However, this DIY cleaning solution is a great option for everyday cleaning and can help reduce the number of germs on surfaces.
What are some other uses for this DIY cleaning solution?
This DIY cleaning solution is incredibly versatile and can be used for a variety of cleaning tasks. Here are a few other ideas:
* **Glass cleaner:** Spray it on windows and mirrors and wipe clean with a microfiber cloth.
* **All-purpose cleaner:** Use it to clean countertops, floors, appliances, and bathroom fixtures.
* **Laundry booster:** Add a cup to your washing machine to help brighten whites and remove odors.
* **Weed killer:** Spray it on weeds to kill them naturally.
* **Air freshener:** Spray it in the air to freshen up your home.
How does this DIY cleaning solution compare to store-bought cleaners?
This DIY cleaning solution offers several advantages over store-bought cleaners. It’s more affordable, safer for your family and pets, and better for the environment. It also allows you to customize the scent and ingredients to suit your specific needs and preferences. While store-bought cleaners may be more convenient, they often contain harsh chemicals that can be harmful to your health and the environment. By making your own cleaning solution, you can have peace of mind knowing that you’re using a safe and effective product. This is a great mom hack to save money and protect your family.

Leave a Comment