

Overwhelming house cleaning guide? Don’t let the thought send shivers down your spine! I know, I know, the idea of tackling a whole house clean can feel like climbing Mount Everest in flip-flops. But trust me, it doesn’t have to be a daunting task. For generations, cultures around the world have developed clever cleaning rituals and techniques, passing down wisdom on how to maintain a tidy and harmonious living space. Think of the ancient Romans and their elaborate bathhouses, or the minimalist approach of traditional Japanese homes – cleanliness has always been valued.
In today’s busy world, finding the time and energy for a deep clean often feels impossible. That’s where this overwhelming house cleaning guide comes in! We’re breaking down the process into manageable, bite-sized chunks, offering DIY tricks and hacks that will transform your home from chaotic to calming. Forget spending hours scrubbing – we’ll show you how to work smarter, not harder. From tackling stubborn stains to decluttering like a pro, this guide is your secret weapon for a sparkling clean home and a stress-free life. Let’s get started and reclaim your space!
Tackling the Overwhelming House: A Room-by-Room DIY Cleaning Guide
Okay, let’s be honest, we’ve all been there. You look around your house and it feels like a monster has taken over. Dust bunnies are multiplying, the kitchen sink is a science experiment, and you’re pretty sure you saw a rogue sock gain sentience. Don’t panic! We’re going to break down this overwhelming task into manageable chunks, room by room. This isn’t about perfection; it’s about progress and creating a space where you can actually relax. So, grab your cleaning supplies, put on some music, and let’s get started!
Phase 1: Gathering Your Cleaning Arsenal
Before we dive into the nitty-gritty, let’s make sure we’re armed and ready. Having the right tools makes a HUGE difference. Trust me, I’ve learned this the hard way.
* Microfiber Cloths: These are your best friends. They’re reusable, washable, and pick up dust and grime like magic. Get a bunch!
* All-Purpose Cleaner: Choose one you like the smell of! It’ll make the whole process more enjoyable.
* Glass Cleaner: For sparkling windows and mirrors.
* Bathroom Cleaner: Specifically designed for tackling soap scum and mildew.
* Toilet Bowl Cleaner: Because, well, you know.
* Floor Cleaner: Make sure it’s appropriate for your floor type (wood, tile, laminate, etc.).
* Vacuum Cleaner: A must-have for carpets and rugs.
* Mop and Bucket: For those hard floors.
* Sponges: For scrubbing stubborn messes.
* Rubber Gloves: Protect your hands!
* Trash Bags: For all the clutter we’re about to banish.
* Dustpan and Brush: For quick cleanups.
* Baking Soda: A natural deodorizer and mild abrasive.
* White Vinegar: Another natural cleaning powerhouse.
* Spray Bottles: For diluting cleaners or making your own solutions.
* Old Toothbrush: Perfect for getting into those tiny crevices.
* Magic Eraser: For scuff marks and stubborn stains. Use with caution on delicate surfaces!
Phase 2: The Kitchen – Conquering the Culinary Chaos
The kitchen is often the heart of the home, but it can also be the epicenter of mess. Let’s tackle it!
1. Clear the Counters: The first step is to remove everything from your countertops. This includes appliances, utensils, mail piles, everything! Put it all in a box or basket for now. We’ll sort through it later.
2. Wash the Dishes (or Load the Dishwasher): A clean sink is a happy sink. If you have a dishwasher, load it up. If not, roll up your sleeves and get scrubbing.
3. Wipe Down the Counters and Backsplash: Use your all-purpose cleaner and microfiber cloth to wipe down all surfaces. Pay special attention to areas where food splatters are common.
4. Clean the Sink: Sprinkle baking soda in the sink and scrub with a sponge. Rinse thoroughly. For extra shine, use a stainless steel cleaner.
5. Clean the Microwave: This is easier than you think! Place a microwave-safe bowl filled with water and a few slices of lemon in the microwave. Heat for 3-5 minutes until the water boils and the microwave is steamy. Let it sit for a few minutes, then carefully wipe down the inside. The steam will loosen any stuck-on food.
6. Clean the Stovetop: Remove the grates and soak them in hot, soapy water. Wipe down the stovetop with all-purpose cleaner. For stubborn stains, use a paste of baking soda and water.
7. Clean the Oven: This is the task everyone dreads, but it’s gotta be done. You can use a commercial oven cleaner, following the instructions carefully. Or, for a more natural approach, make a paste of baking soda and water and coat the inside of the oven. Let it sit overnight, then scrub and wipe clean.
8. Clean the Refrigerator: Remove all the food from the refrigerator. Toss out anything that’s expired or spoiled. Wipe down the shelves and drawers with all-purpose cleaner. Don’t forget to clean the door seals!
9. Sweep or Mop the Floor: Sweep up any crumbs or debris, then mop the floor with your appropriate floor cleaner.
10. Deal with the Countertop Clutter: Now that everything is clean, go back to that box or basket of countertop items. Decide what needs to stay, what needs to be put away, and what can be tossed or donated.
Phase 3: The Bathroom – Banishing Bacteria and Grime
The bathroom is another area that requires regular attention. Let’s get it sparkling!
1. Clear the Counters: Just like in the kitchen, remove everything from the countertops.
2. Clean the Toilet: Pour toilet bowl cleaner into the bowl and let it sit for a few minutes. Scrub with a toilet brush and flush. Wipe down the exterior of the toilet with all-purpose cleaner.
3. Clean the Shower/Tub: Spray the shower or tub with bathroom cleaner. Let it sit for a few minutes, then scrub with a sponge or brush. Rinse thoroughly. For stubborn soap scum, try using a magic eraser.
4. Clean the Sink and Countertop: Wipe down the sink and countertop with all-purpose cleaner. Pay special attention to areas around the faucet and drain.
5. Clean the Mirror: Spray the mirror with glass cleaner and wipe with a microfiber cloth.
6. Sweep or Mop the Floor: Sweep up any hair or debris, then mop the floor with your appropriate floor cleaner.
7. Clean Showerhead: Fill a plastic bag with white vinegar and secure it around the showerhead with a rubber band. Let it soak for at least an hour, or overnight. Remove the bag and run the shower to flush out any remaining vinegar. This will remove mineral buildup and improve water pressure.
8. Organize Toiletries: Go through your toiletries and discard anything that’s expired or you no longer use. Organize the remaining items in drawers, cabinets, or on shelves.
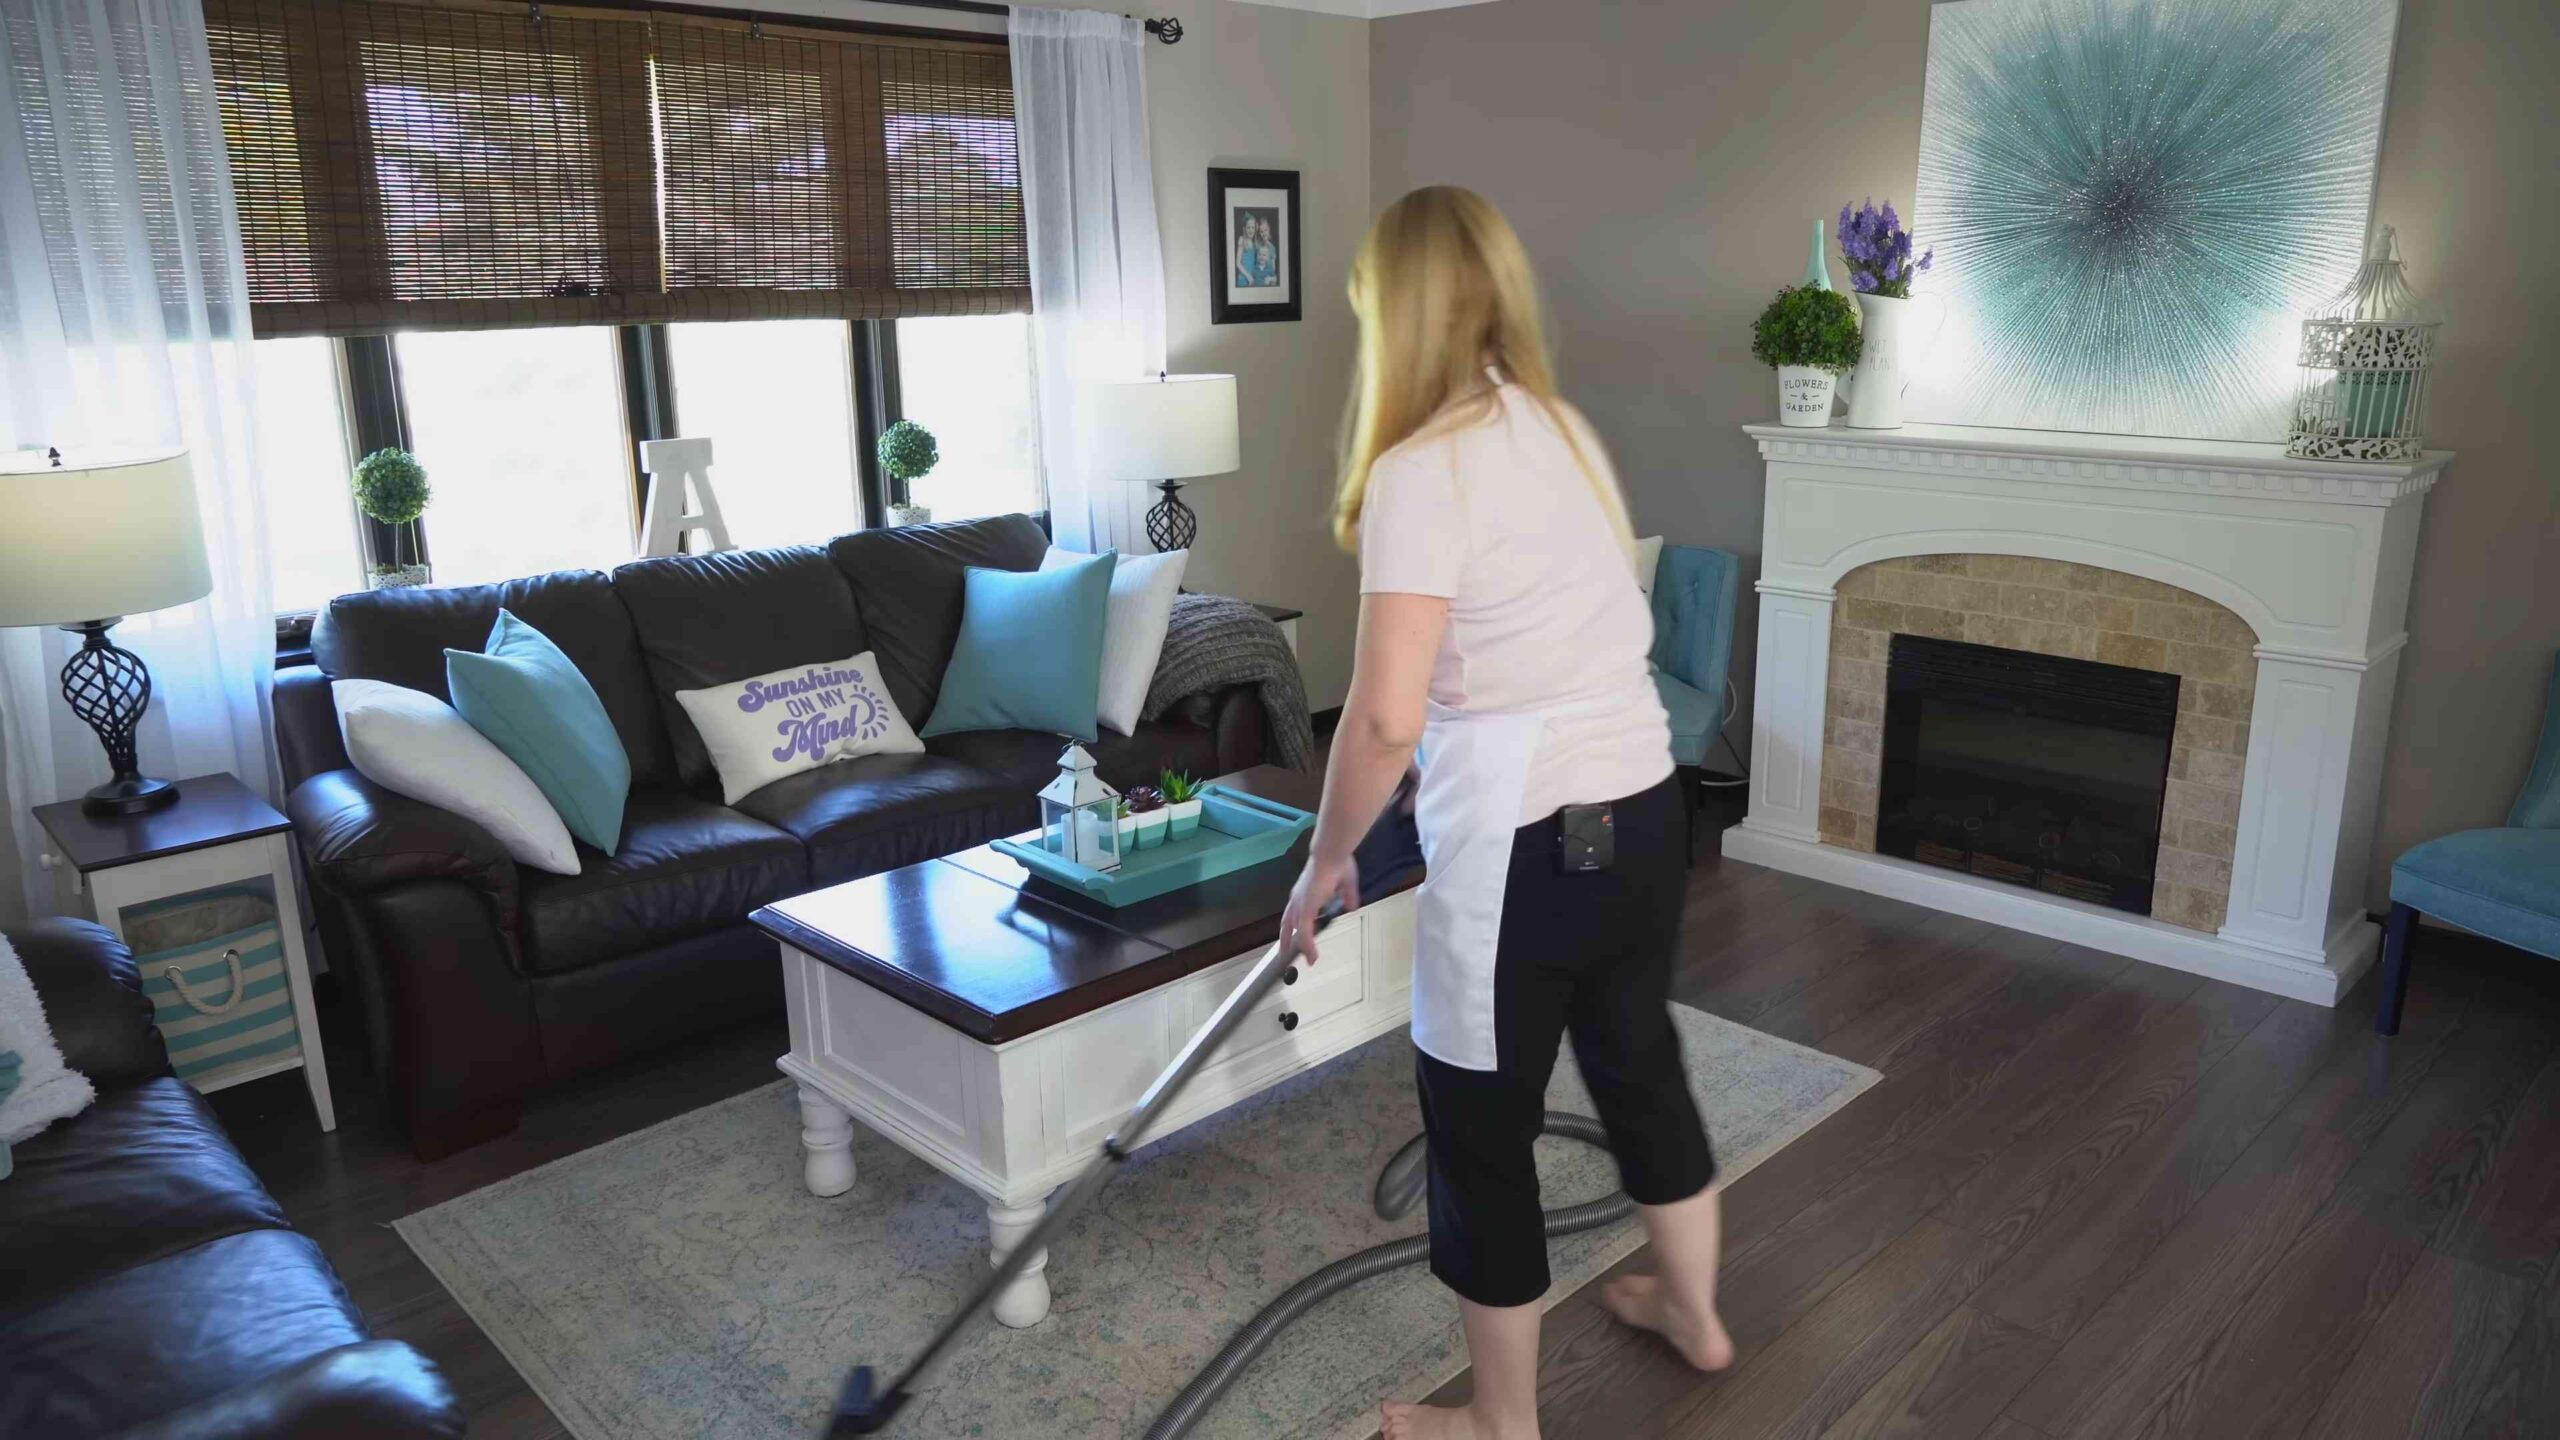
Phase 4: The Living Room – Taming the Television Territory
The living room is where we relax and unwind, so let’s make it a comfortable and clean space.
1. Declutter: Remove any clutter, such as magazines, newspapers, toys, or remote controls. Put them away in their designated places.
2. Dust: Dust all surfaces, including furniture, shelves, picture frames, and lamps. Use a microfiber cloth or a duster. Don’t forget to dust the tops of ceiling fans!
3. Vacuum or Sweep: Vacuum carpets and rugs. Sweep or mop hard floors.
4. Clean Windows and Mirrors: Spray windows and mirrors with glass cleaner and wipe with a microfiber cloth.
5. Fluff Pillows and Blankets: Fluff pillows and blankets to make them look fresh and inviting.
6. Wipe Down Electronics: Use a microfiber cloth to wipe down the television screen, remote controls, and other electronic devices.
7. Organize Bookshelves: Straighten up books and organize them by color or size. Dust the shelves and books.
8. Clean Upholstery: Vacuum upholstery to remove dust and crumbs. Spot clean any stains with a fabric cleaner.
Phase 5: The Bedrooms – Creating a Sanctuary of Serenity
The bedroom should be a peaceful and relaxing space. Let’s make it so!
1. Make the Bed: This is the easiest and most impactful thing you can do to make your bedroom look cleaner.
2. Declutter: Remove any clutter, such as clothes, shoes, or books. Put them away in their designated places.
3. Dust: Dust all surfaces, including furniture, shelves, picture frames, and lamps.
4. Vacuum or Sweep: Vacuum carpets and rugs. Sweep or mop hard floors.
5. Clean Windows and Mirrors: Spray windows and mirrors with glass cleaner and wipe with a microfiber cloth.
6. Organize Closets: Go through your closet and get rid of any clothes you no longer wear or that don’t fit. Organize the remaining clothes by type and color.
7. Clean Nightstands: Clear off your nightstands and wipe them down with all-purpose cleaner. Organize any books, magazines, or other items.
8. Wash Bedding: Wash your sheets, pillowcases, and blankets regularly.
Phase 6: The Finishing Touches – Adding the Sparkle
Now that we’ve tackled each room, let’s add those final touches that will make your house shine.
1. Empty Trash

Conclusion
Tackling a whole house clean can feel like climbing Mount Everest in flip-flops. It’s daunting, overwhelming, and frankly, something most of us would rather avoid. But with the strategies outlined in this guide, you’re not just cleaning; you’re reclaiming your space, your time, and your sanity. This isn’t about achieving some unattainable level of pristine perfection; it’s about creating a home that feels comfortable, functional, and genuinely yours.
The beauty of this overwhelming house cleaning guide lies in its adaptability. It’s not a rigid set of rules, but a flexible framework you can tailor to your specific needs and lifestyle. Maybe you only have 15 minutes a day to dedicate to cleaning – that’s perfectly fine! Focus on the daily tasks and chip away at the bigger projects over time. Perhaps you’re a minimalist who thrives in a clutter-free environment, or maybe you’re a collector who loves surrounding themselves with cherished items. Either way, these strategies can be adjusted to suit your personal preferences.
Consider these variations to personalize your cleaning routine:
* **Theme Days:** Instead of tackling everything at once, dedicate specific days to certain tasks. For example, “Laundry Mondays,” “Bathroom Tuesdays,” and “Kitchen Wednesdays.” This breaks down the overwhelming task into manageable chunks.
* **Zone Cleaning:** Divide your home into zones and focus on one zone per week or month. This allows you to deep clean each area without feeling overwhelmed by the entire house.
* **Gamify the Cleaning:** Turn cleaning into a game by setting timers, creating a cleaning playlist, or rewarding yourself after completing a task. This can make the process more enjoyable and motivating.
* **Enlist Help:** Don’t be afraid to ask for help from family members or friends. Even small contributions can make a big difference. Consider hiring a professional cleaner for occasional deep cleans if your budget allows.
* **Embrace Imperfection:** Remember that a lived-in home is a happy home. Don’t strive for perfection; focus on creating a space that feels comfortable and inviting.
Ultimately, the goal is to create a sustainable cleaning routine that works for you. It’s not about spending hours scrubbing and polishing; it’s about maintaining a clean and organized home that supports your well-being.
We encourage you to try these strategies and see how they transform your approach to house cleaning. Don’t be afraid to experiment and find what works best for you. And most importantly, don’t give up! Even small steps can lead to big results.
We’d love to hear about your experiences! Share your tips, tricks, and challenges in the comments below. Let’s create a community of support and inspiration for tackling the overwhelming task of house cleaning. What are your favorite cleaning hacks? What challenges do you face? What successes have you had? Your insights can help others on their journey to a cleaner, more organized home.
Frequently Asked Questions (FAQ)
Q: I’m completely overwhelmed. Where do I even start?
A: The best place to start is with a quick declutter. Walk through each room and identify items you no longer need, use, or love. Donate, sell, or discard these items to create more space and make cleaning easier. Then, focus on one small task, like wiping down the kitchen counters or making the bed. Small victories can build momentum and make the overall task feel less daunting. Remember, even 15 minutes of focused cleaning can make a difference.
Q: How do I stay motivated when I feel like giving up?
A: Motivation can be tricky, especially when faced with a large cleaning project. Try breaking down the task into smaller, more manageable steps. Set realistic goals and reward yourself for achieving them. Create a cleaning playlist with upbeat music to make the process more enjoyable. Enlist a friend or family member to help you stay accountable. And remember why you’re cleaning in the first place – to create a more comfortable, functional, and enjoyable living space. Visualizing the end result can be a powerful motivator.
Q: I have pets. How do I deal with pet hair and odors?
A: Pet hair and odors can be a challenge, but there are several effective strategies. Vacuum frequently, especially in areas where your pets spend the most time. Use a lint roller or rubber glove to remove pet hair from furniture and clothing. Invest in an air purifier to help eliminate odors. Regularly wash pet bedding and toys. Consider using a pet-specific cleaning solution to neutralize odors and remove stains. Baking soda is also a great natural deodorizer – sprinkle it on carpets and furniture, let it sit for a few hours, and then vacuum it up.
Q: What are some eco-friendly cleaning alternatives?
A: There are many eco-friendly cleaning alternatives that are just as effective as conventional products. Vinegar is a great all-purpose cleaner and disinfectant. Baking soda can be used to scrub surfaces and deodorize. Lemon juice is a natural degreaser and stain remover. Essential oils can be added to cleaning solutions for a pleasant scent and added disinfecting properties. Look for cleaning products that are labeled as eco-friendly, biodegradable, and non-toxic. Avoid products that contain harsh chemicals, such as bleach and ammonia.
Q: How often should I deep clean my house?
A: The frequency of deep cleaning depends on your lifestyle and personal preferences. As a general guideline, aim to deep clean your house at least twice a year – once in the spring and once in the fall. However, if you have pets, children, or allergies, you may need to deep clean more frequently. Focus on areas that tend to accumulate dirt and grime, such as bathrooms, kitchens, and floors.
Q: What are some time-saving cleaning tips?
A: There are several time-saving cleaning tips that can help you streamline your routine. Clean as you go – wipe up spills immediately, put away items after using them, and make your bed every morning. Use multi-purpose cleaning products to save time and space. Invest in cleaning tools that make the job easier, such as a robotic vacuum cleaner or a microfiber mop. Delegate tasks to family members. And don’t be afraid to ask for help from a professional cleaner if you’re feeling overwhelmed.
Q: How do I deal with clutter?
A: Clutter can be a major obstacle to a clean and organized home. Start by decluttering one area at a time, such as a drawer, a shelf, or a closet. Sort through your belongings and identify items you no longer need, use, or love. Donate, sell, or discard these items. Organize the remaining items in a way that makes sense for you. Use storage containers to keep clutter out of sight. And make a habit of decluttering regularly to prevent clutter from accumulating. The key to overcoming an overwhelming house cleaning situation is to tackle it one step at a time.


Leave a Comment