

Quick home cleaning tips are a lifesaver, aren’t they? I know I’m always on the lookout for ways to tidy up without spending my entire weekend scrubbing! Let’s face it, nobody wants to spend hours cleaning when they could be relaxing, pursuing hobbies, or spending time with loved ones.
The desire for a clean and organized home isn’t new. Throughout history, different cultures have developed unique cleaning rituals and techniques, often passed down through generations. From ancient Roman bathhouses to the meticulous cleaning practices in Japanese homes, the pursuit of cleanliness has always been a part of human civilization. But in today’s fast-paced world, we need solutions that are both effective and efficient.
That’s where these DIY cleaning hacks come in. I’m going to share some of my favorite quick home cleaning tips that will help you maintain a sparkling home without sacrificing your precious time. These aren’t just random tips; they’re tried-and-true methods that I’ve personally used to keep my home looking its best. So, if you’re ready to reclaim your weekends and enjoy a cleaner, more organized living space, keep reading! You’ll be amazed at how much time and effort you can save with these simple yet effective strategies.
DIY Deep Clean: Conquer Your Home in a Weekend!
Okay, let’s be honest, nobody *loves* cleaning. But a clean home? That’s a game-changer. It boosts your mood, makes you more productive, and is just generally a nicer place to be. This isn’t about a quick tidy-up; this is about a deep clean that will leave your house sparkling and feeling brand new. I’m going to walk you through my tried-and-true method for tackling the whole house in a weekend. Get ready to roll up your sleeves!
Phase 1: Gathering Your Arsenal
Before you even think about picking up a duster, you need to assemble your cleaning supplies. Trust me, having everything at your fingertips will save you tons of time and frustration.
* Cleaning Solutions:
* All-purpose cleaner (I prefer a natural, eco-friendly option).
* Glass cleaner.
* Bathroom cleaner (specifically for soap scum and mildew).
* Toilet bowl cleaner.
* Floor cleaner (appropriate for your floor type – wood, tile, laminate, etc.).
* Dish soap (for general cleaning and degreasing).
* White vinegar (a cleaning powerhouse!).
* Baking soda (another cleaning superstar!).
* Tools of the Trade:
* Microfiber cloths (lots of them!).
* Sponges (non-scratch).
* Scrub brushes (various sizes).
* Toilet brush.
* Squeegee.
* Dustpan and brush.
* Vacuum cleaner (with attachments).
* Mop and bucket.
* Rubber gloves (protect those hands!).
* Spray bottles (for diluting cleaners).
* Old toothbrush (for getting into tight spots).
* Magic Eraser (for stubborn marks).
* Optional but Helpful:
* Steam cleaner (for floors, upholstery, and more).
* Extendable duster (for high ceilings and hard-to-reach areas).
* Cleaning caddy (to carry your supplies around).
* Music (because cleaning is always better with a soundtrack!).
Phase 2: The Kitchen Blitz
The kitchen is often the heart of the home, but it can also be a magnet for grime. Let’s get it sparkling!
1. Clear the Counters: Remove everything from your countertops – appliances, utensils, decorations, everything. This gives you a blank canvas to work with.
2. Load the Dishwasher (or Wash by Hand): Get all those dirty dishes out of the way. If you have a dishwasher, load it up and run it. If not, fill the sink with hot, soapy water and get scrubbing.
3. Clean the Sink: Give your sink a good scrub with dish soap and a sponge. For stainless steel sinks, you can use baking soda and a little water to create a paste, then scrub and rinse.
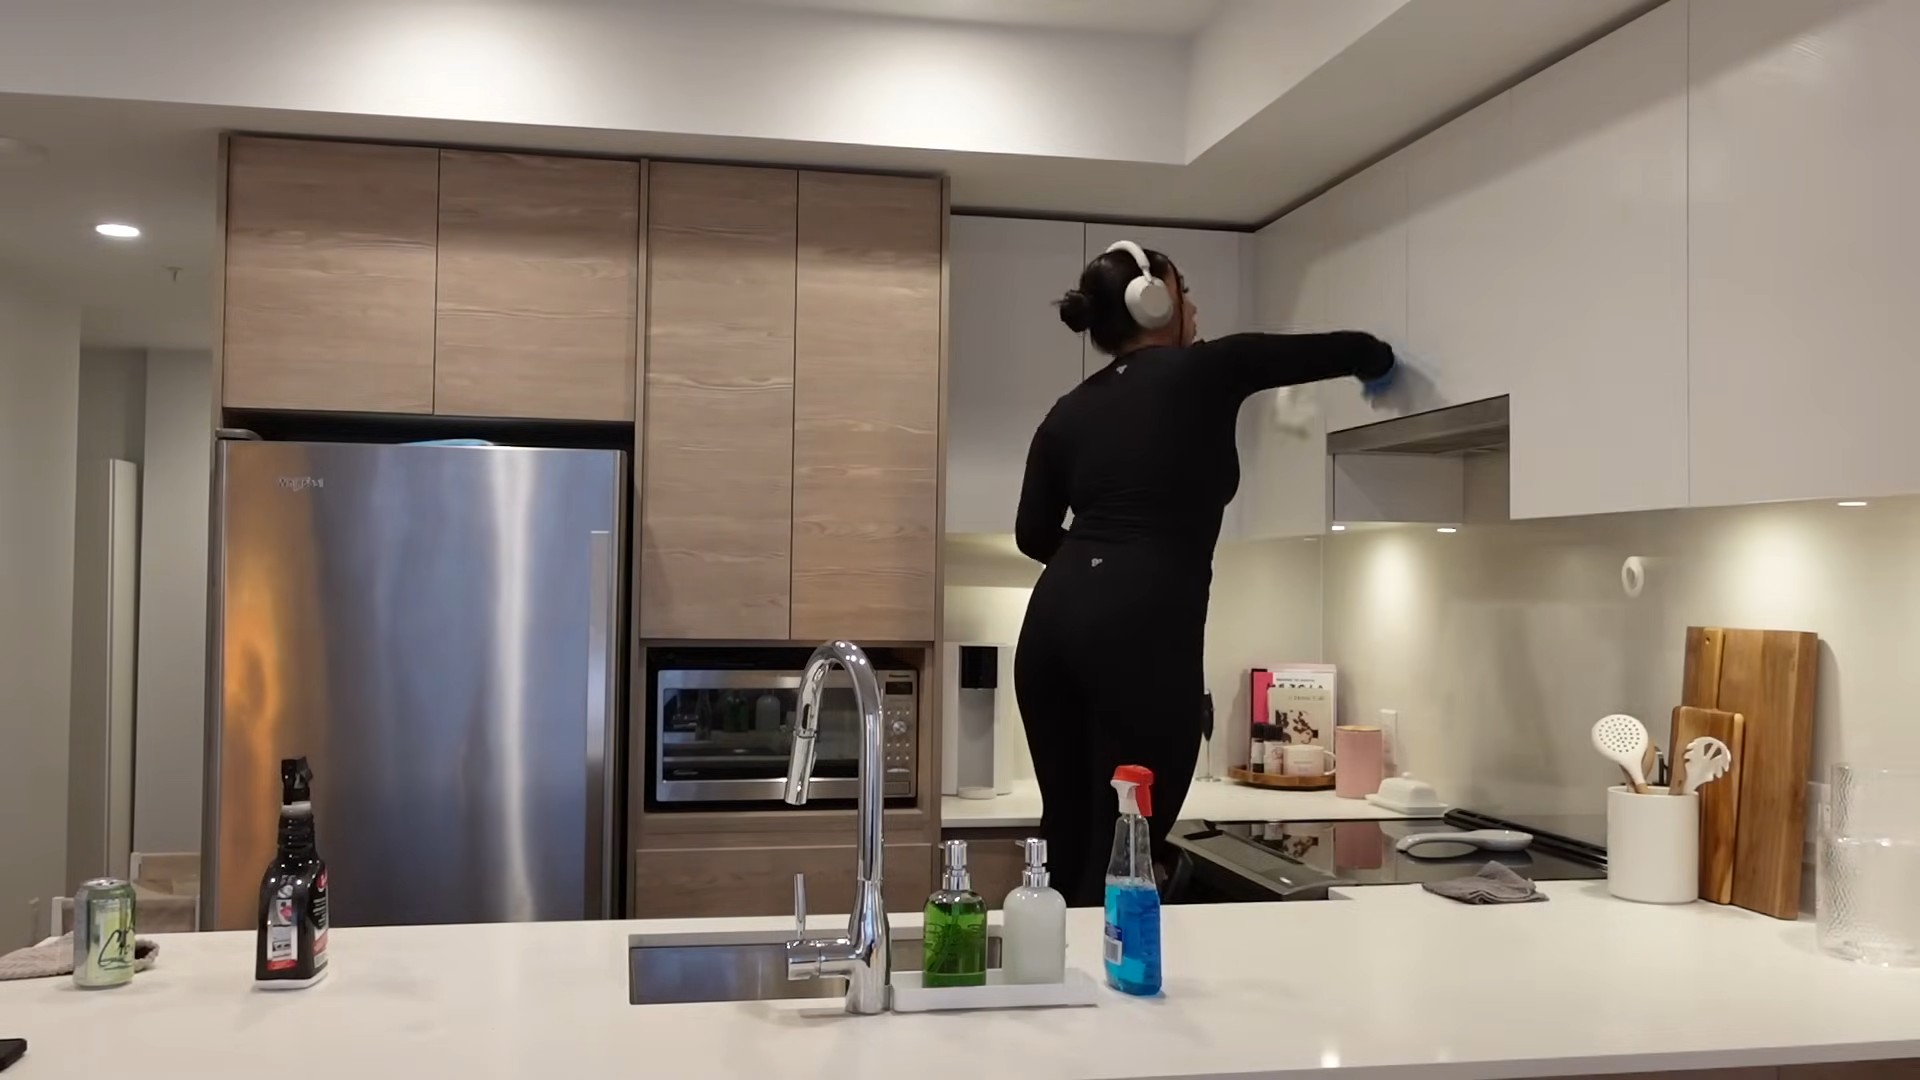
4. Wipe Down Appliances: Use an all-purpose cleaner to wipe down the exterior of your appliances – refrigerator, oven, microwave, dishwasher, coffee maker, etc. Don’t forget the handles!
5. Clean the Microwave: This is a quick and easy one. Place a microwave-safe bowl filled with water and a slice of lemon (or a few tablespoons of vinegar) in the microwave. Heat for 2-3 minutes, or until the water boils. Let it sit for a few minutes to steam, then wipe down the inside with a cloth. The steam will loosen any stuck-on food.
6. Tackle the Oven: This is often the most dreaded task, but it’s worth it! If your oven has a self-cleaning function, use it. If not, you can use a commercial oven cleaner (following the instructions carefully) or make your own paste of baking soda and water. Spread the paste inside the oven, let it sit overnight, then scrub and wipe clean.
7. Clean the Stovetop: Remove the grates and burner caps from your stovetop. Soak them in hot, soapy water. Wipe down the stovetop with an all-purpose cleaner. For stubborn grease, use a degreaser or a paste of baking soda and water. Scrub the grates and burner caps, rinse, and dry before replacing them.
8. Wipe Down the Cabinets: Use an all-purpose cleaner to wipe down the exterior of your cabinets. Pay special attention to areas around the handles, which tend to get greasy.
9. Clean the Countertops: Wipe down your countertops with an all-purpose cleaner. For granite or marble countertops, use a cleaner specifically designed for those surfaces.
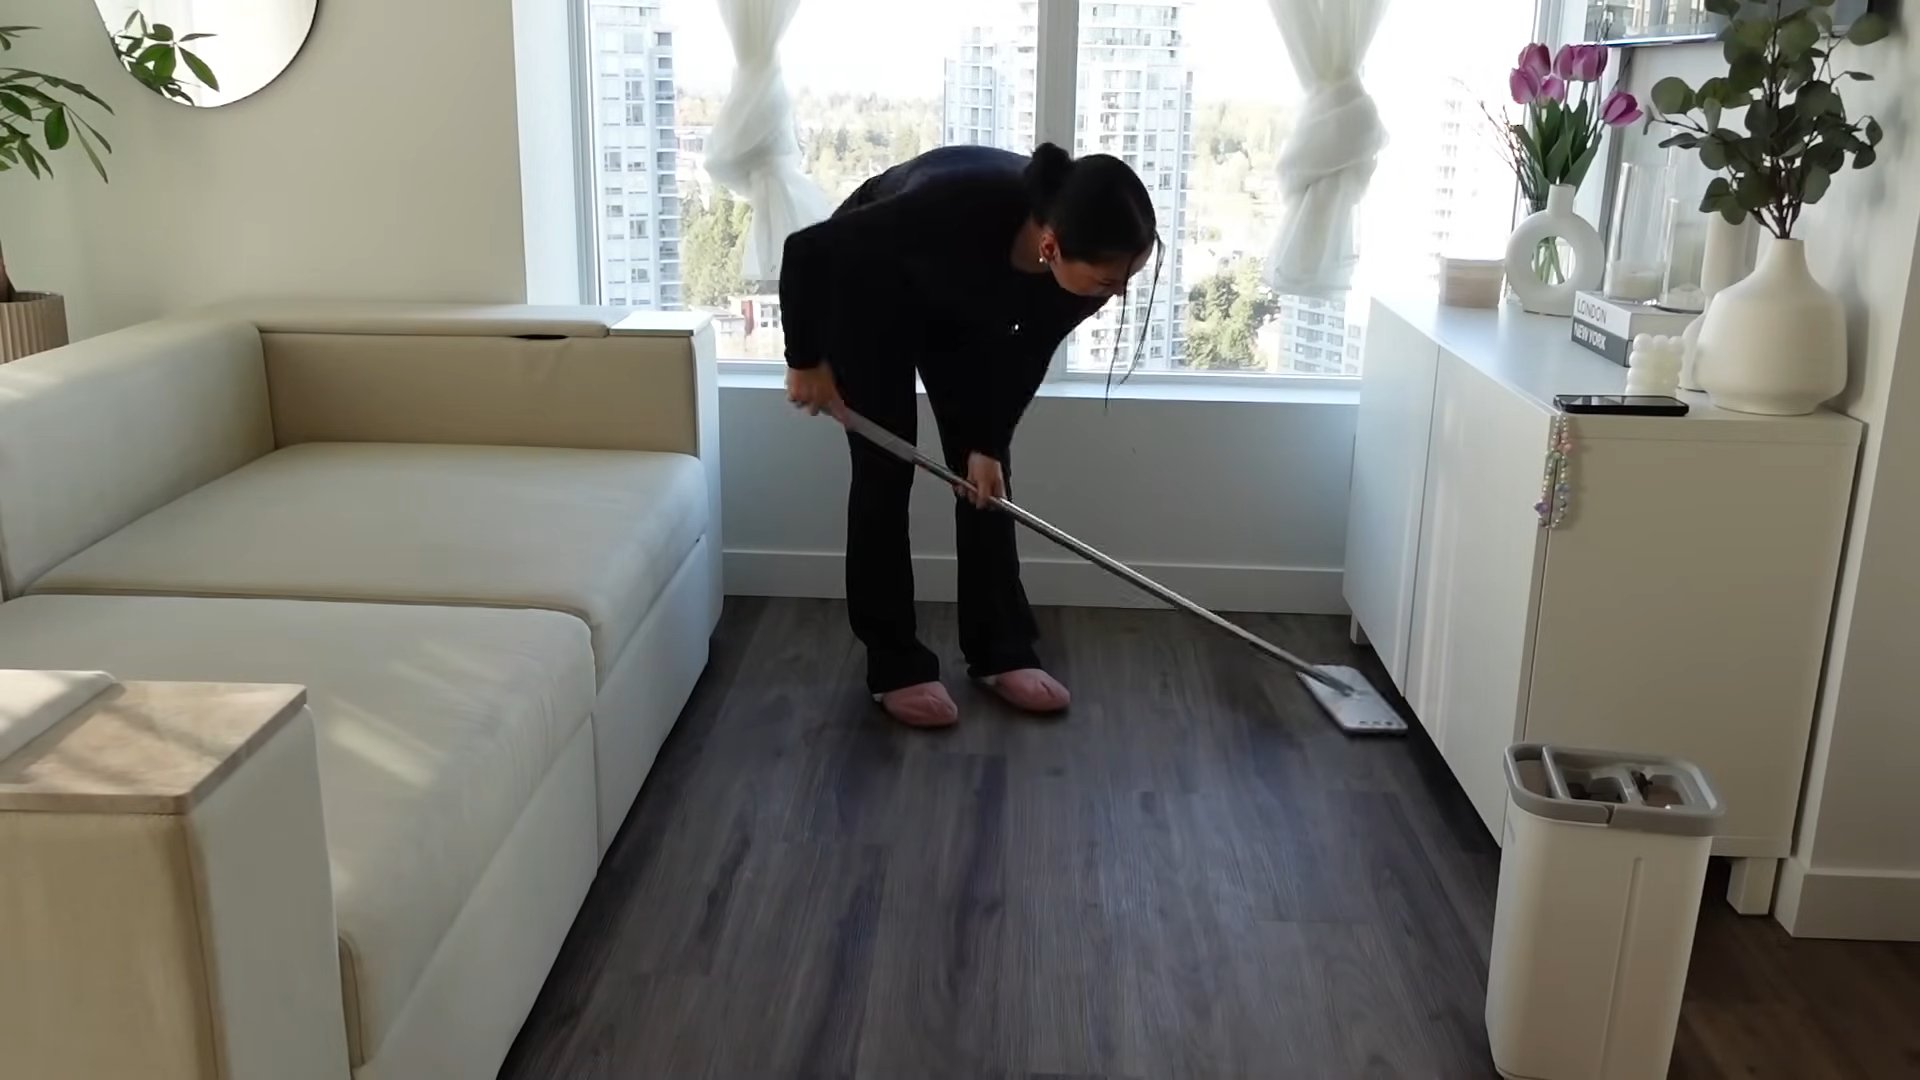
10. Sweep and Mop the Floor: Sweep or vacuum the floor to remove any loose dirt and debris. Then, mop the floor with a floor cleaner appropriate for your floor type.
11. Empty the Trash: Take out the trash and replace the liner.
Phase 3: Bathroom Bliss
Bathrooms can quickly become breeding grounds for germs and grime. Let’s banish them!
1. Clear the Counters: Remove everything from your countertops – toiletries, decorations, everything.
2. Spray Down the Shower/Tub: Spray the shower and tub with a bathroom cleaner designed to remove soap scum and mildew. Let it sit for a few minutes to work its magic.
3. Clean the Toilet: Squirt toilet bowl cleaner into the toilet bowl and let it sit for a few minutes. Then, scrub with a toilet brush and flush. Wipe down the exterior of the toilet with an all-purpose cleaner.
4. Scrub the Shower/Tub: Scrub the shower and tub with a sponge or scrub brush. Pay special attention to areas with soap scum and mildew. Rinse thoroughly.
5. Clean the Showerhead: If your showerhead is clogged with mineral deposits, you can soak it in a bag filled with white vinegar. Secure the bag around the showerhead with a rubber band and let it soak for a few hours or overnight. Then, remove the bag and run the shower to flush out the vinegar.
6. Clean the Mirror: Spray the mirror with glass cleaner and wipe clean with a microfiber cloth.
7. Wipe Down the Counters and Sink: Wipe down your countertops and sink with an all-purpose cleaner.
8. Sweep and Mop the Floor: Sweep or vacuum the floor to remove any loose dirt and debris. Then, mop the floor with a floor cleaner appropriate for your floor type.
9. Replace Towels: Hang fresh, clean towels.
10. Empty the Trash: Take out the trash and replace the liner.
Phase 4: Living Areas and Bedrooms: Dust, Vacuum, and Refresh
These areas are all about removing dust, allergens, and creating a comfortable, inviting space.
1. Declutter: Before you start cleaning, take a few minutes to declutter each room. Put away any items that are out of place.
2. Dust: Dust all surfaces, including furniture, shelves, picture frames, and light fixtures. Start from the top and work your way down. Use an extendable duster for high ceilings and hard-to-reach areas. Don’t forget to dust lampshades!
3. Vacuum: Vacuum all floors, including carpets, rugs, and hard floors. Use the attachments to vacuum upholstery, curtains, and hard-to-reach areas.
4. Clean Windows and Mirrors: Spray windows and mirrors with glass cleaner and wipe clean with a microfiber cloth.
5. Make the Beds: Make the beds with fresh linens.
6. Straighten Up: Arrange pillows and blankets on sofas and chairs.
7. Empty Trash Cans: Empty all trash cans and replace the liners.
Phase 5: Floor Focus: Vacuuming and Mopping Like a Pro
Floors take a beating, so give them some extra love.
1. Vacuum Thoroughly: Use your vacuum cleaner with the appropriate attachments to get into corners, under furniture, and along baseboards. For carpets, consider using a vacuum with a beater bar to lift dirt and debris.
2. Choose the Right Mop: Select a mop that’s appropriate for your floor type. Microfiber mops are great for most surfaces, while sponge mops are good for tile and linoleum.
3. Prepare Your Cleaning Solution: Follow the instructions on your floor cleaner to prepare the cleaning solution.
4. Mop in Sections: Mop the floor in sections, working from one side of the room to the other. Rinse the mop frequently to avoid spreading dirt.
5. Dry the Floor: If necessary, dry the floor with a clean towel or microfiber cloth to prevent water spots.
Phase 6: The Finishing Touches: Details That Make a Difference
It’s the little things that elevate a clean home to a *sparkling* home.
* Air Fresheners:
Conclusion
So, there you have it! These quick home cleaning tips aren’t just about tidying up; they’re about reclaiming your time, saving money, and creating a healthier, happier living space. Forget spending hours scrubbing or relying on harsh chemicals. These DIY solutions are effective, eco-friendly, and surprisingly simple to implement.
Why is this a must-try? Because it’s a game-changer. Imagine spending just 15 minutes a day on these targeted cleaning tasks. The cumulative effect is a consistently cleaner home without the overwhelming feeling of a massive cleaning project looming over you. Plus, you’ll be amazed at how much money you save by using common household ingredients instead of expensive cleaning products.
But don’t just take our word for it. The beauty of these quick home cleaning tips lies in their adaptability. Feel free to experiment with variations to suit your specific needs and preferences. For example, if you’re not a fan of vinegar’s scent, try adding a few drops of your favorite essential oil to your cleaning solution. Lavender, lemon, and tea tree oil are all excellent choices with natural antibacterial properties. Or, if you have particularly stubborn stains, consider pre-treating them with a paste of baking soda and water before using your regular cleaning method.
Another variation to consider is tailoring the frequency of these tasks to your lifestyle. If you have pets or young children, you might need to increase the frequency of vacuuming or wiping down surfaces. Conversely, if you live alone and maintain a relatively tidy home, you might be able to stretch out the intervals between cleanings. The key is to find a rhythm that works for you and helps you maintain a consistently clean and comfortable living environment.
We’ve also found that incorporating these quick home cleaning tips into a daily routine can be incredibly effective. For instance, make it a habit to wipe down your kitchen counters after each meal or to quickly sweep the bathroom floor after showering. These small, consistent efforts can prevent dirt and grime from building up and make your overall cleaning tasks much easier.
Ultimately, the goal is to make cleaning less of a chore and more of a seamless part of your daily life. By embracing these quick home cleaning tips, you can transform your home into a sanctuary of cleanliness and tranquility.
We wholeheartedly encourage you to try these DIY tricks and see the difference they can make in your home and your life. Don’t be afraid to experiment, adapt, and find what works best for you. And most importantly, we want to hear about your experience! Share your tips, tricks, and successes in the comments below. Let’s create a community of clean-home enthusiasts who are passionate about making their living spaces healthier, happier, and more enjoyable. Your insights could inspire others to embrace these quick home cleaning tips and transform their own homes. So, go ahead, give it a try, and let us know what you think! We can’t wait to hear from you.
FAQ
What are the most important quick home cleaning tips to focus on first?
If you’re feeling overwhelmed, start with the high-impact areas: the kitchen and bathrooms. These areas tend to accumulate the most dirt and grime, so focusing on them first will give you the biggest bang for your buck. Prioritize wiping down kitchen counters and sinks after each use, cleaning the toilet and shower regularly, and sweeping or mopping floors. Once you’ve established a routine for these areas, you can gradually incorporate other quick cleaning tasks into your schedule.
Are these DIY cleaning solutions safe for all surfaces?
While most of these DIY cleaning solutions are safe for a wide range of surfaces, it’s always a good idea to test them in an inconspicuous area first, especially on delicate materials like wood or marble. Avoid using abrasive cleaners on surfaces that are prone to scratching. For specific surfaces, such as granite countertops, research the best cleaning methods to avoid damage.
How often should I be doing these quick home cleaning tasks?
The frequency of these tasks depends on your lifestyle and the size of your household. As a general guideline, aim to wipe down kitchen counters and sinks daily, clean bathrooms weekly, vacuum or sweep floors regularly, and dust surfaces as needed. Adjust the frequency based on your personal needs and preferences.
What if I have allergies or sensitivities to certain cleaning ingredients?
If you have allergies or sensitivities to certain cleaning ingredients, such as vinegar or baking soda, be sure to substitute them with alternative options. For example, you can use lemon juice instead of vinegar for cleaning and deodorizing. Always read the labels of any cleaning products you use and consult with a doctor or allergist if you have any concerns.
Can I use essential oils in these DIY cleaning solutions?
Yes, essential oils can be a great addition to DIY cleaning solutions. They not only add a pleasant scent but also have natural antibacterial and antifungal properties. Some popular essential oils for cleaning include lavender, lemon, tea tree, and eucalyptus. However, be sure to use essential oils safely and in moderation. Dilute them properly and avoid using them on surfaces that may be damaged by oils.
How can I get my family involved in these quick home cleaning tips?
Making cleaning a family affair can make it less of a burden for everyone. Assign age-appropriate tasks to each family member and create a cleaning schedule that everyone can follow. Make it fun by playing music or turning it into a game. Reward everyone for their efforts and celebrate your clean home together.
What are some eco-friendly alternatives to store-bought cleaning products?
Many store-bought cleaning products contain harsh chemicals that can be harmful to the environment. Fortunately, there are many eco-friendly alternatives available. Look for products that are made with natural ingredients, biodegradable, and packaged in recyclable materials. You can also make your own DIY cleaning solutions using ingredients like vinegar, baking soda, lemon juice, and essential oils.
How can I keep my home clean when I have pets?
Pets can add a lot of joy to our lives, but they can also make it challenging to keep our homes clean. To minimize pet-related messes, vacuum or sweep floors regularly to remove pet hair and dander. Wipe down surfaces that your pets come into contact with, such as furniture and floors. Use a pet-friendly cleaning solution to clean up accidents and messes. And don’t forget to groom your pets regularly to reduce shedding.
What are some tips for decluttering my home before I start cleaning?
Decluttering is an essential step in the cleaning process. Before you start cleaning, take some time to declutter your home by getting rid of items you no longer need or use. Donate or sell unwanted items, and organize the remaining items in a way that makes sense for you. A decluttered home is easier to clean and maintain.
How can I make cleaning a more enjoyable experience?
Cleaning doesn’t have to be a chore. There are many ways to make it a more enjoyable experience. Put on some music, listen to a podcast, or watch your favorite TV show while you clean. Invite a friend or family member to help you clean and make it a social event. Reward yourself after you finish cleaning. And remember, a clean home is a happy home!


Leave a Comment