

Sticker residue removal with salt – sounds too good to be true, right? I know, I thought the same thing! We’ve all been there: painstakingly peeling off a sticker, only to be left with that sticky, unsightly residue that just won’t budge. It’s frustrating, time-consuming, and can ruin the look of your favorite items. But fear not, fellow DIY enthusiasts, because I’m about to share a simple, yet incredibly effective, trick that will change your life (or at least, your sticker-removing life!).
While the exact origin of using salt for cleaning purposes is lost to time, its use as a natural abrasive has been known for centuries. From ancient civilizations using it for scrubbing pots to modern-day cleaning hacks, salt has always been a readily available and eco-friendly solution. And now, we’re bringing that time-tested wisdom to the battle against sticky sticker residue!
Why is this sticker residue removal with salt trick so important? Because nobody wants to spend hours scrubbing away at stubborn glue! Whether it’s removing price tags from new purchases, cleaning up after kids’ sticker art projects, or restoring vintage finds, this DIY hack will save you time, money, and a whole lot of frustration. Plus, it’s a natural and non-toxic alternative to harsh chemical cleaners. So, are you ready to say goodbye to sticky messes and hello to sparkling clean surfaces? Let’s get started!
DIY Sticker Residue Removal with Salt: A Surprisingly Effective Hack!
Hey there, fellow DIY enthusiasts! Ever been plagued by that sticky, stubborn residue left behind after peeling off a sticker? It’s the bane of every crafter’s and organizer’s existence! I’ve tried countless methods over the years, from harsh chemicals to tedious scrubbing, with varying degrees of success. But guess what? I stumbled upon a super simple, surprisingly effective solution using something you probably already have in your kitchen: salt!
Yep, plain old table salt can be your secret weapon against sticker residue. I know, it sounds too good to be true, but trust me, it works! It’s gentle, non-toxic, and incredibly affordable. So, ditch those expensive adhesive removers and let’s get started!
What You’ll Need
Before we dive in, let’s gather our supplies. The beauty of this hack is that you likely have everything you need already!
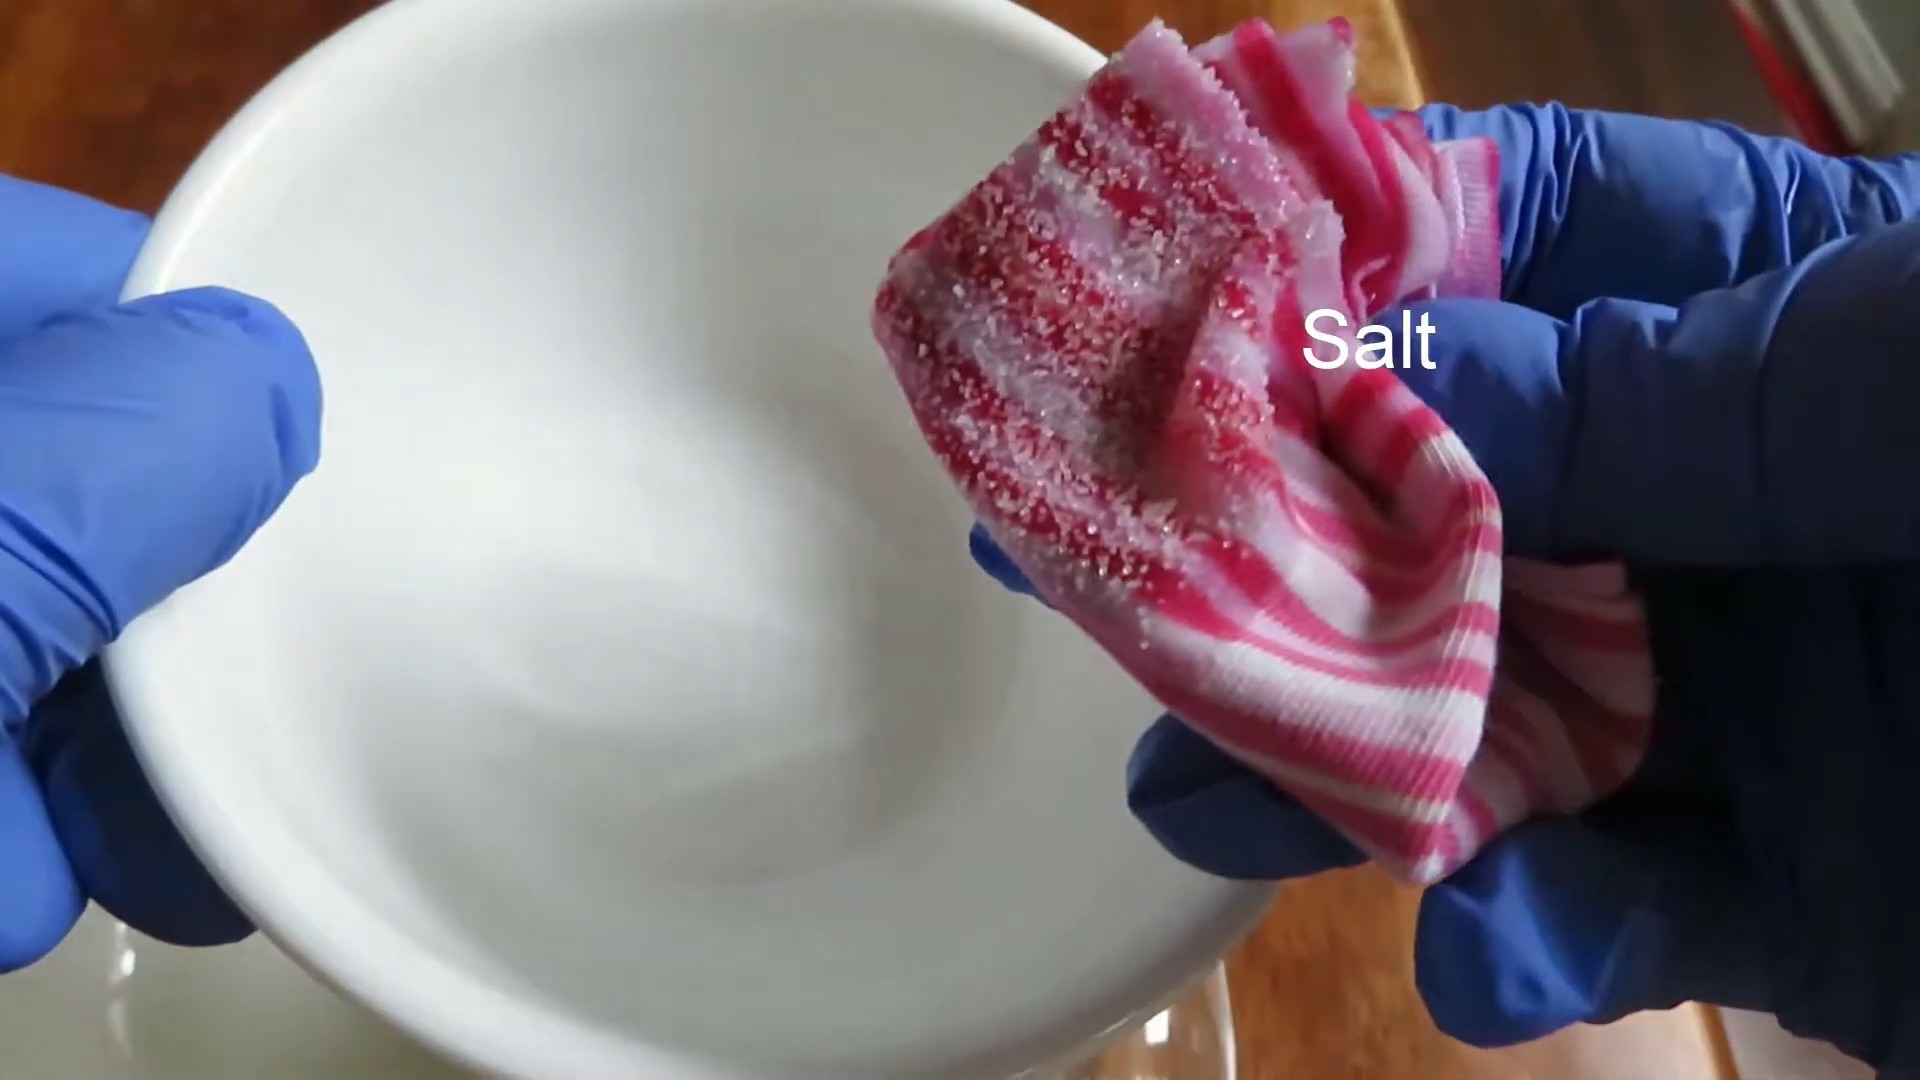
* **Salt:** Regular table salt works perfectly. You don’t need anything fancy!
* **Cooking Oil:** Any cooking oil will do – vegetable oil, olive oil, canola oil, even coconut oil (melted, of course!). The oil helps to loosen the adhesive.
* **Soft Cloth or Sponge:** A microfiber cloth or a soft sponge is ideal to avoid scratching the surface.
* **Warm Water:** For rinsing.
* **Mild Dish Soap (Optional):** If the oil leaves a residue, a little dish soap will do the trick.
* **Plastic Scraper or Credit Card (Optional):** For particularly stubborn residue. Be careful not to scratch the surface!
Step-by-Step Instructions: The Salt Scrub Method
Okay, let’s get down to business! Here’s how to banish that sticky residue using the salt scrub method:
1. **Apply Oil to the Residue:** The first step is to saturate the sticker residue with your chosen cooking oil. Don’t be shy! You want to make sure the oil penetrates the adhesive. I usually pour a generous amount directly onto the residue and let it sit for about 5-10 minutes. This gives the oil time to work its magic and start breaking down the adhesive bonds.
2. **Sprinkle Salt Generously:** Now, sprinkle a generous amount of salt over the oiled residue. You want to create a thick layer of salt that will act as an abrasive. The salt will help to lift the softened adhesive from the surface.
3. **Gently Scrub:** Using your soft cloth or sponge, gently scrub the salted area in a circular motion. Apply moderate pressure, but avoid scrubbing too hard, especially on delicate surfaces. The salt will act as a gentle abrasive, helping to lift the softened adhesive. I usually scrub for a few minutes, checking periodically to see how the residue is coming off.
4. **Wipe Away the Salt and Oil:** Once you’ve scrubbed for a while and the residue seems to be loosening, wipe away the salt and oil with a clean part of your cloth or sponge. You should see the residue starting to come off with the salt and oil mixture.
5. **Repeat if Necessary:** If some residue remains, repeat steps 2-4 until it’s completely gone. For particularly stubborn residue, you might need to let the oil sit for a longer period of time before scrubbing.
6. **Rinse with Warm Water:** After you’ve removed all the residue, rinse the area with warm water to remove any remaining salt and oil.
7. **Wash with Dish Soap (Optional):** If the oil leaves a slight residue, wash the area with a mild dish soap and warm water. This will help to remove any lingering oiliness.
8. **Dry Thoroughly:** Finally, dry the area thoroughly with a clean cloth. And voila! Your surface should be sticker residue-free!
Dealing with Stubborn Residue: Advanced Techniques
Sometimes, the residue is particularly stubborn and requires a little extra effort. Here are a few advanced techniques I’ve found helpful:
* **The Plastic Scraper Assist:** If the residue is really stuck on there, you can use a plastic scraper or an old credit card to gently scrape it away after applying the oil and salt. Hold the scraper at a slight angle and apply gentle pressure to avoid scratching the surface.
* **The Heat Treatment:** For heat-resistant surfaces, you can try using a hairdryer to warm up the residue before applying the oil and salt. The heat will help to soften the adhesive, making it easier to remove. Be careful not to overheat the surface, as this could damage it.
* **The Baking Soda Boost:** If salt alone isn’t cutting it, you can try mixing it with baking soda. Baking soda is another gentle abrasive that can help to lift stubborn residue. Mix equal parts salt and baking soda, then follow the same steps as above.
Important Considerations: Surface Sensitivity
Before you start scrubbing away, it’s crucial to consider the type of surface you’re working with. Some surfaces are more delicate than others and require extra care.
* **Painted Surfaces:** Be extra gentle when removing sticker residue from painted surfaces. Avoid using harsh abrasives or excessive pressure, as this could damage the paint. Always test the method in an inconspicuous area first to ensure it doesn’t damage the finish.
* **Plastic Surfaces:** Some plastics are more prone to scratching than others. Use a very soft cloth or sponge and avoid using excessive pressure. Again, test in an inconspicuous area first.
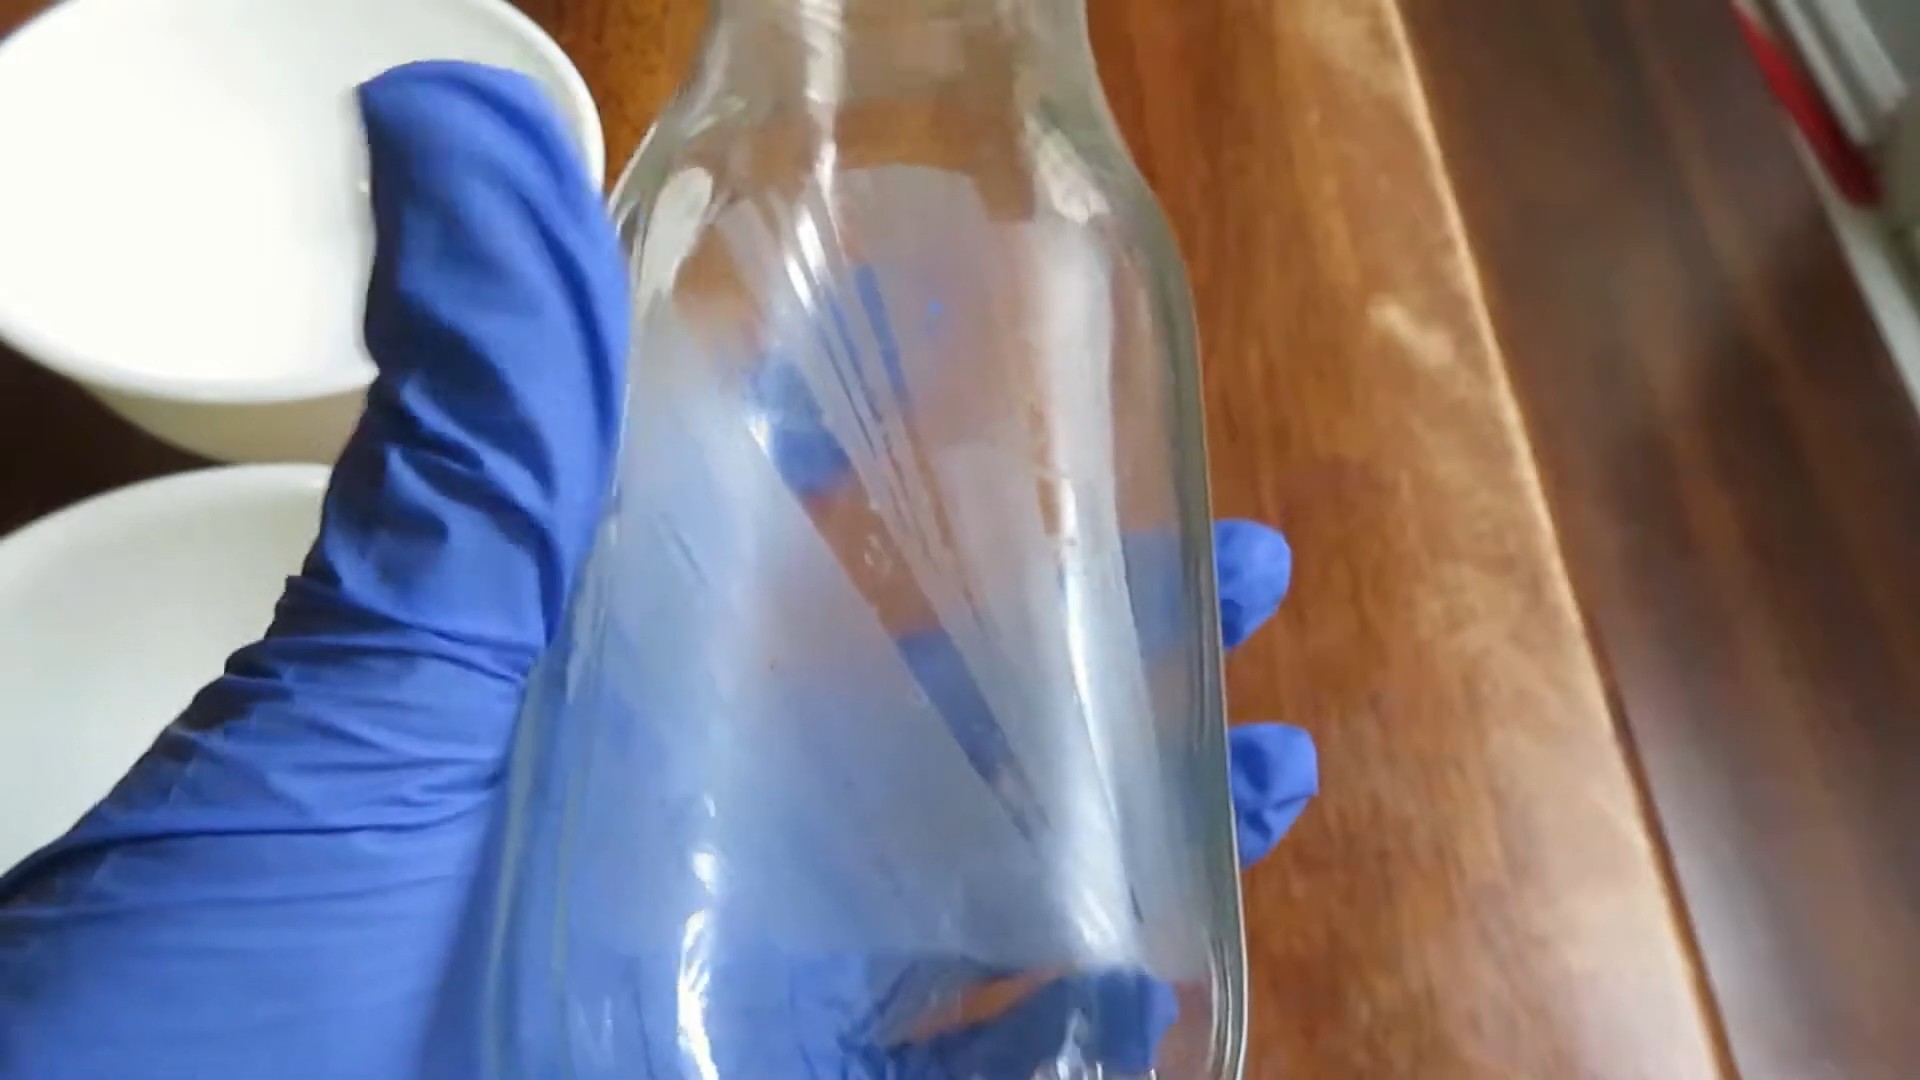
* **Glass Surfaces:** Glass is generally quite durable, but it’s still important to be careful. Avoid using abrasive scrubbers that could scratch the surface.
* **Wood Surfaces:** For wood surfaces, it’s best to use a minimal amount of oil and to dry the area thoroughly after rinsing. You may also want to apply a wood polish or sealant to protect the finish.
Alternative Oils: Expanding Your Options
While I typically use vegetable or olive oil, you can experiment with other types of oils as well. Here are a few alternatives I’ve tried:
* **Coconut Oil:** Melted coconut oil works well and has a pleasant scent.
* **Baby Oil:** Baby oil is gentle and effective for removing sticker residue.
* **Peanut Butter:** Yes, you read that right! The oils in peanut butter can help to dissolve the adhesive. Just be sure to clean the area thoroughly afterwards.
* **Mayonnaise:** Similar to peanut butter, mayonnaise contains oils that can help to break down the adhesive.
Why This Works: The Science Behind the Magic
So, why does this simple salt and oil method work so well? It’s all about the science of adhesives!
* **Oil as a Solvent:** The oil acts as a solvent, penetrating the adhesive and breaking down its bonds. This makes the residue softer and easier to remove.
* **Salt as an Abrasive:** The salt acts as a gentle abrasive, helping to lift the softened adhesive from the surface. The small, granular particles of salt provide just enough friction to dislodge the residue without scratching the surface (when used with a soft cloth and gentle pressure).
* **The Combination Effect:** The combination of the oil softening the adhesive and the salt providing gentle abrasion creates a powerful cleaning action that effectively removes sticker residue.
Preventing Sticker Residue: A Proactive Approach
Of course, the best way to deal with sticker residue is to prevent it in the first place! Here are a few tips to minimize the risk of sticky situations:
* **Use Removable Stickers:** When possible, opt for stickers that are specifically designed to be removable. These stickers use adhesives that are less likely to leave residue behind.
* **Heat Before Peeling:** Before peeling off a sticker, try warming it up with a hairdryer. The heat will soften the adhesive, making it easier to remove without leaving residue.
* **Peel Slowly and Carefully:** Peel the sticker slowly and carefully, pulling it back at a low angle. This will help to prevent the adhesive from tearing and leaving residue behind.
* **Remove Stickers Promptly:** Don’t leave stickers on surfaces for extended periods of time. The longer a sticker stays on, the more likely it is to leave residue behind.
Final Thoughts: Embrace the Power of Salt!
I hope this DIY hack helps you conquer your sticker residue woes! I’ve found it to be a lifesaver in countless situations, and I’m confident it will work for you too. Remember to be patient, gentle, and always test in an inconspicuous area first. Happy cleaning!
Conclusion
So, there you have it! Removing stubborn sticker residue doesn’t require harsh chemicals or expensive specialized products. This simple, effective, and surprisingly satisfying DIY trick using salt is a game-changer for anyone who’s ever battled sticky messes. We’ve all been there, staring at a perfectly good surface marred by the ghost of a sticker past. Now, you have a powerful, natural weapon in your arsenal.
Why is this salt-based method a must-try? Because it’s readily accessible, incredibly affordable, and environmentally friendly. You likely already have salt in your pantry, eliminating the need for a special trip to the store. It’s also a gentler alternative to harsh solvents, making it safe for use on a wider range of surfaces, from glass and plastic to metal and even some painted surfaces (always test in an inconspicuous area first!). Plus, the slight abrasiveness of the salt provides just the right amount of scrubbing power to lift the residue without causing scratches.
But the beauty of this DIY sticker residue removal method lies in its adaptability. While plain table salt works wonders, you can experiment with different types of salt for varying degrees of abrasiveness. Coarse sea salt, for example, might be more effective on particularly stubborn residue, while finely ground salt is ideal for delicate surfaces. You can also enhance the cleaning power by adding a few drops of essential oil, such as lemon or orange, known for their degreasing properties. Just be sure the essential oil is safe for the surface you’re cleaning. Another variation involves creating a salt paste by mixing salt with a small amount of water or oil (like olive oil or coconut oil) to form a thicker, more targeted cleaning agent. This paste can be particularly useful for vertical surfaces where you want the salt to stay in place.
Don’t just take our word for it – give this DIY sticker residue removal trick a try! We’re confident you’ll be amazed by how easily and effectively it banishes those pesky sticky remnants. It’s a simple solution to a common problem, and it’s a testament to the power of everyday ingredients.
We encourage you to experiment with the variations we’ve suggested and find what works best for your specific needs and the types of surfaces you’re cleaning. The key is to be patient and gentle, allowing the salt to do its work. Remember to always test in an inconspicuous area first to ensure the surface is not damaged.
Once you’ve conquered your sticker residue woes, we’d love to hear about your experience! Share your results, tips, and any variations you’ve discovered in the comments below. Let’s build a community of sticker residue-free surfaces, one grain of salt at a time! Your insights could help others discover the magic of this simple yet effective DIY solution. So go ahead, give it a try, and let us know what you think!
Frequently Asked Questions (FAQs)
What types of salt work best for removing sticker residue?
While common table salt is generally effective for removing sticker residue, you can experiment with different types of salt to find what works best for your specific situation. Finely ground salt is ideal for delicate surfaces as it is less abrasive. Coarse sea salt can be more effective on stubborn residue due to its increased abrasiveness. Epsom salt, while technically a mineral compound, can also be used, especially when mixed with a carrier oil like olive oil. The key is to test the salt on an inconspicuous area first to ensure it doesn’t scratch or damage the surface.
Can I use this method on all surfaces?
While the salt method is generally safe, it’s crucial to exercise caution and test it on an inconspicuous area before applying it to the entire surface. Avoid using abrasive salts on delicate surfaces like polished wood, painted surfaces, or certain types of plastic, as they may cause scratches or damage. Glass, metal, and some durable plastics are generally safe for this method. Always err on the side of caution and start with a gentle approach.
What if the sticker residue is extremely stubborn?
For extremely stubborn sticker residue, you might need to increase the effectiveness of the salt method. First, try soaking the residue with warm water or a mild soapy solution for a few minutes to soften it. Then, apply the salt and gently scrub in a circular motion. You can also create a salt paste by mixing salt with a small amount of oil (like olive oil or coconut oil) to form a thicker, more targeted cleaning agent. For particularly resistant residue, you might need to repeat the process several times. If the salt method alone isn’t enough, you can try combining it with other gentle cleaning agents like baking soda or vinegar, but always test in an inconspicuous area first.
How do I prevent scratching the surface while using salt?
To minimize the risk of scratching, use a soft cloth or sponge when scrubbing with salt. Avoid applying excessive pressure and let the salt do the work. If you’re concerned about scratching, opt for finely ground salt or create a salt paste with oil, which will provide lubrication and reduce the abrasiveness. Regularly check the cloth or sponge for any accumulated residue that could cause scratches.
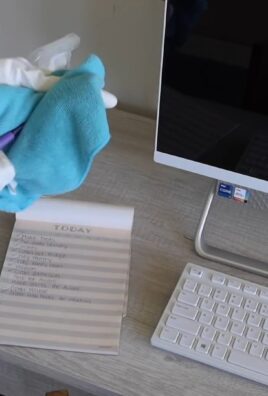
Is this method safe for removing sticker residue from electronics?
Removing sticker residue from electronics requires extra caution. Avoid using any liquids directly on electronic devices. Instead, dampen a soft cloth with a small amount of water or isopropyl alcohol (ensure the device is turned off and unplugged) and gently dab the residue. You can then use a very small amount of finely ground salt on the damp cloth to gently scrub the residue. Be extremely careful not to get any moisture inside the device. If you’re unsure, it’s best to consult the manufacturer’s instructions or seek professional help.
Can I use this method to remove residue from clothing?
The salt method can be used to remove sticker residue from some fabrics, but it’s essential to test it on an inconspicuous area first to ensure it doesn’t damage or discolor the material. Gently rub the salt onto the residue using a soft cloth or brush. After removing the residue, wash the garment according to the care instructions. For delicate fabrics, it’s best to consult a professional cleaner.
What are some alternative methods for removing sticker residue if salt doesn’t work?
If the salt method doesn’t completely remove the sticker residue, you can try other alternative methods. These include using baking soda paste, vinegar, rubbing alcohol, nail polish remover (acetone), or commercial adhesive removers. Always test these methods on an inconspicuous area first to ensure they don’t damage the surface. You can also try using a hairdryer to heat the residue, which can soften the adhesive and make it easier to remove.
How do I store leftover salt after using it for sticker residue removal?
There’s no special storage required for leftover salt. Simply store it in an airtight container in a cool, dry place, just as you would with regular table salt. You can reuse the same salt for future sticker residue removal projects.
Does the type of adhesive affect the effectiveness of the salt method?
Yes, the type of adhesive can affect the effectiveness of the salt method. Some adhesives are more resistant to removal than others. For example, strong industrial adhesives may require more aggressive methods or commercial adhesive removers. However, the salt method is generally effective for removing residue from common stickers and labels.
How often can I use this method on the same surface?
You can use the salt method as often as needed, but it’s essential to be gentle and avoid excessive scrubbing, which can damage the surface. If the residue is persistent, try other methods or consult a professional cleaner.


Leave a Comment