

Summer Crops for Beginners, that’s what you’re here for, right? Well, get ready to transform your backyard (or even your balcony!) into a thriving edible oasis. I’m so excited to share some simple, yet incredibly effective, DIY tricks and hacks that will have you harvesting fresh, delicious produce all summer long.
For centuries, humans have cultivated their own food, connecting with nature and nourishing themselves with the fruits (and vegetables!) of their labor. From ancient Roman kitchen gardens to the victory gardens of wartime, growing your own food has always been a source of independence and pride. But let’s face it, getting started can feel daunting.
That’s where these DIY secrets come in! Are you tired of bland, overpriced supermarket tomatoes? Do you dream of snipping fresh herbs right before adding them to your favorite dishes? Or maybe you just want a relaxing and rewarding hobby that gets you outdoors? Whatever your reason, mastering these summer crops for beginners techniques will empower you to grow your own food, save money, and enjoy the unparalleled flavor of homegrown goodness. I’ll show you how to choose the right plants, prepare your soil, and tackle common gardening challenges, all with easy-to-follow instructions and budget-friendly tips. Let’s get growing!
DIY Raised Garden Bed for Summer Crops: A Beginner’s Guide
Hey there, fellow gardening enthusiasts! I’m so excited you’re diving into the world of growing your own summer crops. There’s nothing quite like the taste of a homegrown tomato or the satisfaction of harvesting your own zucchini. To make things easier and more productive, I’m going to walk you through building your own raised garden bed. Raised beds are fantastic for beginners because they offer better drainage, warmer soil, and easier weed control. Plus, they’re super customizable!
Why Choose a Raised Garden Bed?
Before we get started, let’s quickly touch on why raised beds are so awesome:
* Improved Drainage: Especially helpful if you have clay soil.
* Warmer Soil: Warms up faster in the spring, extending your growing season.
* Better Soil Control: You get to choose the perfect soil mix for your plants.
* Reduced Weeding: Less bending and easier to manage.
* Accessibility: Easier on your back and knees!
Materials You’ll Need
Okay, let’s gather our supplies. This list assumes you’re building a standard 4ft x 8ft raised bed, about 12 inches high. Feel free to adjust the dimensions to fit your space!
* Untreated Lumber: Four 8-foot long 2x6s or 2x8s (depending on how high you want your bed). Cedar or redwood are naturally rot-resistant and great choices, but pine will work too if you treat it properly (more on that later).
* Corner Braces: Four metal corner braces (heavy-duty ones are best).
* Screws: Exterior-grade wood screws (at least 2.5 inches long). You’ll need a good amount!
* Landscape Fabric: To line the bottom of the bed and prevent weeds.
* Soil: A mix of topsoil, compost, and other amendments (we’ll talk about soil mixes later).
* Measuring Tape: Essential for accurate cuts.
* Saw: Circular saw or hand saw.
* Drill: With a screwdriver bit.
* Staple Gun: For attaching the landscape fabric.
* Gloves: To protect your hands.
* Safety Glasses: Always a good idea when working with power tools.
* Level: To ensure your bed is level.
* Optional: Wood Preservative: If you’re using pine, consider a non-toxic wood preservative.
Step-by-Step Instructions: Building Your Raised Garden Bed
Alright, let’s get building!
Phase 1: Preparing the Lumber
1. Cut the Lumber: If you bought longer boards, you’ll need to cut them to size. For a 4ft x 8ft bed, you’ll need two 8-foot pieces and two 4-foot pieces. Make sure your cuts are straight! I always double-check my measurements before cutting.
2. Treat the Lumber (Optional): If you’re using pine, now’s the time to apply a non-toxic wood preservative. Follow the manufacturer’s instructions carefully. This will help protect the wood from rot and extend the life of your raised bed. Let it dry completely before moving on.
Phase 2: Assembling the Frame
1. Attach the Corner Braces: Place the corner braces on the inside corners of the frame. Make sure the braces are flush with the top and bottom edges of the wood.
2. Screw the Frame Together: Using your drill and wood screws, attach the corner braces to the lumber. I like to use at least four screws per brace for extra stability. Make sure the screws are driven in straight and flush with the surface of the wood.
3. Double-Check for Square: Before moving on, use a measuring tape to check that the frame is square. Measure diagonally from corner to corner. The measurements should be the same. If they’re not, gently adjust the frame until it’s square, then re-tighten the screws.
Phase 3: Preparing the Site and Lining the Bed
1. Choose Your Location: Select a sunny spot in your yard that gets at least 6-8 hours of sunlight per day. This is crucial for most summer crops.
2. Clear the Area: Remove any grass, weeds, or rocks from the area where you’ll be placing the raised bed. Level the ground as much as possible.
3. Line the Bottom with Landscape Fabric: This will prevent weeds from growing up into your raised bed. Cut the landscape fabric to size, making sure it overlaps the edges of the frame by a few inches.
4. Attach the Landscape Fabric: Use a staple gun to attach the landscape fabric to the inside of the frame. Make sure the fabric is taut and secure.
Phase 4: Filling the Bed with Soil
1. Choose Your Soil Mix: This is where things get exciting! The best soil mix for raised beds is a combination of topsoil, compost, and other amendments. I like to use a mix of:
* 60% Topsoil: Provides a good base for the soil.
* 30% Compost: Adds nutrients and improves drainage.
* 10% Other Amendments: Such as peat moss, perlite, or vermiculite, to improve drainage and aeration.
2. Mix the Soil: In a wheelbarrow or on a tarp, thoroughly mix the topsoil, compost, and other amendments.
3. Fill the Bed: Shovel the soil mix into the raised bed, filling it to within a few inches of the top.
4. Water the Soil: Gently water the soil to help it settle. Add more soil if needed.
Phase 5: Planting Your Summer Crops
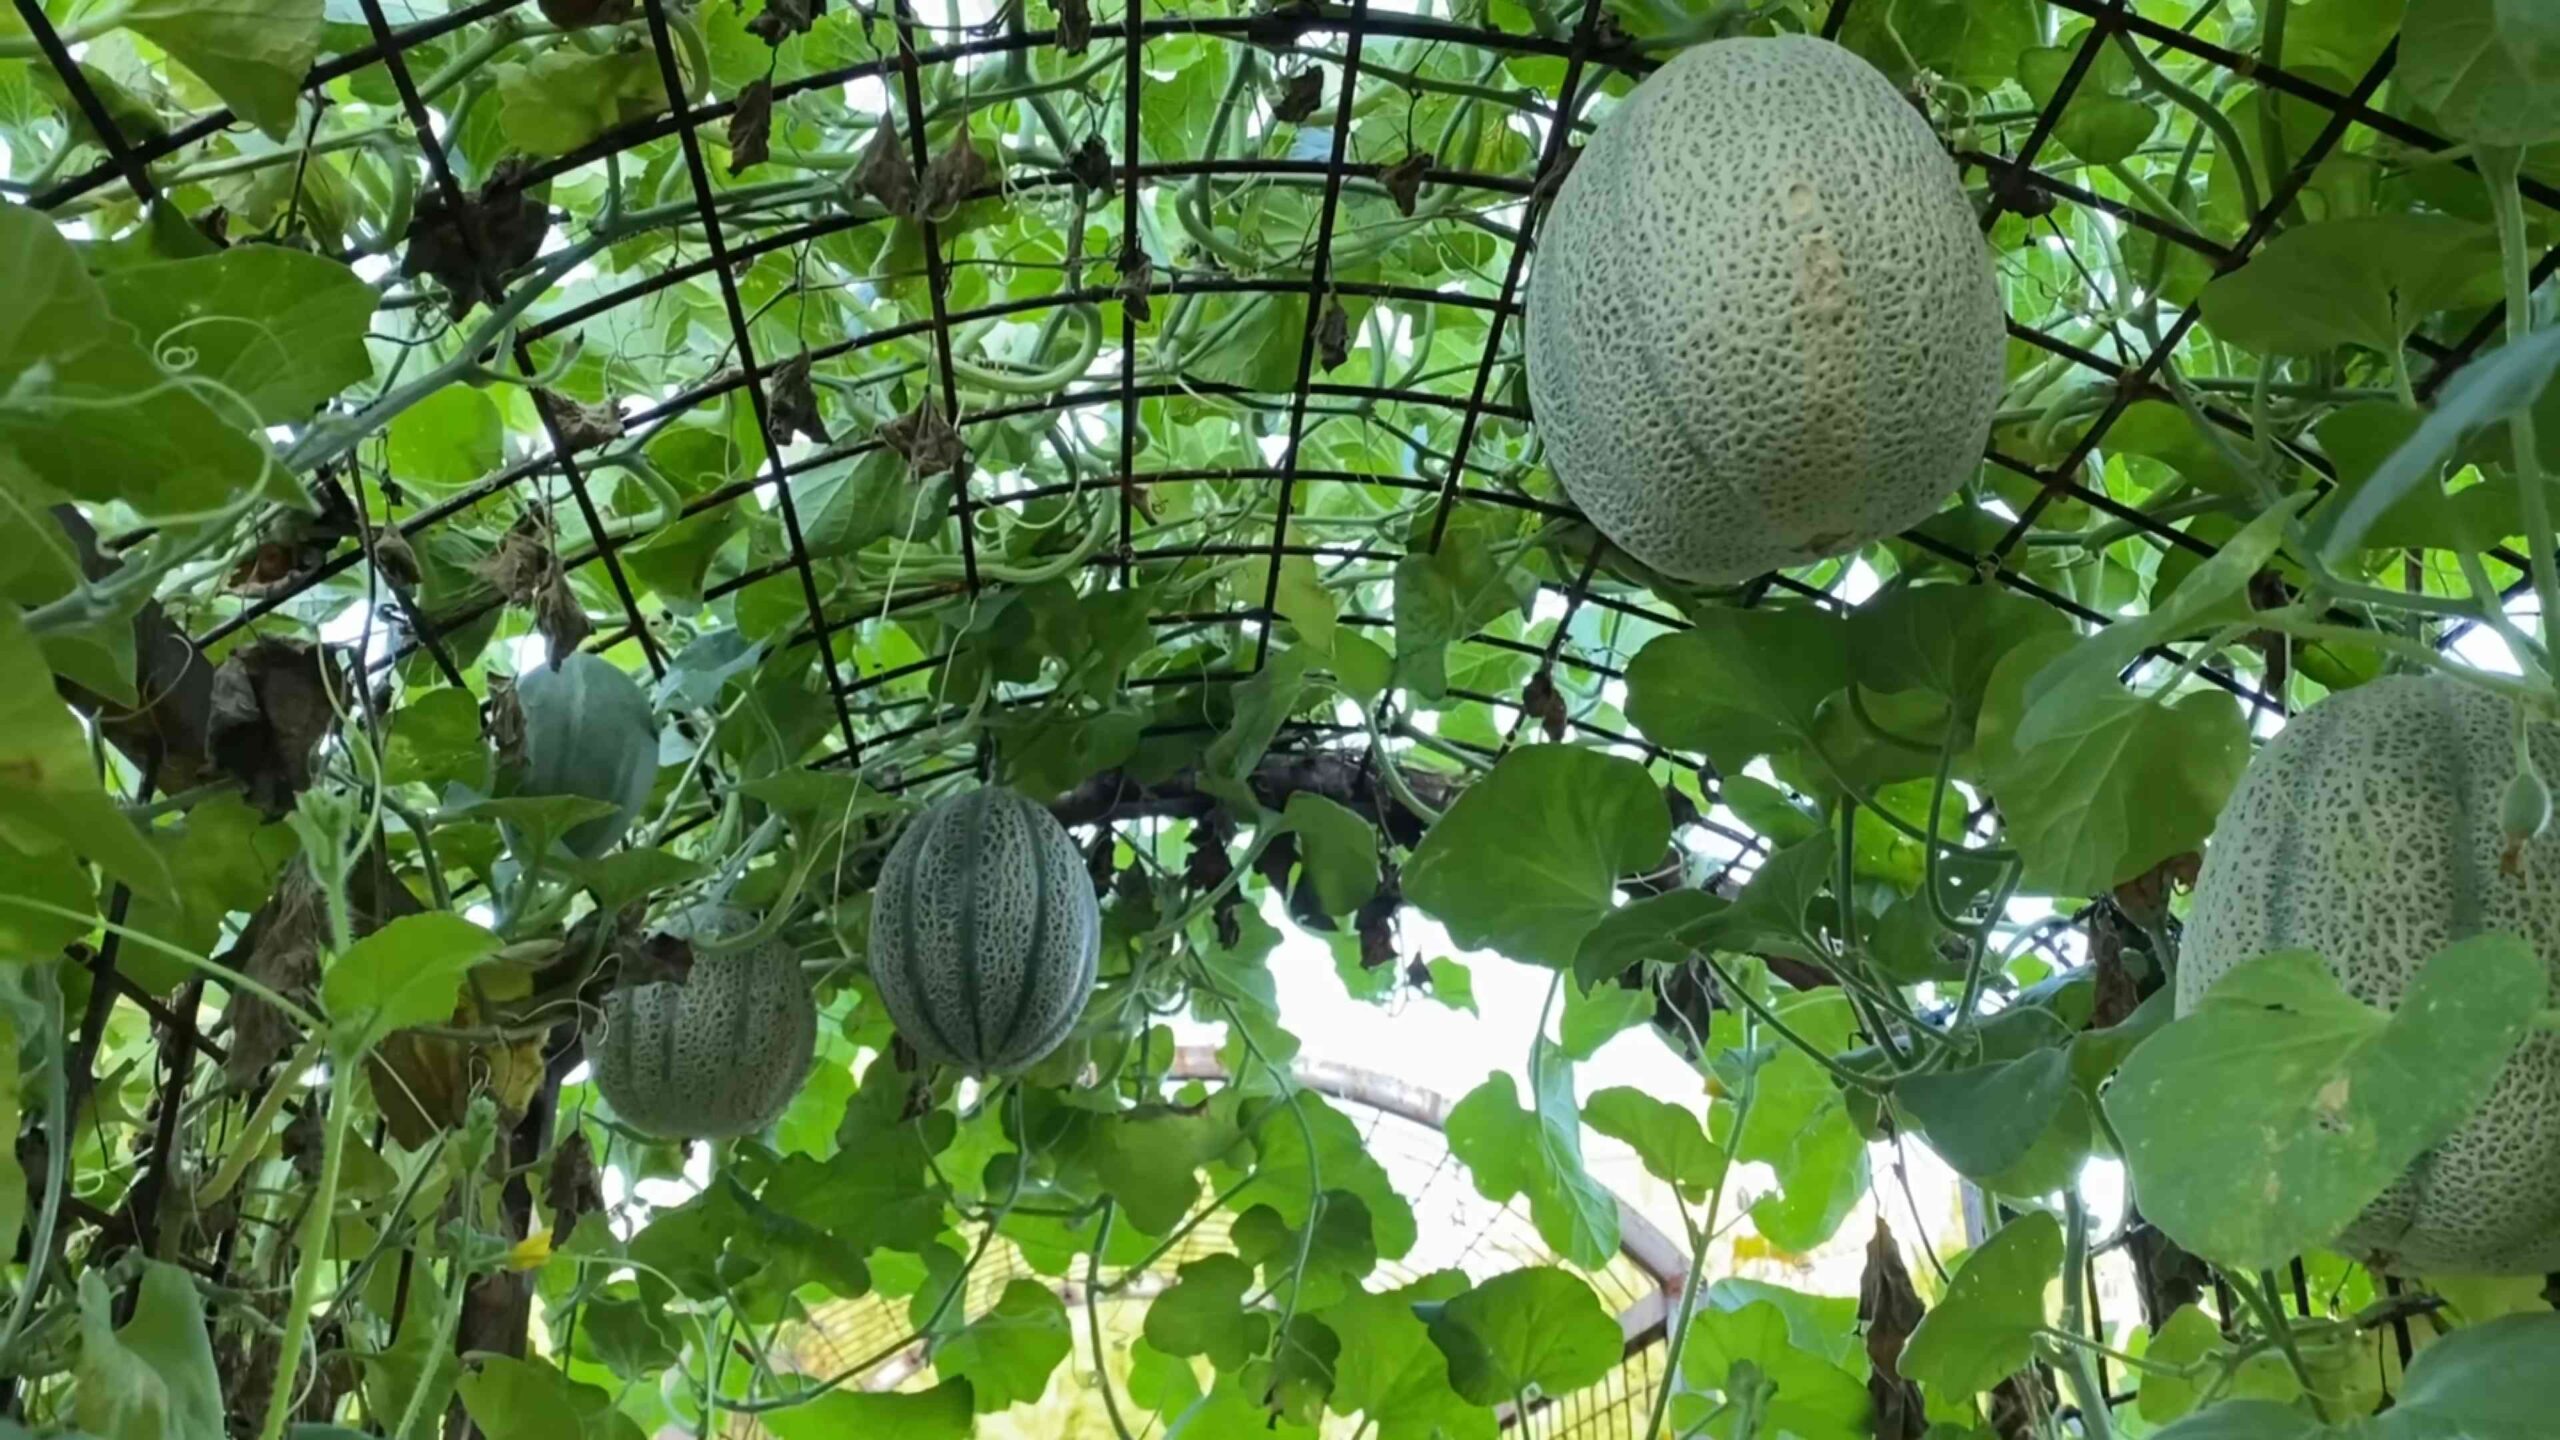
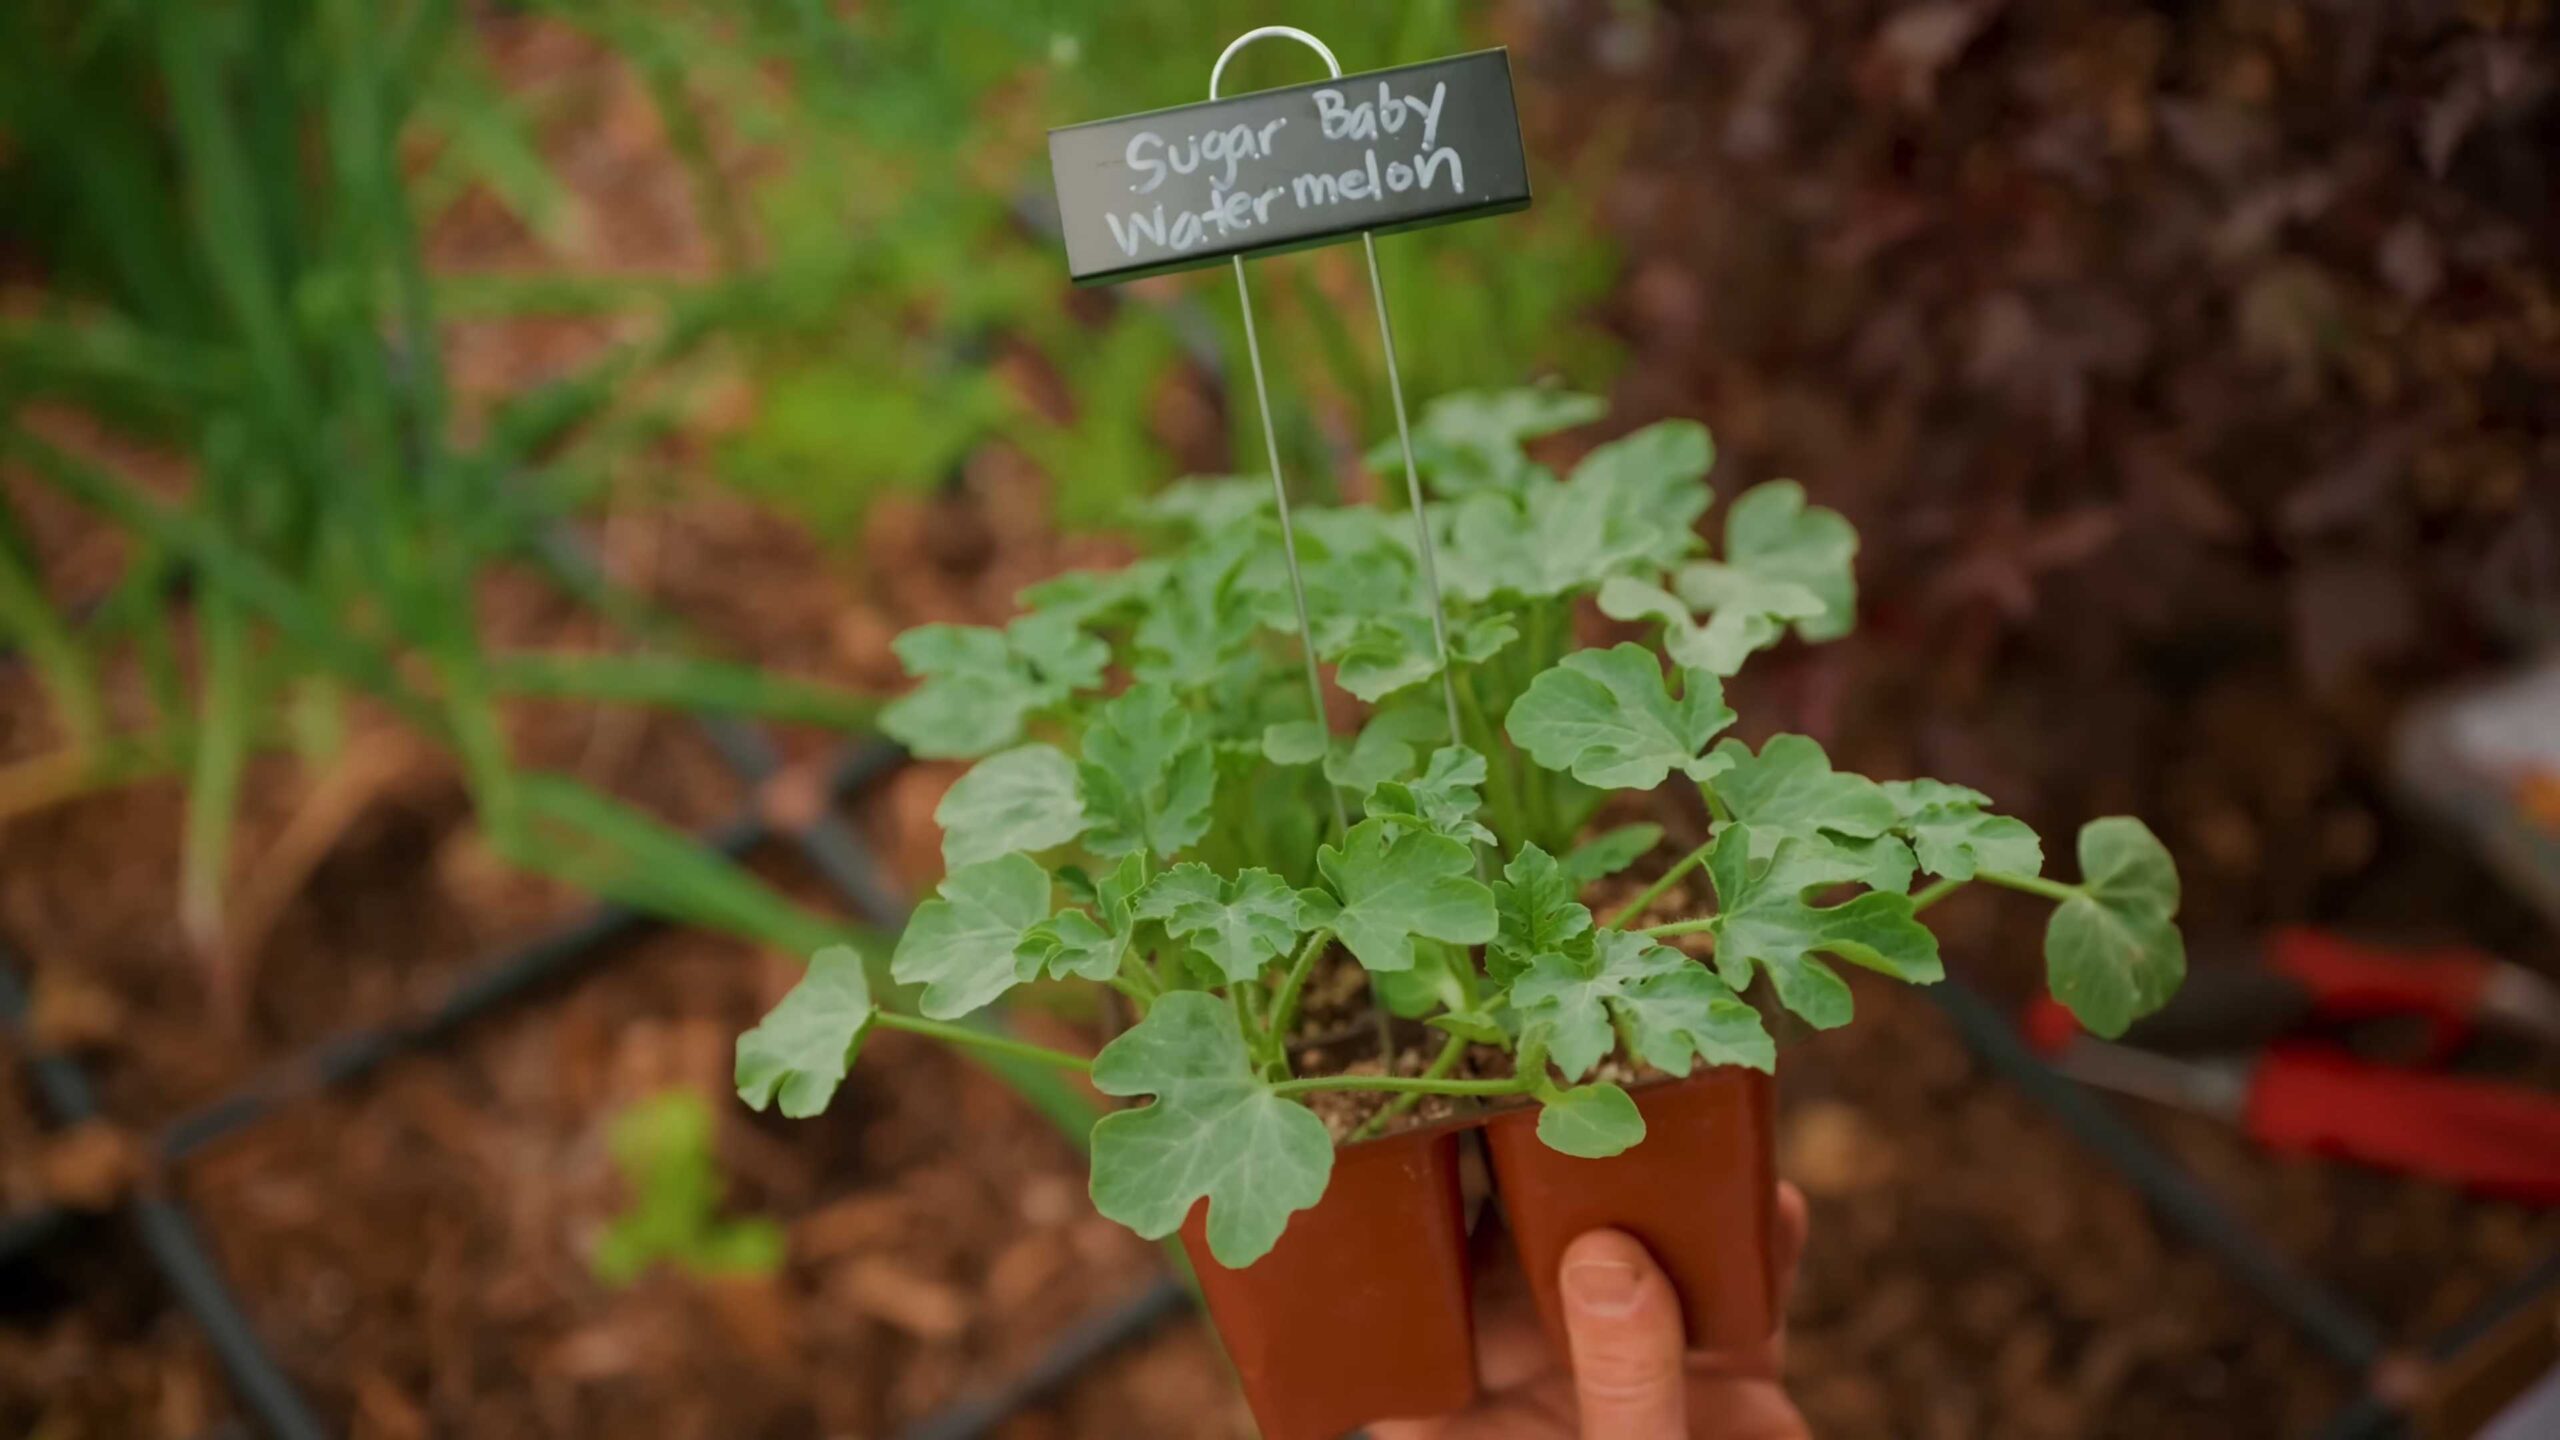
1. Choose Your Crops: Now for the fun part! Decide what summer crops you want to grow. Some popular choices include:
* Tomatoes
* Peppers
* Zucchini
* Cucumbers
* Beans
* Eggplant
2. Check Planting Dates: Make sure you know the proper planting dates for your region. You can find this information online or at your local garden center.
3. Plant Your Seeds or Seedlings: Follow the instructions on the seed packet or plant tag. Make sure to space your plants properly to allow for adequate growth.
4. Water Regularly: Keep the soil consistently moist, but not soggy. Water deeply and less frequently, rather than shallowly and often.
5. Fertilize as Needed: Use a balanced fertilizer to provide your plants with the nutrients they need. Follow the instructions on the fertilizer package.
Tips for Success
Here are a few extra tips to help you succeed with your raised garden bed:
* Consider Companion Planting: Some plants grow well together and can even benefit each other. For example, basil is said to improve the flavor of tomatoes and repel pests.
* Mulch Your Plants: Mulch helps to retain moisture, suppress weeds, and regulate soil temperature.
* Protect Your Plants from Pests: Keep an eye out for pests and take action to control them if necessary. There are many organic pest control methods you can use.
* Harvest Regularly: Harvesting your crops regularly will encourage them to produce more.
* Amend Your Soil Each Year: Add compost or other amendments to your soil each year to replenish nutrients.
Troubleshooting
Even with the best planning, things can sometimes go wrong. Here are a few common problems and how to fix them:
* Poor Drainage: If your soil is draining poorly, add more compost or perlite to improve drainage.
* Weeds: If weeds are growing in your raised bed, pull them out by hand or use a hoe.
* Pests: If you have a pest problem, identify the pest and take appropriate action.
* Nutrient Deficiencies: If your plants are looking yellow or stunted, they may be lacking nutrients. Fertilize with a balanced fertilizer.
Enjoy Your Harvest!
Building a raised garden bed is a rewarding project that will provide you with fresh, delicious vegetables all summer long. With a little planning and effort, you can create a thriving garden that you’ll enjoy for years to come. Happy gardening!
Conclusion
So, there you have it! Mastering the art of **summer crops for beginners** doesn’t have to be an intimidating endeavor. By following these simple steps and embracing a little patience, you can transform your backyard into a thriving oasis of fresh, homegrown goodness. We’ve covered the essentials, from selecting the right crops and preparing your soil to providing adequate sunlight and water. But the real magic happens when you personalize the process and make it your own.
Why is this a must-try? Because there’s nothing quite like the taste of a sun-ripened tomato you’ve nurtured from a tiny seed, or the satisfaction of sharing a vibrant salad made with lettuce you grew yourself. Beyond the delicious rewards, gardening is a fantastic way to connect with nature, reduce your carbon footprint, and even boost your mental well-being. It’s an investment in your health, your happiness, and the environment.
Consider these variations to further enhance your summer gardening experience. If you’re short on space, explore vertical gardening techniques using trellises or hanging baskets for climbing plants like cucumbers and beans. Experiment with companion planting to naturally deter pests and improve the health of your crops. For example, planting basil near tomatoes can help repel insects and enhance the tomato’s flavor. Or, try intercropping fast-growing radishes between rows of slower-growing carrots to maximize space utilization.
Don’t be afraid to get your hands dirty and learn from your mistakes. Gardening is a journey, not a destination. Each season brings new challenges and opportunities for growth. The key is to start small, stay consistent, and celebrate your successes along the way.
We are confident that with a little effort and enthusiasm, you’ll be harvesting your own delicious summer crops in no time. So, grab your gardening gloves, gather your seeds, and get ready to embark on a rewarding adventure. We can’t wait to hear about your experiences! Share your photos, tips, and triumphs in the comments below. Let’s build a community of passionate gardeners and inspire others to discover the joys of growing their own food. Happy gardening!
Frequently Asked Questions (FAQ)
Q: I’m a complete beginner. What are the absolute easiest summer crops to start with?
A: That’s a great question! For absolute beginners, we highly recommend starting with these foolproof options:
* **Radishes:** These are incredibly fast-growing, often ready to harvest in just a few weeks. They’re also very forgiving and can tolerate a range of soil conditions.
* **Lettuce:** Loose-leaf lettuce varieties are easy to grow from seed and can be harvested continuously as needed. Simply snip off the outer leaves and let the plant continue to produce.
* **Zucchini:** Zucchini plants are prolific producers, so be prepared for an abundance of squash! They’re relatively low-maintenance and can thrive in a variety of climates.
* **Bush Beans:** Bush beans are compact and easy to manage, making them ideal for small gardens or containers. They’re also relatively pest-resistant.
* **Cherry Tomatoes:** Cherry tomatoes are more forgiving than larger tomato varieties and tend to produce a bountiful harvest. Choose a determinate variety for a more compact plant.
Q: How much sunlight do my summer crops need?
A: Most summer crops require at least 6-8 hours of direct sunlight per day to thrive. However, some leafy greens like lettuce and spinach can tolerate partial shade, especially during the hottest part of the afternoon. Observe your garden throughout the day to determine which areas receive the most sunlight and plan your planting accordingly. If you’re growing in containers, you can easily move them to follow the sun.
Q: What kind of soil is best for summer crops?
A: Most summer crops prefer well-draining soil that is rich in organic matter. Before planting, amend your soil with compost, aged manure, or other organic amendments to improve its fertility and drainage. A soil test can also help you determine the pH level and nutrient content of your soil, allowing you to make targeted amendments as needed. Aim for a slightly acidic to neutral pH (around 6.0-7.0).
Q: How often should I water my summer crops?
A: The watering frequency will depend on the type of crop, the weather conditions, and the type of soil you have. As a general rule, water deeply and less frequently, rather than shallowly and more often. This encourages roots to grow deeper, making plants more drought-tolerant. Check the soil moisture regularly by sticking your finger about an inch into the soil. If it feels dry, it’s time to water. Avoid overwatering, as this can lead to root rot.
Q: What are some common pests and diseases that affect summer crops, and how can I prevent them?
A: Common pests include aphids, squash bugs, tomato hornworms, and cabbage worms. Common diseases include powdery mildew, blight, and blossom end rot. To prevent these problems, practice good garden hygiene, such as removing diseased leaves and weeds regularly. Use organic pest control methods like insecticidal soap or neem oil to control pests. Ensure good air circulation around your plants to prevent fungal diseases. Choose disease-resistant varieties whenever possible. Crop rotation can also help prevent the buildup of pests and diseases in the soil.
Q: Can I grow summer crops in containers?
A: Absolutely! Many summer crops can be successfully grown in containers, especially if you have limited space. Choose containers that are large enough to accommodate the mature size of the plant. Use a high-quality potting mix and ensure that the containers have drainage holes. Water regularly and fertilize as needed. Some good options for container gardening include tomatoes, peppers, herbs, lettuce, and bush beans.
Q: How do I know when my summer crops are ready to harvest?
A: The harvest time will vary depending on the type of crop. For tomatoes, wait until they are fully colored and slightly soft to the touch. For peppers, harvest when they have reached their mature size and color. For zucchini, harvest when they are still relatively small and tender. For lettuce, harvest the outer leaves as needed. For radishes, harvest when they have reached the desired size. Research the specific harvest time for each crop you are growing to ensure the best flavor and texture.
Q: What are some good companion plants for summer crops?
A: Companion planting can help improve the health and yield of your summer crops. Some good companion plants include:
* **Basil:** Repels insects and improves the flavor of tomatoes.
* **Marigolds:** Repel nematodes and other pests.
* **Nasturtiums:** Attract aphids away from other crops.
* **Garlic:** Repels a variety of pests.
* **Carrots:** Improve the soil around tomatoes.
Q: How can I extend the growing season for my summer crops?
A: There are several ways to extend the growing season for your summer crops. Start seeds indoors several weeks before the last expected frost. Use row covers or cold frames to protect plants from frost. Choose early-maturing varieties. Plant succession crops to ensure a continuous harvest throughout the summer. Consider using a greenhouse or high tunnel to extend the growing season even further.
Q: Where can I find more information about growing summer crops for beginners?
A: There are many resources available to help you learn more about growing **summer crops for beginners**. Check out your local library, garden center, or university extension office. Online resources such as gardening blogs, websites, and forums can also provide valuable information and support. Don’t be afraid to ask questions and connect with other gardeners in your community.

Leave a Comment