

Sweet Potato Greens Growing Indoors? Absolutely! Forget tossing those sweet potatoes that have started sprouting. Instead, let’s transform them into a vibrant, edible indoor garden. I’m so excited to share this simple and rewarding DIY project with you!
For centuries, resourceful gardeners have found ways to coax life from unexpected sources. While the sweet potato itself is native to Central and South America, the practice of utilizing its greens extends to various cultures where resourcefulness and minimizing waste are valued. Think of it as a beautiful blend of sustainability and deliciousness right in your own home!
Why should you try growing sweet potato greens indoors? Well, for starters, it’s incredibly easy and budget-friendly. You likely already have a sweet potato on hand! More importantly, these greens are packed with nutrients and offer a fresh, slightly sweet flavor that’s fantastic in salads, stir-fries, or even as a vibrant garnish. Plus, in the colder months, having a little bit of green indoors can do wonders for your mood. This DIY trick is perfect for anyone looking to add a touch of green to their home, enjoy fresh produce year-round, and embrace a more sustainable lifestyle. Let’s get started on sweet potato greens growing indoors and bring a little bit of the garden inside!
Growing Sweet Potato Greens Indoors: A DIY Guide
Hey there, fellow plant enthusiasts! Ever thought about turning those sweet potatoes sitting in your pantry into a vibrant source of fresh greens? Well, you absolutely can! Growing sweet potato greens indoors is a surprisingly easy and rewarding DIY project. Not only does it provide you with a continuous supply of nutritious leaves, but it also adds a touch of greenery to your home. Let’s dive into how you can make this happen.
What You’ll Need
Before we get started, let’s gather all the necessary supplies. This will make the process smoother and more enjoyable.
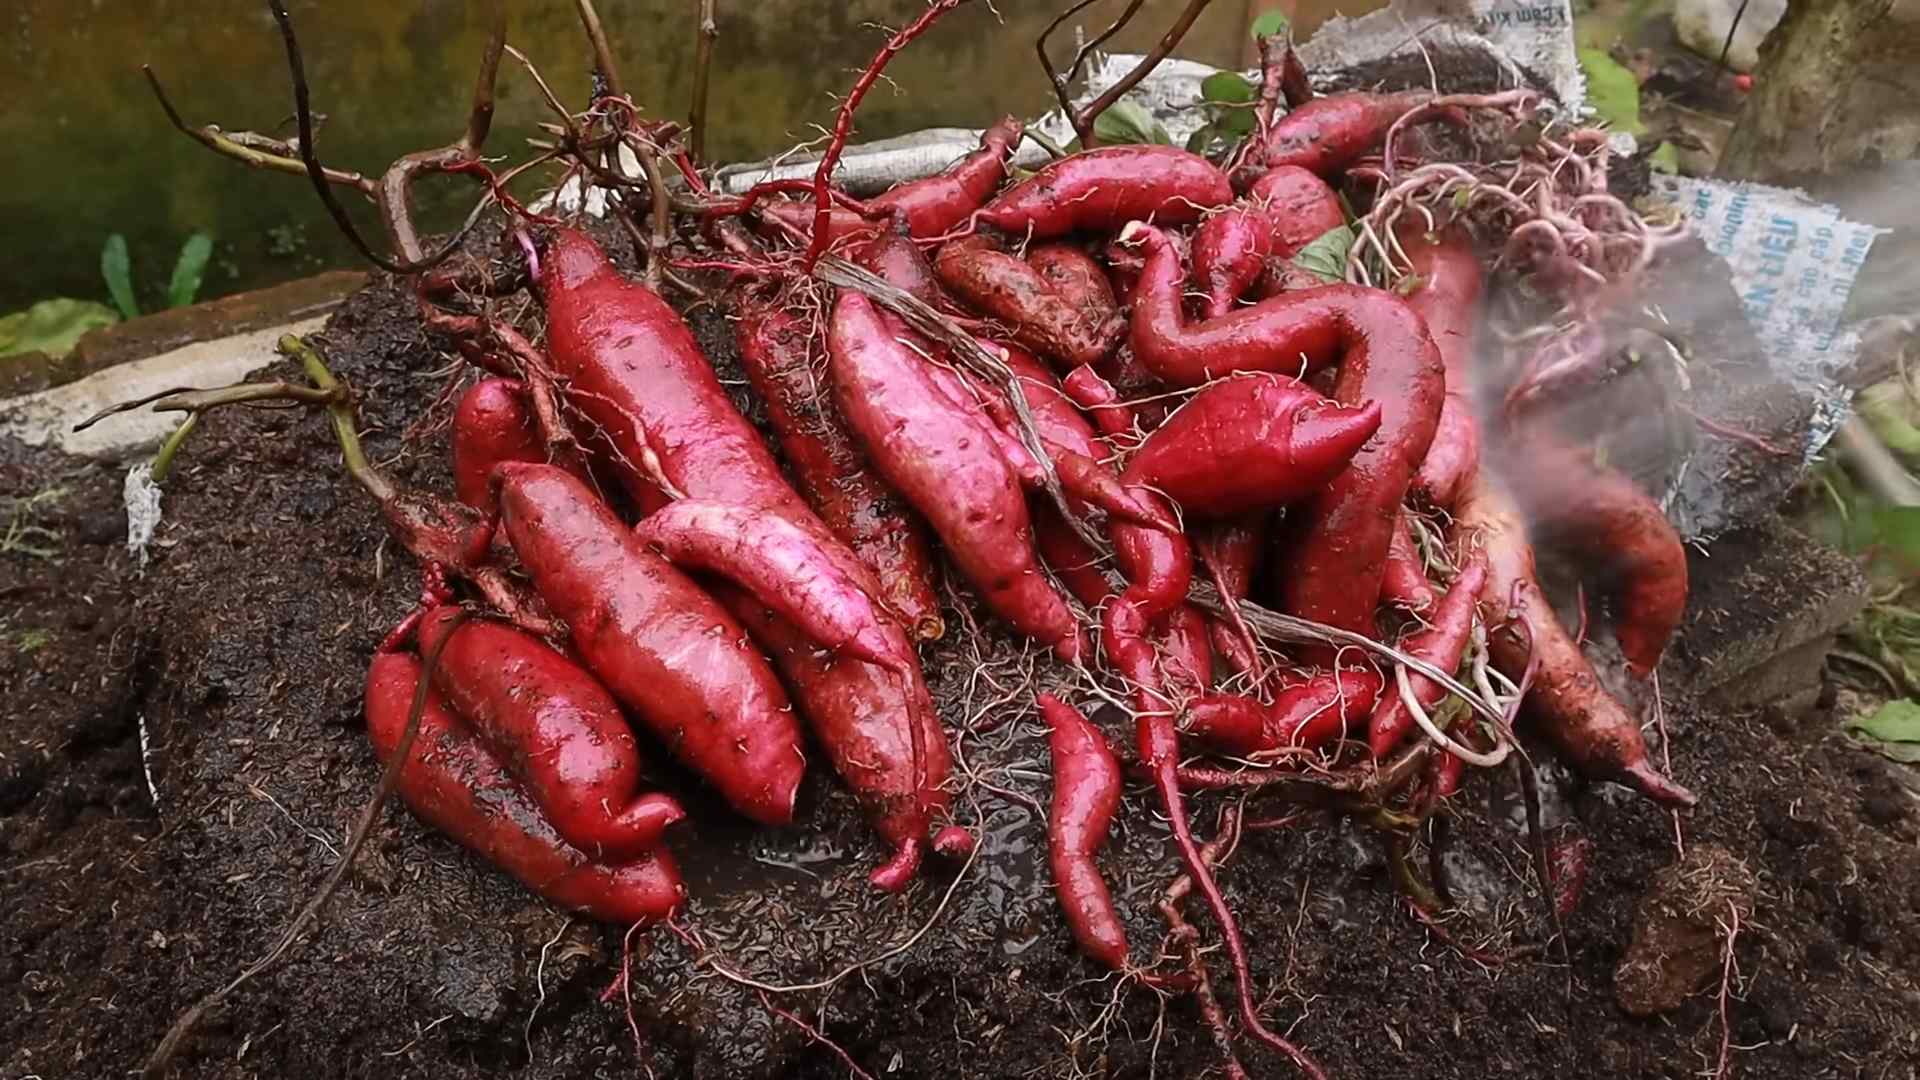
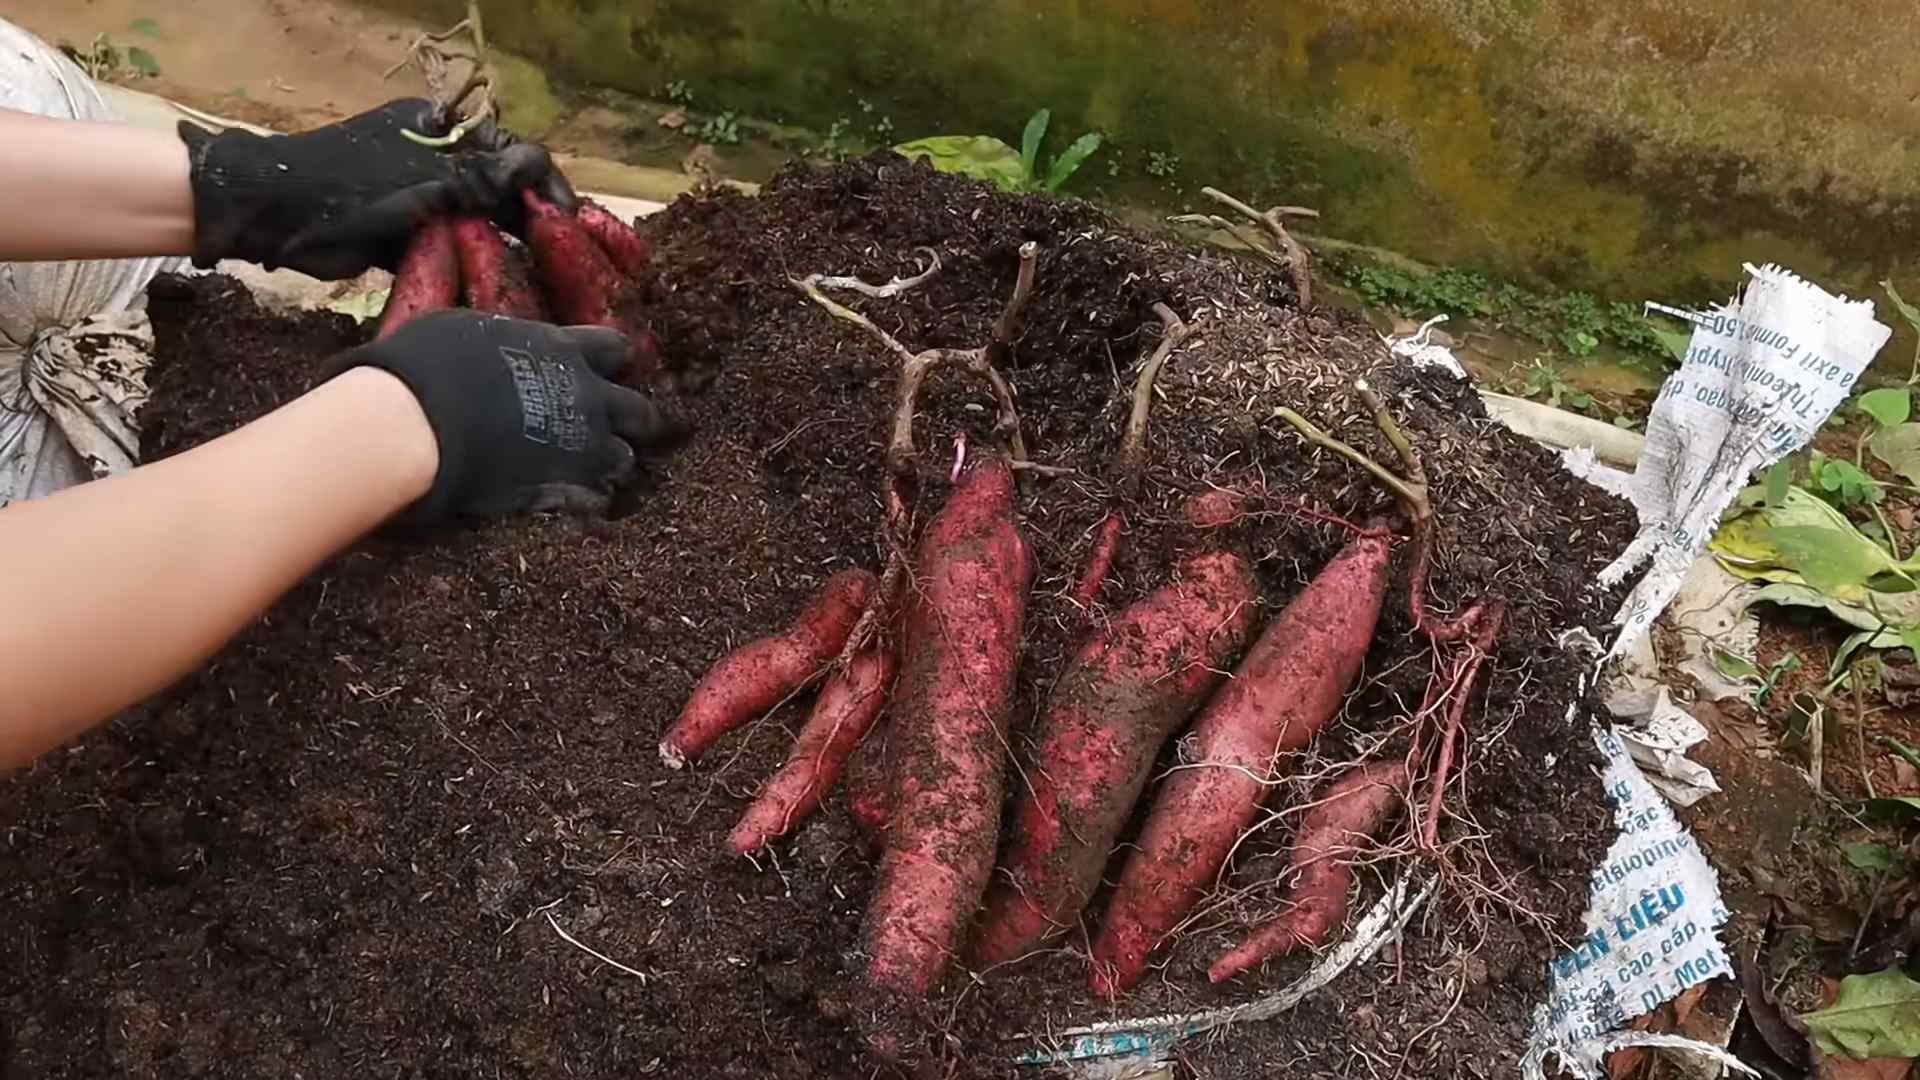
* Sweet Potatoes: Choose organic sweet potatoes if possible. They tend to sprout more readily and are free from chemicals that might inhibit growth. Older sweet potatoes that have already started to sprout are ideal!
* Glass Jars or Containers: You’ll need jars or containers large enough to hold the sweet potatoes and water. Mason jars, recycled glass jars, or even plastic containers will work.
* Toothpicks: These will be used to suspend the sweet potato in the water.
* Water: Tap water is fine, but filtered water is even better.
* Potting Soil (Optional): If you decide to transplant your sweet potato into soil later, you’ll need potting soil.
* A Sunny Spot: Sweet potato greens thrive in bright, indirect sunlight.
* Spray Bottle (Optional): For misting the leaves to maintain humidity.
Preparing Your Sweet Potato
The first step is to get your sweet potato ready for its watery adventure.
1. Wash the Sweet Potato: Gently wash the sweet potato under running water to remove any dirt or debris. This will help prevent mold or bacteria from growing in the water.
2. Identify the Sprouting End: Look closely at your sweet potato. One end will usually have more “eyes” or small bumps where sprouts are likely to emerge. This is the end you want to face upwards.
3. Insert Toothpicks: Insert three or four toothpicks evenly spaced around the middle of the sweet potato. These toothpicks will act as a support system, allowing you to suspend the sweet potato in the jar without it fully submerging. Make sure the toothpicks are inserted firmly enough to hold the weight of the sweet potato.
4. Fill the Jar with Water: Fill your jar or container with water, leaving about an inch of space at the top.
5. Suspend the Sweet Potato: Carefully place the sweet potato on top of the jar, using the toothpicks to hold it in place. The bottom half of the sweet potato should be submerged in the water, while the top half remains exposed to air.
Finding the Right Spot and Providing Care
Now that your sweet potato is set up, it’s time to find the perfect location and provide the necessary care.
1. Choose a Sunny Location: Place the jar with the sweet potato in a location that receives bright, indirect sunlight. A windowsill is often a good choice, but avoid direct sunlight, which can scorch the leaves.
2. Change the Water Regularly: Change the water every 2-3 days to prevent it from becoming stagnant and to provide fresh nutrients to the sweet potato. When changing the water, gently rinse the sweet potato to remove any algae or buildup.
3. Monitor for Sprouts: Be patient! It may take a week or two for sprouts to appear. Once you see sprouts emerging, you’re on your way to growing sweet potato greens.
4. Mist the Leaves (Optional): Sweet potato greens thrive in humid environments. If your home is dry, consider misting the leaves with water every few days to increase humidity.
5. Rotate the Sweet Potato: To ensure even growth, rotate the sweet potato every few days so that all sides receive equal exposure to sunlight.
Harvesting Your Sweet Potato Greens
The best part of this project is harvesting your own fresh greens!
1. Wait for Sufficient Growth: Allow the greens to grow to a reasonable size before harvesting. A good rule of thumb is to wait until the leaves are at least 4-6 inches long.
2. Harvest Regularly: Once the greens are large enough, you can start harvesting them regularly. Simply snip off the leaves with scissors or pinch them off with your fingers.
3. Harvest from the Outer Leaves: When harvesting, focus on the outer leaves first. This will encourage the plant to produce more new growth from the center.
4. Don’t Over-Harvest: Avoid harvesting more than one-third of the leaves at a time. This will ensure that the plant has enough energy to continue growing.
5. Enjoy Your Harvest: Sweet potato greens can be eaten raw in salads or cooked like spinach. They have a mild, slightly sweet flavor and are packed with nutrients.
Transplanting to Soil (Optional)
While you can continue to grow sweet potato greens in water indefinitely, you can also transplant the sweet potato to soil for more robust growth.
1. Wait for Root Development: Before transplanting, wait until the sweet potato has developed a good root system in the water. This will help the plant establish itself more easily in the soil.
2. Choose a Pot: Select a pot that is large enough to accommodate the sweet potato and its growing roots. A pot that is at least 12 inches in diameter is a good choice.
3. Fill the Pot with Potting Soil: Fill the pot with high-quality potting soil. Make sure the soil is well-draining to prevent root rot.
4. Create a Hole: Dig a hole in the center of the potting soil that is large enough to accommodate the sweet potato and its roots.
5. Carefully Remove the Sweet Potato: Gently remove the sweet potato from the jar of water. Be careful not to damage the roots.
6. Place the Sweet Potato in the Hole: Place the sweet potato in the hole, making sure that the roots are spread out evenly.
7. Cover with Soil: Cover the sweet potato with potting soil, leaving the top of the sweet potato exposed.
8. Water Thoroughly: Water the soil thoroughly until water drains out of the bottom of the pot.
9. Place in a Sunny Location: Place the pot in a location that receives bright, indirect sunlight.
10. Water Regularly: Water the soil regularly, keeping it moist but not soggy.
11. Fertilize (Optional): You can fertilize the sweet potato plant every few weeks with a balanced fertilizer to promote growth.
Troubleshooting
Even with the best care, you might encounter some challenges. Here are a few common issues and how to address them:
* Yellowing Leaves: Yellowing leaves can be a sign of overwatering, underwatering, or nutrient deficiency. Adjust your watering schedule and consider fertilizing the plant.
* Leggy Growth: Leggy growth (long, spindly stems with few leaves) is usually caused by insufficient light. Move the plant to a brighter location.
* Mold or Algae Growth: Mold or algae growth in the water is a sign that the water is not being changed frequently enough. Change the water more often and rinse the sweet potato regularly.
* No Sprouts: If your sweet potato doesn’t sprout after a few weeks, it may be old or treated with a sprout inhibitor. Try using a different sweet potato.
Additional Tips and Tricks
Here are a few extra tips to help you succeed with your sweet potato greens project:
* Use Multiple Sweet Potatoes: To ensure a continuous supply of greens, start multiple sweet potatoes at the same time.
* Experiment with Different Varieties: Try growing different varieties of sweet potatoes to see which ones produce the best greens.
* Save the Sweet Potato: After harvesting the greens for a while, the sweet potato may start to deteriorate. You can save the sweet potato by planting it in the ground in the spring. It will grow into a vine and produce more sweet potatoes.
* Pinch Off Flowers: If your sweet potato plant starts to produce flowers, pinch them off. This will encourage the plant to focus its energy on producing more leaves.
* Enjoy the Process: Growing sweet potato greens is a fun and rewarding project. Enjoy the process and don’t be afraid to experiment.
Why Grow Sweet Potato Greens?
Beyond the sheer enjoyment of growing something yourself, there are some fantastic reasons to cultivate sweet potato greens:
* Nutritional Powerhouse: Sweet potato greens are packed with vitamins and minerals, including vitamin A, vitamin C, and potassium. They’re also a good source of fiber.
* Sustainable Food Source: Growing your own greens reduces your reliance on store-bought produce, which can be expensive and environmentally damaging.
* Ornamental Value: Sweet potato vines are beautiful and can add a touch of greenery to your home.
* Easy to Grow: Sweet potato greens are relatively easy to grow, even for beginners.
* Continuous Harvest: With proper care,
Conclusion
So, there you have it! Transforming a humble sweet potato into a vibrant indoor garden of edible greens is not just a fun project; it’s a sustainable way to add fresh, nutritious ingredients to your meals, even when the weather outside isn’t cooperating. This simple DIY trick offers a rewarding experience, connecting you with the natural world and providing a continuous supply of delicious sweet potato greens.
Why is this a must-try? Because it’s incredibly easy, cost-effective, and visually appealing. You’re essentially recycling a sweet potato that might otherwise end up in the compost bin, turning it into a beautiful and productive houseplant. Imagine the satisfaction of snipping fresh greens for your salad, stir-fry, or smoothie, knowing you grew them yourself, right in your kitchen! Plus, it’s a fantastic conversation starter and a great way to introduce children to the wonders of gardening and food production.
But the benefits don’t stop there. Growing sweet potato greens indoors is a fantastic way to purify the air in your home. Plants naturally absorb carbon dioxide and release oxygen, contributing to a healthier and more pleasant living environment. It’s a win-win situation!
Looking for variations? Absolutely! Experiment with different types of sweet potatoes. While the orange-fleshed varieties are most common, you can also try white, purple, or even Japanese sweet potatoes. Each variety might offer slightly different flavors and textures in their greens. You can also play around with the container you use. While a glass jar or vase works perfectly well for starting the sprouting process, you can eventually transplant your sweet potato into a larger pot filled with soil for even more robust growth. Consider adding a trellis or support structure to encourage the vines to climb and create a stunning vertical garden.
Another fun variation is to experiment with different growing mediums. While water is sufficient for initial sprouting, you can try adding a diluted hydroponic solution to the water to provide additional nutrients and promote faster growth. Just be sure to monitor the water level and change it regularly to prevent algae growth.
Don’t be afraid to get creative with how you use your sweet potato greens. They’re incredibly versatile and can be used in a wide range of dishes. Add them to salads for a peppery kick, sauté them with garlic and olive oil for a simple side dish, or blend them into smoothies for a boost of vitamins and minerals. You can even use them as a garnish for soups and stews.
We wholeheartedly encourage you to give this DIY trick a try. It’s a simple, rewarding, and sustainable way to enjoy fresh, homegrown greens all year round. And most importantly, we want to hear about your experience! Share your photos, tips, and recipes with us on social media using #SweetPotatoGreensDIY. Let’s create a community of indoor gardeners and inspire others to embrace the joy of growing their own food. We can’t wait to see what you create! Remember, growing your own sweet potato greens is a fantastic way to enjoy fresh produce and connect with nature, all from the comfort of your home.
Frequently Asked Questions (FAQ)
What kind of sweet potato should I use?
You can use any type of sweet potato you find at your local grocery store. Orange-fleshed sweet potatoes are the most common and readily available, but you can also experiment with white, purple, or Japanese varieties. Each type may offer slightly different flavors and textures in their greens. Look for sweet potatoes that are firm, smooth, and free from blemishes or soft spots. Organic sweet potatoes are always a good choice, as they are less likely to have been treated with chemicals.
How long does it take for the sweet potato to sprout?
The time it takes for a sweet potato to sprout can vary depending on factors such as temperature, humidity, and the variety of sweet potato. Generally, you can expect to see sprouts within 1-3 weeks. To speed up the process, make sure the sweet potato is placed in a warm, sunny location. You can also try soaking the sweet potato in water for a few hours before placing it in the jar or vase.
How often should I change the water?
It’s important to change the water regularly to prevent algae growth and keep the sweet potato healthy. We recommend changing the water every 2-3 days. When changing the water, be sure to rinse the sweet potato and the container to remove any debris or buildup. You can also add a few drops of hydrogen peroxide to the water to help prevent algae growth.
How much light does the sweet potato need?
Sweet potatoes need plenty of light to grow healthy greens. Place your sweet potato in a location that receives at least 6-8 hours of sunlight per day. If you don’t have a sunny window, you can supplement with a grow light. A fluorescent or LED grow light will provide the necessary light for the sweet potato to thrive.
Are sweet potato greens edible?
Yes, sweet potato greens are absolutely edible and nutritious! They have a mild, slightly peppery flavor that is similar to spinach or kale. They are a good source of vitamins A and C, as well as fiber and antioxidants. However, it’s important to note that the leaves of ornamental sweet potatoes are not edible. Make sure you are growing a sweet potato that is intended for food consumption.
How do I harvest the sweet potato greens?
You can harvest the sweet potato greens once they are several inches long. Simply snip off the leaves with scissors or pruning shears. Avoid cutting off more than one-third of the plant at a time, as this can stress the sweet potato and slow down growth. The sweet potato will continue to produce new leaves as long as it has enough light and water.
Can I plant the sweet potato in soil after it sprouts?
Yes, you can definitely plant the sweet potato in soil after it sprouts. This will allow the sweet potato to develop a more extensive root system and produce even more greens. Choose a large pot with well-draining soil. Gently remove the sweet potato from the water and plant it in the pot, covering the roots with soil. Water thoroughly and place the pot in a sunny location.
What if my sweet potato starts to rot?
If your sweet potato starts to rot, it’s important to take action quickly to prevent the rot from spreading. Remove the sweet potato from the water and inspect it carefully. If the rot is only minor, you can try cutting away the affected area with a sharp knife. However, if the rot is extensive, it’s best to discard the sweet potato and start with a fresh one. To prevent rot, make sure to change the water regularly and avoid overwatering.
Can I grow sweet potato greens year-round?
Yes, you can grow sweet potato greens year-round indoors, as long as you provide them with enough light and water. During the winter months, you may need to supplement with a grow light to ensure that the sweet potato receives enough light. You may also need to adjust your watering schedule, as the sweet potato may not need as much water during the cooler months.
Are there any pests or diseases that affect sweet potato greens?
Sweet potato greens are generally resistant to pests and diseases, but they can occasionally be affected by aphids, spider mites, or whiteflies. If you notice any pests on your sweet potato greens, you can try spraying them with insecticidal soap or neem oil. You can also try wiping the leaves with a damp cloth to remove the pests. To prevent diseases, make sure to provide good air circulation and avoid overwatering.


Leave a Comment