

Vase cleaning hack: Are you tired of those stubborn stains clouding the beauty of your favorite vases? I know I am! It’s frustrating to see those gorgeous blooms overshadowed by a murky film, isn’t it? But don’t worry, I’ve got you covered with a simple, effective, and oh-so-satisfying DIY solution that will have your vases sparkling like new in no time!
Throughout history, vases have been more than just containers for flowers. From ancient Egyptian pottery to delicate Ming Dynasty porcelain, they’ve been symbols of beauty, status, and even religious significance. We fill them with flowers to brighten our homes, celebrate special occasions, and even offer comfort during difficult times. But let’s face it, keeping these vessels clean can be a real chore.
That’s where this vase cleaning hack comes in! We all know that regular cleaning is essential to prevent the buildup of bacteria and mineral deposits that can not only make your vases look dull but also shorten the lifespan of your beautiful bouquets. This DIY trick is not only cost-effective, using ingredients you probably already have at home, but it’s also incredibly easy to implement. Say goodbye to scrubbing for hours and hello to sparkling clean vases that showcase your flowers in all their glory! I’m so excited to share this with you!
DIY Sparkling Clean Vases: A Simple Guide
Okay, so you’ve got a beautiful vase, right? Maybe it’s a family heirloom, a quirky thrift store find, or just something you picked up because it looked pretty. But let’s be honest, those vases can get *nasty*. Hard water stains, cloudy residue, and even that dreaded green algae – it’s a real problem! I’ve tried everything from bottle brushes to denture tablets, and I’ve finally landed on a method that’s not only effective but also uses ingredients you probably already have in your pantry. Get ready to say goodbye to grimy vases and hello to sparkling clean beauties!
What You’ll Need
Before we dive in, let’s gather our supplies. This is a pretty low-key operation, so you won’t need anything fancy.
* White Vinegar: This is our star player! Vinegar is a natural cleaner and disinfectant, and it’s amazing at breaking down hard water stains.
* Baking Soda: The trusty sidekick! Baking soda acts as a gentle abrasive, helping to scrub away stubborn residue.
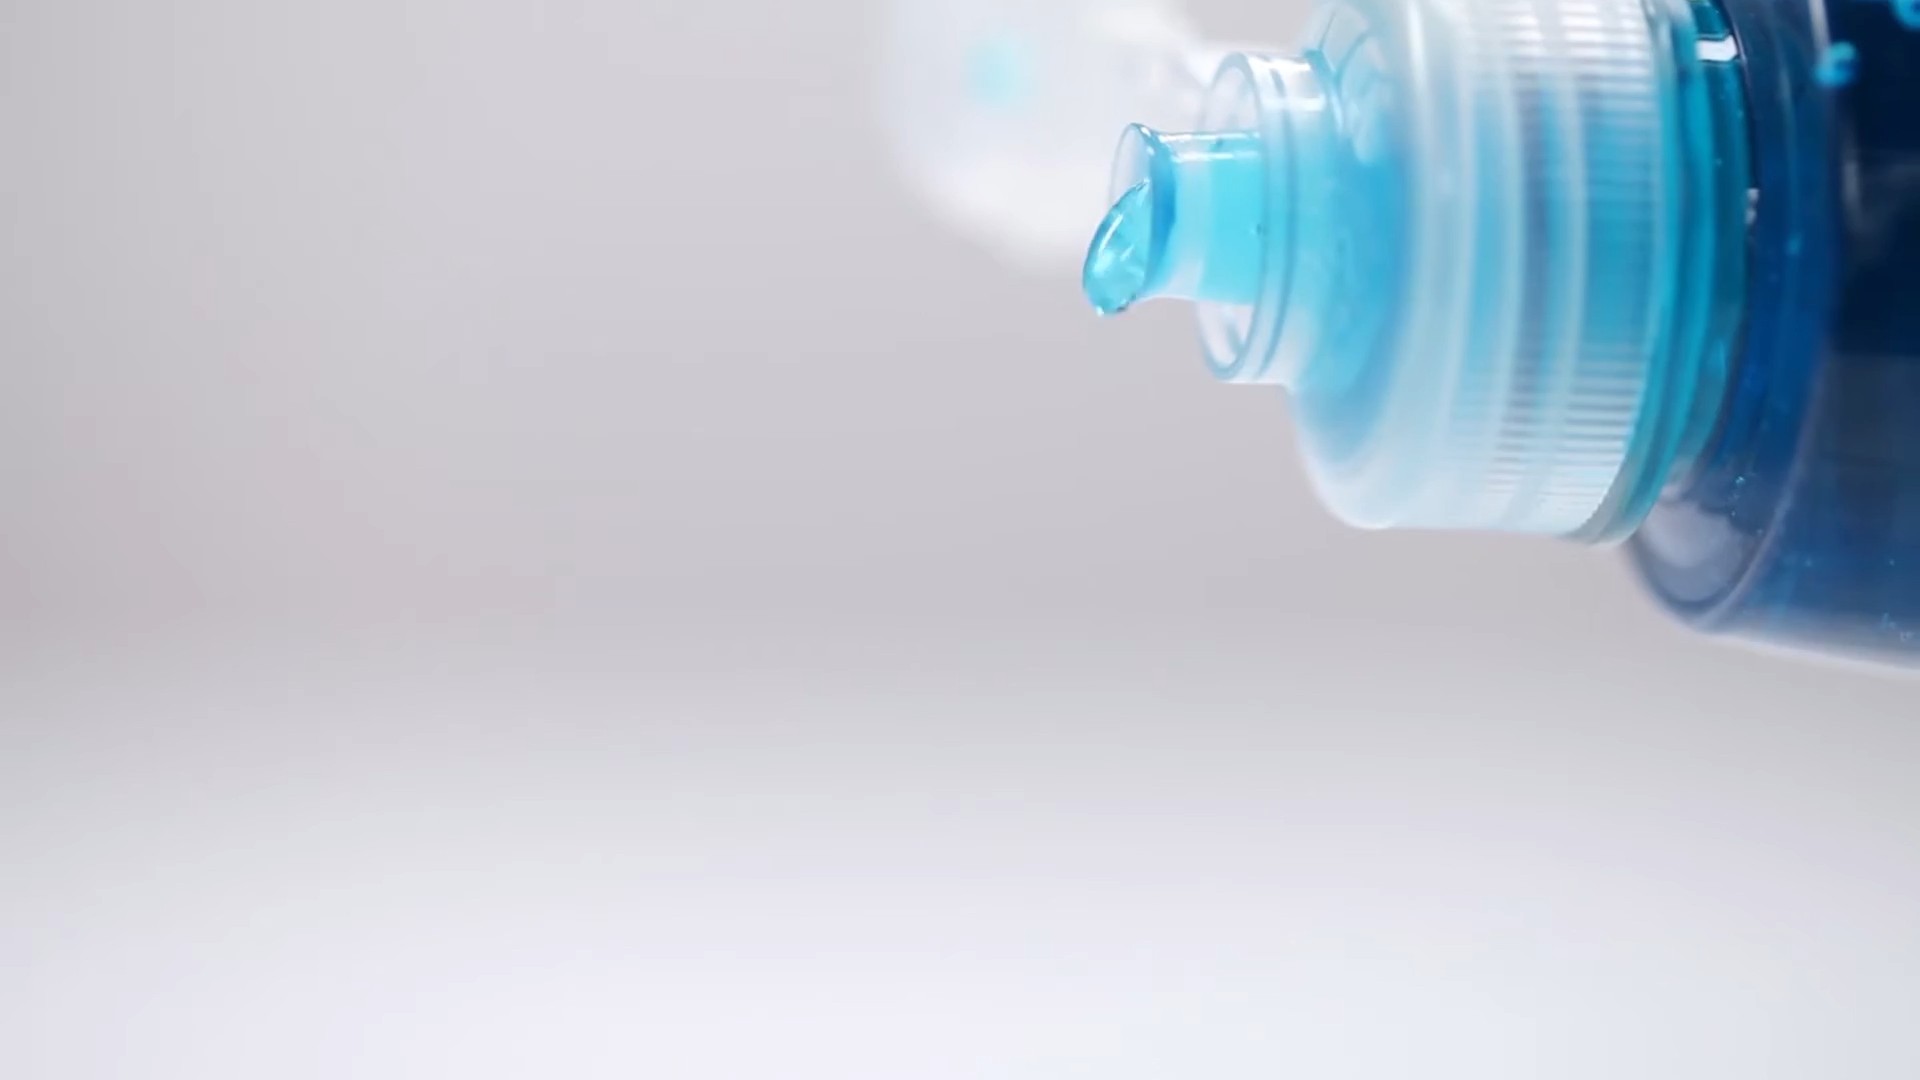
* Dish Soap: Just a squirt will do! Dish soap helps to cut through any greasy buildup.
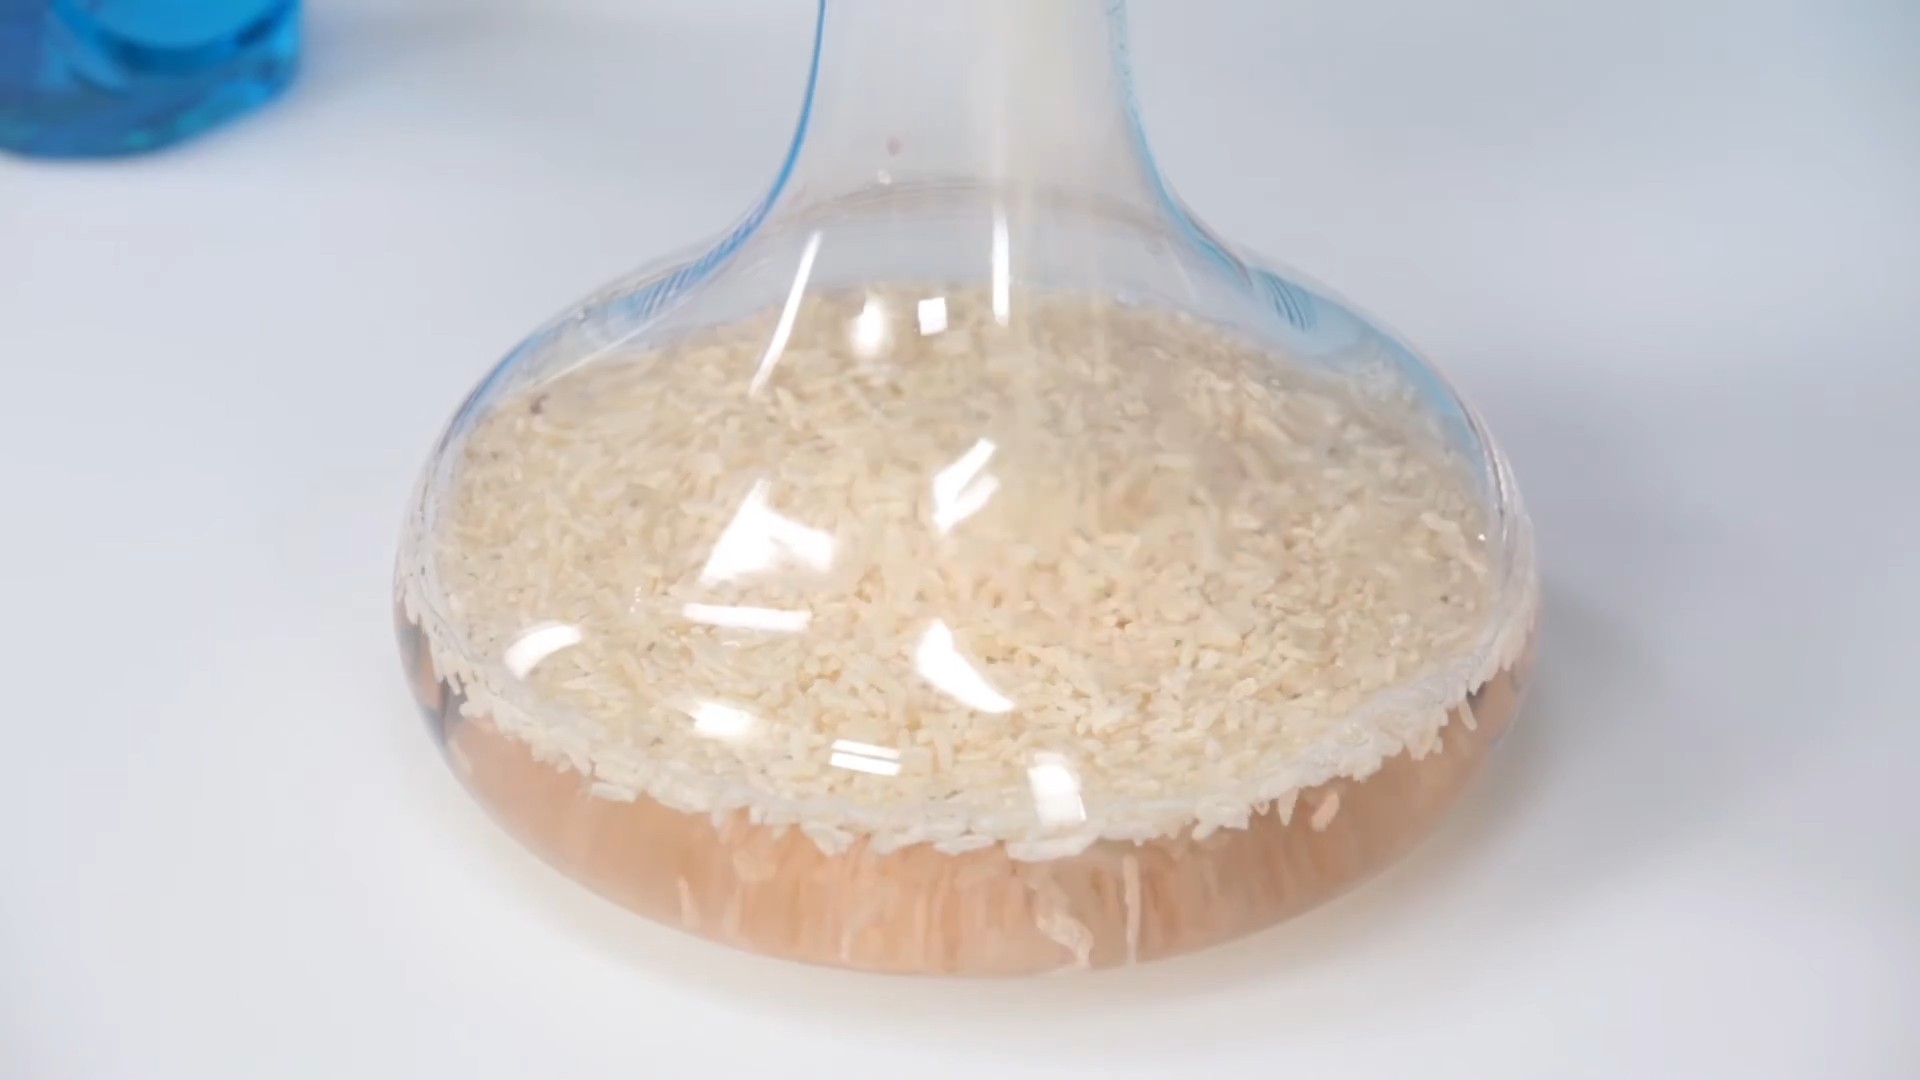
* Uncooked Rice: Sounds weird, I know, but trust me on this one. The rice acts as tiny scrubbers, reaching those hard-to-get areas.
* Water: Hot water is best for dissolving the baking soda and vinegar.
* Bottle Brush (Optional): If you have a vase with a narrow neck, a bottle brush can be helpful.
* Soft Cloth or Sponge: For wiping down the outside of the vase.
* Gloves (Optional): If you have sensitive skin, you might want to wear gloves.
Step-by-Step Cleaning Instructions
Alright, let’s get down to business! Follow these steps, and your vases will be looking brand new in no time.
1. Rinse the Vase: Start by rinsing the vase with warm water to remove any loose debris. This will make the cleaning process much easier.
2. Add Baking Soda: Pour about 1-2 tablespoons of baking soda into the vase. The amount will depend on the size of your vase and how dirty it is. If it’s really grimy, don’t be afraid to add a little more.
3. Add Vinegar: Now, slowly pour in about 1/2 cup of white vinegar. You’ll see it start to fizz – that’s the baking soda and vinegar reacting. Don’t worry, it’s perfectly normal!
4. Add Dish Soap: Squirt in a small amount of dish soap – just a teaspoon or two. This will help to cut through any greasy residue.
5. Add Rice: Here comes the secret weapon! Add about 1/4 cup of uncooked rice to the vase. The rice will act as tiny scrubbers, helping to loosen stubborn stains.
6. Add Hot Water: Fill the rest of the vase with hot water. Be careful not to overfill it!
7. Swirl and Shake: Now comes the fun part! Cover the opening of the vase with your hand (or a lid, if you have one) and gently swirl and shake the mixture around. Make sure the rice is scrubbing all the surfaces of the vase, especially those hard-to-reach areas. Do this for a few minutes, giving it a good workout.
8. Let it Soak (If Needed): If your vase is particularly dirty, let the mixture soak for a few hours, or even overnight. This will give the vinegar and baking soda more time to break down the stains. I usually let mine soak for at least an hour, just to be safe.
9. Scrub (If Needed): After soaking, if you still see some stubborn stains, use a bottle brush (if you have one) to scrub the inside of the vase. You can also use a long-handled spoon or spatula to reach those difficult areas.
10. Rinse Thoroughly: Once you’re satisfied with the cleaning, rinse the vase thoroughly with warm water until all the soap and residue are gone. Make sure there’s no lingering vinegar smell!
11. Dry the Vase: Finally, dry the vase with a soft cloth or let it air dry. To prevent water spots, you can use a microfiber cloth.
Tackling Extra Stubborn Stains
Sometimes, even with all that effort, you might still have some stubborn stains that just won’t budge. Don’t worry, I’ve got a few extra tricks up my sleeve!
* For Hard Water Stains: If you’re dealing with persistent hard water stains, try soaking the vase in a solution of equal parts white vinegar and water for a longer period of time – even overnight. The vinegar will help to dissolve the mineral deposits.
* For Algae Growth: If you’ve got green algae growing in your vase (yuck!), try adding a small amount of bleach to the cleaning mixture. Be careful when using bleach, and make sure to rinse the vase thoroughly afterwards. You can also try using hydrogen peroxide instead of bleach, which is a gentler alternative.
* For Narrow-Necked Vases: Cleaning narrow-necked vases can be a real challenge. If you don’t have a bottle brush, try using a magnetic spot scrubber. These little gadgets have two magnets – one that goes inside the vase and one that you hold on the outside. The magnets attract each other, allowing you to scrub the inside of the vase without having to reach inside.
Preventing Future Buildup
Okay, so you’ve got your vases sparkling clean. Now, let’s talk about how to keep them that way!
* Change the Water Regularly: The easiest way to prevent buildup is to change the water in your vases every day or two. This will prevent bacteria and algae from growing.
* Rinse the Vase After Each Use: After you remove the flowers, rinse the vase with warm water and a little bit of dish soap. This will help to remove any residue before it has a chance to harden.
* Dry the Vase Thoroughly: After rinsing, dry the vase thoroughly with a soft cloth. This will prevent water spots and mineral deposits from forming.
* Store Vases Upside Down: When you’re not using your vases, store them upside down. This will prevent dust and debris from accumulating inside.
Alternative Cleaning Solutions
While the vinegar, baking soda, and rice method is my go-to, there are a few other cleaning solutions you can try:
* Denture Tablets: Drop a denture tablet into the vase, fill it with water, and let it soak for a few hours. The denture tablet will help to dissolve stains and kill bacteria.
* Lemon Juice: Lemon juice is a natural cleaner and disinfectant. Mix equal parts lemon juice and water, and use it to clean your vases.
* Salt and Ice: For vases with narrow necks, try filling them with ice and salt. The ice and salt will act as abrasives, helping to scrub away stains.
A Few Extra Tips and Tricks
* Test on a Small Area First: Before using any cleaning solution on your vase, test it on a small, inconspicuous area first to make sure it doesn’t damage the finish.
* Be Gentle: When scrubbing your vases, be gentle to avoid scratching the surface.
* Use Warm Water: Warm water is more effective at dissolving stains and cleaning residue than cold water.
* Don’t Use Abrasive Cleaners: Avoid using abrasive cleaners, such as scouring pads or steel wool, as they can scratch the surface of your vases.
* Have Fun!: Cleaning your vases doesn’t have to be a chore. Put on some music, grab a friend, and make it a fun activity!
So there you have it! My ultimate guide to cleaning vases. With a little bit of elbow grease and these simple tips, you can keep your vases looking sparkling clean for years to come. Happy cleaning!
Conclusion
So, there you have it! This simple, yet incredibly effective, vase cleaning hack is a game-changer for anyone who loves displaying fresh flowers or decorative arrangements. No more struggling with stubborn stains, cloudy residue, or awkwardly shaped vases that seem impossible to reach. This method is not only budget-friendly, utilizing common household ingredients, but it’s also environmentally conscious, avoiding harsh chemicals that can damage your vases and the planet.
Why is this a must-try? Because it delivers sparkling clean results with minimal effort. Imagine effortlessly restoring your favorite vases to their original glory, showcasing your beautiful blooms in pristine condition. Think of the time and frustration you’ll save, no longer needing to scrub endlessly or resort to expensive cleaning solutions. This vase cleaning hack is a true win-win.
But don’t just take our word for it! We encourage you to experiment and find what works best for your specific needs. For instance, if you’re dealing with particularly stubborn hard water stains, try adding a bit more vinegar to the mixture. Alternatively, for delicate glass vases, you might want to reduce the amount of abrasive material, like rice or salt, to prevent scratching. You can also try using different types of abrasive materials, such as uncooked couscous or even crushed eggshells (rinsed thoroughly, of course!), for a gentler cleaning action.
Consider these variations to personalize your vase cleaning experience:
* For narrow-necked vases: Use smaller grains of rice or even aquarium gravel to ensure they can easily navigate the tight spaces.
* For heavily stained vases: Let the vinegar and baking soda mixture sit for a longer period, perhaps even overnight, before adding the abrasive material and shaking.
* For a fresh scent: Add a few drops of your favorite essential oil, like lemon or lavender, to the cleaning mixture. This will leave your vases smelling clean and revitalized.
We are confident that this vase cleaning hack will become your go-to solution for keeping your vases looking their best. It’s simple, effective, and adaptable to various vase shapes and sizes.
Now, it’s your turn! Give this DIY trick a try and let us know what you think. Share your before-and-after photos and any variations you discover in the comments below. We’re eager to hear about your experiences and learn from your insights. Together, let’s conquer those stubborn vase stains and keep our floral displays looking their absolute best! Don’t forget to share this article with your friends and family who might also benefit from this amazing cleaning solution. Happy cleaning!
Frequently Asked Questions (FAQ)
What kind of vases does this cleaning hack work on?
This cleaning hack is generally safe and effective for most types of vases, including glass, ceramic, and even some plastic vases. However, it’s always a good idea to test a small, inconspicuous area first, especially if you’re dealing with antique or delicate vases. Avoid using abrasive materials on vases with delicate painted designs or metallic finishes, as they could potentially be damaged. For these types of vases, a gentler approach with warm soapy water and a soft cloth is recommended.
What if I don’t have rice or salt? What else can I use as an abrasive?
If you don’t have rice or salt on hand, don’t worry! There are several other household items you can use as an abrasive. Uncooked couscous is a great alternative, as it’s gentle yet effective at scrubbing away stains. Crushed eggshells (rinsed thoroughly and dried) can also work well, providing a slightly more abrasive action. For very delicate vases, you can even try using a soft sponge or cloth with the vinegar and baking soda mixture, although this may require more elbow grease. Just remember to choose an abrasive that is appropriate for the material of your vase to avoid scratching or damage.
How long should I shake the vase with the cleaning mixture?
The amount of time you need to shake the vase will depend on the severity of the stains. For lightly stained vases, a few minutes of vigorous shaking may be sufficient. For more stubborn stains, you may need to shake for 5-10 minutes, or even longer. Periodically check the progress and continue shaking until the stains are visibly loosening. You can also let the mixture sit inside the vase for a longer period, perhaps 30 minutes to an hour, before shaking to allow the vinegar and baking soda to further break down the stains.
The stains are really stubborn and won’t come off. What can I do?
If you’re dealing with particularly stubborn stains, there are a few things you can try. First, make sure you’re using enough vinegar and baking soda in your cleaning mixture. You may need to increase the proportions slightly. Second, try letting the mixture sit inside the vase for a longer period, even overnight. This will give the vinegar and baking soda more time to work on breaking down the stains. Third, consider using a more abrasive material, such as coarse salt or even a specialized vase cleaning brush. Finally, if all else fails, you may need to resort to a commercial vase cleaner specifically designed for removing stubborn stains. Always follow the manufacturer’s instructions carefully when using commercial cleaners.
Is this cleaning hack safe for all types of water?
This cleaning hack is generally safe for use with most types of water, including tap water, well water, and filtered water. However, if you have very hard water, it may leave behind mineral deposits on your vases. To prevent this, you can use distilled water or filtered water for the final rinse. You can also add a small amount of white vinegar to the rinse water to help dissolve any mineral deposits.
Can I use this cleaning hack on other items besides vases?
While this cleaning hack is primarily designed for cleaning vases, it can also be used on other items with similar stains and shapes, such as glass bottles, carafes, and even some types of teapots. Just be sure to test a small, inconspicuous area first to ensure that the cleaning mixture doesn’t damage the material. Avoid using this hack on delicate or antique items without first consulting a professional cleaner.
How often should I clean my vases?
The frequency with which you should clean your vases depends on how often you use them and the type of flowers you display. Generally, it’s a good idea to clean your vases after each use to prevent the buildup of bacteria and mineral deposits. If you notice any stains or cloudiness, clean your vases immediately. Regular cleaning will help keep your vases looking their best and prolong their lifespan.
What are some tips for preventing stains in my vases?
There are several things you can do to prevent stains from forming in your vases in the first place. First, change the water in your vases regularly, ideally every day or every other day. This will help prevent the growth of bacteria and the buildup of mineral deposits. Second, add a floral preservative to the water. Floral preservatives contain ingredients that help keep the water clean and prevent the growth of bacteria. Third, avoid placing your vases in direct sunlight, as this can promote the growth of algae. Finally, rinse your vases thoroughly after each use and allow them to air dry completely before storing them.

Leave a Comment