

Wooden Cutting Board Care: It’s more than just wiping it down! I know, I know, you’re probably thinking, “Another article about cleaning?” But trust me, this isn’t just about scrubbing away food particles. We’re diving deep into the art of preserving your beloved wooden cutting board, that trusty kitchen companion that’s seen countless meal preps and culinary creations.
For centuries, wooden cutting boards have been a staple in kitchens worldwide. From rustic farmhouses to modern apartments, they’ve been cherished for their durability, natural beauty, and gentle touch on knives. Think about it – your grandmother probably had one, maybe even passed down through generations! But unlike those heirlooms, modern wooden boards need a little extra TLC to withstand the rigors of daily use and prevent bacteria buildup.
Why is wooden cutting board care so crucial? Well, a properly maintained board not only looks beautiful but also lasts longer, saving you money in the long run. More importantly, it helps prevent the growth of harmful bacteria, keeping your food preparation safe and your family healthy. In this article, I’m going to share some simple yet effective DIY tricks and hacks that will transform your approach to wooden cutting board maintenance. Get ready to unlock the secrets to a clean, safe, and stunning wooden cutting board that will be the envy of every home chef!
Revive Your Beloved Wooden Cutting Board: A DIY Guide
Hey there, fellow DIY enthusiasts! I’m so excited to share my tried-and-true method for restoring wooden cutting boards. We all know how much we rely on these kitchen workhorses, but over time, they can become scratched, stained, and just plain sad-looking. But don’t despair! With a little elbow grease and the right techniques, you can bring your wooden cutting board back to its former glory. This guide will walk you through the entire process, step-by-step.
What You’ll Need
Before we dive in, let’s gather our supplies. This is a pretty straightforward project, and you probably have most of these items already:
* Coarse Grit Sandpaper (80-120 grit): This is for removing deep scratches and imperfections.
* Medium Grit Sandpaper (150-180 grit): This will smooth out the surface after the coarse grit.
* Fine Grit Sandpaper (220+ grit): This is for the final smoothing and polishing.
* Food-Grade Mineral Oil: This is essential for rehydrating and protecting the wood.
* Beeswax (Optional, but recommended): This creates a protective barrier and adds a nice sheen.
* Clean Rags or Paper Towels: For wiping away dust and applying oil/wax.
* A Scraper or Putty Knife (Optional): Helpful for removing stubborn stuck-on food.
* A Flat Work Surface: Somewhere you can comfortably sand without damaging anything.
* Safety Glasses: Protect your eyes from sawdust!
* Dust Mask: Protect your lungs from sawdust!
* Gloves (Optional): To keep your hands clean.
* A Soft Cloth or Buffing Pad: For polishing the beeswax finish.
Section 1: Cleaning and Preparation
Before we even think about sanding, we need to give our cutting board a good cleaning. This will remove any loose debris and make the sanding process more effective.
1. Scrape Away Debris: Use a scraper or putty knife to gently remove any stuck-on food particles. Be careful not to gouge the wood.
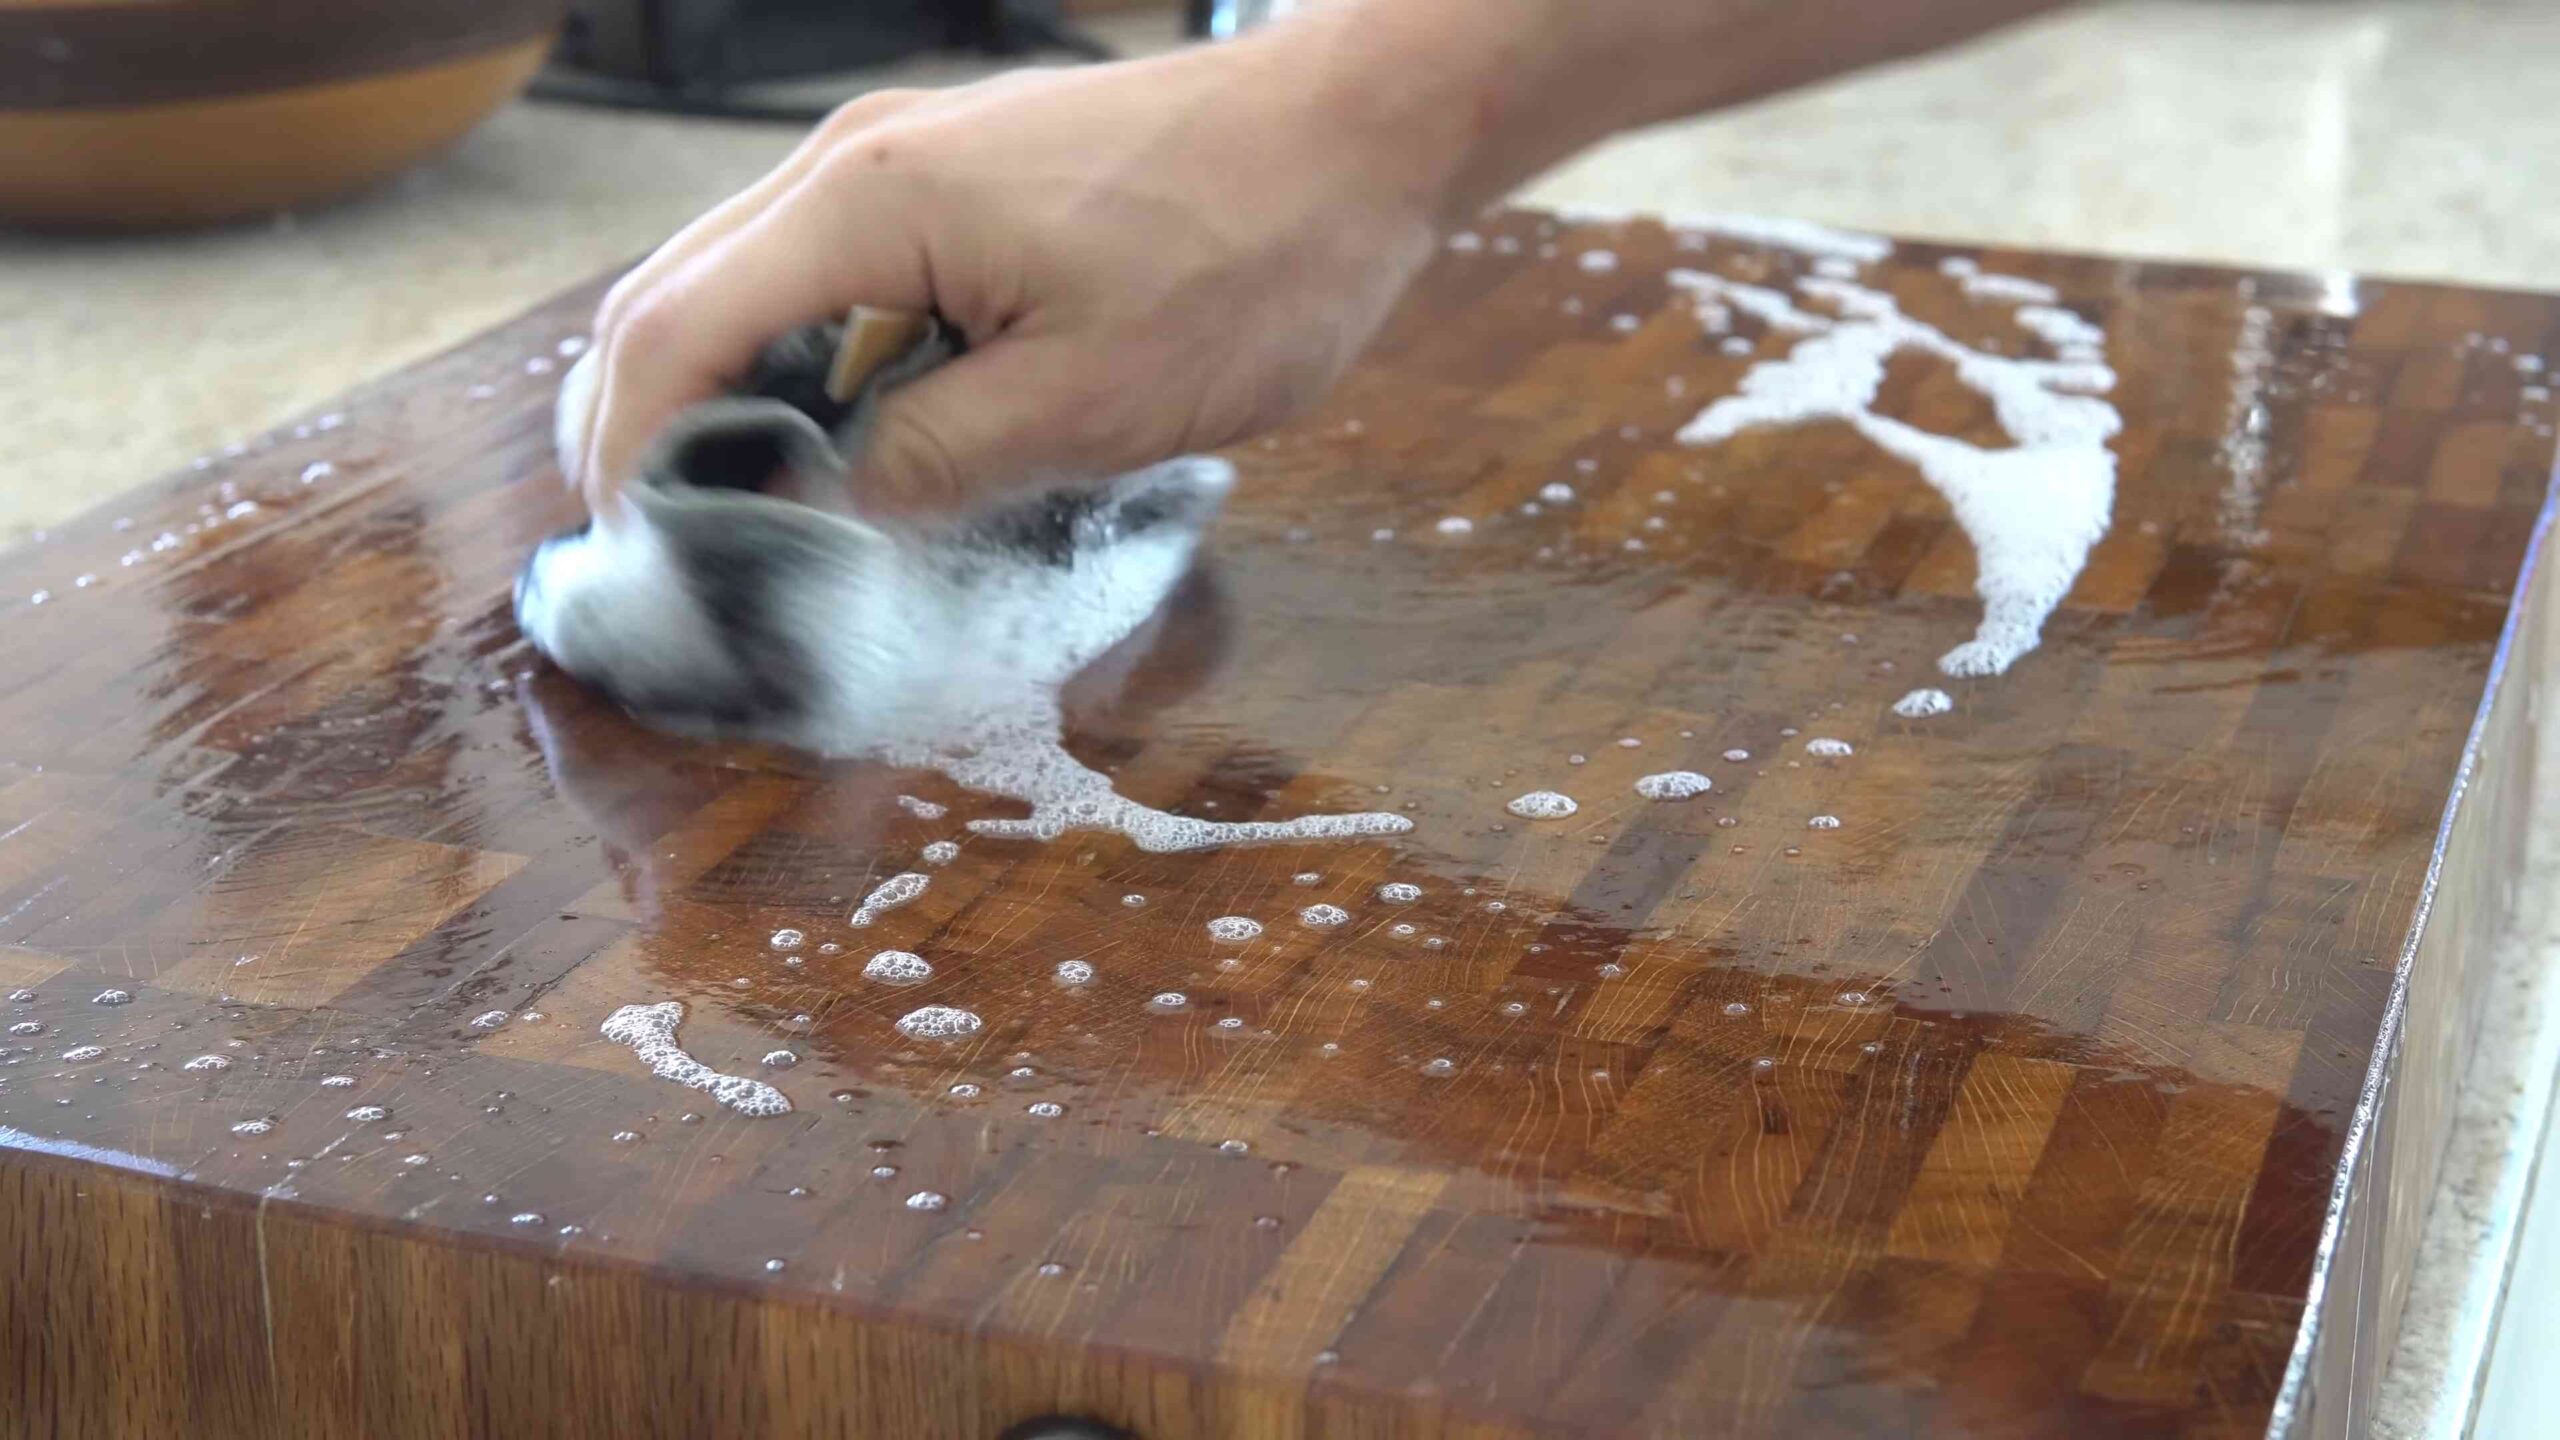
2. Wash with Soap and Water: Wash the cutting board with warm, soapy water. Use a non-abrasive sponge or cloth.
3. Rinse Thoroughly: Rinse the cutting board thoroughly with clean water to remove all traces of soap.
4. Dry Completely: Pat the cutting board dry with a clean towel. Allow it to air dry completely before moving on to the next step. This is crucial because sanding wet wood is a nightmare. I usually let mine dry overnight.
Section 2: Sanding the Cutting Board
This is where the magic happens! Sanding is the key to removing scratches, stains, and imperfections. We’ll start with a coarse grit to tackle the big problems and gradually move to finer grits for a smooth finish.
1. Secure the Cutting Board: Place the cutting board on your flat work surface. You might want to use clamps or a non-slip mat to keep it from moving around while you sand.
2. Start with Coarse Grit (80-120): Attach the coarse grit sandpaper to your sanding block or orbital sander (if you’re using one). If sanding by hand, wrap the sandpaper around a sanding block for better grip and even pressure.
3. Sand with the Grain: Sand the cutting board in the direction of the wood grain. This will help to minimize scratches and create a smoother finish. Apply even pressure and work in long, overlapping strokes.
4. Focus on Problem Areas: Pay extra attention to areas with deep scratches or stains. You may need to apply more pressure or make multiple passes to remove these imperfections.
5. Inspect Your Progress: After sanding with the coarse grit, wipe the cutting board clean with a damp cloth to remove the sawdust. Inspect the surface to see if you’ve removed all the major imperfections. If not, repeat the process with the coarse grit.
6. Move to Medium Grit (150-180): Once you’re satisfied with the removal of the major imperfections, switch to the medium grit sandpaper.
7. Sand with the Grain (Again): Sand the cutting board again in the direction of the wood grain, using the medium grit sandpaper. This will smooth out the surface and remove any scratches left by the coarse grit.
8. Wipe Clean and Inspect: Wipe the cutting board clean with a damp cloth and inspect the surface. It should be noticeably smoother than before.
9. Finish with Fine Grit (220+): Finally, switch to the fine grit sandpaper.
10. Sand with the Grain (One Last Time): Sand the cutting board one last time in the direction of the wood grain, using the fine grit sandpaper. This will create a super smooth, polished finish.
11. Final Wipe Down: Wipe the cutting board clean with a damp cloth to remove all traces of sawdust. Let it dry completely.
Important Note: Remember to wear your safety glasses and dust mask throughout the sanding process to protect your eyes and lungs from sawdust.
Section 3: Oiling the Cutting Board
Now that our cutting board is beautifully sanded, it’s time to rehydrate and protect the wood with food-grade mineral oil. This is crucial for preventing the wood from drying out and cracking.
1. Apply Mineral Oil Generously: Pour a generous amount of food-grade mineral oil onto the cutting board.
2. Spread the Oil Evenly: Use a clean rag or paper towel to spread the oil evenly over the entire surface of the cutting board, including the edges and ends.
3. Let the Oil Soak In: Allow the oil to soak into the wood for at least 20-30 minutes. The longer you let it soak, the better. I often let mine sit overnight. You’ll notice the wood absorbing the oil, and it may look darker in color.
4. Apply More Oil (If Needed): After the initial soaking period, check the cutting board to see if there are any dry spots. If so, apply more oil to those areas.
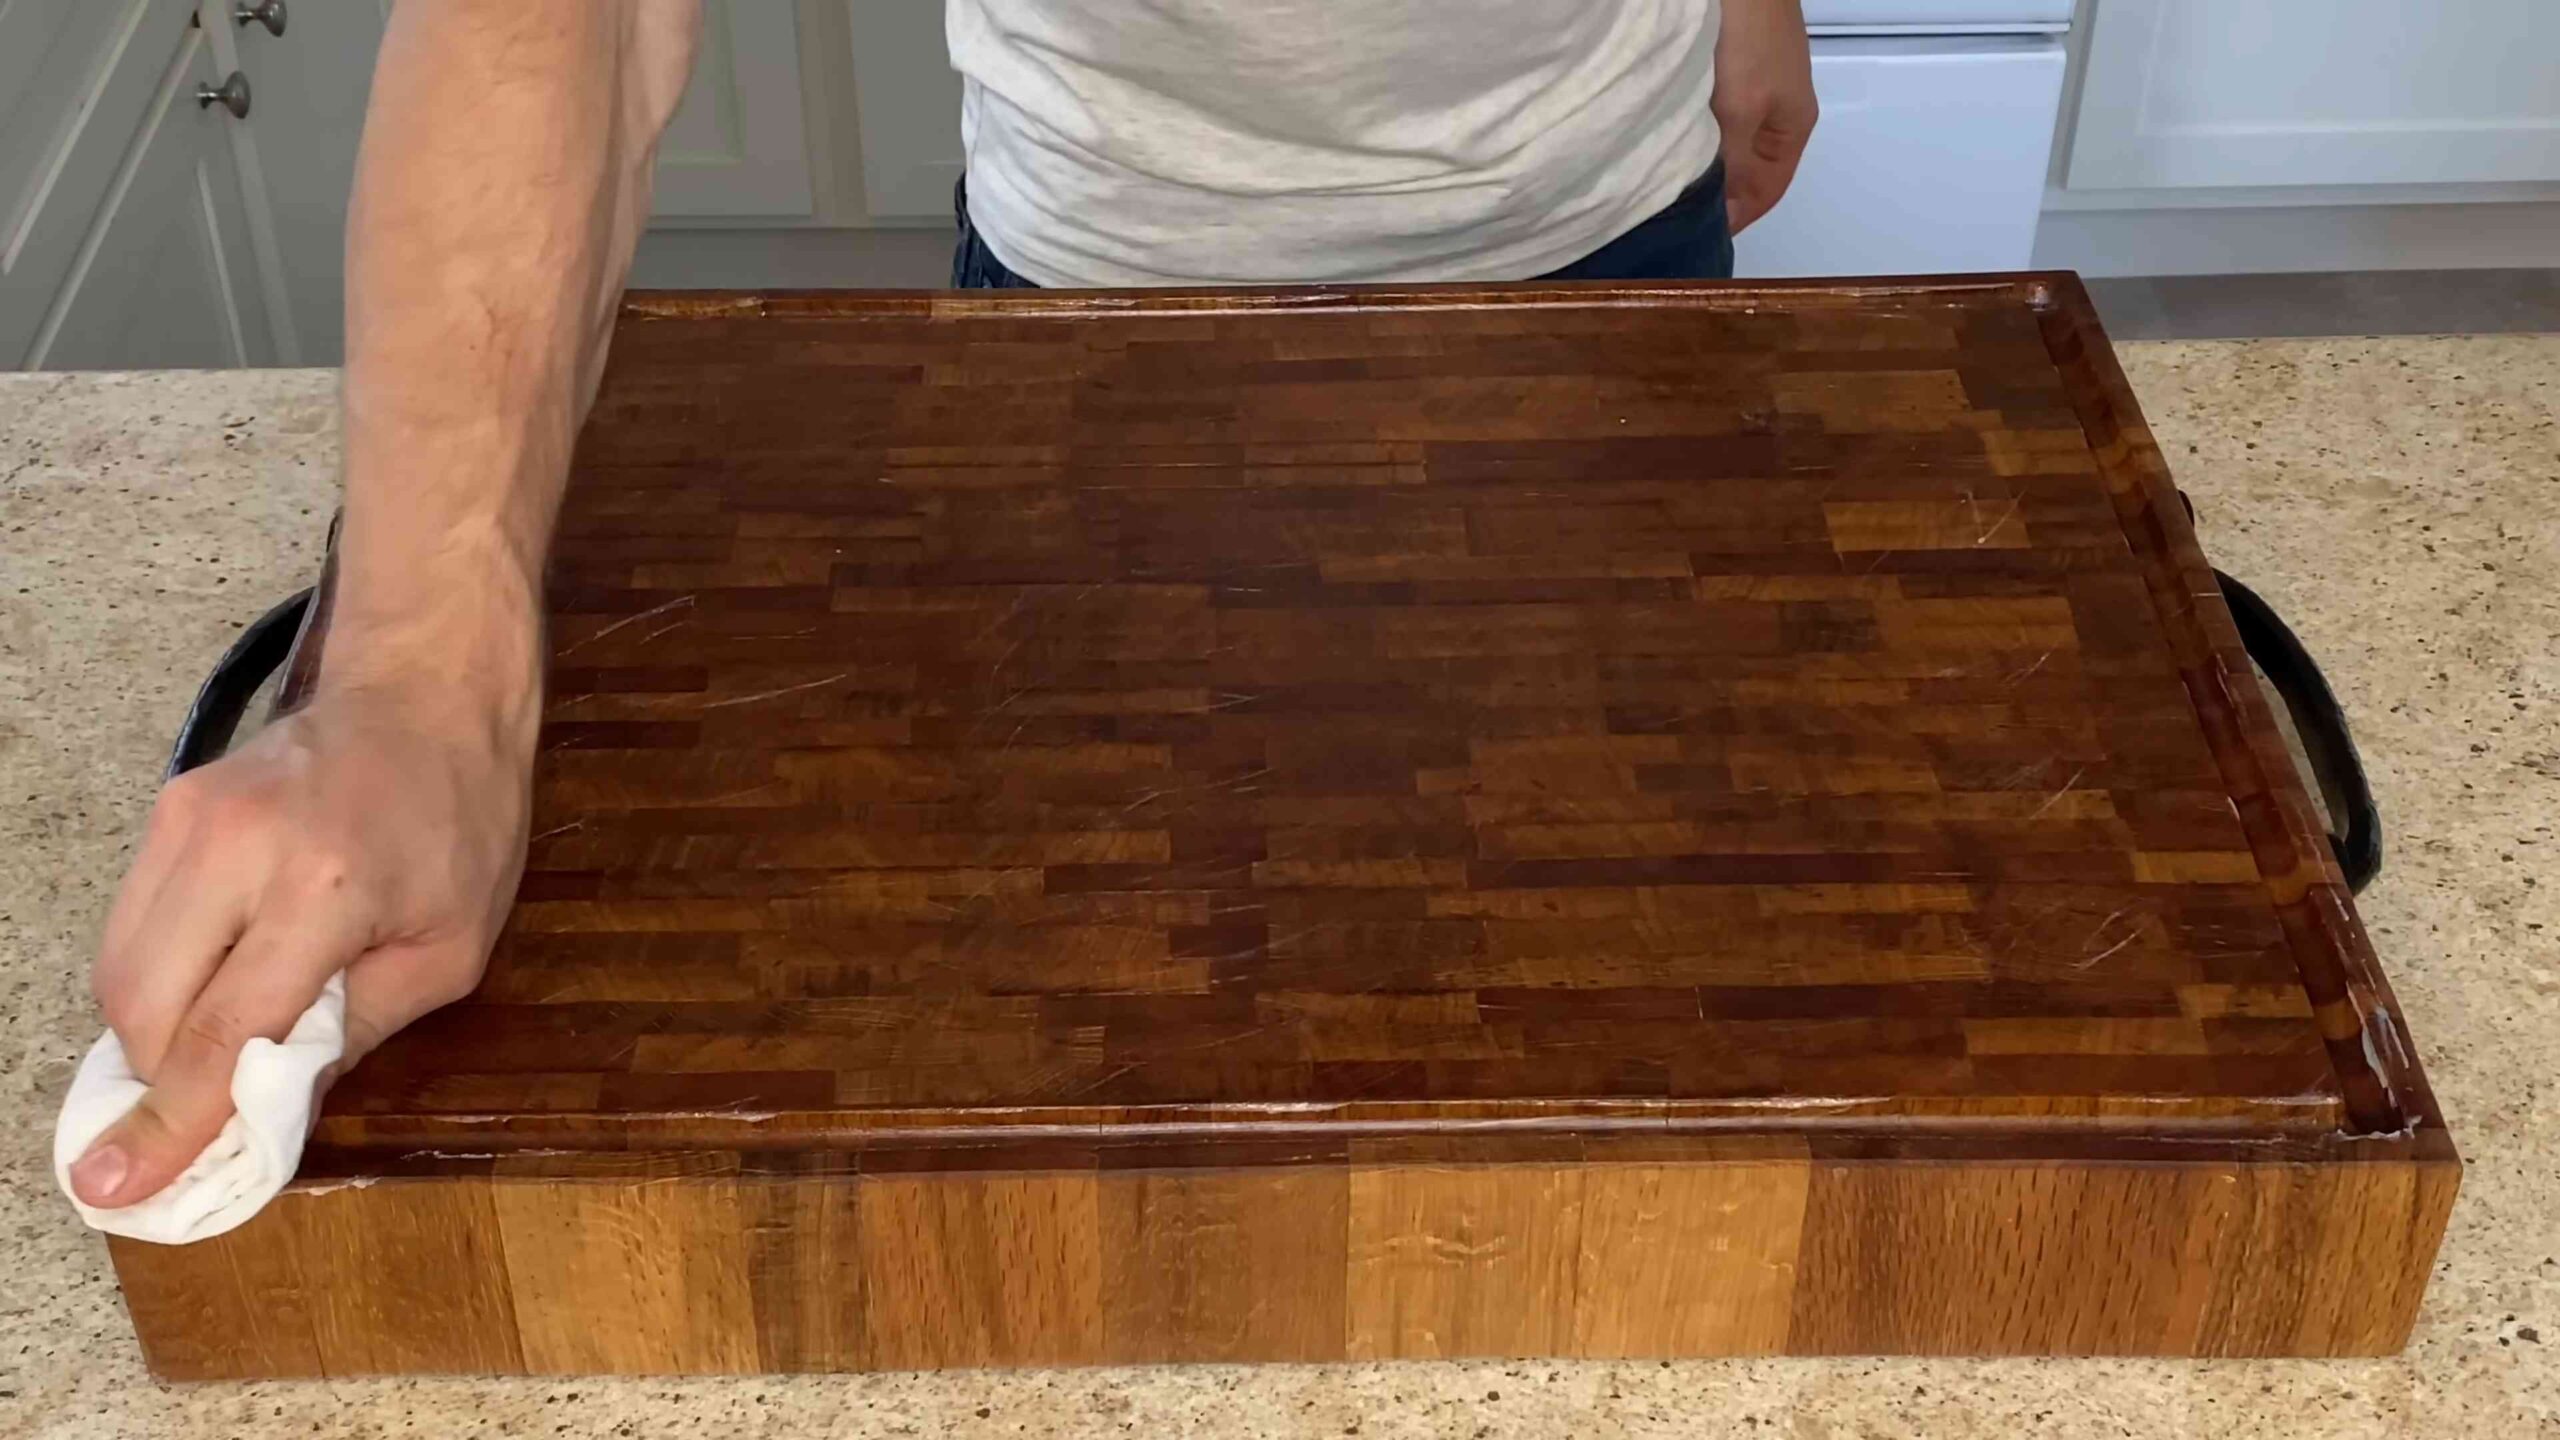
5. Wipe Away Excess Oil: After the oil has soaked in, use a clean rag or paper towel to wipe away any excess oil from the surface of the cutting board. You don’t want the surface to be sticky or greasy.
6. Repeat the Oiling Process: For best results, repeat the oiling process 2-3 times, allowing the oil to soak in for at least 20-30 minutes each time. This will ensure that the wood is fully saturated and protected.
7. Allow to Dry Completely: After the final oiling, allow the cutting board to dry completely before using it. This may take several hours or even overnight.
Section 4: Applying Beeswax (Optional)
Adding a beeswax finish is optional, but I highly recommend it. It creates a protective barrier that helps to repel water and food stains, and it also gives the cutting board a beautiful sheen.
1. Melt the Beeswax: You can melt the beeswax in a double boiler or in the microwave. If using the microwave, heat it in short intervals (30 seconds) and stir in between to prevent it from overheating.
2. Mix with Mineral Oil (Optional): Some people like to mix the melted beeswax with a small amount of mineral oil to make it easier to apply. A ratio of 4 parts mineral oil to 1 part beeswax works well.
3. Apply the Beeswax Mixture: Use a clean rag or paper towel to apply the melted beeswax mixture to the cutting board. Work quickly, as the beeswax will start to solidify as it cools.
4. Spread Evenly: Spread the beeswax mixture evenly over the entire surface of the cutting board, including the edges and ends.
5. Let it Cool and Harden: Allow the beeswax to cool and harden completely. This may take several hours.
6. Buff the Surface: Once the beeswax has hardened, use a soft cloth or buffing pad to buff the surface of the cutting board. This will remove any excess beeswax and create a smooth, shiny finish.
7. Admire Your Work: Step back and admire your beautifully restored wooden cutting board!
Section 5: Maintaining Your Cutting Board
Now that you’ve put in all this effort to restore your cutting board, it’s important to take care of it properly to keep it looking its best.
* Wash After Each Use: Wash the cutting board with warm, soapy water after each use.
* Dry Thoroughly: Dry the cutting board thoroughly with a clean towel.
* Avoid Dishwashers: Never put your wooden cutting board in the dishwasher. The high heat and harsh detergents can damage the wood.
* Oil Regularly: Re-oil your cutting board every few weeks, or whenever it starts to look dry
Conclusion
So, there you have it! Mastering the art of wooden cutting board care isn’t just about extending the life of your favorite kitchen tool; it’s about embracing a healthier, more sustainable way of cooking. By diligently following these simple steps, you’re not only preventing the growth of harmful bacteria but also preserving the natural beauty and functionality of your wooden cutting board for years to come.
This DIY approach to wooden cutting board maintenance is a game-changer. Forget expensive, chemical-laden cleaners. With just a few readily available ingredients – lemon, salt, and mineral oil – you can achieve professional-level results right in your own kitchen. The lemon and salt scrub acts as a natural disinfectant and deodorizer, effectively removing food residue and lingering odors. The mineral oil then penetrates the wood, replenishing its natural oils and preventing it from drying out and cracking.
Why is this DIY trick a must-try? Because it’s effective, affordable, and environmentally friendly. It’s a simple yet powerful way to protect your investment and ensure that your wooden cutting board remains a safe and reliable surface for food preparation. Plus, the satisfaction of knowing you’re using natural ingredients to care for your kitchen tools is an added bonus.
Looking to personalize your wooden cutting board care routine? Consider these variations:
* Essential Oil Infusion: Add a few drops of your favorite food-safe essential oil, such as lemon or tea tree oil, to your mineral oil for an extra boost of antibacterial power and a pleasant aroma.
* Beeswax Finish: For added protection and a beautiful sheen, create a beeswax finish by melting beeswax with mineral oil in a double boiler. Apply the mixture to your cutting board after oiling and buff it to a smooth finish.
* Vinegar Rinse: After washing your cutting board with soap and water, rinse it with a solution of equal parts white vinegar and water to further disinfect and remove any lingering odors.
We’re confident that once you try this DIY wooden cutting board care method, you’ll never go back to store-bought cleaners. It’s a simple, effective, and sustainable way to keep your cutting board in top condition.
Now, it’s your turn! We encourage you to try this DIY trick and experience the difference for yourself. Don’t be afraid to experiment with different variations and find what works best for you. And most importantly, share your experience with us! Let us know in the comments below how this method has worked for you and if you have any tips or tricks of your own to share. Your feedback is invaluable and helps us all learn and grow together in our journey towards a healthier and more sustainable kitchen. Happy chopping!
Frequently Asked Questions (FAQ)
1. How often should I clean and oil my wooden cutting board?
The frequency of cleaning and oiling depends on how often you use your wooden cutting board. As a general rule, you should clean it after each use with soap and water. For a deeper clean with lemon and salt, aim for once a week or whenever you notice lingering odors or stains. Oiling should be done more frequently, especially when the board starts to look dry or feel rough. A good guideline is to oil your board at least once a month, or even more often if you use it daily. You’ll know it’s time to oil when water no longer beads up on the surface.
2. What type of mineral oil should I use?
It’s crucial to use food-grade mineral oil for your wooden cutting board. This type of mineral oil is specifically refined to be safe for contact with food. Avoid using other types of mineral oil, such as those used for machinery, as they may contain harmful chemicals. You can typically find food-grade mineral oil at most grocery stores, pharmacies, or online retailers. Look for a label that explicitly states “food-grade” or “safe for food contact.”
3. Can I use other types of oil besides mineral oil?
While mineral oil is the most commonly recommended oil for wooden cutting boards, some people prefer to use other food-safe oils. Coconut oil, walnut oil, and beeswax are popular alternatives. However, it’s important to consider the properties of each oil before using it. Coconut oil can sometimes turn rancid over time, while walnut oil can be an allergen for some individuals. Beeswax, when mixed with mineral oil, creates a protective finish that helps to repel water and prevent cracking. Always ensure that the oil you choose is food-safe and won’t impart any unwanted flavors or odors to your food.
4. How do I remove stubborn stains or odors from my wooden cutting board?
For stubborn stains or odors, you can create a paste of baking soda and water and apply it to the affected area. Let it sit for a few minutes, then scrub gently with a soft cloth or sponge. Rinse thoroughly with water and dry the board completely. Another effective method is to use a solution of equal parts white vinegar and water. Spray the solution onto the board, let it sit for a few minutes, then wipe it clean. For particularly persistent odors, you can try placing the cutting board in direct sunlight for a few hours, as sunlight has natural deodorizing properties.
5. How do I prevent my wooden cutting board from warping or cracking?
Warping and cracking are common problems with wooden cutting boards, but they can be prevented with proper care. Avoid soaking your cutting board in water for extended periods, as this can cause the wood to swell and warp. Always dry your cutting board thoroughly after washing it. Store your cutting board in a dry, well-ventilated area, away from direct heat or sunlight. Regularly oiling your cutting board will also help to prevent it from drying out and cracking.
6. Is it safe to cut raw meat on a wooden cutting board?
While wooden cutting boards are generally safe for cutting raw meat, it’s important to take extra precautions to prevent the spread of bacteria. After cutting raw meat, thoroughly wash the cutting board with hot, soapy water. You can also disinfect it with a solution of diluted bleach (1 tablespoon of bleach per gallon of water). Rinse the board thoroughly and dry it completely. Consider using a separate cutting board specifically for raw meat to minimize the risk of cross-contamination.
7. Can I put my wooden cutting board in the dishwasher?
No, you should never put your wooden cutting board in the dishwasher. The high heat and harsh detergents can damage the wood, causing it to warp, crack, or splinter. Always wash your wooden cutting board by hand with soap and water.
8. How do I sanitize my wooden cutting board?
To sanitize your wooden cutting board, you can use a solution of diluted bleach (1 tablespoon of bleach per gallon of water). Apply the solution to the board, let it sit for a few minutes, then rinse thoroughly with water. You can also use a solution of hydrogen peroxide to sanitize your cutting board. Spray the hydrogen peroxide onto the board, let it sit for a few minutes, then wipe it clean.
9. My wooden cutting board has knife marks. Can I fix it?
Yes, you can often fix knife marks on your wooden cutting board by sanding it down. Use a fine-grit sandpaper to gently sand the surface of the board, removing the knife marks and smoothing out any rough spots. Be sure to sand in the direction of the wood grain. After sanding, wipe the board clean and apply a generous coat of mineral oil.
10. Where can I buy a good quality wooden cutting board?
Good quality wooden cutting boards can be found at a variety of retailers, including kitchen supply stores, department stores, and online retailers. Look for cutting boards made from hardwoods like maple, walnut, or cherry, as these woods are durable and resistant to bacteria. Consider the size and thickness of the board, as well as its overall design and construction. Reading reviews from other customers can also help you to choose a high-quality wooden cutting board that will last for years to come. Remember, proper **wooden cutting board care** is key to longevity, regardless of where you purchase it.


Leave a Comment