

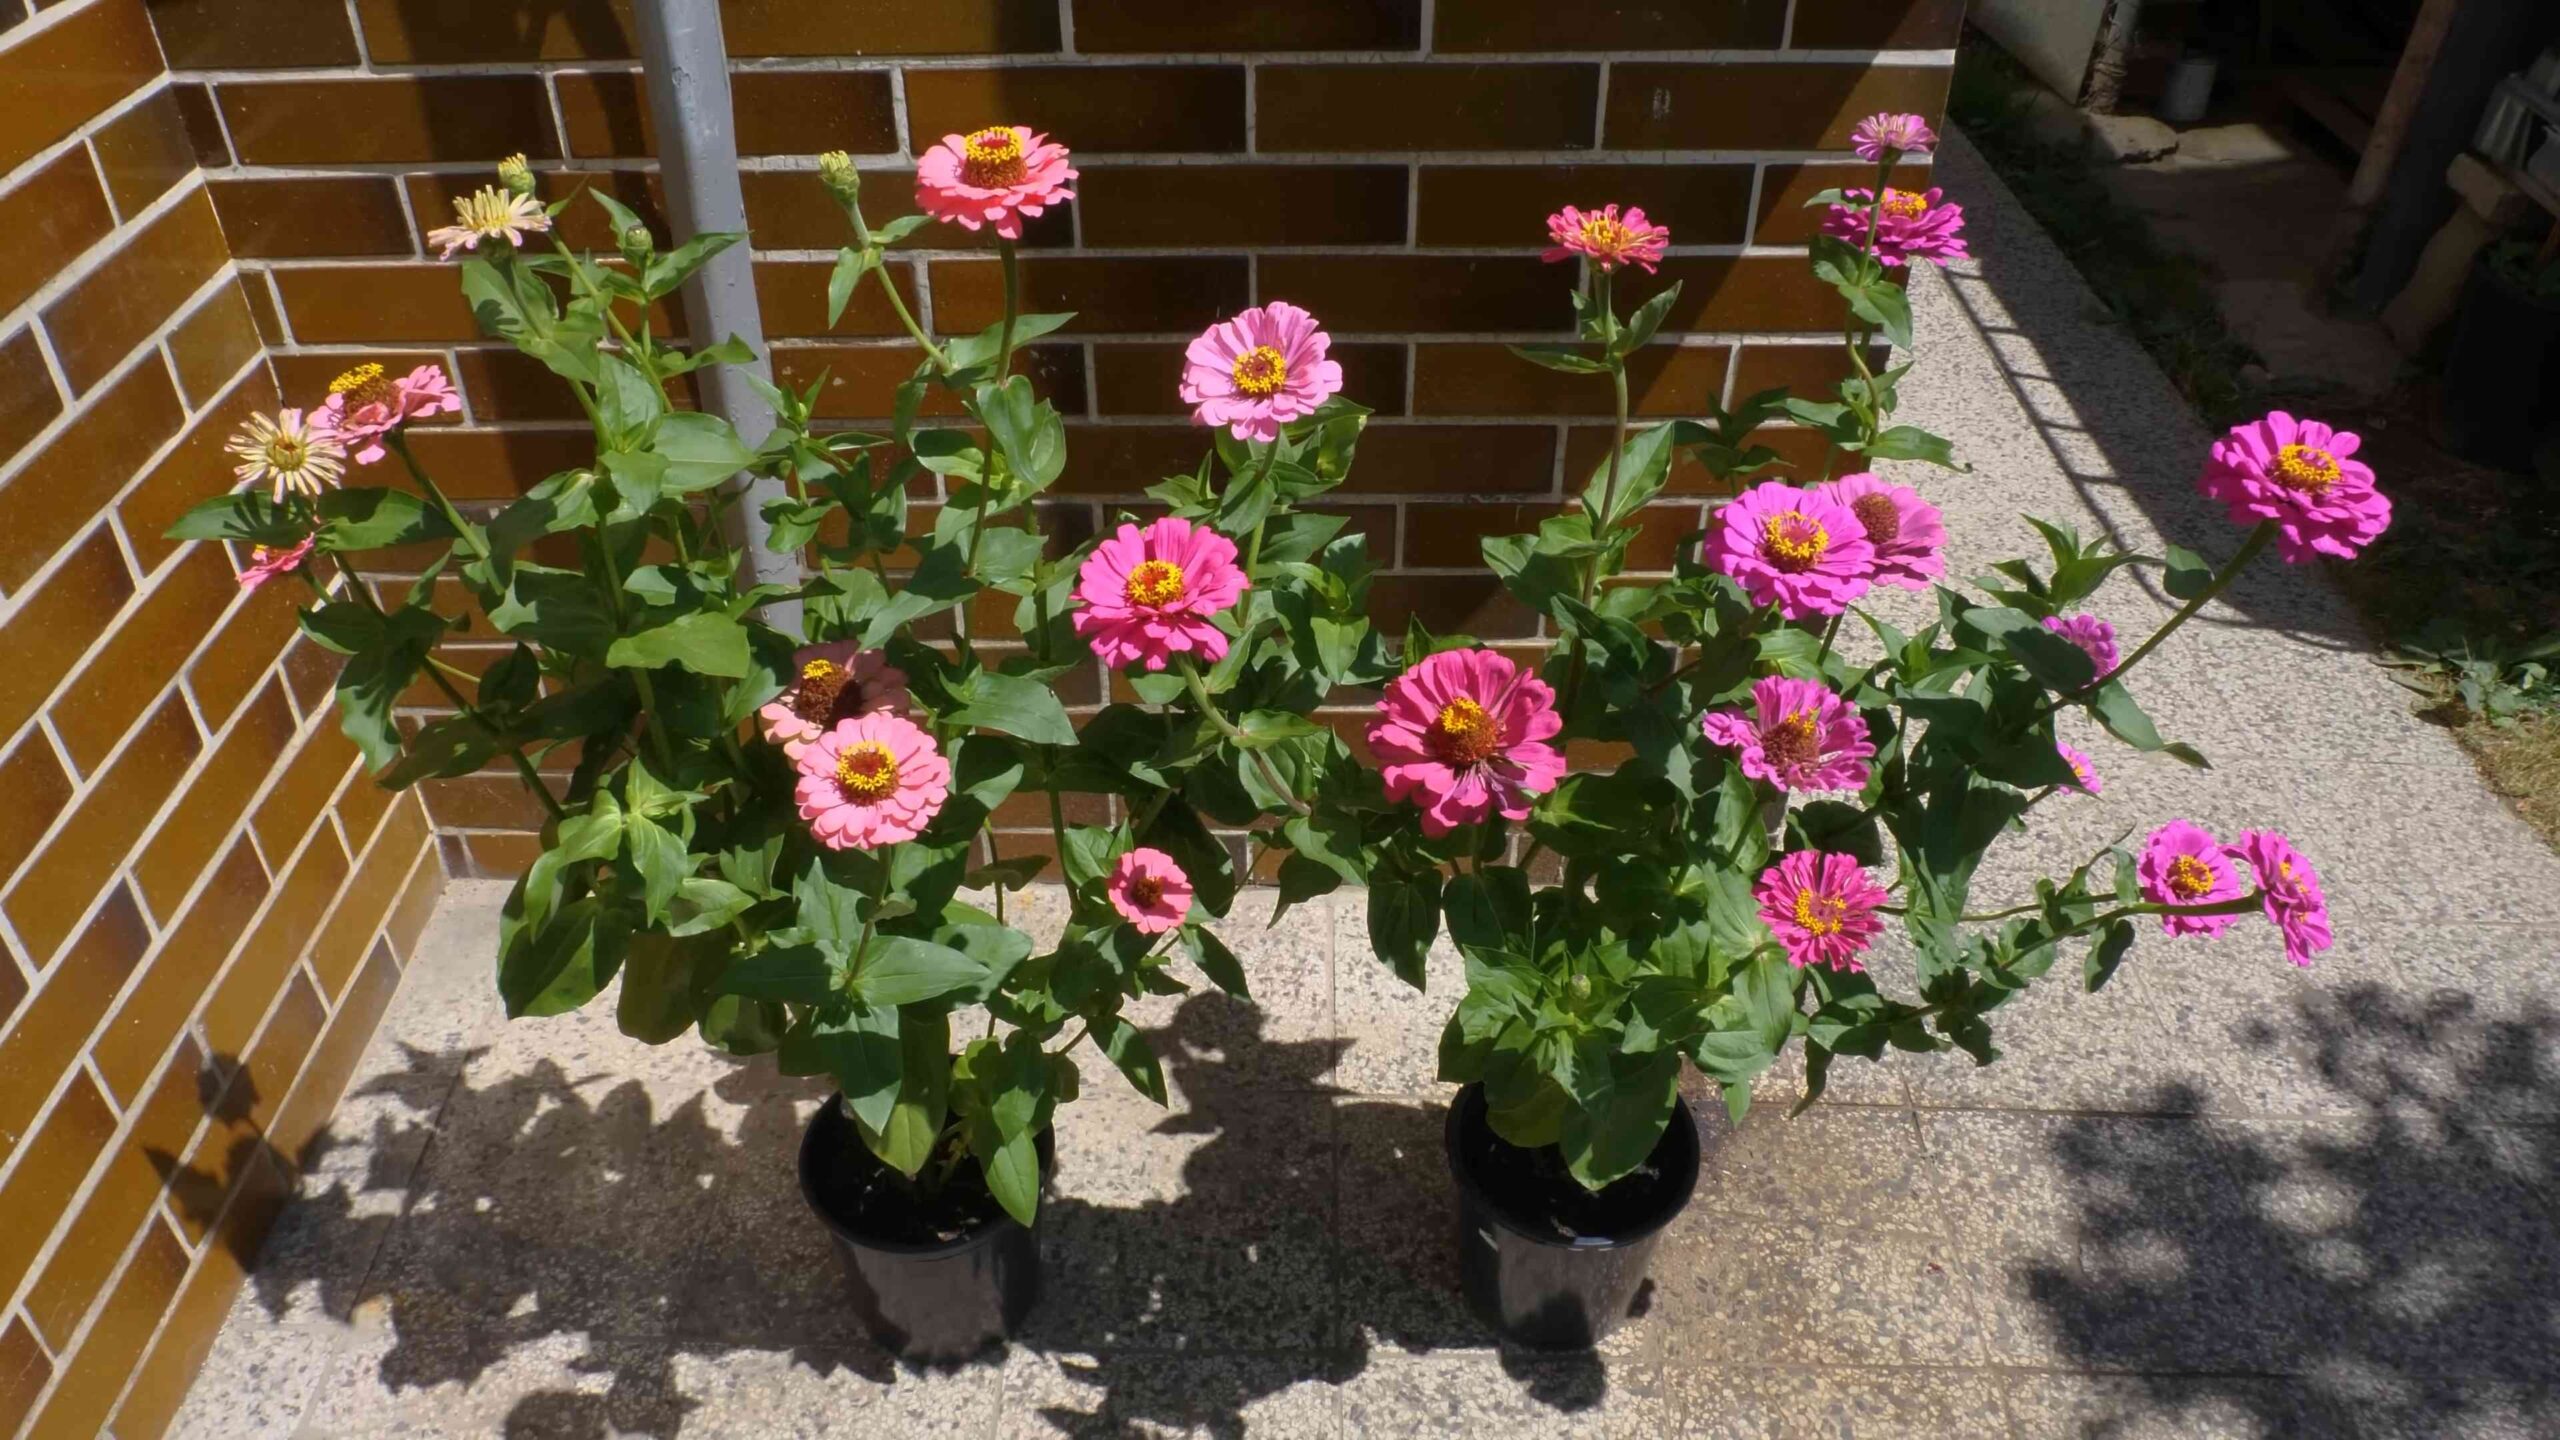
Zinnia Container Gardening from Seed: Imagine a burst of vibrant color exploding from your patio, balcony, or even a sunny windowsill. That’s the magic of zinnias, and you can easily bring that magic to life with container gardening! For centuries, zinnias have charmed gardeners with their cheerful blooms and easy-going nature. Originating in Mexico, they were initially considered rather plain, but plant breeders transformed them into the dazzling array of colors and forms we adore today.
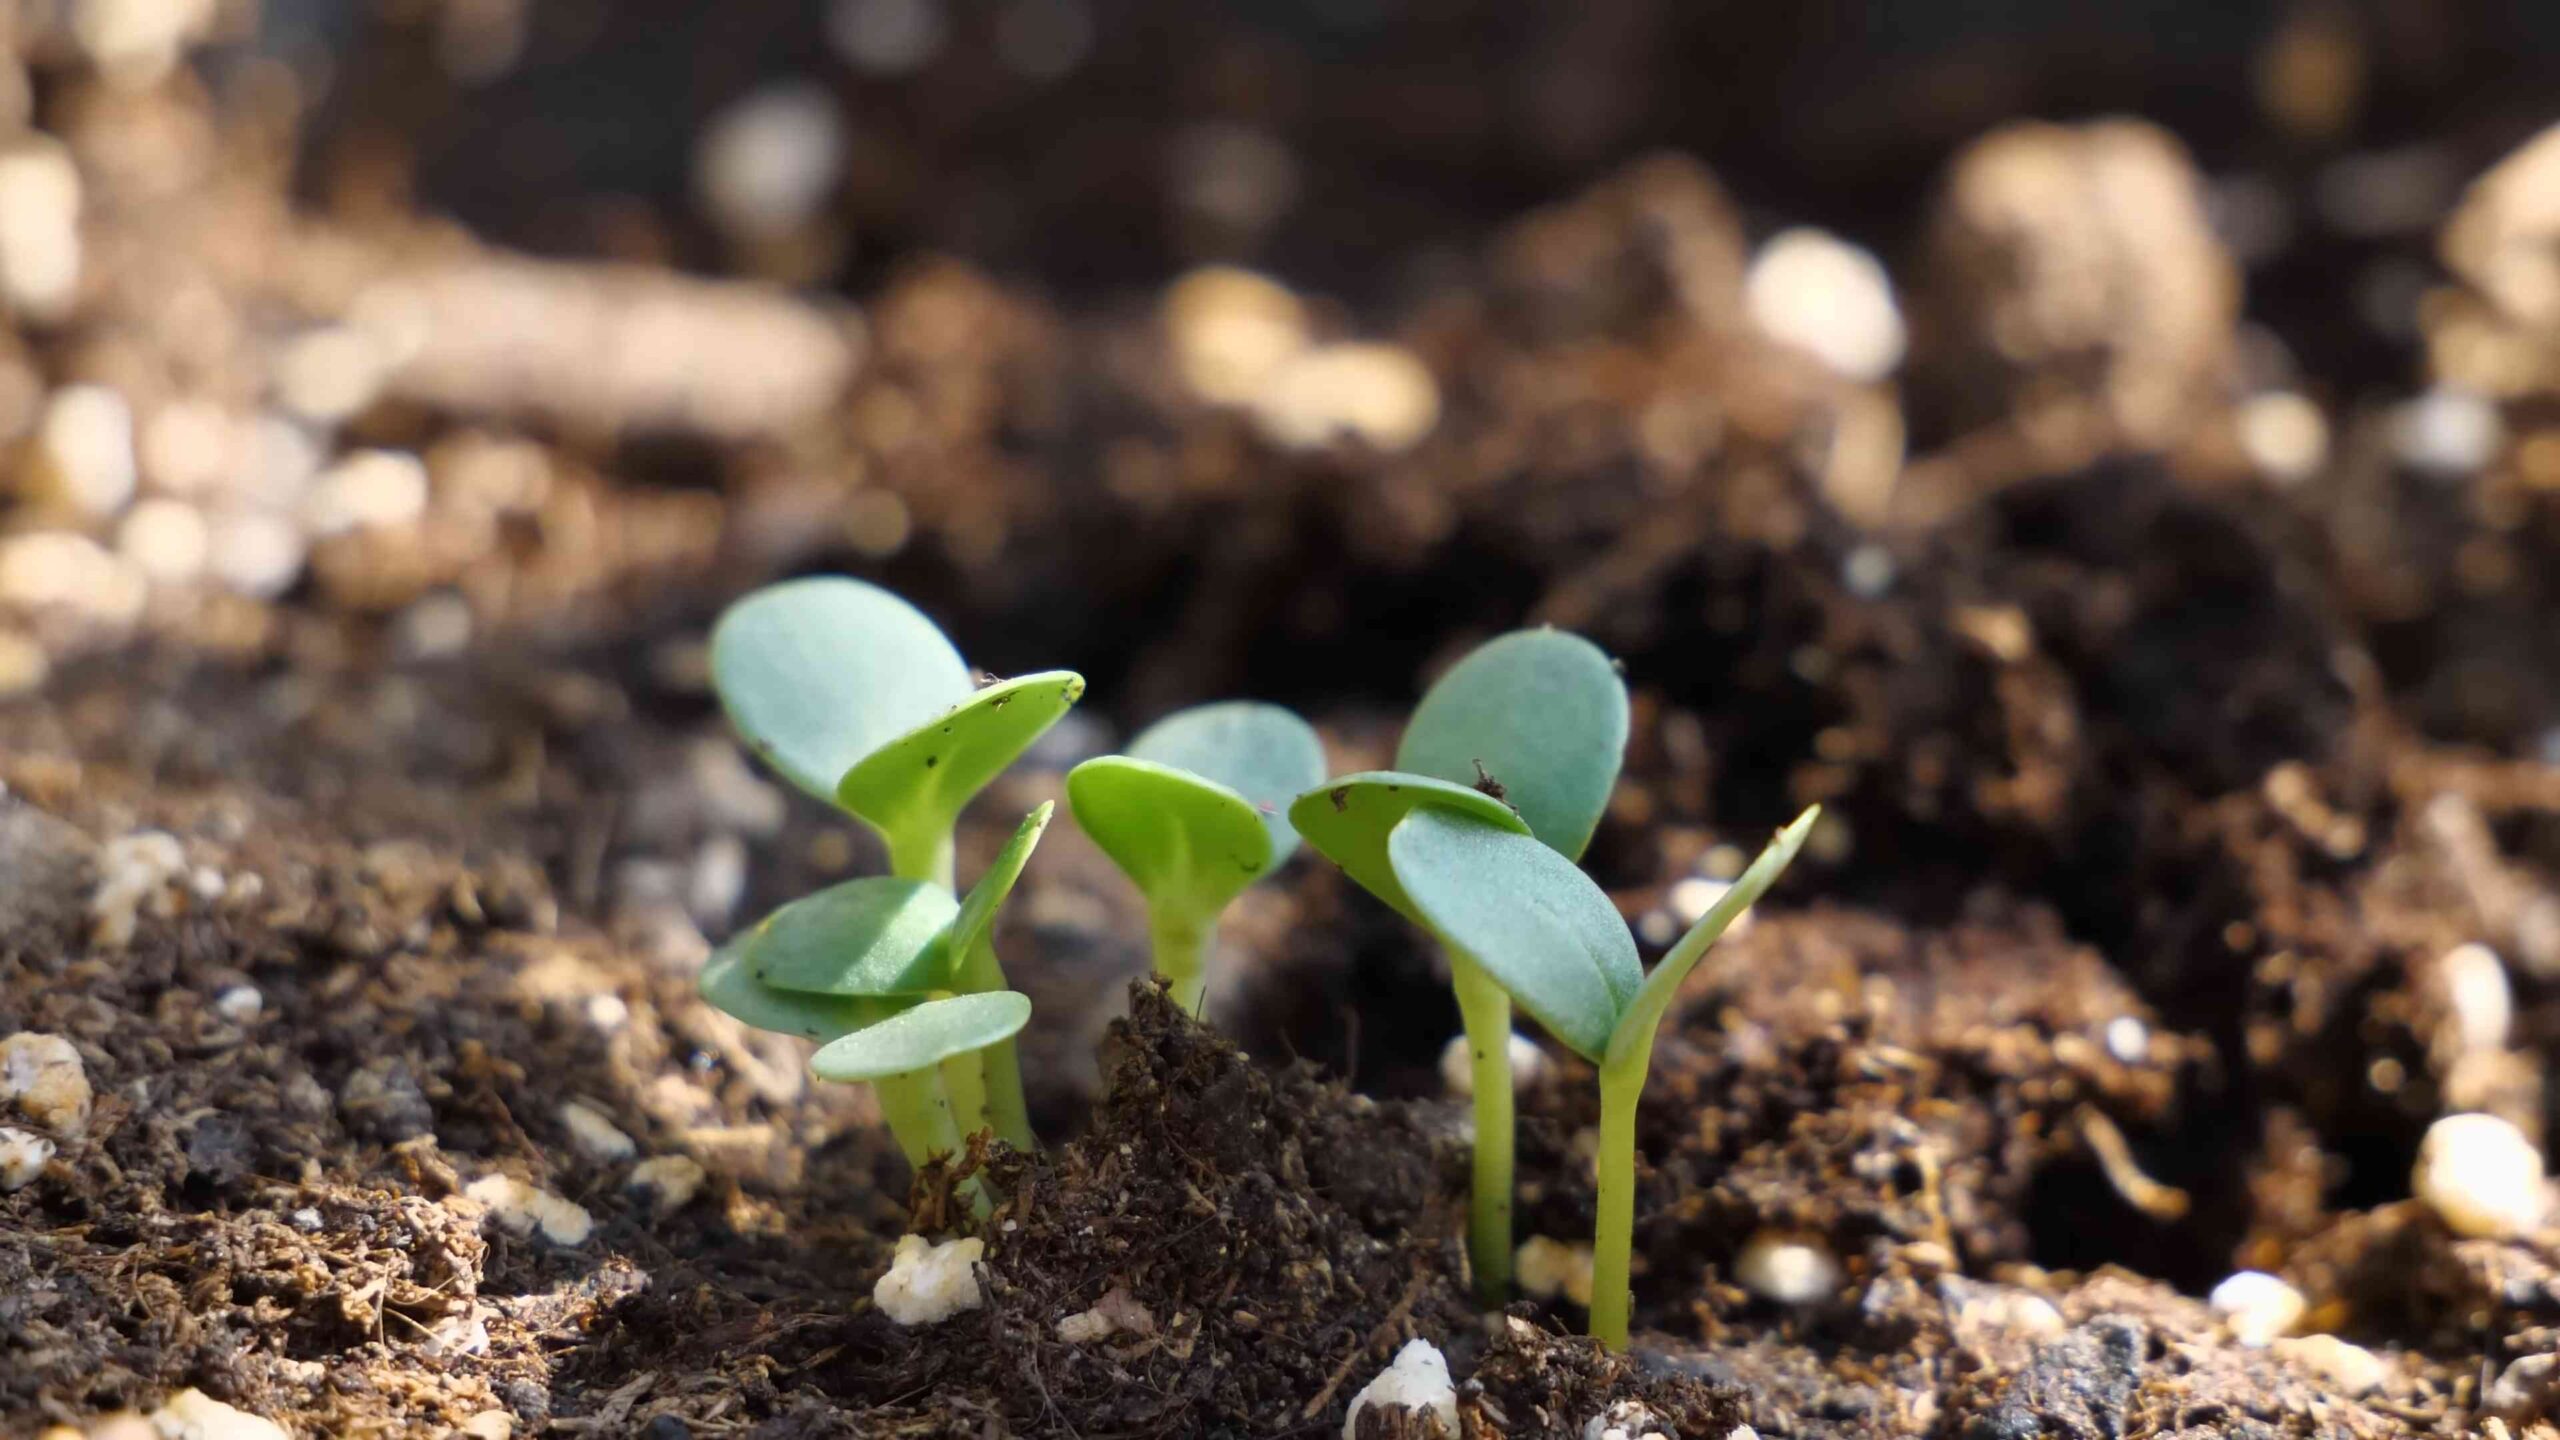
But why should you bother with zinnia container gardening from seed? Well, let’s face it, not everyone has a sprawling garden. Container gardening allows you to enjoy the beauty and benefits of gardening, even in the smallest of spaces. Plus, starting from seed is incredibly rewarding – watching those tiny sprouts emerge and transform into flowering powerhouses is an experience like no other. I’m going to show you some simple DIY tricks and hacks that will make growing zinnias in containers a breeze, even if you’re a complete beginner.
This article will guide you through everything you need to know, from choosing the right container and soil to nurturing your zinnias for a season of stunning blooms. Get ready to unleash your inner gardener and create a vibrant oasis with these easy and effective DIY tips!
Zinnia Container Gardening: A Burst of Color from Seed!
Hey there, fellow gardening enthusiasts! I’m so excited to share my tried-and-true method for growing vibrant zinnias in containers, all the way from tiny seeds to blooming beauties. Zinnias are one of my absolute favorite flowers – they’re cheerful, come in a rainbow of colors, and attract tons of pollinators like butterflies and bees. Plus, they’re super easy to grow, making them perfect for beginners and seasoned gardeners alike. Let’s dive in!
Choosing the Right Zinnia Variety
Before we even think about soil, let’s talk zinnias! Not all zinnias are created equal, especially when it comes to container gardening. You’ll want to consider the mature size of the plant.
* Dwarf Varieties: These are your best bet for smaller containers. Look for names like ‘Thumbelina,’ ‘Zinnia elegans ‘Profusion’,’ or ‘Zinnia haageana ‘Aztec Sunset’.’ They typically stay under 12 inches tall and wide.
* Medium Varieties: If you have a larger container (at least 12 inches in diameter), you can try medium-sized zinnias like ‘Magellan’ or ‘Benary’s Giant.’ These can reach 18-24 inches in height.
* Tall Varieties: While technically possible, I generally advise against tall zinnia varieties like ‘Giant Cactus’ for containers unless you have a very large, sturdy pot and are prepared to provide extra support. They can get top-heavy and topple over.
Pro Tip: Read the seed packet carefully! It will tell you the mature height and width of the plant, which is crucial for container gardening success.
Gathering Your Supplies
Okay, now that we’ve picked our zinnia variety, let’s gather everything we need. Here’s my checklist:
* Zinnia Seeds: Obviously! Choose a variety you love and that’s suitable for containers.
* Container: Select a pot with drainage holes. The size will depend on the zinnia variety you’ve chosen. Remember, bigger is generally better, as it gives the roots more room to grow.
* Potting Mix: This is super important! Don’t use garden soil in containers. It compacts too easily and doesn’t drain well. Opt for a high-quality, well-draining potting mix. I like to use a mix that contains peat moss, perlite, and vermiculite.
* Watering Can or Hose: For watering your seedlings.
* Small Trowel or Spoon: For planting the seeds.
* Optional:
* Seed starting tray (if you want to start seeds indoors)
* Heat mat (for faster germination indoors)
* Grow light (if starting seeds indoors and your location lacks sunlight)
* Slow-release fertilizer (to provide nutrients throughout the growing season)
* Mulch (to help retain moisture and suppress weeds)
Sowing Zinnia Seeds: Indoors or Outdoors?
This is a common question, and the answer depends on your climate and personal preference.
* Starting Seeds Indoors: If you live in a region with a short growing season, starting seeds indoors 4-6 weeks before the last expected frost is a great way to get a head start. This gives your zinnias a longer time to bloom.
* Direct Sowing Outdoors: If you have a long growing season and the soil has warmed up (around 60-70°F), you can sow zinnia seeds directly into your container. Zinnias germinate quickly, so you’ll see sprouts in no time.
My Preference: I usually direct sow my zinnia seeds outdoors because it’s less work and zinnias are so easy to germinate. However, if you’re in a colder climate, starting indoors is definitely the way to go.
Step-by-Step Instructions: Direct Sowing Outdoors
Alright, let’s get our hands dirty! Here’s how I direct sow zinnia seeds in containers:
1. Prepare the Container: Fill your container with potting mix, leaving about an inch or two of space at the top. Gently pat down the soil to create a level surface.
2. Sow the Seeds: Sprinkle the zinnia seeds evenly over the surface of the soil. I usually sow a few extra seeds to ensure good germination.
3. Cover the Seeds: Lightly cover the seeds with about ¼ inch of potting mix. Zinnias need light to germinate, so don’t bury them too deep.
4. Water Gently: Use a watering can or hose with a gentle spray nozzle to thoroughly moisten the soil. Be careful not to wash away the seeds.
5. Keep the Soil Moist: Keep the soil consistently moist but not soggy until the seeds germinate. This usually takes 5-10 days.
6. Thin Seedlings (If Necessary): Once the seedlings emerge and have a few sets of true leaves, thin them out so that they are spaced about 6-8 inches apart. This gives them enough room to grow and prevents overcrowding. I know it’s hard to do, but trust me, it’s better for the overall health of your plants!
Step-by-Step Instructions: Starting Seeds Indoors
If you’re opting to start your zinnia seeds indoors, here’s what you need to do:
1. Prepare Seed Starting Trays: Fill your seed starting trays with a seed starting mix (which is finer than regular potting mix).
2. Sow the Seeds: Sow 2-3 seeds per cell, about ¼ inch deep.
3. Water Gently: Water the trays gently until the soil is moist.
4. Provide Warmth and Light: Place the trays on a heat mat (optional) and under a grow light or in a sunny window. Zinnias need warmth and light to germinate.
5. Keep the Soil Moist: Keep the soil consistently moist but not soggy.
6. Thin Seedlings (If Necessary): Once the seedlings emerge and have a few sets of true leaves, thin them out to one seedling per cell.
7. Harden Off Seedlings: Before transplanting the seedlings outdoors, you need to “harden them off.” This means gradually exposing them to outdoor conditions over a period of 7-10 days. Start by placing them in a sheltered spot for a few hours each day, gradually increasing the amount of time they spend outdoors.
8. Transplant Seedlings: Once the seedlings are hardened off and the danger of frost has passed, transplant them into your container, spacing them about 6-8 inches apart.
Caring for Your Zinnia Plants
Once your zinnia plants are established, here’s how to keep them happy and healthy:
* Watering: Water your zinnia plants regularly, especially during hot, dry weather. Water deeply when the top inch of soil feels dry to the touch. Avoid overhead watering, as this can lead to fungal diseases.
* Fertilizing: Feed your zinnia plants every 2-3 weeks with a balanced liquid fertilizer. You can also use a slow-release fertilizer at planting time.
* Deadheading: This is crucial for encouraging continuous blooming! Deadheading means removing spent flowers. Simply snip off the dead flower heads just below the next set of leaves.
* Sunlight: Zinnias need at least 6-8 hours of sunlight per day to thrive. Place your container in a sunny location.
* Pest and Disease Control: Zinnias are generally pest-resistant, but they can sometimes be affected by aphids, spider mites, or powdery mildew. If you notice any pests or diseases, treat them promptly with an appropriate insecticide or fungicide. I prefer using organic options whenever possible.
* Support (If Needed): Taller zinnia varieties may need staking to prevent them from falling over, especially in windy conditions.
Troubleshooting Common Zinnia Problems
Even with the best care, you might encounter a few problems along the way. Here are some common issues and how to fix them:
* Yellowing Leaves: This could be a sign of overwatering, underwatering, or nutrient deficiency. Check the soil moisture and adjust your watering accordingly. If the problem persists, try fertilizing your plants.
* Powdery Mildew: This is a fungal disease that appears as a white, powdery coating on the leaves. Improve air circulation by spacing your plants further apart and avoid overhead watering. You can also treat powdery mildew with a fungicide.
* Leggy Growth: This means your plants are tall and spindly with few leaves. This is usually caused by insufficient sunlight. Move your container to a sunnier location.
* Lack of Blooms: This could be due to insufficient sunlight, over-fertilizing with nitrogen, or not deadheading regularly. Make sure your plants are getting enough sunlight, use a balanced fertilizer, and deadhead spent
Conclusion
So, there you have it! Transforming a simple packet of zinnia seeds into a vibrant, overflowing container garden is not only achievable but incredibly rewarding. This DIY approach to zinnia container gardening from seed offers a level of control and personalization that you simply can’t get when buying pre-grown plants. You get to choose the exact varieties you want, nurture them from the very beginning, and witness the magic of life unfolding right before your eyes.
Why is this a must-try? Because it’s more than just growing flowers; it’s about connecting with nature, fostering creativity, and adding a burst of color and joy to your living space. It’s a therapeutic activity that can reduce stress, boost your mood, and provide a sense of accomplishment. Plus, let’s be honest, there’s nothing quite like the pride of showing off a stunning container garden that you grew entirely from seed.
Beyond the basic method outlined, there are countless ways to customize your zinnia container garden. Consider mixing different zinnia varieties with varying heights and colors for a truly dynamic display. Add companion plants like marigolds or basil to deter pests and attract beneficial insects. Experiment with different container sizes and materials to find what works best for your space and aesthetic. You could even try succession planting, sowing new seeds every few weeks, to ensure a continuous bloom throughout the growing season.
Don’t be afraid to get your hands dirty and experiment! Gardening is a journey of learning and discovery. There will be successes and setbacks, but every experience will teach you something new. The most important thing is to have fun and enjoy the process.
We wholeheartedly encourage you to give this DIY zinnia container gardening from seed trick a try. It’s easier than you might think, and the results are well worth the effort. Once you’ve created your own stunning zinnia display, we’d love to hear about your experience! Share your photos, tips, and stories in the comments below. Let’s create a community of zinnia enthusiasts and inspire others to embrace the joy of gardening. Happy growing!
Frequently Asked Questions (FAQ)
What is the best time to start zinnia seeds for container gardening?
The ideal time to start zinnia seeds depends on your local climate. Generally, you should start them indoors 4-6 weeks before the last expected frost, or directly sow them outdoors after the danger of frost has passed and the soil has warmed up to at least 60°F (15°C). Zinnias thrive in warm weather, so waiting until the soil is warm is crucial for successful germination and growth. If you live in a region with a short growing season, starting them indoors is highly recommended to give them a head start.
What type of container is best for growing zinnias?
Choose a container that is at least 12 inches in diameter and depth to provide ample space for the zinnia roots to grow. The container should also have drainage holes to prevent waterlogging, which can lead to root rot. Terracotta pots, plastic containers, and even repurposed items like buckets or tubs can be used, as long as they meet these requirements. Consider the weight of the container, especially if you plan to move it around. Lighter materials like plastic are easier to handle, while terracotta can provide better stability.
What kind of soil should I use for zinnia container gardening?
Zinnias prefer well-draining soil that is rich in organic matter. A good potting mix specifically formulated for containers is ideal. Avoid using garden soil, as it can become compacted in containers and hinder drainage. You can also amend your potting mix with compost or other organic materials to improve its fertility and water retention. A slightly acidic to neutral pH (around 6.0-7.0) is optimal for zinnia growth.
How often should I water my zinnia container garden?
Water your zinnias regularly, especially during hot and dry weather. The frequency of watering will depend on the size of the container, the type of soil, and the weather conditions. Check the soil moisture by sticking your finger about an inch deep into the soil. If it feels dry, it’s time to water. Water deeply until water drains out of the drainage holes. Avoid overwatering, as this can lead to root rot. In general, zinnias prefer to be watered in the morning to allow the foliage to dry before nightfall, which can help prevent fungal diseases.
How much sunlight do zinnias need?
Zinnias need at least 6-8 hours of direct sunlight per day to thrive. Choose a location for your container garden that receives plenty of sunlight. If you live in a very hot climate, some afternoon shade may be beneficial to prevent the plants from scorching. Insufficient sunlight can result in leggy growth, fewer blooms, and reduced overall health.
Do zinnias need fertilizer?
Yes, zinnias benefit from regular fertilization, especially when grown in containers. Use a balanced, water-soluble fertilizer diluted to half strength every 2-3 weeks during the growing season. Alternatively, you can use a slow-release fertilizer at the time of planting. Avoid over-fertilizing, as this can lead to excessive foliage growth at the expense of blooms. Look for a fertilizer with a higher phosphorus content (the middle number in the N-P-K ratio) to promote flowering.
How do I prevent diseases and pests in my zinnia container garden?
To prevent diseases, ensure good air circulation around the plants by spacing them adequately and avoiding overcrowding. Water in the morning to allow the foliage to dry before nightfall. Remove any dead or diseased leaves promptly. To prevent pests, inspect your plants regularly for signs of infestation. Common pests that affect zinnias include aphids, spider mites, and Japanese beetles. You can control these pests with insecticidal soap, neem oil, or by handpicking them off the plants. Companion planting with marigolds or basil can also help deter pests.
How do I deadhead zinnias?
Deadheading is the process of removing spent flowers to encourage more blooms. To deadhead zinnias, simply cut off the flower stem just below the spent flower head, above a set of leaves. This will encourage the plant to produce new flowers instead of putting energy into seed production. Deadhead your zinnias regularly throughout the growing season to keep them blooming profusely.
Can I save zinnia seeds for next year?
Yes, you can save zinnia seeds for next year. Allow the flower heads to dry completely on the plant. Once they are dry and brown, cut off the flower heads and remove the petals. The seeds are located at the base of the petals. Store the seeds in a cool, dry, and dark place in an airtight container. Label the container with the variety and date. Zinnia seeds typically remain viable for 2-3 years.
What are some good companion plants for zinnias in containers?
Good companion plants for zinnias include marigolds, basil, nasturtiums, and petunias. Marigolds and basil help deter pests, while nasturtiums attract beneficial insects. Petunias add a complementary splash of color and can help fill in any gaps in the container. Choose companion plants that have similar growing requirements as zinnias, such as full sun and well-draining soil.

Leave a Comment